Introduction
Welcome to our guide on how to give access to Google Calendar! Whether you need to collaborate with colleagues, share important dates with family and friends, or simply want to manage your schedule across different devices, Google Calendar makes it easy to stay organized.
Google Calendar allows you to grant access to specific individuals, allowing them to view or edit your calendar events and reminders. This can be incredibly useful for coordinating meetings, scheduling appointments, or keeping everyone in the loop about upcoming events. In this guide, we will walk you through the step-by-step process of giving access to your Google Calendar.
By following the instructions outlined below, you’ll be able to share your calendar with colleagues, friends, or family members, enabling them to stay updated and contribute to your schedule. Whether you need a co-worker to manage your appointments, want to create a shared family calendar, or seek collaboration on a project, Google Calendar’s sharing capabilities have got you covered.
Please note that you will need a Google Account to complete the steps outlined in this guide. If you don’t already have one, you can easily create a free account at accounts.google.com/signup.
Now, without further ado, let’s dive into the process of giving access to your Google Calendar!
Step 1: Sign in to your Google Account
The first step to giving access to your Google Calendar is to sign in to your Google Account. If you don’t already have one, you can easily create a free account at accounts.google.com/signup.
To sign in, follow these simple steps:
- Open a web browser and navigate to www.google.com.
- Click on the “Sign in” button in the top right corner of the screen.
- Enter your Google Account email address and click “Next”.
- Enter your password and click “Next” to sign in to your Google Account.
If you have enabled two-step verification for your account, you may be prompted to enter a verification code that will be sent to your phone or email. This additional layer of security helps protect your account from unauthorized access.
Once you have successfully signed in to your Google Account, you are ready to move on to the next step of giving access to your Google Calendar.
Step 2: Open Google Calendar
Now that you have signed in to your Google Account, the next step is to open Google Calendar. Here’s how you can access it:
- From your Google Account homepage, click on the Google Apps icon (represented by nine squares) in the top right corner of the screen.
- A dropdown menu will appear. Locate and click on the “Calendar” icon.
- Your Google Calendar will now open in a new tab or window, displaying your current events and reminders.
Alternatively, you can directly access Google Calendar by entering the URL calendar.google.com in the address bar of your web browser.
Once you have opened Google Calendar, you will be able to view, create, and manage your events, as well as give access to others. The user-friendly interface of Google Calendar makes it easy to navigate and customize your calendar according to your preferences.
Now that you have successfully opened Google Calendar, let’s move on to the next step: selecting the calendar you want to share.
Step 3: Select the Calendar you want to share
After opening Google Calendar, the next step is to select the specific calendar that you want to share with others. If you have multiple calendars, such as work, personal, or shared calendars, you can choose which one you want to grant access to.
Here’s how you can select the calendar you want to share:
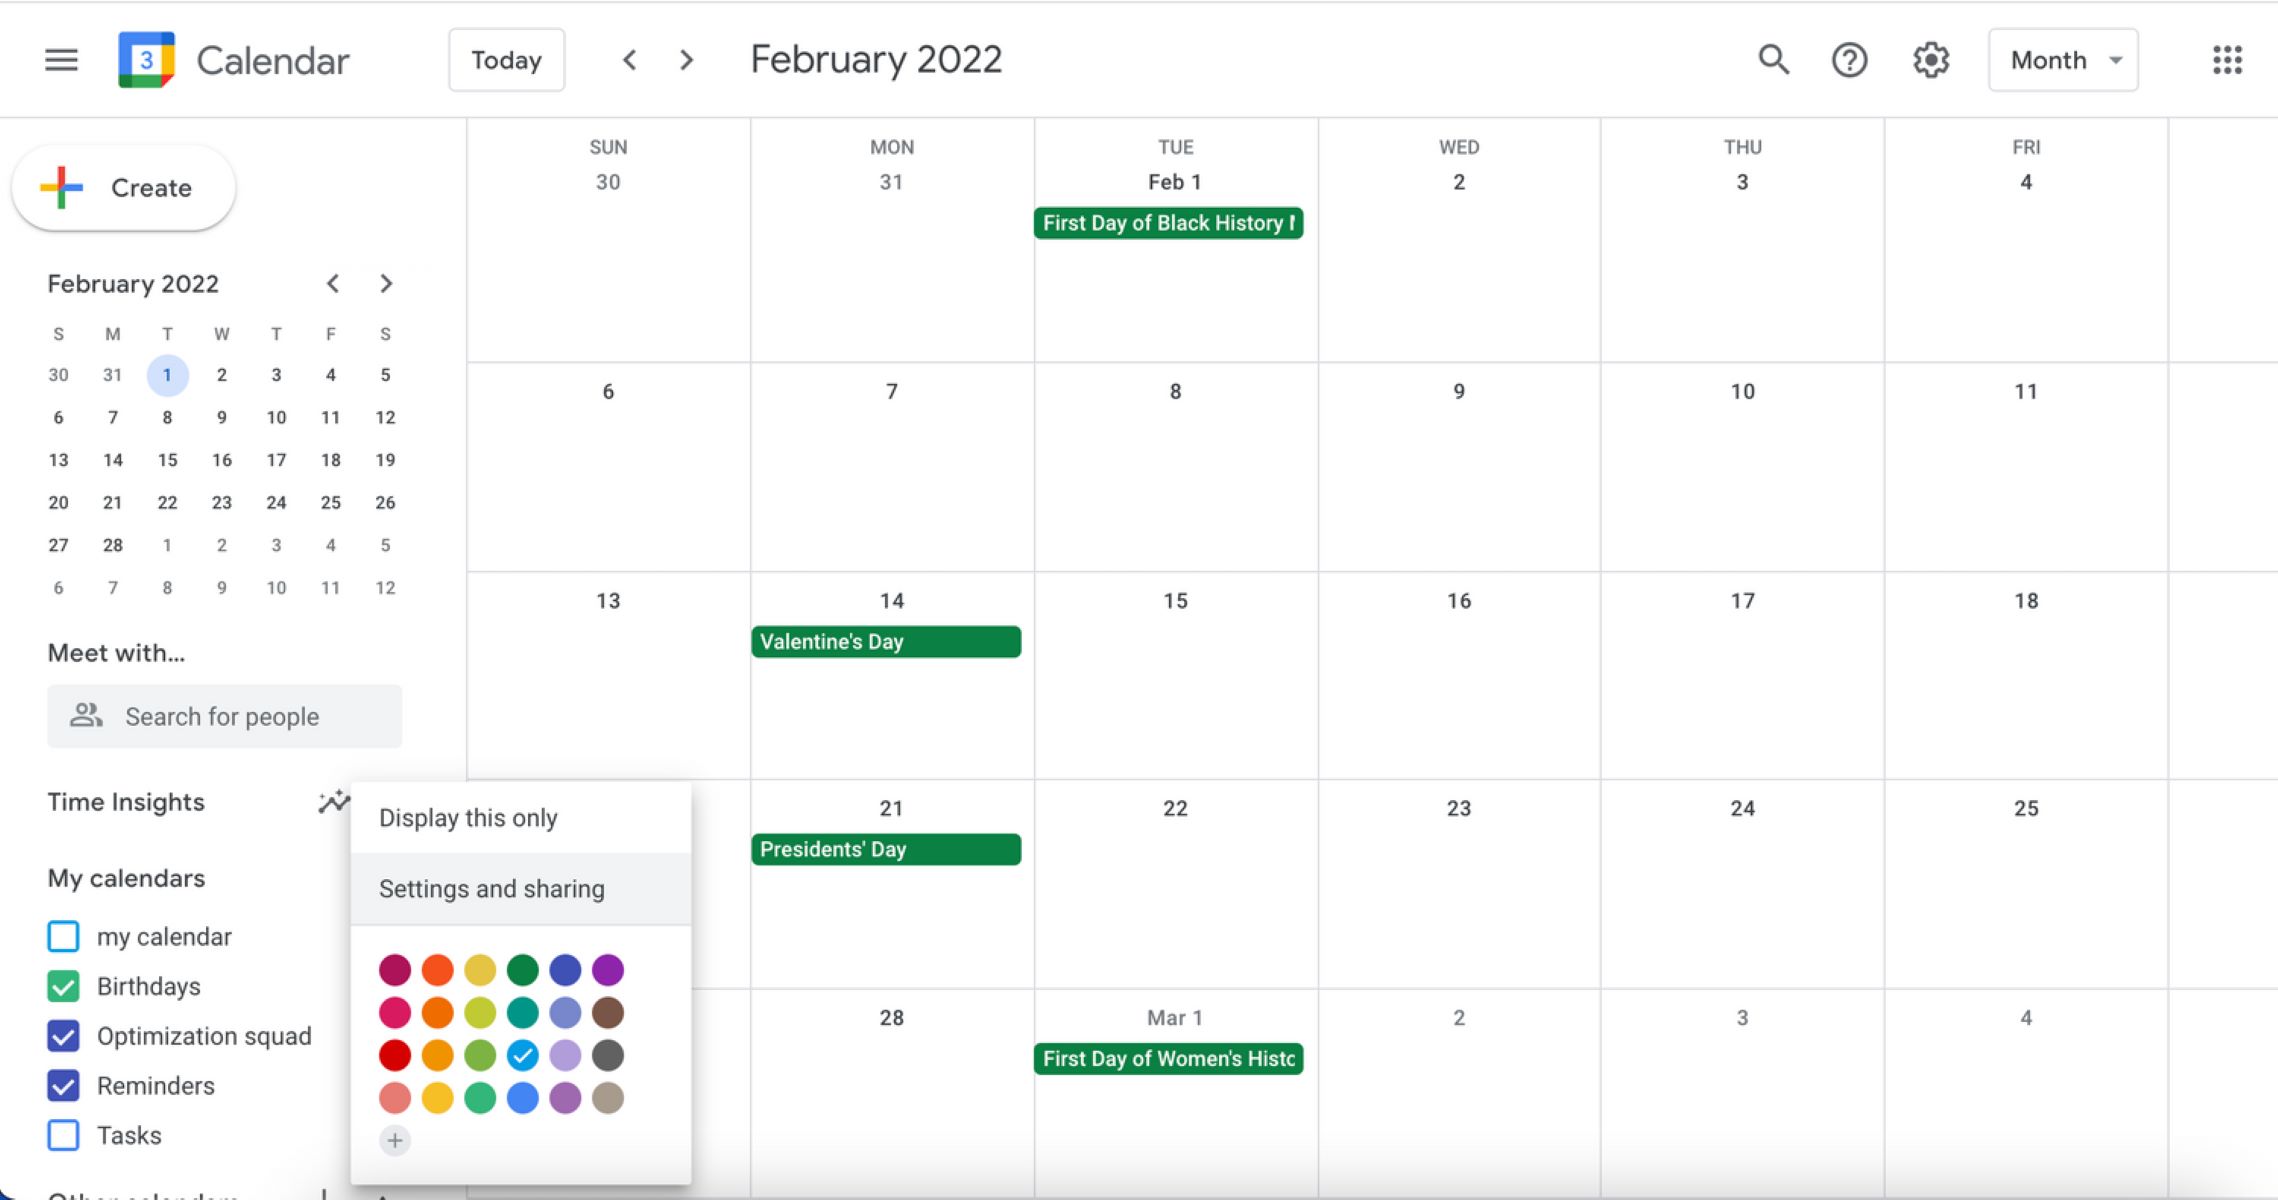
- On the left side of the Google Calendar interface, you will see a list of your calendars under the “My calendars” section.
- Scroll through the list and locate the calendar you want to share.
- Click on the checkbox next to the calendar name to select it. The selected calendar will be highlighted.
If you want to share multiple calendars, you can repeat this step for each calendar that you wish to grant access to. It’s important to note that each calendar’s access permissions are managed independently.
Once you have selected the calendar you want to share, you are ready to move on to the next step: clicking on “Settings” and then “Share with specific people”.
Step 4: Click on “Settings” and then “Share with specific people”
Now that you have selected the calendar you want to share in Google Calendar, it’s time to access the settings and share it with specific people. By following these steps, you can customize the access permissions and determine who can view or edit your calendar.
Here’s how you can click on “Settings” and then “Share with specific people”:
- In the top right corner of the Google Calendar interface, click on the gear icon to open the settings menu.
- From the dropdown menu, select the “Settings” option.
- In the left sidebar, click on the “Share with specific people” link.
By selecting “Share with specific people”, you are instructing Google Calendar to prompt you to enter the email addresses of the individuals whom you want to give access to your calendar.
Don’t worry if you accidentally close the settings menu. You can easily access it again by clicking on the gear icon in the top right corner and selecting “Settings”.
Now that you have clicked on “Settings” and then “Share with specific people”, you are ready to proceed to the next step: entering the email addresses of the people you want to give access to.
Step 5: Enter the email addresses of the people you want to give access to
After opening the settings menu and selecting “Share with specific people” in Google Calendar, the next step is to enter the email addresses of the individuals whom you want to grant access to your calendar. By specifying the email addresses, you can ensure that only the intended recipients are able to view or edit your calendar.
Here’s how you can enter the email addresses:
- In the “Share with specific people” section, you will see a text field labeled “Add people”.
- Start typing the email addresses of the individuals you want to give access to. As you type, Google Calendar will provide suggestions based on your contacts and previous interactions.
- Select the correct email address from the suggestions or continue typing the complete address.
- To add additional people, click on the “+ Add” button next to the text field and repeat the process for each person.
Make sure to double-check the email addresses you enter to ensure accuracy and eliminate any potential typos. If you accidentally add an incorrect email address, you can always remove it later on.
Keep in mind that the individuals you grant access to must have a Google Account in order to view or edit your calendar. If they don’t have one, they can easily create a free account at accounts.google.com/signup.
Once you have entered the email addresses of the people you want to give access to, you are ready to proceed to the next step: choosing the level of access for each person.
Step 6: Choose the level of access for each person (view, edit, or make changes)
Now that you have entered the email addresses of the people you want to grant access to in Google Calendar, the next step is to choose the level of access for each person. Depending on your preferences and the collaboration requirements, you can assign different levels of access to each individual, such as view-only, edit, or the ability to make changes to events.
Here’s how you can choose the level of access for each person:
- Next to each email address in the “Share with specific people” section, you will see a drop-down menu.
- Click on the drop-down menu for the respective person and choose the desired level of access:
- View: This option allows the person to view your calendar events and reminders, but they cannot make any changes.
- Edit: Selecting this option grants the person permission to both view and make changes to your calendar events, such as adding or editing events and modifying event details.
- Make changes: Choosing this option gives the person full control over your calendar. They can view, edit, make changes, and even delete events.
- Assign the appropriate access level for each person based on their role in the calendar.
It’s important to consider the level of trust and collaboration needed before assigning access permissions. You may want to grant view-only access to colleagues or family members who need to stay informed about your schedule, while giving edit or make changes access to trusted individuals who require the ability to modify event details or add new events.
Now that you have chosen the level of access for each person, you are ready to proceed to the next step: optionally, adding a message to the recipients.
Step 7: Optionally, add a message to the recipients
As part of the process of giving access to your Google Calendar, you have the option to include a message when sharing the calendar with specific people. This message can provide additional context or instructions to the recipients, making the collaboration process more efficient and streamlined.
Here’s how you can add a message to the recipients:
- In the “Share with specific people” section of Google Calendar, you will notice a text field labeled “Add a message”.
- Click inside the text field and type your desired message.
- The message can be a brief note to explain the purpose of sharing the calendar, provide guidelines or expectations, or any other information you want to convey.
Adding a message can be particularly helpful when sharing the calendar with colleagues for a project, coordinating events with family members, or collaborating on a specific task or initiative. It helps to ensure that everyone is on the same page and understands the context of the shared calendar.
However, it’s important to note that adding a message is optional. If you don’t have any specific instructions or additional information to communicate, you can simply skip this step.
Once you have added a message (or decided not to), you are ready to proceed to the next step: clicking on “Send” to send the invitation.
Step 8: Click on “Send” to send the invitation
After customizing the access permissions and optionally adding a message to the recipients, the next step is to click on “Send” to send the invitation and grant access to your Google Calendar. This will notify the recipients of the shared calendar and provide them with the necessary information to access and collaborate on it.
Here’s how you can send the invitation:
- Ensure that you have reviewed the chosen access levels, email addresses, and optional message before proceeding.
- In the “Share with specific people” section of Google Calendar, locate the “Send” button.
- Click on the “Send” button to initiate the sharing process.
By clicking on “Send”, Google Calendar will send an email invitation to the recipients with a link to access the shared calendar. The email will include the details of the access permissions assigned to each individual, based on the options you selected earlier.
After sending the invitation, each recipient will receive an email notification and can click on the provided link to access the shared calendar. They will be able to view or interact with the calendar based on the access level you granted to them. The changes made by any individual will be reflected in real-time for all collaborators.
Keep in mind that you can always go back and modify the access permissions or revoke access for any recipient in the future if the need arises. This allows you to have control over who can view or edit your calendar at any given time.
Now that you have clicked on “Send” to send the invitation, you have successfully given access to your Google Calendar. The recipients can now start collaborating and interacting with the shared calendar based on their assigned access level.
Step 9: Managing access and permissions
Once you have given access to your Google Calendar, it’s important to know how to manage and modify the access permissions as needed. Google Calendar provides you with the flexibility to adjust the access levels or revoke access for specific individuals.
Here are some ways to manage access and permissions in Google Calendar:
- To modify the access level for an individual, go to the “Share with specific people” section of Google Calendar and click on the drop-down menu next to their email address. Select the new access level from the options provided.
- If you want to remove a person’s access to the calendar altogether, click on the “X” button next to their name in the “Share with specific people” section.
- If you need to share the calendar with additional individuals, you can click on the “+ Add” button in the “Share with specific people” section and enter their email addresses.
These actions allow you to control who can view or edit your calendar, ensuring that the right individuals have the necessary access rights. Whether you want to add new collaborators, adjust permissions for existing members, or remove access for someone, managing access and permissions in Google Calendar is a straightforward process.
It’s important to regularly review your shared calendar settings to ensure that the access permissions align with your current collaboration requirements. By maintaining control over access and permissions, you can keep your calendar organized, secure, and up-to-date.
Now that you are familiar with how to manage access and permissions, you are ready to make the most out of your shared Google Calendar and collaborate effectively with others.
Conclusion
Congratulations! You have successfully learned how to give access to your Google Calendar. By following the step-by-step guide outlined in this article, you can now collaborate, share, and manage your calendar events with specific individuals.
Google Calendar offers a powerful and user-friendly platform for organizing your schedule, coordinating with colleagues, and staying connected with family and friends. By granting access to your calendar, you can ensure that everyone involved is up to date and can contribute to your events and reminders.
Remember, the process begins with signing in to your Google Account and opening Google Calendar. Then, you can select the calendar you want to share and access the settings to specify the individuals who will have access. By assigning different access levels, such as view, edit, or make changes, to each individual, you can control their level of involvement.
Furthermore, you have the option to include a personalized message when sharing the calendar, providing additional context or instructions to the recipients. This can enhance communication and collaboration within the calendar.
Once you have provided the necessary access permissions and added any desired messages, clicking on “Send” will send the invitation to the recipients. They will receive an email notification containing a link to access and interact with the shared calendar based on their assigned level of access.
It’s important to remember that you can always manage access and permissions, allowing you to modify levels of access or remove individuals from the shared calendar if needed. Regularly reviewing and updating the access permissions ensures that your calendar remains organized and secure.
Now that you are equipped with the knowledge of giving access to your Google Calendar, you can efficiently collaborate, stay organized, and enjoy the benefits of a shared calendar. Happy scheduling!