Introduction
Calendar management plays an essential role in organizing and keeping track of events, appointments, and deadlines. Google Calendar has become a popular choice for individuals and businesses alike due to its user-friendly interface and wide range of features. While Google Calendar provides various options for viewing and managing your schedules online, you may find the need to export your calendar data for further analysis or sharing purposes. Fortunately, Google Calendar allows you to easily export your calendar to different file formats, including Excel.
Exporting your Google Calendar to Excel can be advantageous for several reasons. Firstly, Excel provides powerful tools for data analysis and manipulation, giving you greater flexibility in organizing and summarizing your calendar data. Additionally, exporting your calendar to Excel allows you to share your schedule with colleagues or stakeholders who may not have access to Google Calendar. They can view and analyze the information conveniently in a familiar format. Whether you’re preparing a project timeline, analyzing your personal schedule, or sharing your calendar with others, exporting to Excel can be a valuable tool in your productivity arsenal.
In this guide, we will walk you through the steps to export your Google Calendar to Excel. Don’t worry if you’re not a tech expert – this process is straightforward and doesn’t require any advanced technical knowledge. All you need is a Google account and a few minutes of your time. By following these steps, you’ll be able to export your Google Calendar events to Excel and start leveraging the power of spreadsheets to manage and share your schedule effectively.
Step 1: Log in to your Google account
To begin the process of exporting your Google Calendar to Excel, you will need to log in to your Google account. If you don’t have a Google account, you can quickly create one by visiting the Google account creation page. Once you have your Google account credentials ready, follow these simple steps:
- Open a web browser on your computer and navigate to the Google homepage.
- Click on the “Sign in” button located at the top right corner of the page.
- Enter your Google account email address in the provided field.
- Type your password in the designated field. Make sure to enter it accurately to avoid any login errors.
- Click on the “Next” button to proceed.
Congratulations! You have successfully logged in to your Google account. Now that you have access to your Google services, including Google Calendar, you are ready to move on to the next step: accessing the Google Calendar website.
Step 2: Go to the Google Calendar website
Now that you have logged in to your Google account, it’s time to navigate to the Google Calendar website. Follow these simple steps to access your Google Calendar:
- On the Google homepage, click on the app grid icon located at the top right corner of the page. It looks like a square made up of small dots.
- A dropdown menu will appear with various Google apps. Look for the “Calendar” icon, which resembles a calendar with the current date displayed.
- Click on the “Calendar” icon to open Google Calendar.
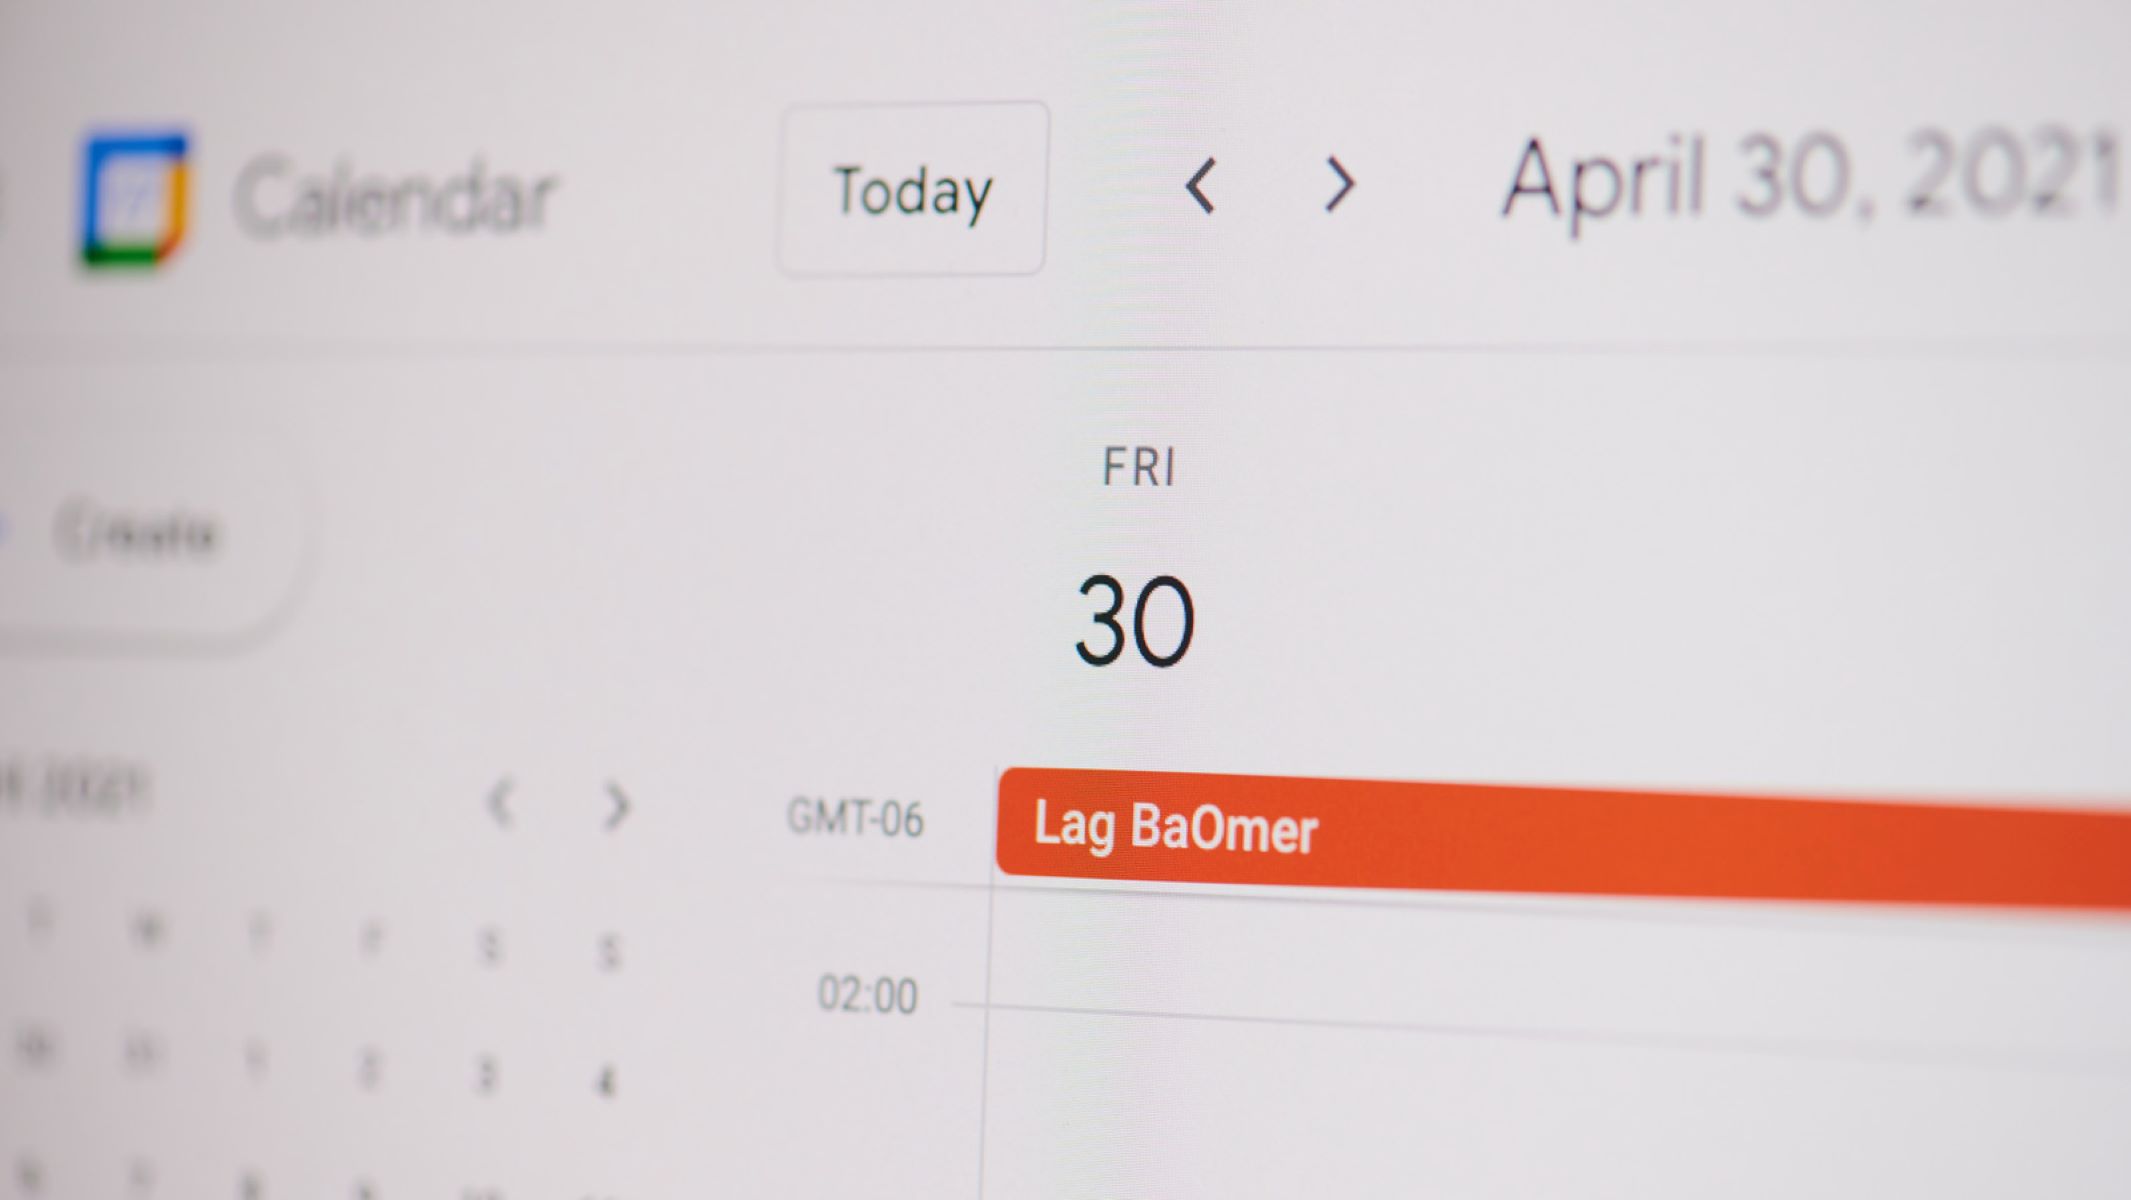
Great! You have successfully accessed the Google Calendar website. This is where you can view, edit, and manage all your events and schedules. Take a moment to familiarize yourself with the interface and layout of Google Calendar. You will notice a clean and intuitive design that makes it easy to navigate and find the information you need.
Now that you have arrived at the Google Calendar website, it’s time to proceed to the next step: selecting the calendar you want to export.
Step 3: Select the calendar you want to export
Once you have accessed the Google Calendar website, it’s important to choose the specific calendar that you want to export. If you have multiple calendars set up, such as personal, work, or shared calendars, you can select the one that contains the events you want to export. Follow these steps to select the calendar:
- On the left sidebar of the Google Calendar interface, you will see a list of calendars under the “My calendars” section. Scroll through the list and locate the calendar you want to export.
- If the calendar you want to export is not displayed, you may need to click on the down arrow next to “My calendars” to expand the list and reveal additional calendars.
- Once you have identified the calendar you want to export, click on the checkbox next to its name. This will select the calendar.
Perfect! You have successfully selected the calendar you wish to export. Make sure to double-check that you have selected the correct calendar, especially if you have similar or overlapping events across multiple calendars. Now that you have specified the calendar, it’s time to move on to the next step: opening the Settings menu.
Step 4: Open the Settings menu
To continue with the process of exporting your calendar, you need to open the Settings menu in Google Calendar. The Settings menu contains various options and configurations that allow you to customize your calendar experience. Follow these steps to open the Settings menu:
- In the top right corner of the Google Calendar interface, you will see a gear icon. Click on this gear icon to access the Settings menu.
- A dropdown menu will appear, displaying a list of options. Scroll down the menu and look for the “Settings” option.
- Click on the “Settings” option to open the Settings menu.
Well done! You have successfully opened the Settings menu in Google Calendar. Take a moment to explore the various options available in the menu. The Settings menu allows you to customize and fine-tune your calendar settings according to your preferences. Now that you have accessed the Settings menu, it’s time to proceed to the next step: choosing the “Export” option.
Step 5: Choose the “Export” option
Once you have accessed the Settings menu in Google Calendar, the next step is to choose the “Export” option. By selecting this option, you will be able to initiate the export process for your chosen calendar. Follow the steps below to choose the “Export” option:
- Within the Settings menu, navigate to the left sidebar and look for the “Import & export” section.
- Under the “Import & export” section, you will find a list of options. Locate and click on the “Export” option.
Great job! You have successfully selected the “Export” option in Google Calendar. This option allows you to generate a file of your calendar data that can be saved and accessed in various formats. By choosing the “Export” option, you are one step closer to exporting your calendar to Excel. Now, it’s time to move on to the next step: selecting the export format as “Excel”.
Step 6: Select the export format as “Excel”
After choosing the “Export” option in the Settings menu, it’s time to select the format in which you want to export your Google Calendar. Since our goal is to export the calendar to Excel, we need to specify the export format as “Excel”. Follow these simple steps to select the export format:
- Within the export options, you will see a list of available formats. Look for the “Excel” option or any format that mentions Microsoft Excel.
- Check the box next to the “Excel” option to select it as the export format.
Excellent! You have successfully chosen the export format as “Excel”. By selecting this option, Google Calendar will generate the export file in a format compatible with Microsoft Excel. This ensures that you can easily open and work with the exported calendar data using Excel. Now that you have specified the export format, it’s time to proceed to the final step: downloading the exported file.
Step 7: Download the exported file
Now that you have selected the export format as “Excel”, it’s time to download the exported file containing your Google Calendar data. Follow these simple steps to download the file:
- Within the export options, look for the download button or link associated with the “Excel” format.
- Click on the download button or link to initiate the file download process.
- Choose a location on your computer where you want to save the exported file.
- Click on the “Save” or “Download” button to start the download process.
Fantastic! You have successfully downloaded the exported file containing your Google Calendar data. The file will be saved to the location you specified on your computer. Depending on your web browser settings, the file may be automatically saved to a default location such as the Downloads folder. Now, go ahead and navigate to the location where you saved the file to access the exported calendar data in Excel format.
Remember to keep the exported file in a safe and accessible location on your computer. You can use this file to view, edit, analyze, or share your Google Calendar data using Microsoft Excel or any other software compatible with Excel files. With the downloaded file in your hands, you have successfully completed the process of exporting your Google Calendar to Excel. Congratulations!
Conclusion
Exporting your Google Calendar to Excel can be a valuable tool for managing, analyzing, and sharing your schedule effectively. In this guide, we have walked you through the step-by-step process to export your Google Calendar to Excel. By following these simple instructions, you can easily generate a file containing your calendar data and save it in a format compatible with Microsoft Excel.
We started by logging in to your Google account and accessing the Google Calendar website. We then selected the specific calendar you wanted to export and opened the Settings menu. From there, we chose the “Export” option and specified the export format as “Excel”. Finally, we downloaded the exported file to our computer.
Exporting your Google Calendar to Excel allows you to leverage the powerful features and tools that Excel offers. You can analyze your schedule, create custom reports, track events and appointments, and share your calendar with others who may not have access to Google Calendar. Excel provides a familiar and flexible platform for managing and manipulating your calendar data, giving you greater control and productivity.
Remember to periodically export your Google Calendar to keep a backup copy of your data and ensure that you always have access to your schedule, even in the event of technical issues or data loss. Additionally, make sure to keep your exported files secure and confidential, as they may contain sensitive information.
By following this guide, you have successfully completed the process of exporting your Google Calendar to Excel. You have acquired a valuable skill in managing your calendar data, and we hope that this guide has been helpful in enhancing your productivity and organization. Now, go ahead and make the most of your exported calendar data in Excel!


