Introduction
Welcome to this guide on how to delete a calendar on Google Calendar. Google Calendar is a powerful tool that allows you to keep track of your schedule, events, and appointments. Sometimes, however, you may find that you have created a calendar that you no longer need or simply want to remove. Deleting a calendar on Google Calendar is a straightforward process, but it’s important to follow the correct steps to ensure that you remove the calendar you intend to delete without accidentally deleting important information. In this guide, we will walk you through the process, step by step.
Before we begin, it’s worth noting that deleting a calendar will permanently remove all its events, so be sure to save any important information beforehand. Additionally, if you have shared the calendar with others, they will lose access to it as well. If you only want to remove a few events or temporarily hide a calendar, there are alternative methods available which we will not cover in this guide.
Keep in mind that Google Calendar allows you to have multiple calendars. If you want to delete a specific calendar, make sure you are selecting the correct one during the deletion process. Now, let’s dive into the steps on how to delete a calendar on Google Calendar.
Step 1: Open Google Calendar
To begin the process of deleting a calendar on Google Calendar, you need to first open the Google Calendar web application. You can do this by visiting the Google Calendar website or by using the Google Calendar app on your mobile device.
If you’re using a web browser, simply open a new tab and navigate to calendar.google.com. If you’re on a mobile device, locate the Google Calendar app on your home screen or in your app drawer and tap on it to open it.
Once you have opened Google Calendar, you will be prompted to sign in with your Google account if you are not already signed in. Enter your email address and password to sign in. If you have multiple Google accounts, make sure you sign in with the account that has the calendar you want to delete.
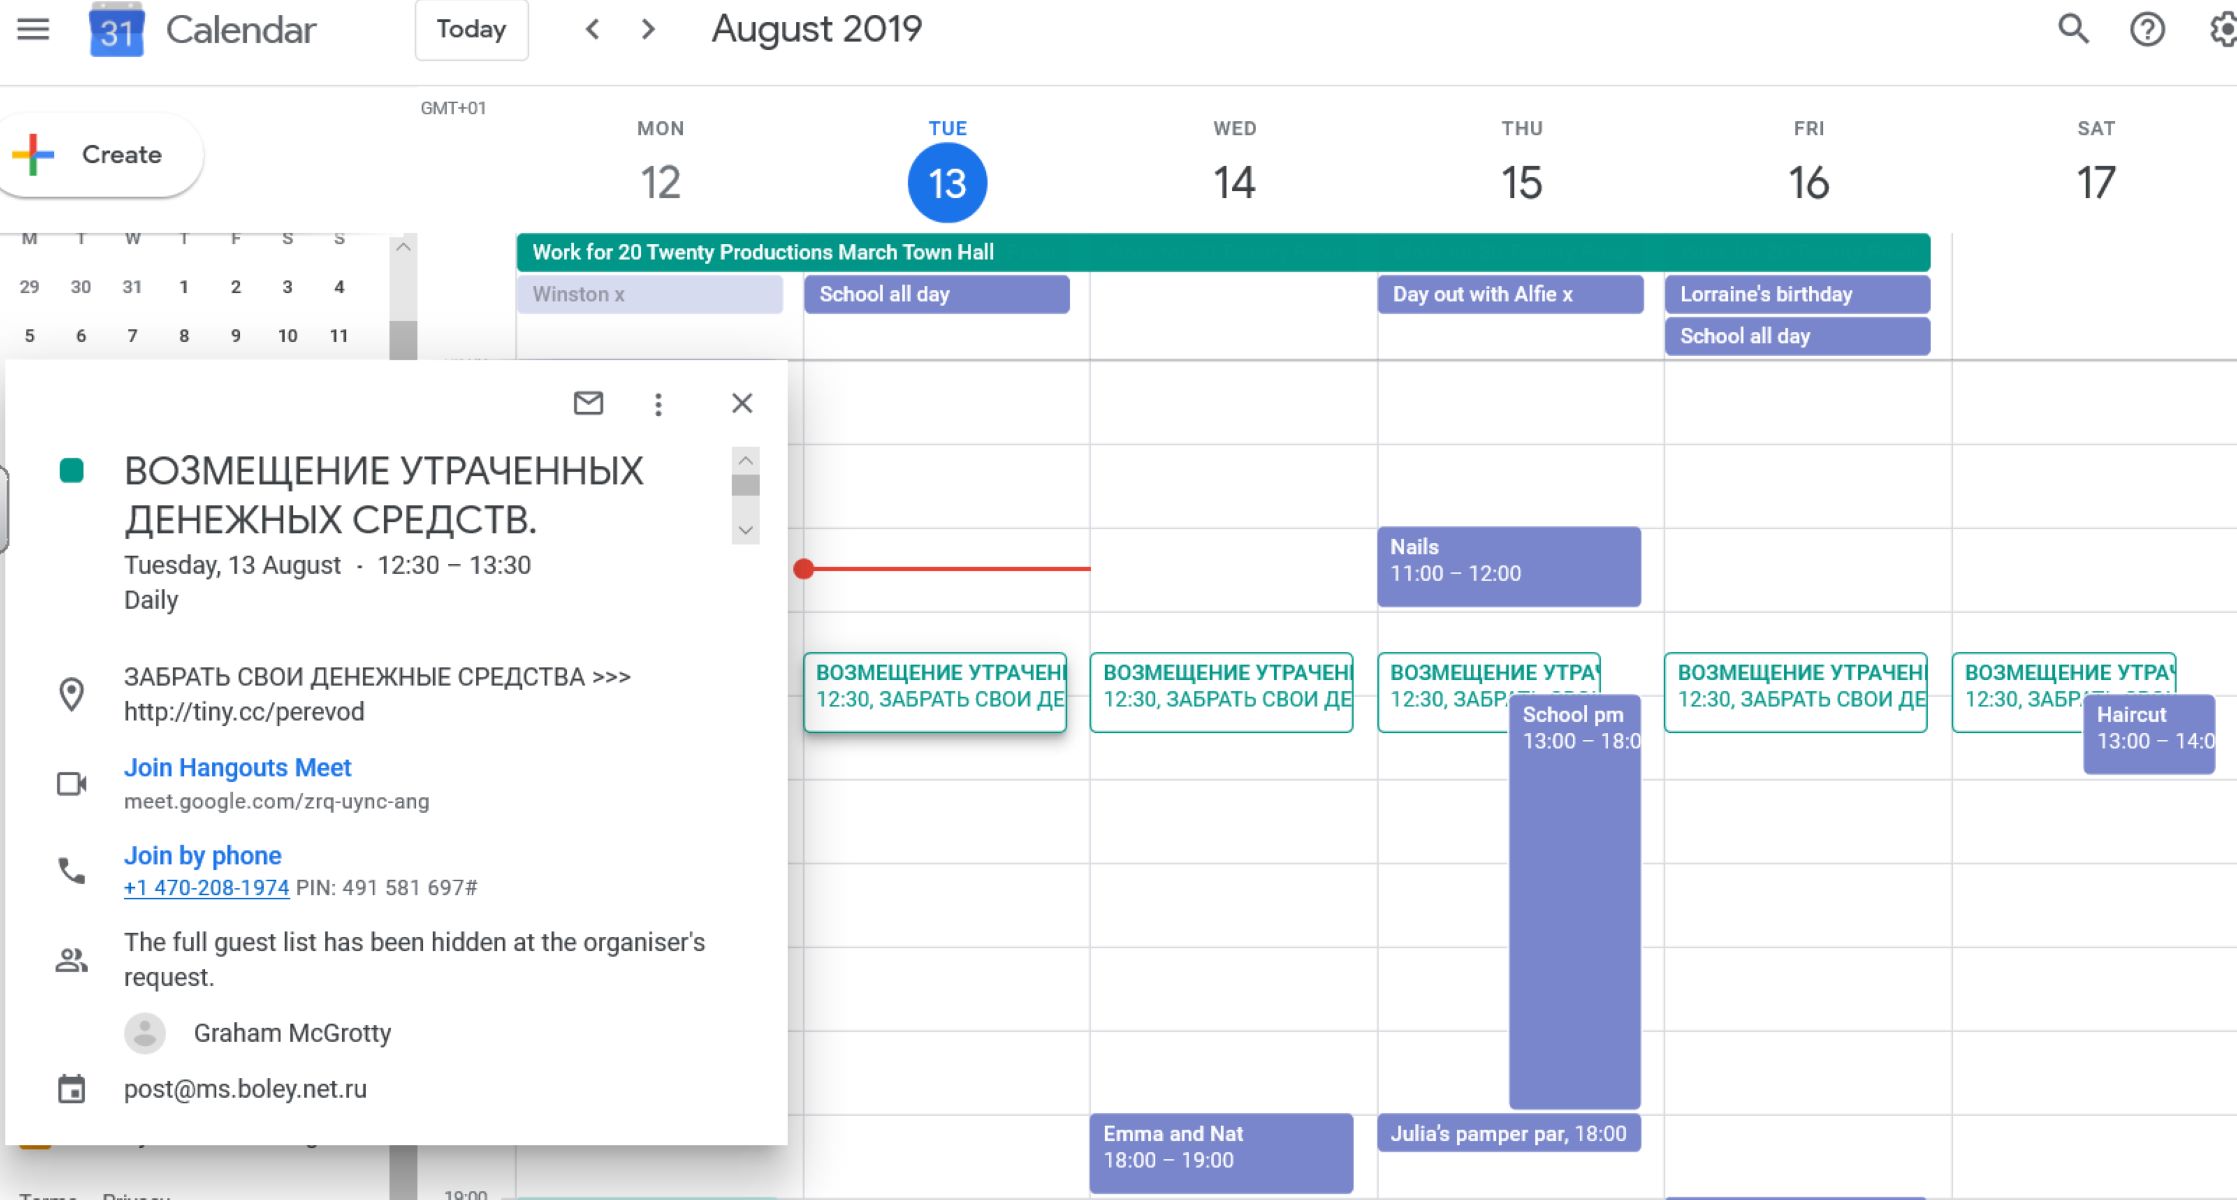
Once you are signed in, you will be taken to the main Google Calendar interface. Here, you will see your calendars displayed on the left-hand side of the screen. The calendar you want to delete should be listed here. If you do not see it, make sure that it is not hidden and that you are signed in with the correct Google account.
Now that you have successfully opened Google Calendar and located the calendar you want to delete, we can move on to the next step of the process.
Step 2: Select the Calendar
After opening Google Calendar and signing in with your Google account, the next step is to select the calendar that you want to delete. This is an important step to ensure that you are deleting the correct calendar and not accidentally deleting a different one.
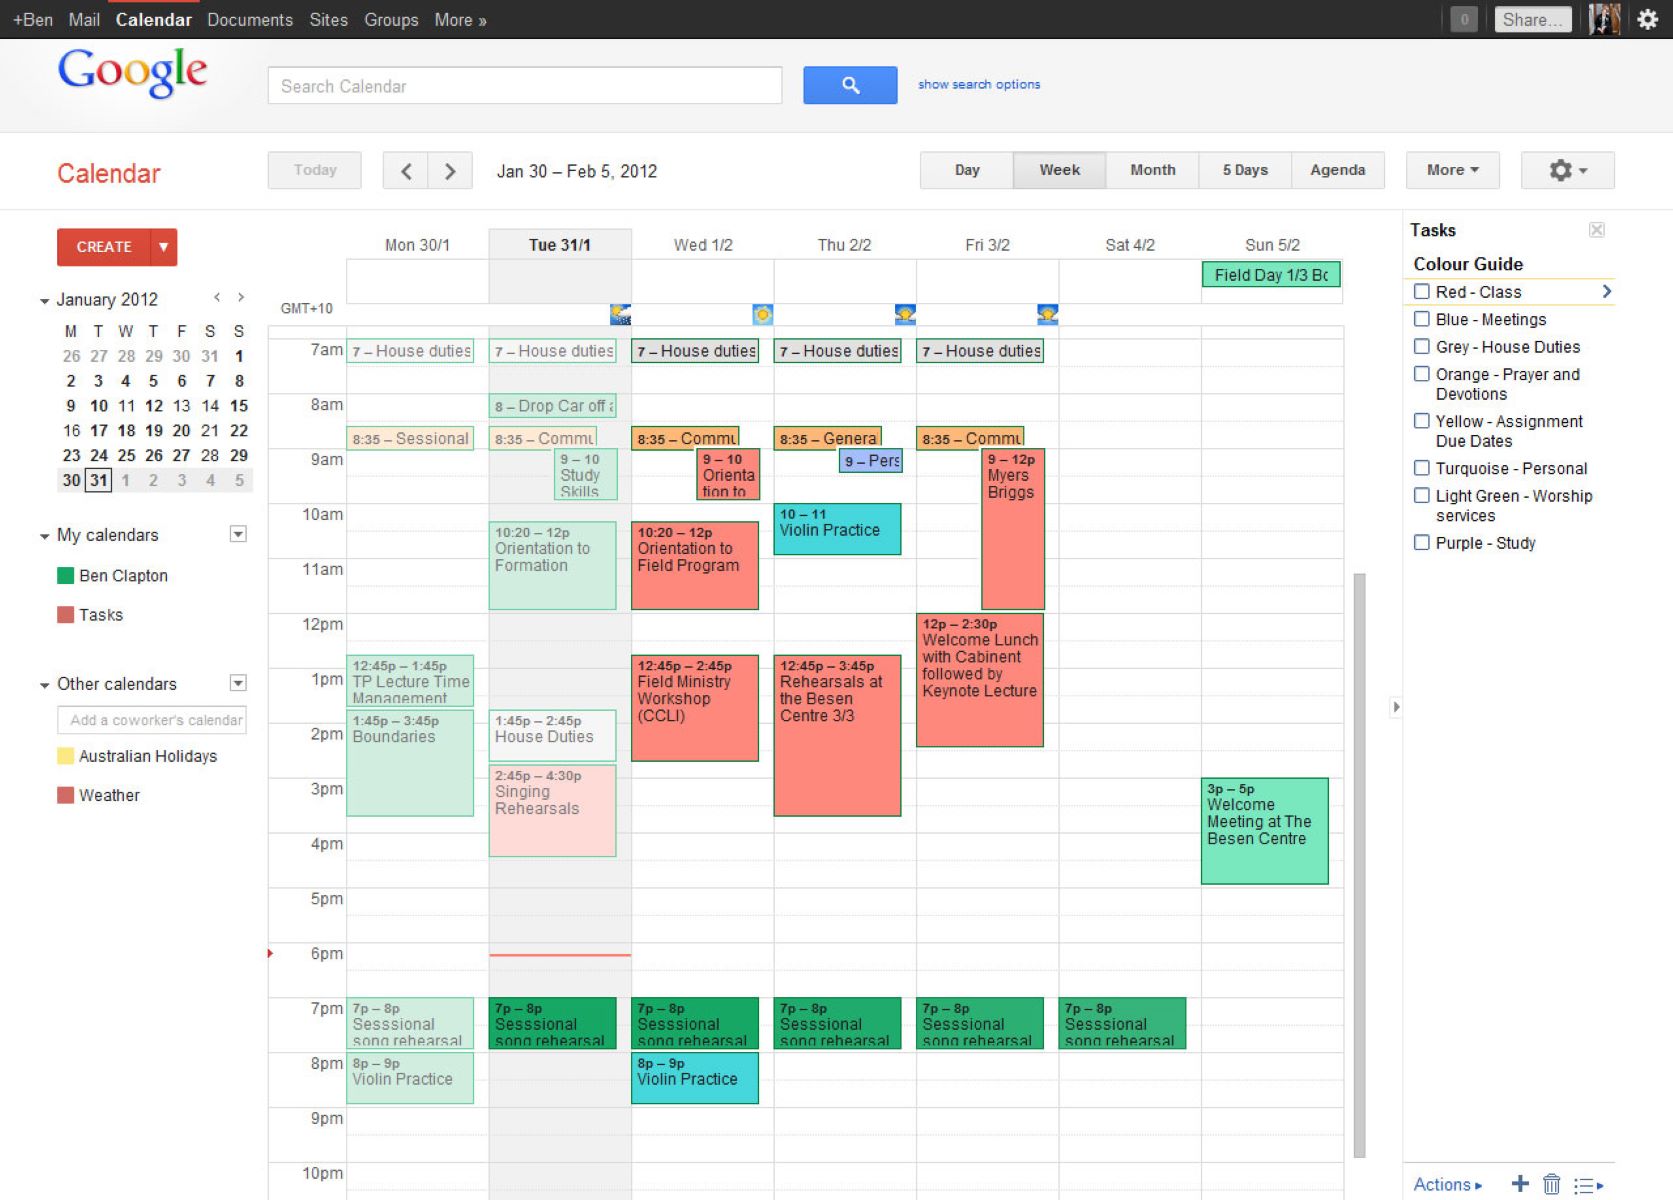
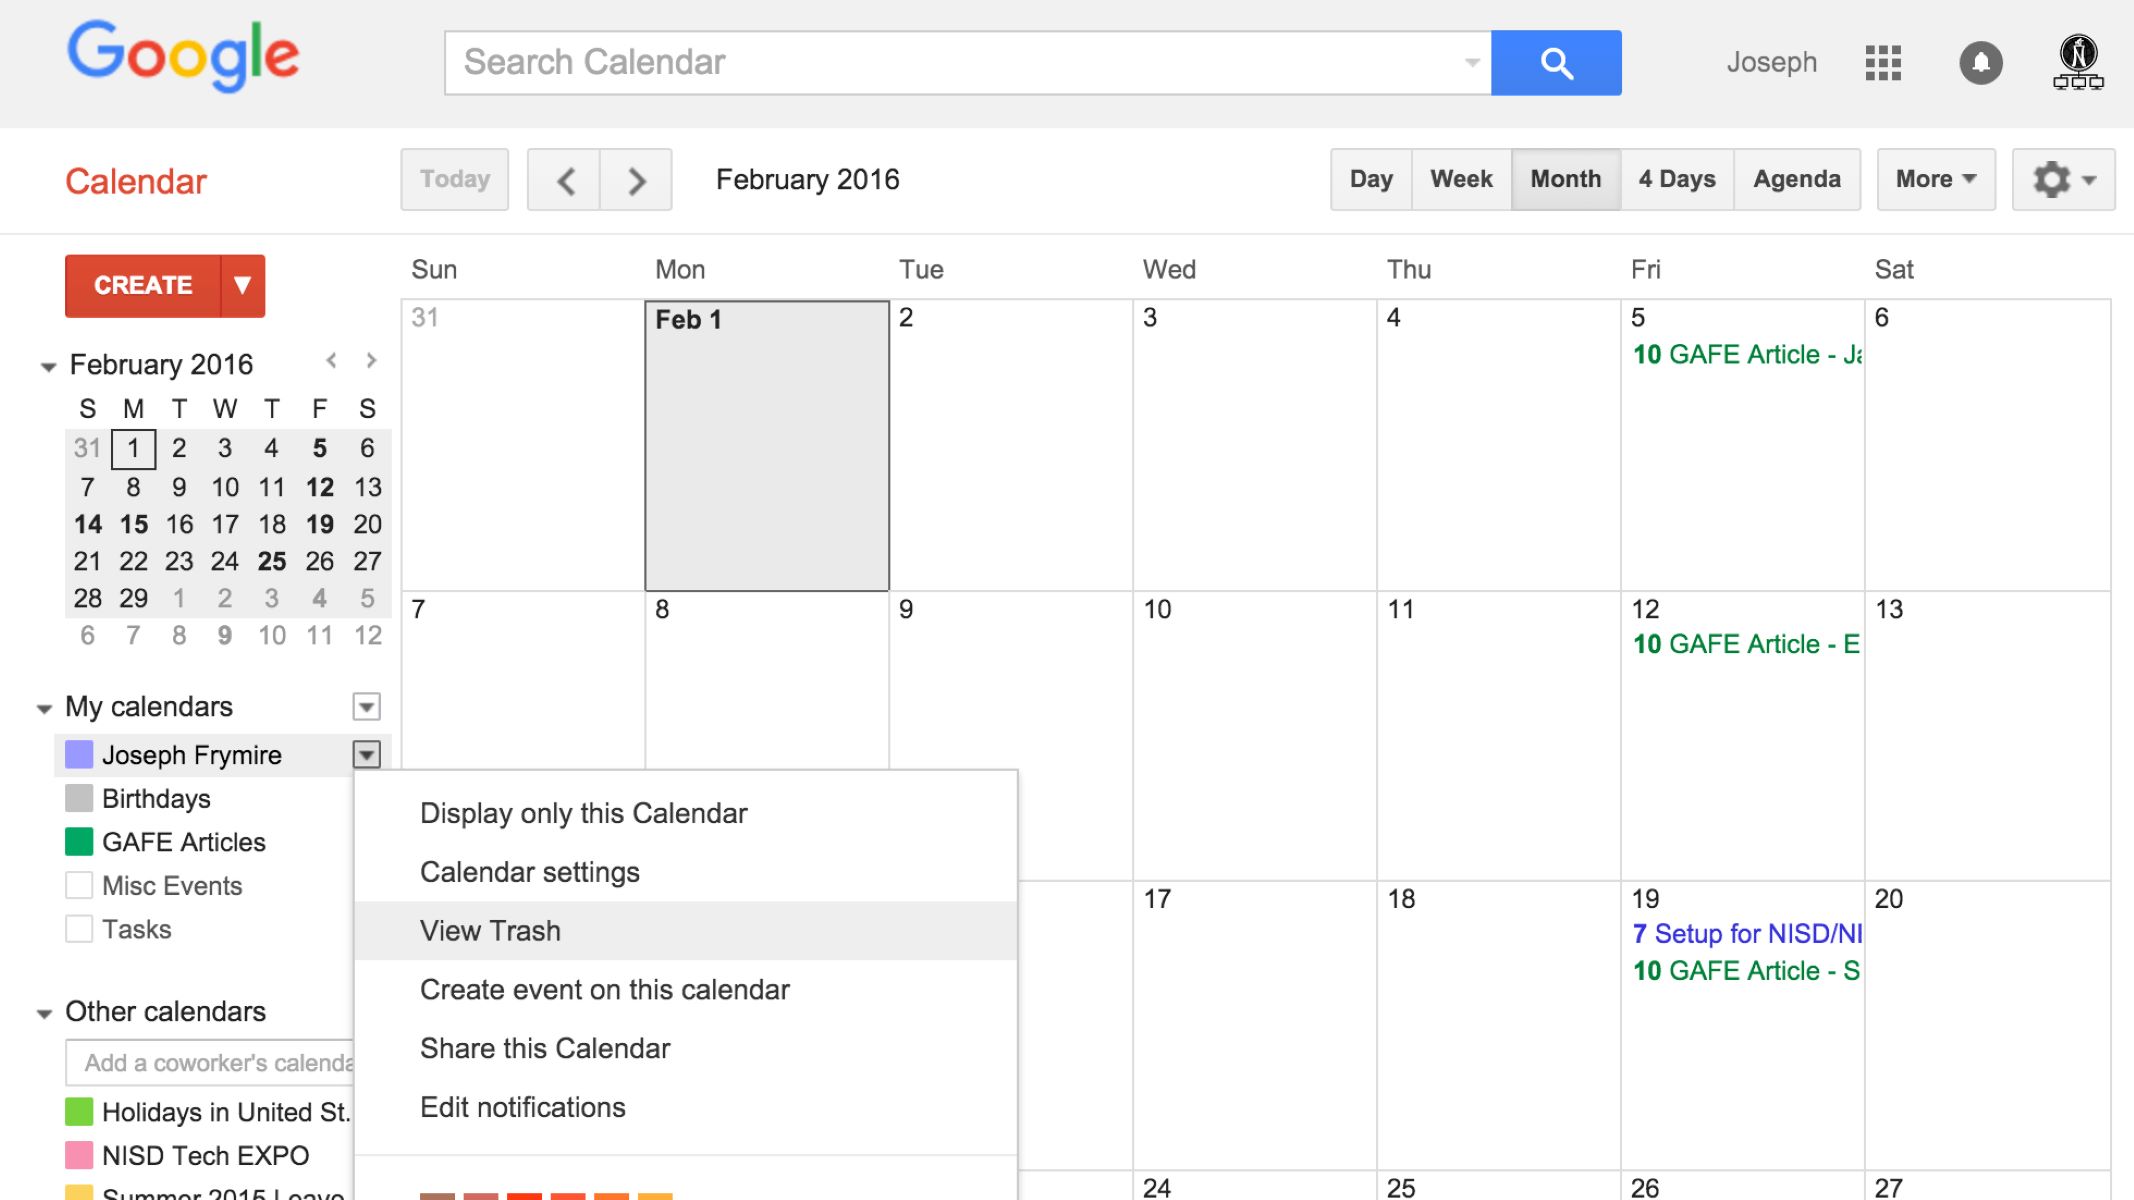
To select the calendar, look at the left-hand side of the Google Calendar interface. You will see a list of calendars that you have created or that have been shared with you. Take a moment to review the list and locate the calendar you want to delete.
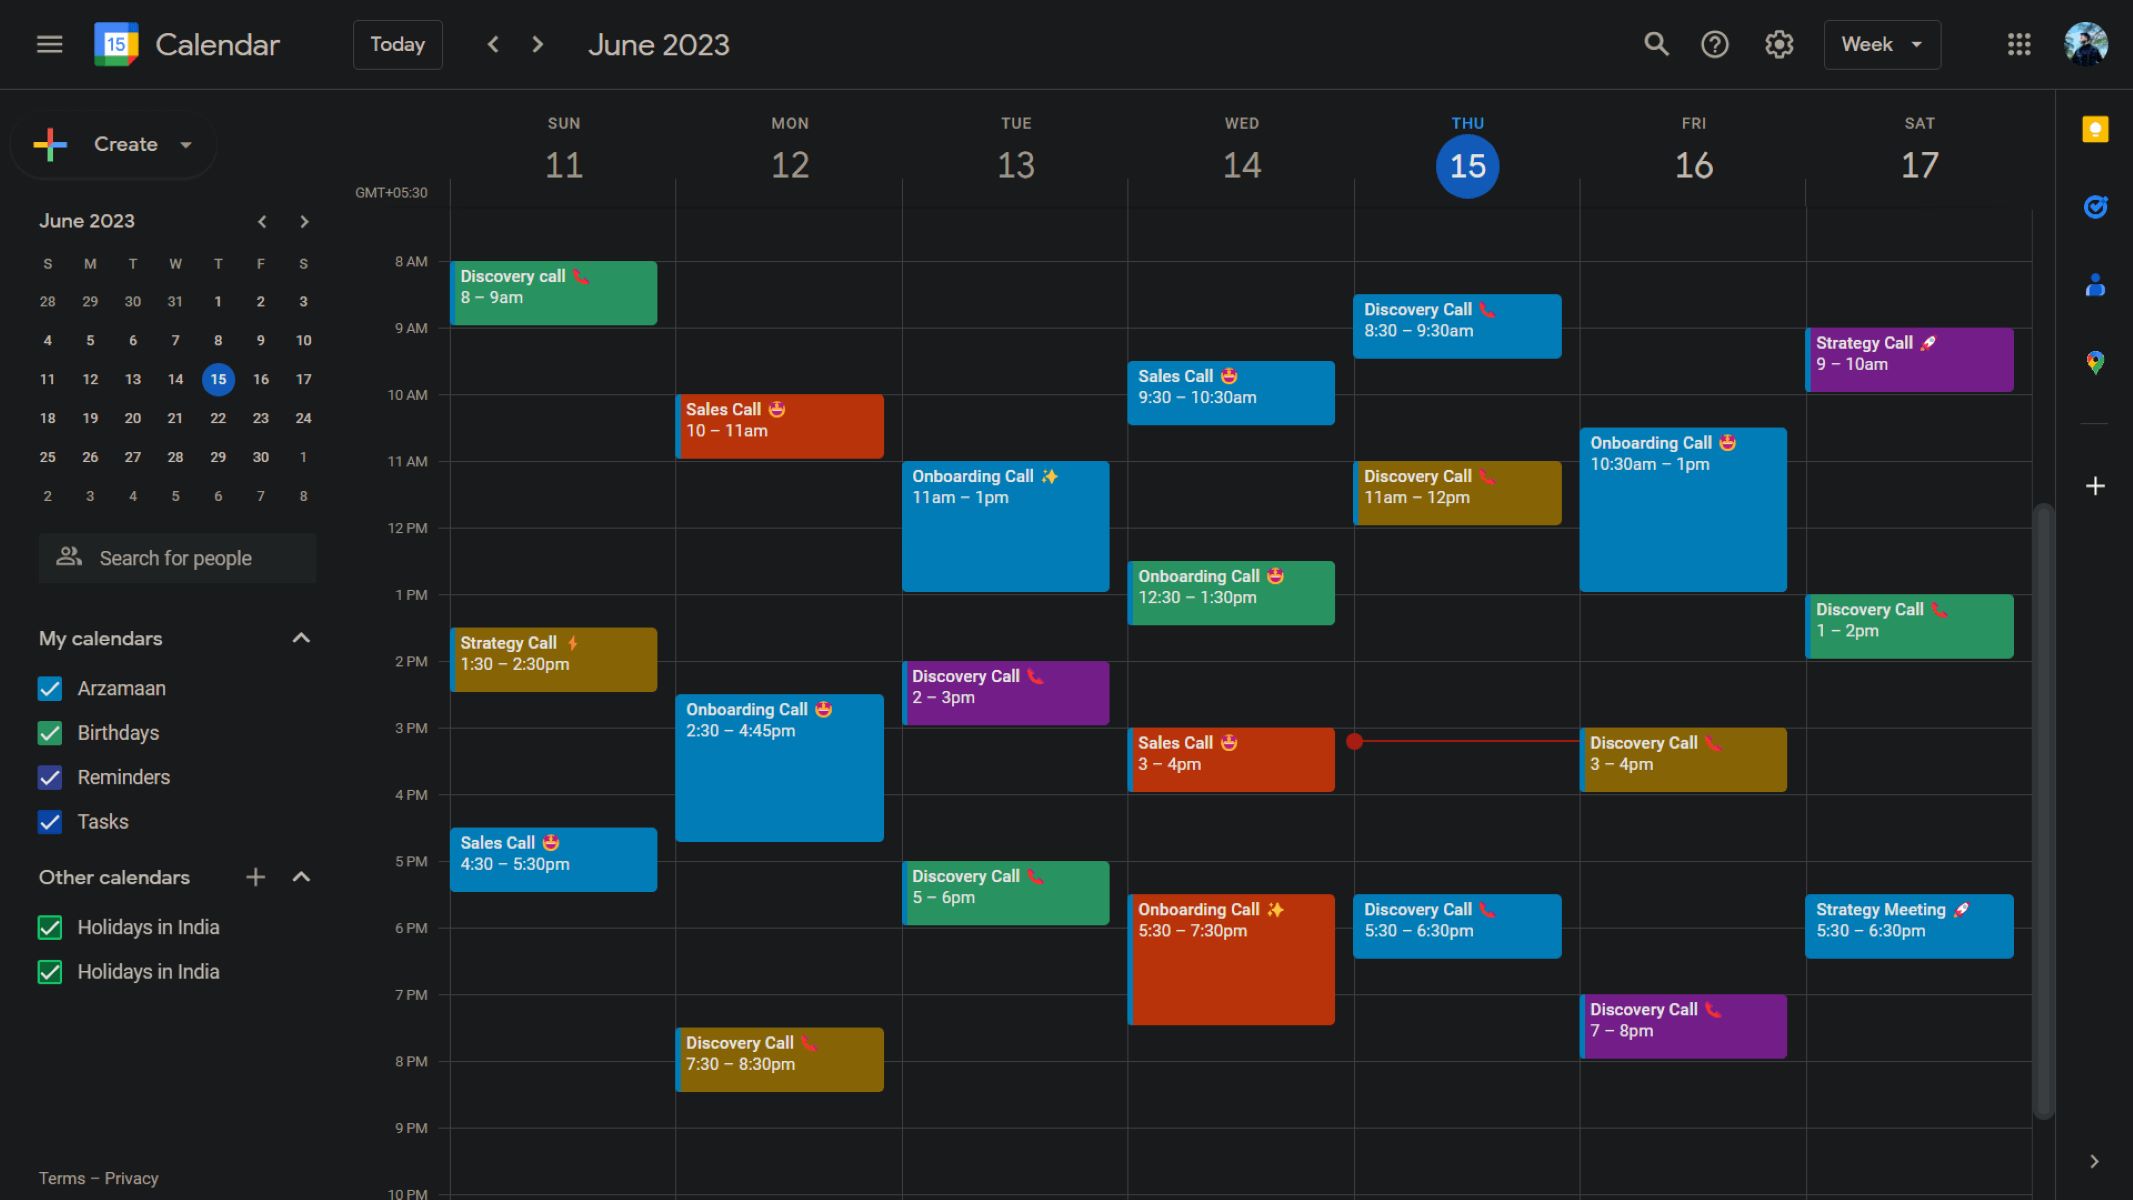
The calendar names are usually displayed with their respective colors and may include additional information such as event counts or notifications. Once you have identified the correct calendar, click on the calendar name to select it.
When you select a calendar, it will be highlighted or marked in some way to indicate that it is currently selected. This visual feedback helps to confirm that you have chosen the correct calendar before proceeding to delete it.
If you are using the Google Calendar app on your mobile device, the process is similar. Open the app, sign in with your Google account, and navigate to the calendar view. Look for the list of calendars, usually located at the top or bottom of the screen, and tap on the calendar you want to delete to select it.
Now that you have successfully selected the calendar you want to delete, let’s move on to the next step in the process.
Step 3: Don’t Delete Primary Calendar
Before proceeding with the deletion process, it’s essential to note that you cannot delete your primary calendar in Google Calendar. The primary calendar is the default calendar associated with your Google account, and it cannot be removed.
The primary calendar is used by various Google services, such as Gmail and Google Meet, to manage your events and appointments. Deleting the primary calendar would cause disruption to these services, so Google does not allow this action.
If you mistakenly selected your primary calendar in the previous step, and you intended to delete a different calendar, don’t worry. Simply go back and make sure to choose the correct calendar.
If you still want to remove the primary calendar’s events from your view in Google Calendar, you have the option to hide it instead. You can do this by unchecking the box next to the primary calendar’s name in the calendar list. This will hide the events from your main calendar view, but they will reappear if you choose to show the primary calendar again.
Remember, for any additional calendars you have created, you can proceed with the deletion process in the following steps. However, always exercise caution and double-check that you are not attempting to delete your primary calendar. Now, let’s move on to the next step.
Step 4: Access Calendar Settings
Once you have selected the specific calendar you want to delete, the next step is to access the settings for that calendar. The settings menu allows you to make changes and modifications to the calendar, including the option to delete it.
To access the settings for the calendar, look for the gear icon or the settings menu, usually located near the top right corner of the Google Calendar interface. Click on it to open a drop-down menu of options.
In the settings menu, you will find various settings and customization options for your Google Calendar. Look for the option that is related to managing or configuring calendars. The exact wording may vary, but it is typically something like “Settings,” “Calendar Settings,” or “Manage Calendars.”
Click on the option that will take you to the calendar settings page. This is where you can access specific settings and options for the calendar you selected.
If you are using the Google Calendar app on your mobile device, the process is slightly different. Look for the menu icon, typically represented by three horizontal lines, in the top left corner of the screen. Tap on it to open the navigation menu.
In the navigation menu, locate and tap on the “Settings” or “Calendars” option. This will take you to the settings page for managing your calendars.
Now that you have successfully accessed the calendar settings, let’s move on to the next step in the process of deleting the calendar.
Step 5: Delete the Calendar
Now that you have accessed the settings for the calendar you want to delete, you are ready to proceed with the deletion process. In the calendar settings page, you will find options and controls specific to managing the selected calendar.
Scroll through the settings page until you locate the section or option related to deleting the calendar. The exact location and wording may vary depending on the version of Google Calendar you are using.
Once you have found the option for deleting the calendar, click on it or select it to proceed with the deletion process. You may be prompted with a confirmation dialog or a warning message informing you that all events and associated data will be permanently removed. Read the message carefully to ensure that you understand the consequences of deleting the calendar.
If you are using the Google Calendar app, the process is similar. Look for the option to delete the calendar within the settings page for that calendar. Tap on it to initiate the deletion process.
After confirming your intent to delete the calendar, Google Calendar will permanently remove the calendar and all its associated events. This action cannot be undone, so make sure you have saved any important information beforehand.
Once the deletion process is complete, the calendar will no longer appear in your Google Calendar view, and all its events will be removed from your schedule.
Congratulations! You have successfully deleted the calendar on Google Calendar.
Conclusion
Deleting a calendar on Google Calendar is a simple process, but it’s important to take the necessary steps to ensure that you are removing the correct calendar. By following the step-by-step guide outlined in this article, you can confidently delete unwanted calendars from your Google Calendar account without any hassle.
Remember, before deleting a calendar, be sure to save any important information or events associated with it, as the deletion process is permanent and cannot be undone. Additionally, keep in mind that you cannot delete your primary calendar, as it is essential for various Google services.
By opening Google Calendar, selecting the desired calendar, accessing the calendar settings, and finally deleting the calendar, you can effectively remove unnecessary calendars from your account.
Google Calendar is a powerful tool for managing your schedule, events, and appointments. By regularly reviewing your calendars and removing any that are no longer needed, you can keep your Google Calendar organized and efficient.
We hope this guide has been helpful in assisting you with the process of deleting a calendar on Google Calendar. Now you can confidently manage your calendars and keep your digital schedule streamlined and clutter-free.
Thank you for reading, and we wish you success in your Google Calendar endeavors!