Introduction:
Welcome to this comprehensive guide on how to change the background on Google Calendar. Google Calendar is a versatile and widely used tool that helps you stay organized and manage your schedule effectively. While the default white background is clean and simple, customization options can add a personal touch and make your calendar more visually appealing. Whether you want to incorporate a favorite photo or choose a theme that complements your style, Google Calendar provides various options for customization.
Changing the background on Google Calendar is a straightforward process that allows you to express your individuality and enhance your productivity. By personalizing the appearance of your calendar, you can make it more enjoyable to use and improve your overall experience. In this guide, we will walk you through the step-by-step process of changing the background on Google Calendar, including selecting custom themes and uploading your own images. So let’s dive in and explore the different ways to give your calendar a fresh, new look!
Step 1: Accessing Google Calendar Settings:
The first step to changing the background on Google Calendar is accessing the settings. To do this, open Google Calendar in your web browser and sign in to your Google account. Once you are logged in, you will be taken to the default view of your calendar.
In the top right corner of the screen, you will see a gear icon. Click on the gear icon to access the settings menu. A dropdown menu will appear, and from there, select “Settings” to open the settings page.
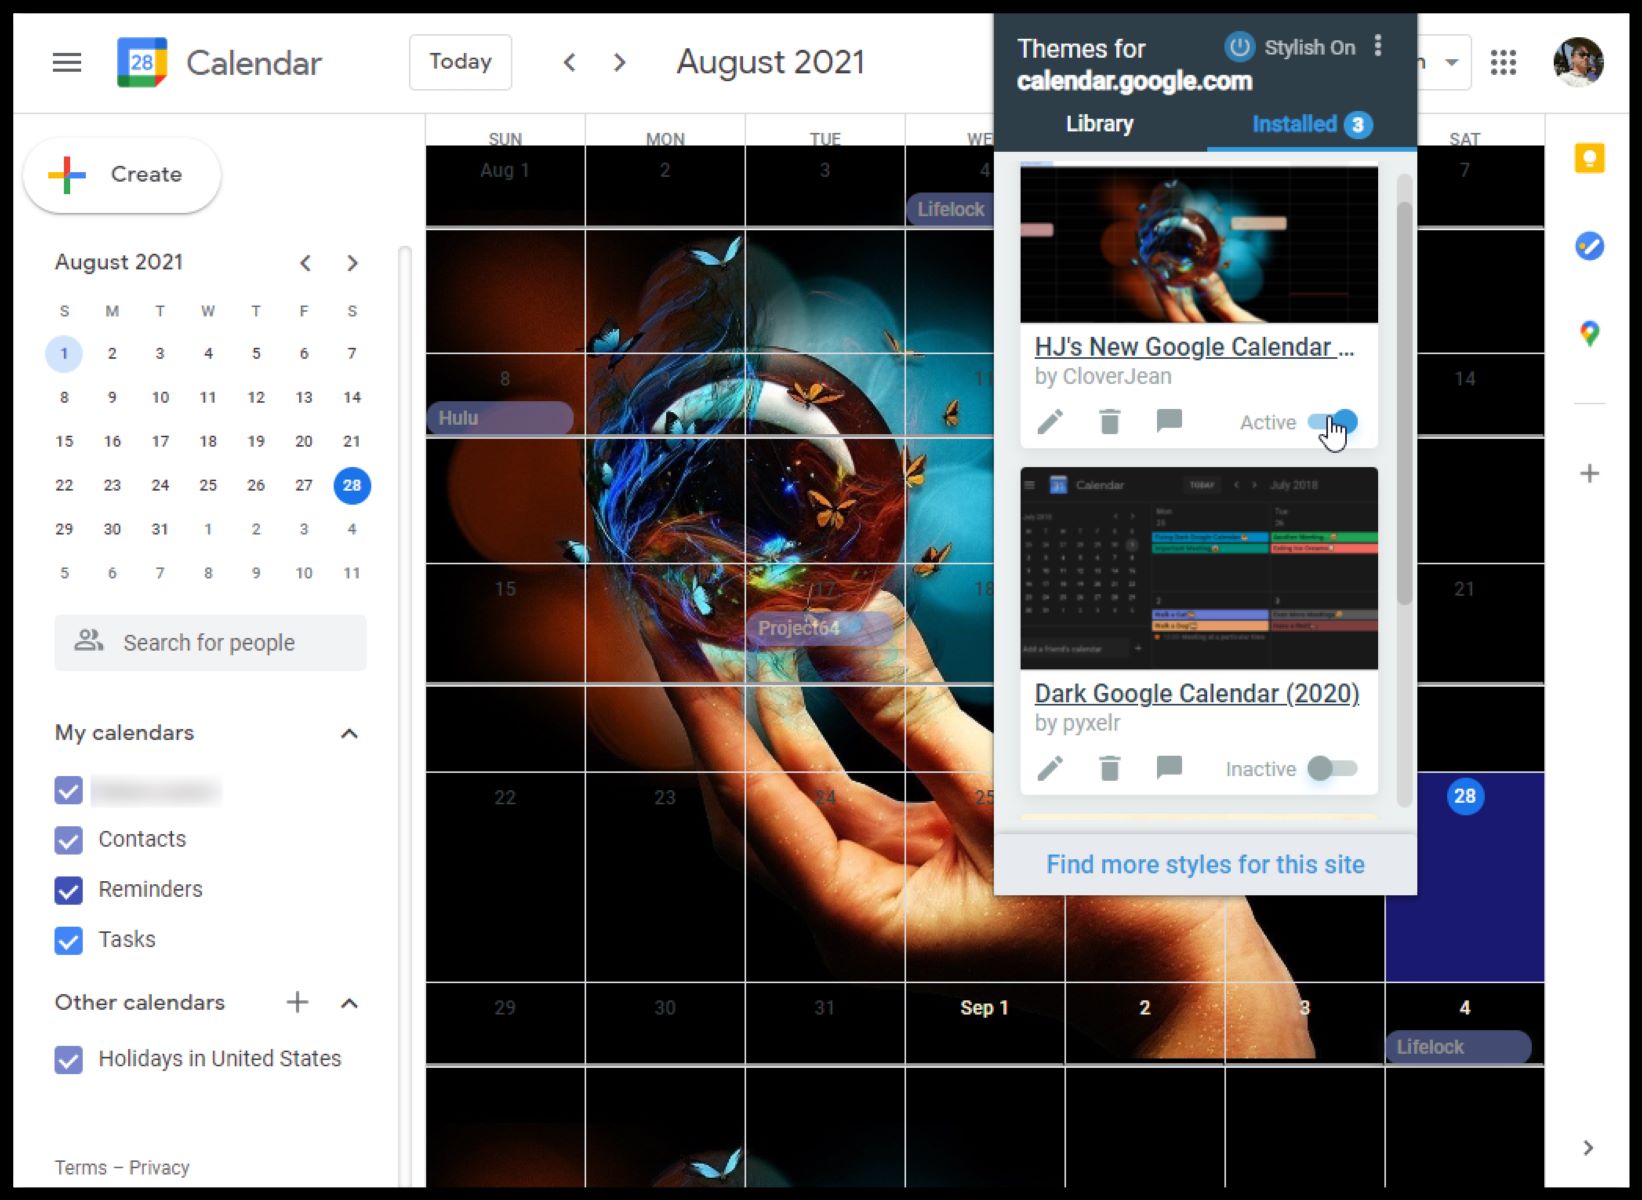
On the settings page, you will find a variety of options to customize your calendar. Look for the “Themes” section, which allows you to change the background and choose different color schemes for your calendar. Click on the “Browse” button to explore the available themes and customization options.
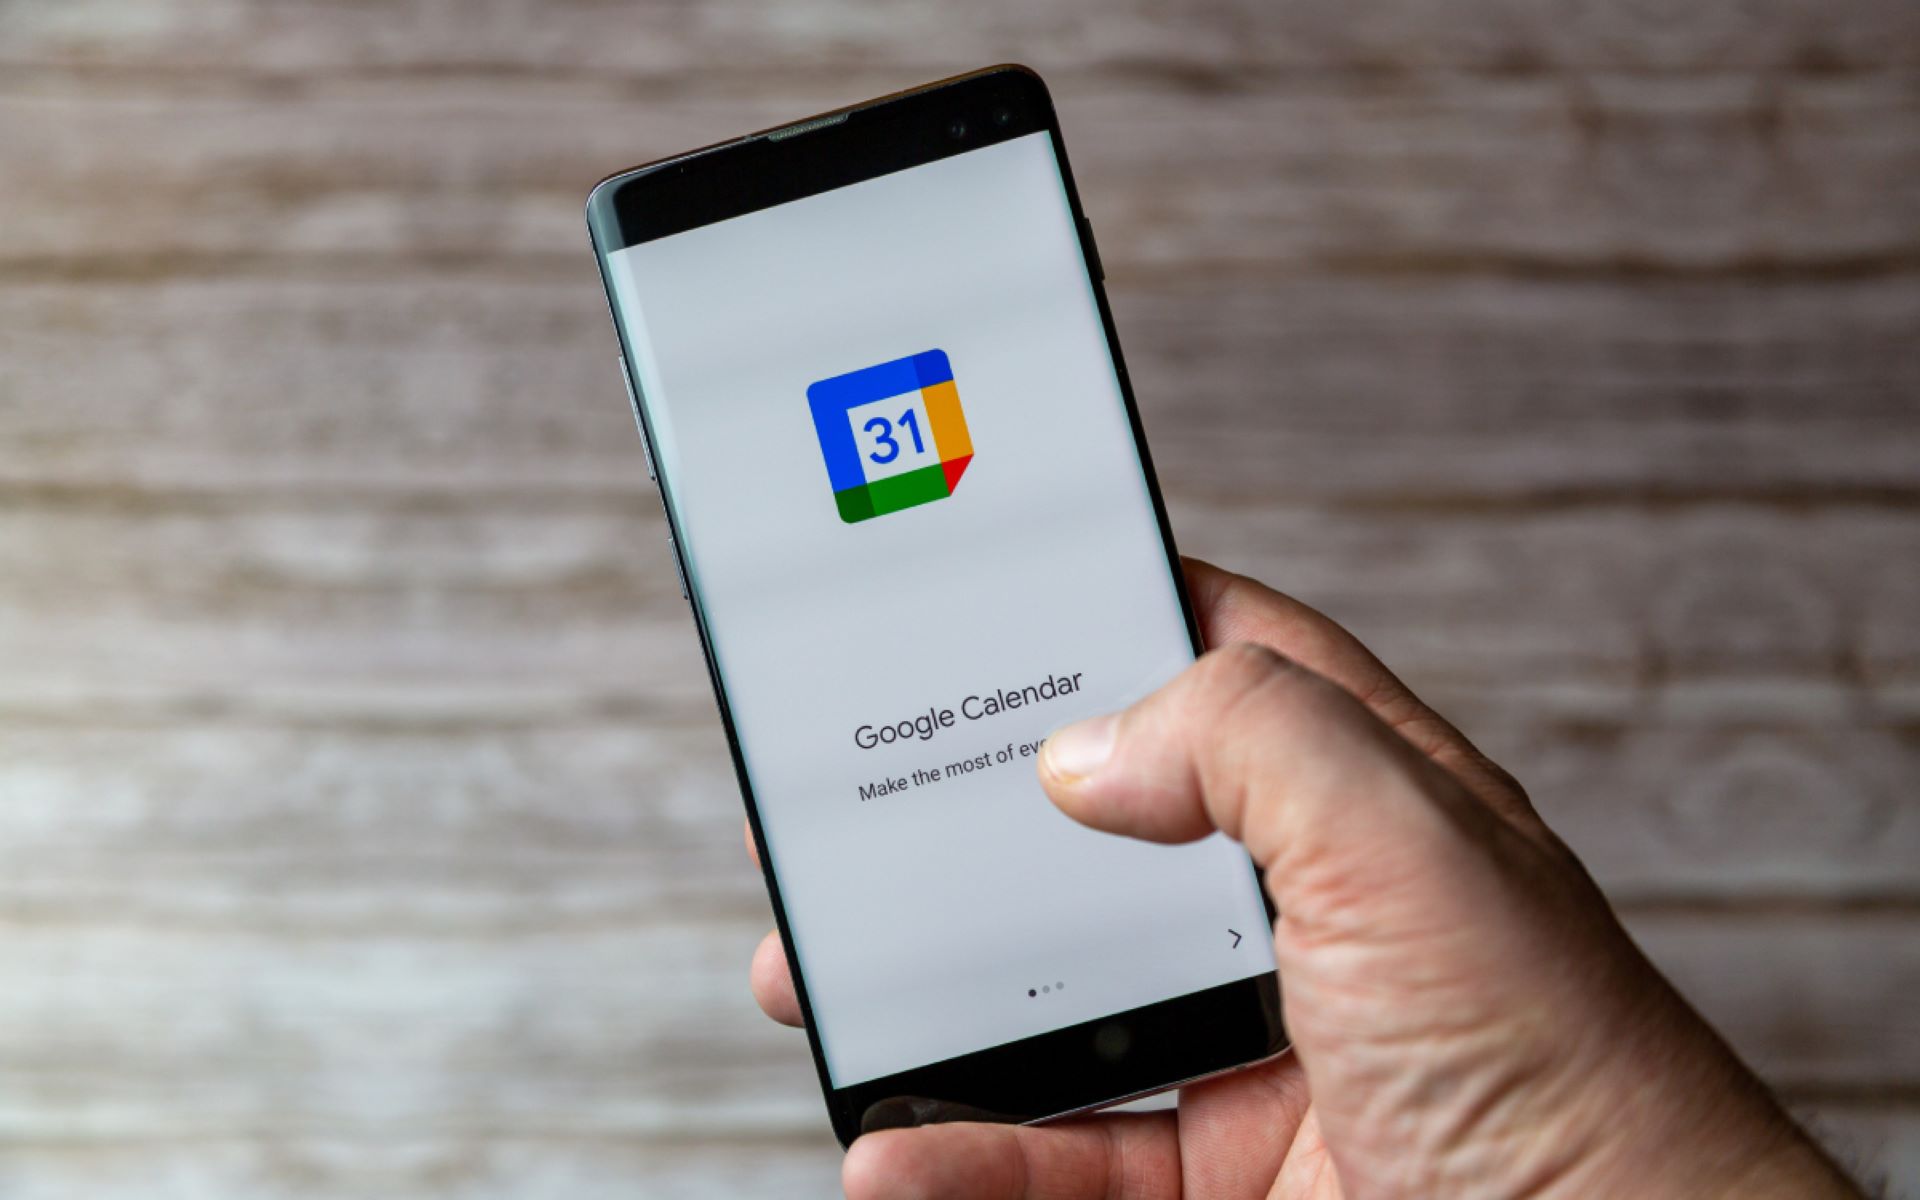
It’s important to note that customizing the background on Google Calendar is only available on the web version, not the mobile app. However, once you make changes to the background on the web version, they will be reflected in the mobile app as well.
Now that you have accessed the Google Calendar settings, you are ready to move on to the next step, where you will have the opportunity to choose a background theme that suits your preferences.
Step 2: Choosing a Background Theme:
After accessing the Google Calendar settings, the next step is to choose a background theme that reflects your style and personality. Google Calendar offers a variety of pre-designed themes to select from, making it easy to find one that suits your preferences.
On the settings page, scroll down until you reach the “Themes” section. Here, you will find a collection of different themes, each with its own unique background image and color scheme. Take your time to browse through the options and find the theme that resonates with you.
To preview a theme, simply click on it. The selected theme’s background image and color scheme will be applied to your calendar temporarily, allowing you to see how it looks. If you’re not happy with the preview, you can easily switch to another theme or revert to the default setting.
If none of the pre-designed themes appeal to you, don’t worry – there’s a solution for that too! Google Calendar also provides the option to customize the background with your own images, which we’ll cover in the next step. But before we move on, it’s worth exploring the available themes, as they provide a quick and easy way to change the look of your calendar.
Remember, the theme you choose will not only impact the background image but also the color of the calendar itself. So, consider how the background image and color scheme will blend with the colors of your events and appointments.
Once you’ve found a theme that suits your taste, you’re ready to proceed to the next step, where we’ll explore the option of selecting and uploading your own custom images as the background for your Google Calendar.
Step 3: Selecting Custom Images:
If you want to go beyond the pre-designed themes offered by Google Calendar and truly personalize your calendar, you have the option to select and upload your own custom images as the background. This allows you to showcase your favorite photos, artwork, or any other image that resonates with you.
To choose a custom image, go to the settings page of Google Calendar, where you accessed the themes section. Scroll down until you find the “Themes” section and click on the “Browse” button.
In the browse window, you will see two tabs: “Featured” and “Your Photos.” By default, the “Featured” tab is selected, showcasing a collection of curated images provided by Google. However, to upload your own custom image, click on the “Your Photos” tab.
Under the “Your Photos” tab, you will find the option to select images from your Google Photos account. Click on the “Select” button to pick an image from your collection. If you have not synced your photos with Google Photos, you will need to do so first to access this feature.
Once you have selected an image, it will appear as the background of your calendar in the preview section. You can also adjust the positioning of the image, such as centering or tiling, to achieve the desired effect.
If you change your mind and want to remove the custom image, simply click on the “Remove custom image” link below the preview. This will revert the background to the default setting or the previously selected theme.
With custom images, you have the flexibility to regularly update the background of your calendar, adding a touch of creativity and personalization to your schedule management.
Now that you’ve learned how to select custom images for your Google Calendar background, it’s time to move on to the next step, which involves uploading your own images to further personalize your calendar.
Step 4: Uploading Custom Images:
Uploading your own custom images is a fantastic way to truly make your Google Calendar background unique and personal. By selecting images that hold special meaning to you, you can create a calendar that is not only functional but also visually appealing and inspiring.
To upload a custom image, start by accessing the Google Calendar settings page. Once you’re on the settings page, navigate to the “Themes” section where you can change the background.
Click on the “Browse” button, and within the browse window, select the “Your Photos” tab. Here, you will find two options: “Google Photos” and “Upload photos.”
If your desired image is already stored in your Google Photos account, choose the “Google Photos” option. This will allow you to select an image directly from your Google Photos collection. Click on the “Select” button to choose the image you want to use as the background for your calendar.
On the other hand, if your desired image is not in your Google Photos account, you can select the “Upload photos” option. This will let you upload an image from your local device or computer. Click on the “Choose photos” button and locate the image file you want to use.
After selecting or uploading an image, it will appear as the background in the preview section. Take a moment to ensure that the image is displaying as you intended. You can further customize the positioning of the image by selecting the desired option, such as centering or tiling.
It’s worth mentioning that Google Calendar has certain requirements for the images you upload. The aspect ratio should be 2:3, and the image size should not exceed 2 MB. Additionally, ensure that you have the necessary rights and permissions to use the images you upload.
Once you’re satisfied with the custom image, click on the “Save” button to apply the changes to your calendar background. Google Calendar will update with the new background image, making your calendar truly reflect your own personal style and interests.
Now that you’ve learned how to upload custom images to your Google Calendar background, let’s move on to the next step, where we’ll explore how to adjust the opacity of the background for a more customized look.
Step 5: Adjusting Background Opacity:
Adjusting the background opacity can be a subtle yet impactful way to fine-tune the appearance of your Google Calendar. By modifying the opacity, you can create a softer or more vibrant background that complements the overall aesthetics of your calendar.
To adjust the background opacity, start by accessing the Google Calendar settings page. Once you’re on the settings page, navigate to the “Themes” section where you can customize the background.
Click on the “Browse” button, and within the browse window, you will find the “Background opacity” slider. The slider allows you to increase or decrease the transparency of the background, ranging from fully opaque to completely transparent.
Slide the opacity bar to the right to increase the opacity and create a more solid background. This is ideal if you want a bold and vibrant background that prominently highlights your events and appointments.
Conversely, slide the opacity bar to the left to decrease the opacity and create a more subtle and blended background. This is a popular choice if you want the background image to have a softer presence, allowing your calendar’s text and events to take center stage.
As you adjust the opacity, the preview section will show real-time changes, giving you a clear understanding of how the background will appear. Take your time to experiment with different opacity levels until you achieve the desired effect.
Keep in mind that adjusting the background opacity only affects the custom images you have uploaded or the pre-designed themes you have chosen. The default white background is not impacted by this setting. So, if you want to adjust the opacity, make sure you have a custom image or theme selected.
Once you are satisfied with the background opacity, click on the “Save” button to apply the changes to your Google Calendar. The updated opacity setting will enhance the overall visual appeal of your calendar and help create a customized and personalized experience.
Now that you’ve learned how to adjust the background opacity, let’s move on to the final step, where we’ll preview and save all the changes made to your calendar’s background.
Step 6: Previewing and Saving Changes:
After customizing your Google Calendar background, it’s important to preview and save your changes to ensure that everything looks exactly as you intended. The preview feature allows you to see how your calendar will appear to others and make any necessary adjustments before finalizing the changes.
To preview your calendar, start by accessing the Google Calendar settings page. Once you’re on the settings page, navigate to the “Themes” section where you have made the background customizations.
In the “Themes” section, you will see the preview of your calendar on the right side of the screen. Take a moment to review the changes you have made, such as the background theme, custom images, and opacity settings. This will give you a visual representation of how your calendar will look when viewed by others.
If you find that any changes need to be made, you can easily go back and adjust the settings accordingly. For example, if you want to try a different theme or upload a new custom image, you can do so by following the previous steps outlined in this guide.
Once you are satisfied with the preview and confident in your customizations, it’s time to save your changes. Simply click on the “Save” button to apply the modifications to your Google Calendar. The changes you have made to the background theme, custom images, and opacity settings will now be visible whenever you access your calendar.
It’s worth noting that the changes you make to the Google Calendar background will be synced across all devices that you use to access your calendar. So whether you’re viewing your calendar on your computer, smartphone, or tablet, you will see the personalized background that you have chosen.
Congratulations! You have successfully customized and personalized your Google Calendar background. By making it reflect your own style and preferences, you can enhance your productivity and enjoy a more visually appealing calendar experience.
Now that you’ve completed all the steps, take a moment to admire your newly customized Google Calendar. Enjoy the fresh look and the added personal touch that you have brought to your scheduling and organization routine.
Conclusion:
Customizing the background of your Google Calendar is a simple yet effective way to add a personal touch and enhance your overall experience with the platform. Whether you choose to select a pre-designed theme or upload your own custom images, the ability to change the background allows you to create a calendar that reflects your unique style and preferences.
Throughout this guide, we have walked you through the step-by-step process of changing the background on Google Calendar. From accessing the settings and choosing a theme to selecting and uploading custom images, you have learned how to make your calendar truly yours. Additionally, we explored adjusting the background opacity and previewing the changes before saving them.
By personalizing your Google Calendar background, you can not only make it visually appealing but also improve your productivity and organization. The calendar becomes more than just a tool for scheduling; it becomes a reflection of your personality and a source of inspiration.
Remember to regularly revisit the background settings to update them with new images or themes that resonate with your current interests and aesthetics. Experiment with different colors, images, and opacity to create a calendar that motivates and inspires you.
So, take a moment to apply these steps and transform your Google Calendar into a customized and visually engaging space. Enjoy the refreshed look and make the most of your scheduling and planning with a background that speaks to you.
Now it’s time to embark on your personalized calendar journey. Take the knowledge and skills you’ve gained from this guide and create a Google Calendar background that truly encapsulates your unique style and preferences.