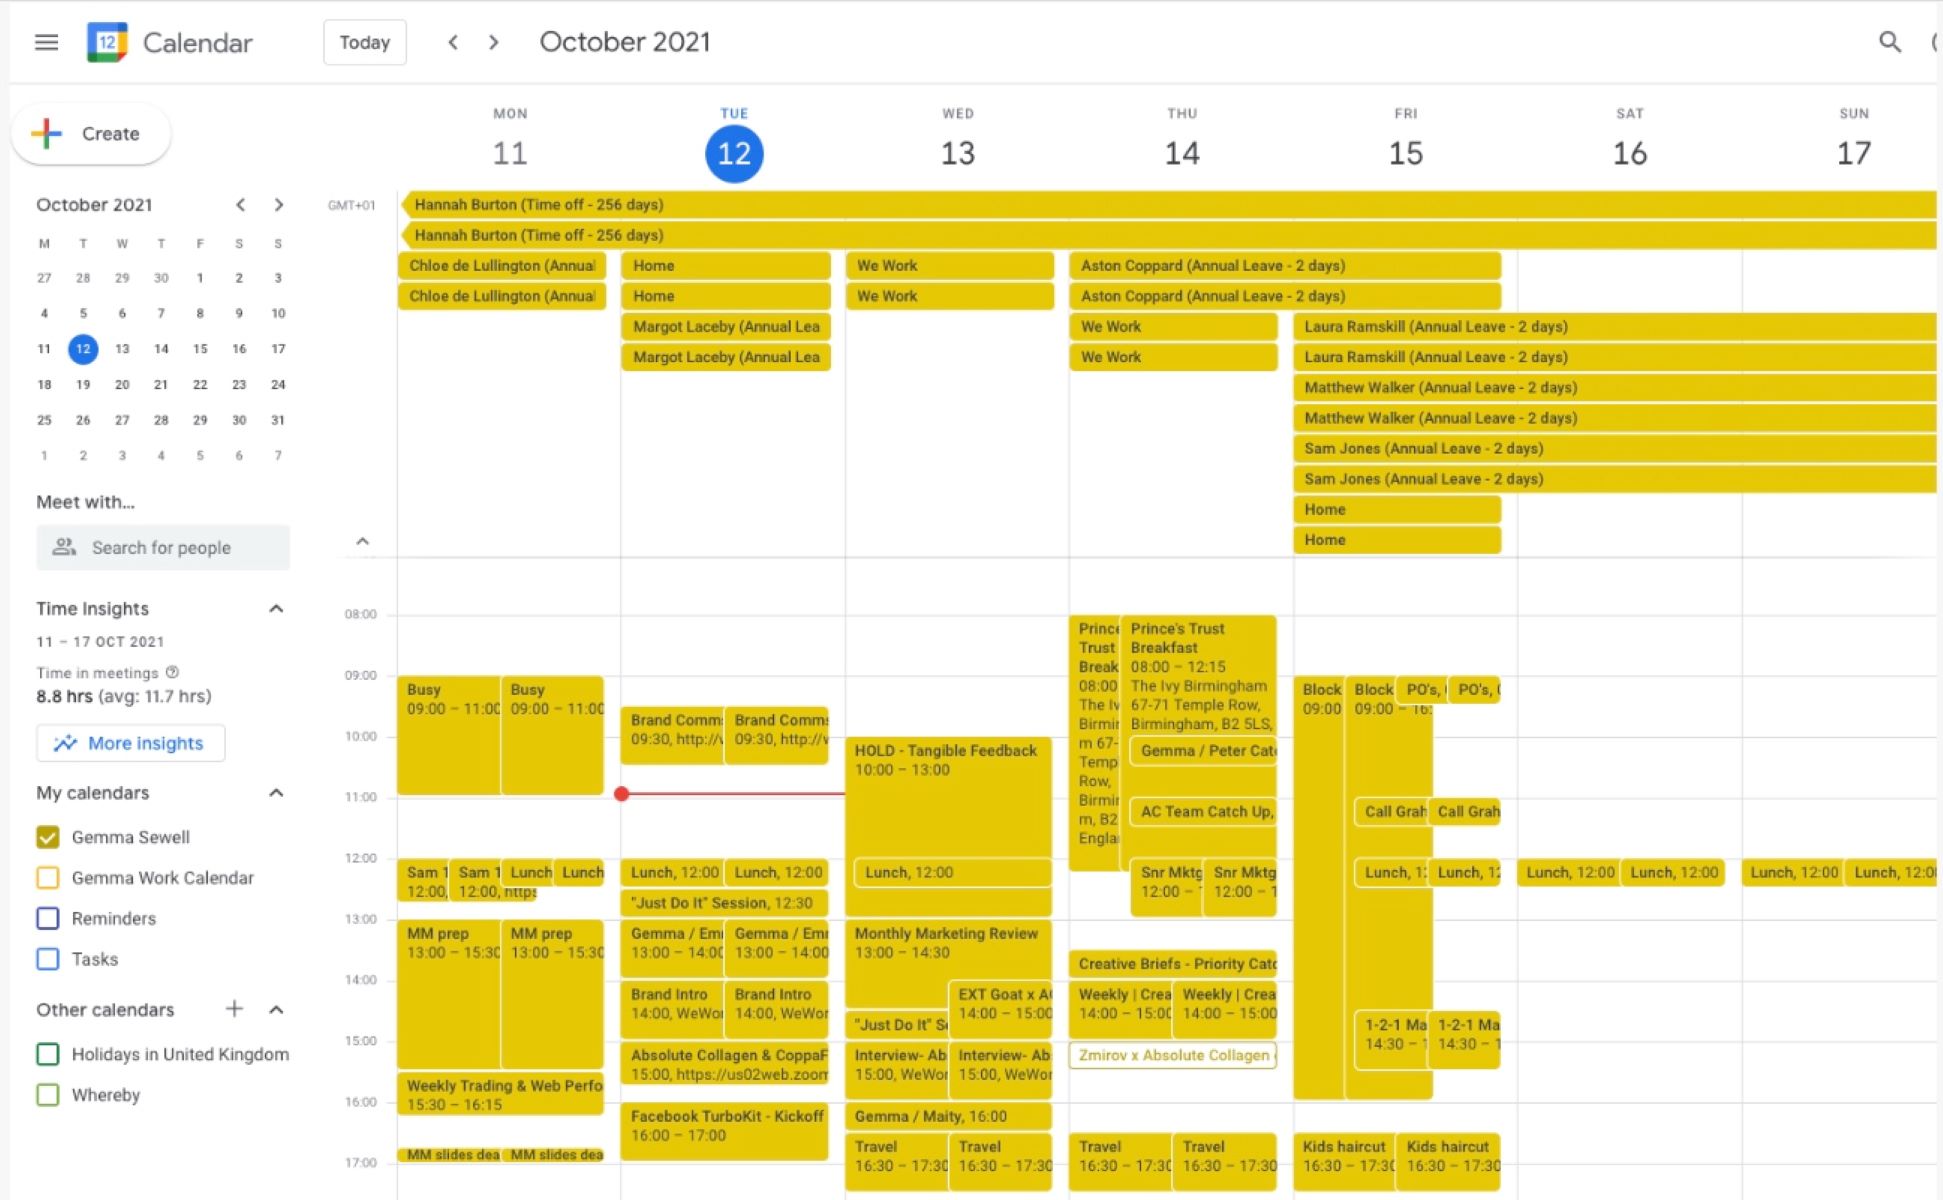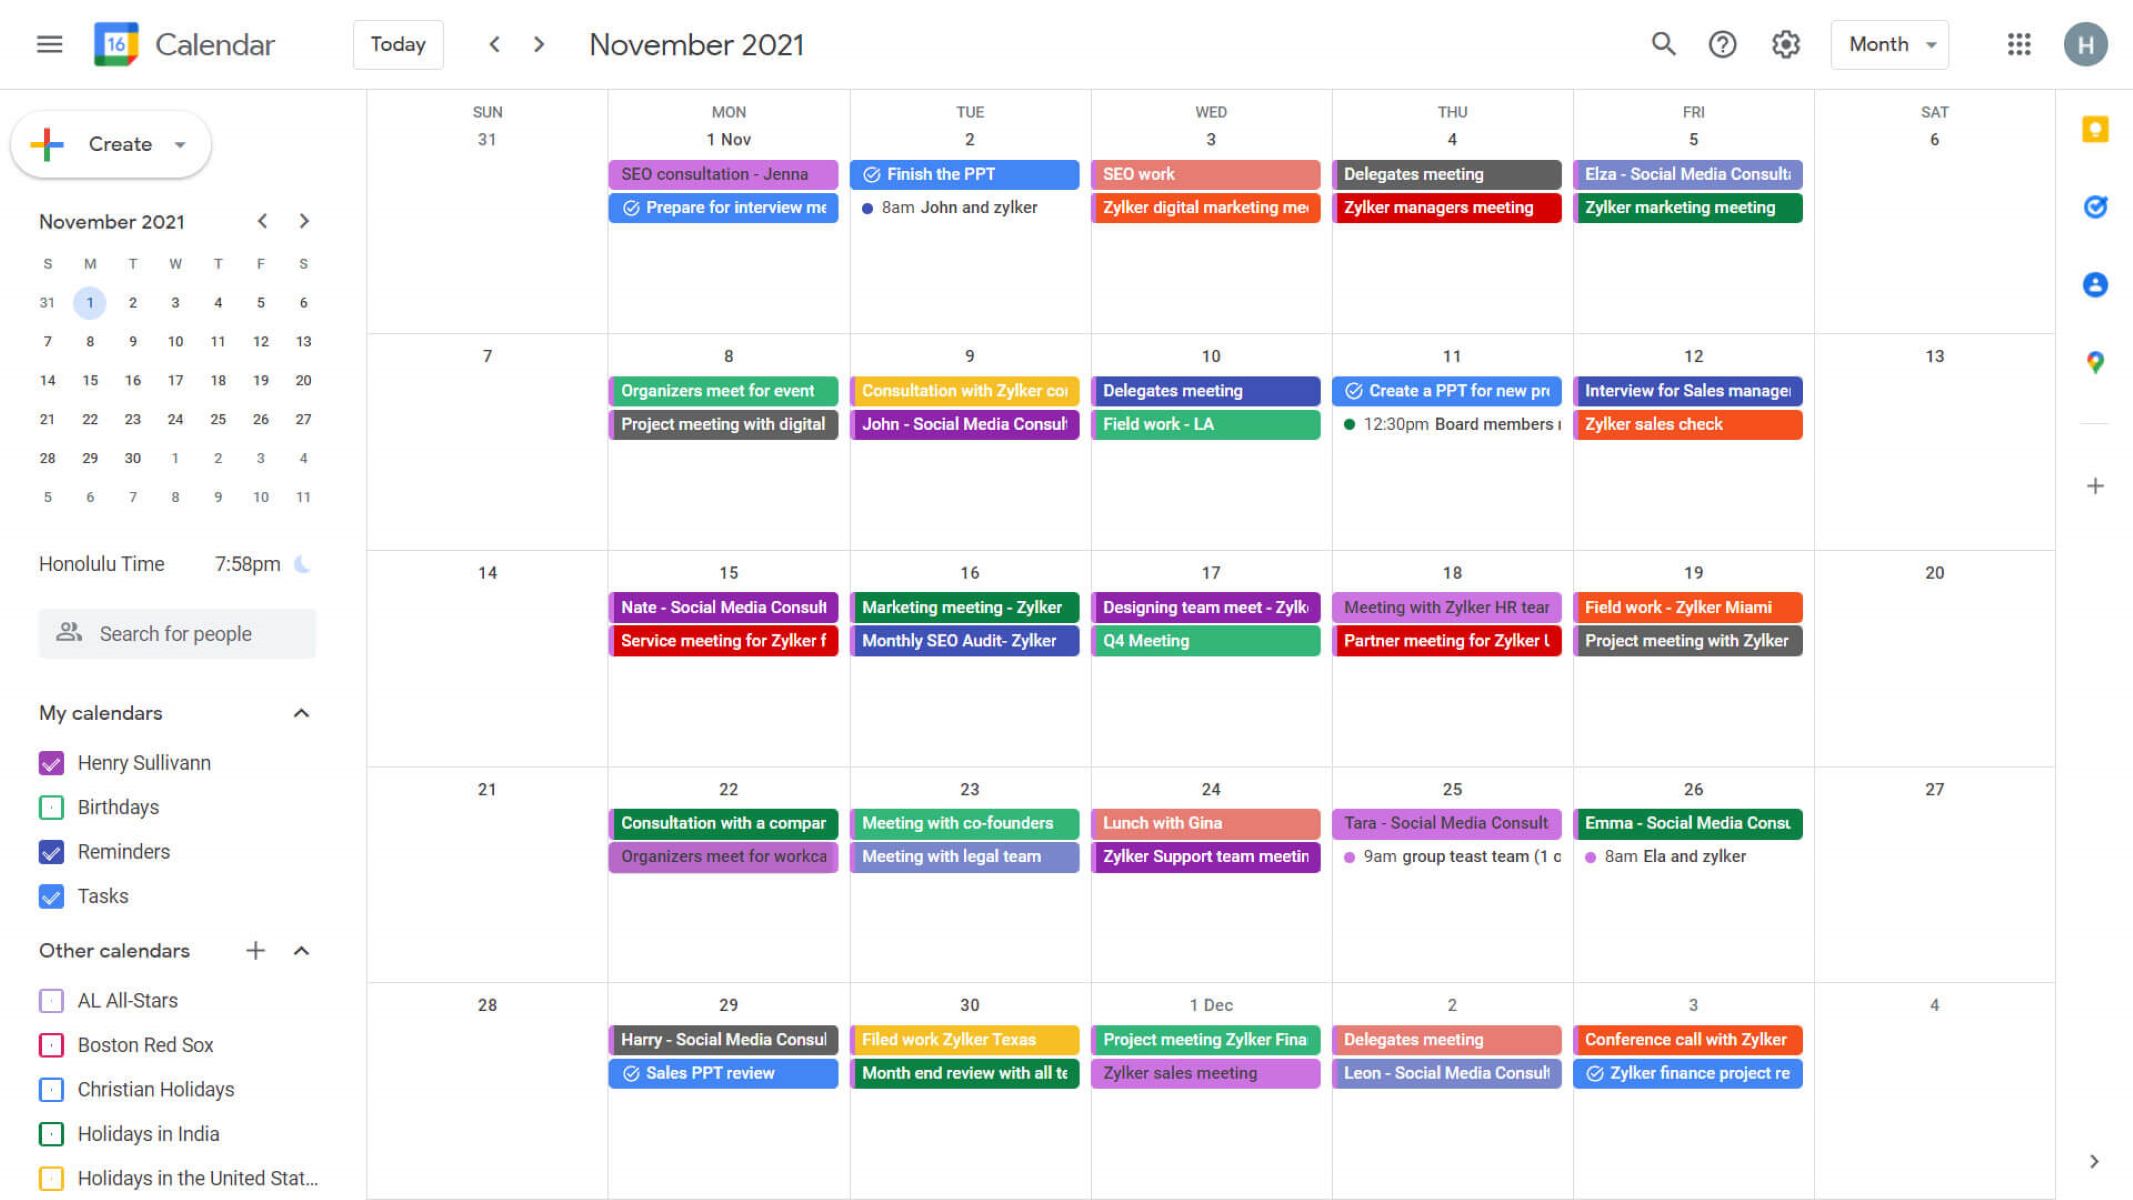
To set working hours in Google Calendar, open calendar.google.com on a computer, click the gear icon, and select Settings. Once there, navigate to Working hours & location under the General section, check the box to enable working hours, and define your start and end times for each workday.
Why set working hours in Google calendar
Blocking off your regular work availability in Google Calendar does more than just color-code your week. It gives your colleagues an instant visual cue of when you are actually free, which cuts down on back-and-forth emails about meeting times. More importantly, when someone tries to book a meeting outside your defined hours, Google Calendar will show them a warning that you are not available, so they can pick a better time before even sending the invite. This simple setup helps protect your personal time, reduces scheduling friction, and keeps your team aligned without you having to manually explain your routine.
Open Google calendar settings
Start by going to calendar.google.com in your web browser on a computer. In the top-right corner, click the gear icon to open the dropdown menu, then select Settings. This takes you to the main settings page where you can adjust everything about how your calendar looks and behaves.
Go to Working hours & location
On the left-hand side of the settings page, look for the General section. Click Working hours & location (or just Working hours if your administrator hasn't enabled the location feature). This is where you'll define your recurring availability.
Enable and configure your working hours
In the Working hours section, check the box next to Enable working hours. Then select the days you work, you can click individual day buttons or drag across multiple days. For each selected day, set your start and end times using the time pickers. If your schedule is split (like a lunch break or a gap between shifts), click Add time period to create a second block for that same day. You can add as many periods as you need for each day, and each period can have its own start and end time.
Set different hours for different days
Not every workday has to look the same. You can set Monday to 9:00-17:00, Tuesday to 10:00-18:00, and Wednesday to have two periods like 8:00-12:00 and 13:00-17:00. Just repeat the process for each day you work. Days you don't select will simply show as unavailable.
How working hours affect scheduling
Once your working hours are enabled, Google Calendar automatically uses them to inform others. When a colleague tries to schedule a meeting with you outside your defined hours, they'll see a warning that you are not available during that time. This works for both new event invites and when someone tries to edit an existing event to fall outside your hours. The warning appears before they send the invitation, giving them the chance to adjust the time, so you don't have to manually decline or reschedule every out-of-hours request.
Set your working location (optional)
If your organization uses Google Workspace, you can also enable Working location in the same settings section. Check the box for Enable working location, then for each workday choose Office, Home, Unspecified, or add a custom location. This is especially useful for hybrid teams, it tells people whether you'll be at your desk or remote without you having to update each event. Note that this feature requires a Google Workspace account; it won't appear for personal Gmail accounts.
Add out-of-office events for time away
For vacations, sick days, or any temporary absence, create an Out of office event directly on your calendar. When you do this, Google Calendar can automatically decline new and existing invitations that fall during that period. This means you don't have to manually respond to every meeting request while you're away, the calendar handles it for you. Just set the event with the start and end date/time, and optionally add a message that invitees will see when their invite is declined.
Sync your work schedule to all your devices
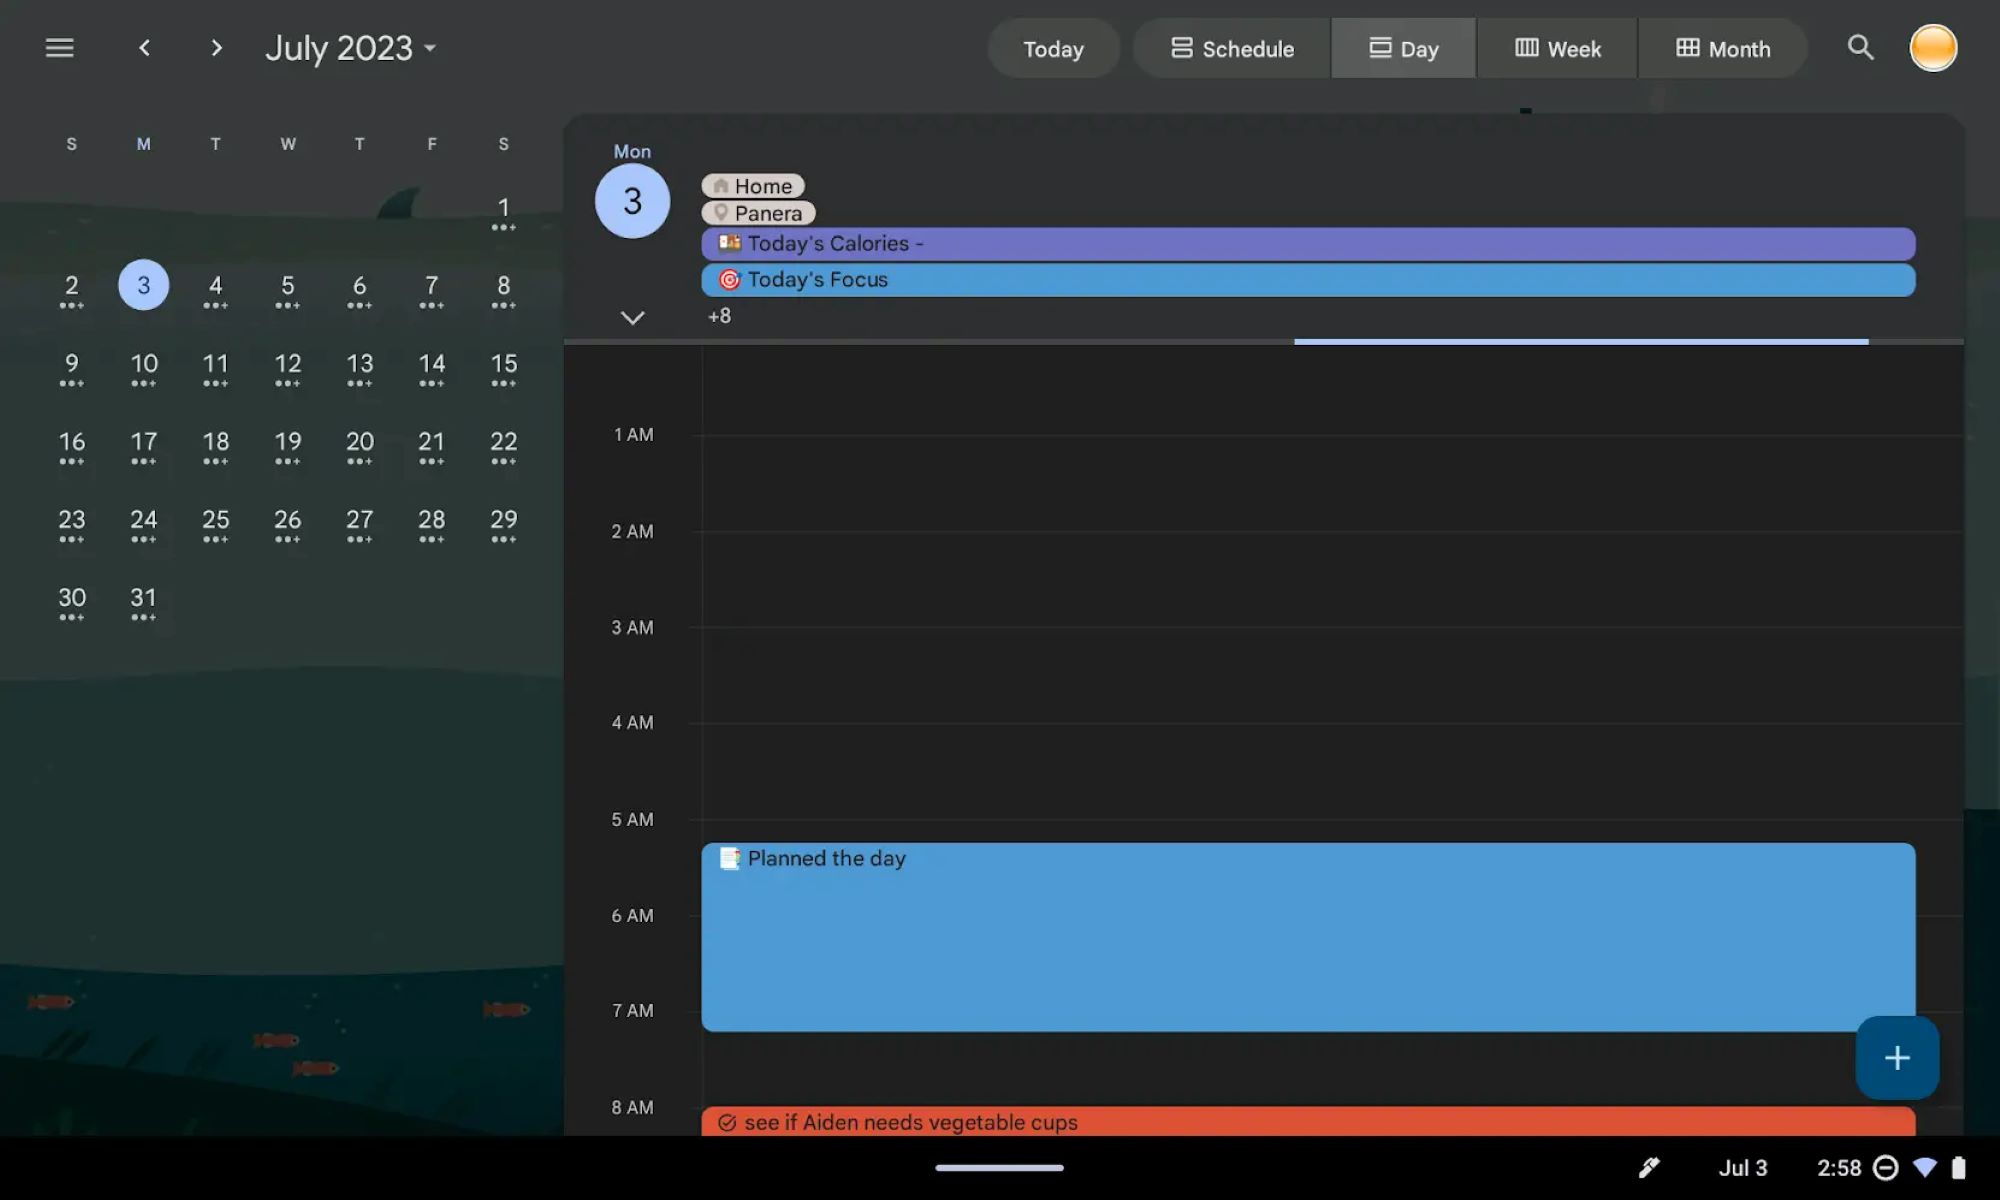
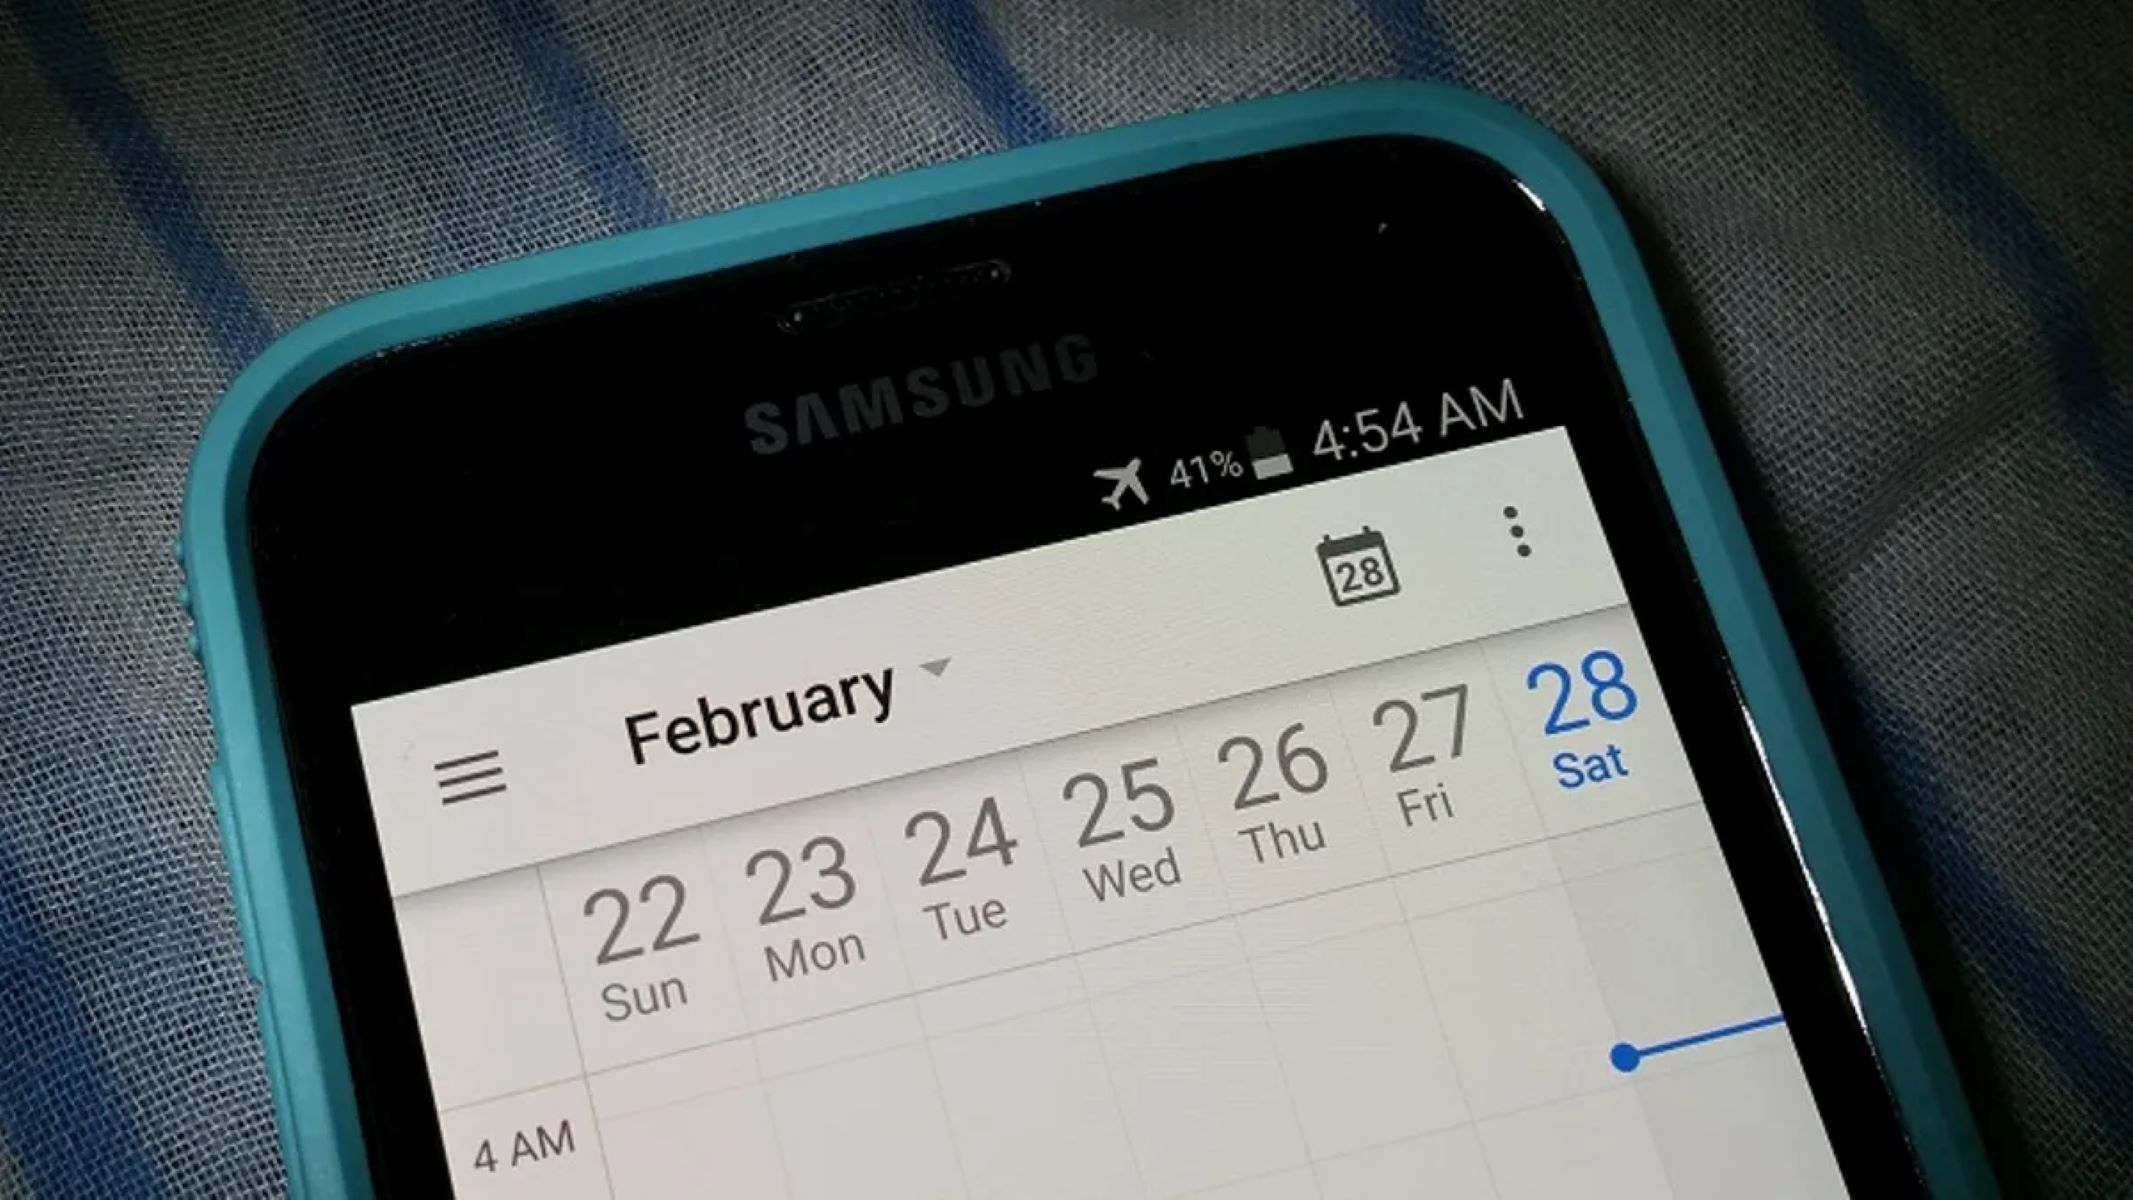
Your working hours and location settings aren't stuck on your computer. Open the Google Calendar app on your Android or iOS device, and you'll see your defined work hours reflected there too. Any changes you make on one device, like tweaking a start time or adding a temporary out-of-office event, automatically sync across all your devices. This means you can check your availability from your phone during a commute, or quickly update your hours from a tablet if your schedule shifts mid-week.
If you ever need to revert a change you made while experimenting, you can use the undo option in the top toolbar, it's a quick way to roll back accidental edits. And if you want to loop a colleague into a specific event, you can invite someone directly from the event details, which keeps everyone on the same page about your shared availability.
For the wider topic, see undo in Google calendar.