Introduction
Creating a calendar in Google Sheets is not only a convenient way to stay organized, but it also allows for easy collaboration and sharing with others. Whether you need a personal calendar to keep track of appointments and events or a team calendar to coordinate schedules and deadlines, Google Sheets offers a flexible and customizable solution.
In this guide, we will walk you through the process of setting up a calendar in Google Sheets, step by step. We will cover creating headers, adding dates, formatting the calendar, adding events, highlighting dates with conditional formatting, customizing the calendar, and finally, printing or sharing the calendar. By the end, you’ll have a fully functional calendar that suits your specific needs.
Before we dive into the specifics, it’s worth mentioning the benefits of using Google Sheets for your calendar. First and foremost, it’s free and easily accessible, as long as you have a Google account. You can access your calendar from anywhere with an internet connection, making it convenient for on-the-go scheduling. Additionally, Google Sheets allows for seamless collaboration, making it easy to share calendars with others and keep everyone on the same page.
Whether you’re a busy professional, a student managing assignments, or someone simply looking for an efficient way to stay organized, creating a calendar in Google Sheets can be a game-changer. Let’s get started with setting up your Google Sheet and creating the headers.
Setting Up Your Google Sheet
Before you start creating your calendar in Google Sheets, you’ll need to set up a new Google Sheet or open an existing one. Follow these steps to get started:
- Open your web browser and go to Google Sheets.
- Sign in to your Google account or create a new one if you don’t have one already.
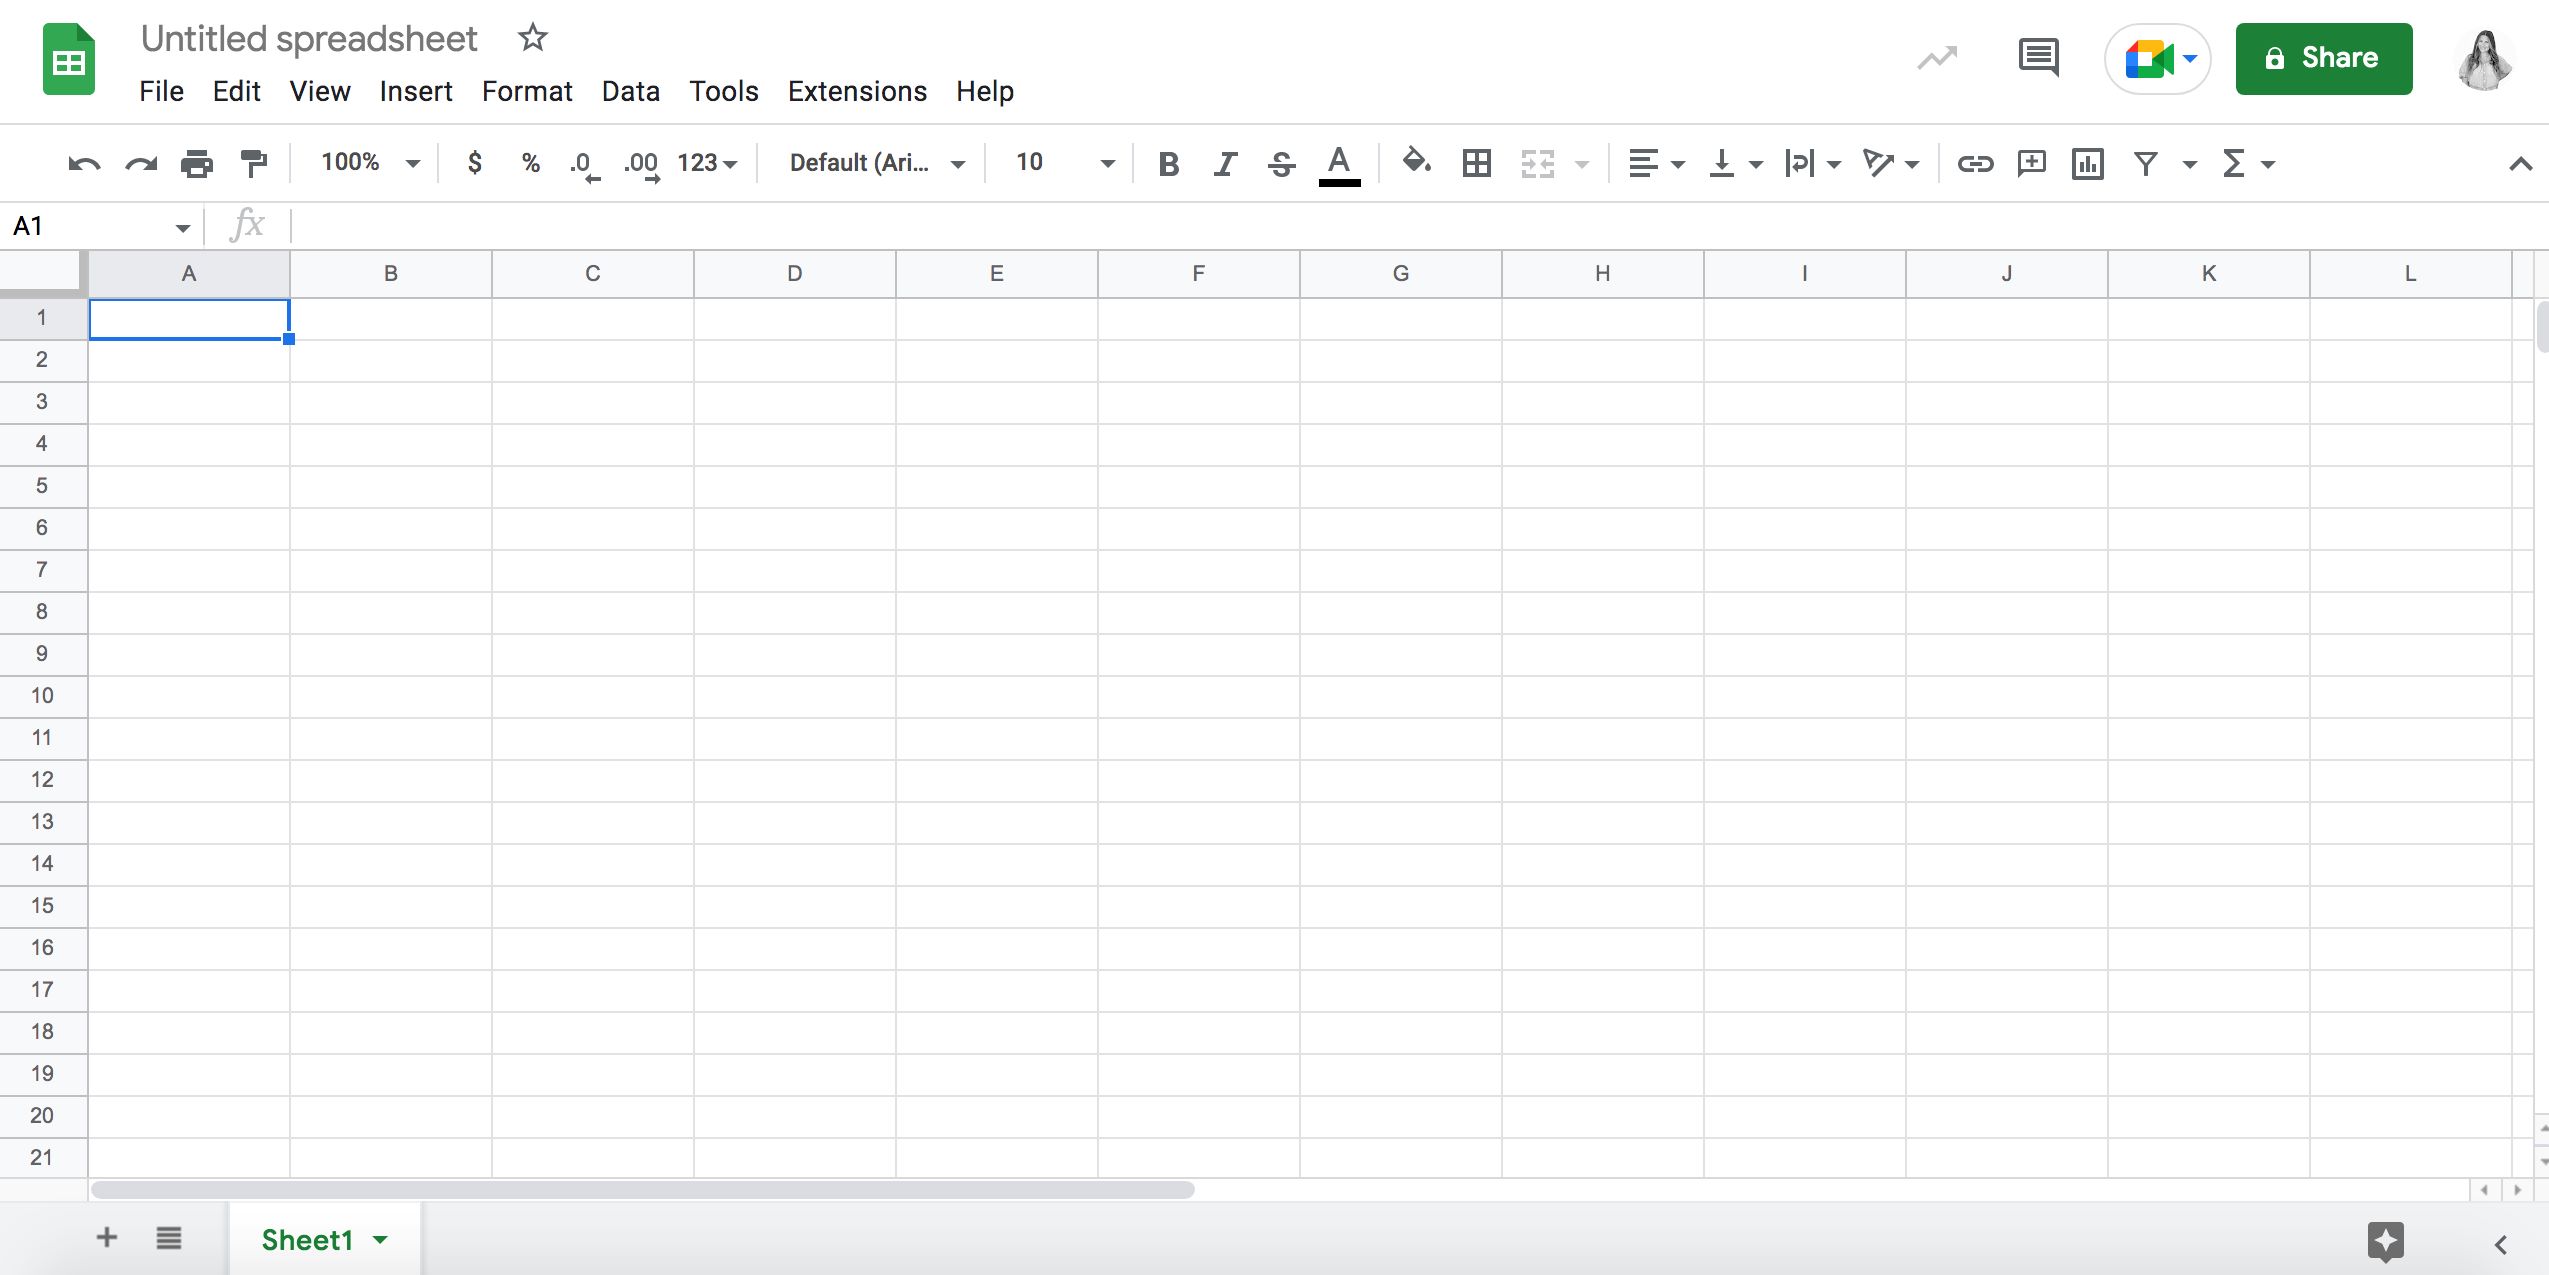
- Click on the “Blank” option to create a new spreadsheet.
- You’ll be taken to a blank spreadsheet with multiple cells, arranged in rows and columns. This will be the foundation of your calendar.
Now that you have your Google Sheet set up, it’s time to create the headers for your calendar. The headers will include the days of the week and any other information you want to include, such as the month or year.
Creating headers helps organize your calendar and provide clarity. Here’s how you can add the necessary headers:
- Select the first row of the spreadsheet by clicking on the number “1” on the left side.
- Type the names of the days of the week in each cell, starting from the second cell (B1) and going across the row.
- You can also add additional headers, such as the month and year, in the first cell (A1).
Once you’ve entered the headers for your calendar, you’re ready to move on to the next step: adding the dates.
Creating the Headers
Headers play a crucial role in organizing and providing context for your calendar in Google Sheets. They help you identify the days of the week and other relevant information at a glance. Here’s how you can create the headers for your calendar:
- Open your Google Sheet and select the first row of your spreadsheet by clicking on the number “1” on the left side.
- Type the names of the days of the week in each cell of the selected row, starting from the second cell (B1) and moving across the row.
- If you’d like to include additional headers, such as the month and year, you can enter them in the first cell (A1).
By default, Google Sheets may already have the correct dates and days of the week filled in according to the current date. However, if you want to start your calendar from a specific date or month, you’ll need to adjust the dates accordingly. For example, if you want your calendar to start on January 1, you’ll need to manually enter the corresponding dates for each day of the week.
Remember to format your headers appropriately. You can make the text bold, change the font size, or use different colors to make the headers stand out. This customization helps improve the readability and aesthetic appeal of your calendar.
Creating clear and visually appealing headers sets the foundation for your calendar in Google Sheets. Once you have the headers in place, you can proceed to the next step: adding the dates to complete your calendar.
Adding Dates
Now that you have created the headers for your calendar in Google Sheets, it’s time to add the dates. The dates will populate the cells beneath the corresponding days of the week, completing the structure of your calendar. Here’s how you can add the dates:
- Click on the cell directly beneath the first day of the week (e.g., cell B2).
- Enter the first date of your calendar, following the desired date format (e.g., “1” or “01” for the first day of the month).
- Click and drag the fill handle on the bottom-right corner of the cell to fill in the subsequent dates for the rest of the week. Release the handle when you reach the last day of the week (e.g., cell G2).
- Move to the second row of dates and continue the process in each corresponding cell beneath the respective day of the week.
- Continue adding dates for the desired duration of your calendar, be it a month, multiple months, or a year.
Google Sheets has smart autofill capabilities that can save you time. When you drag the fill handle, the spreadsheet will automatically populate the subsequent cells with the next date in sequence. This eliminates the need to manually enter each date individually.
Remember to format the dates according to your preferences. You can adjust the font, make them bold, change the text color, or apply other formatting options to enhance the visual appearance of your calendar.
With the dates now added to your calendar, you have a solid structure in place. Next, we will explore how to format your calendar to make it visually appealing and easy to read.
Formatting the Calendar
Formatting your calendar in Google Sheets not only improves its visual appeal but also enhances readability and usability. Here are some key formatting techniques you can apply to your calendar:
- Select the range of cells that make up your calendar, including the headers and dates.
- Change the font style, size, and color to make the text more legible. You can experiment with different font combinations to find the look that suits your preferences.
- Apply cell borders to visually separate the days of the week and create a clear distinction between different dates.
- Highlight weekends by applying background colors to the corresponding cells. This can be done manually or by using conditional formatting (which we’ll cover in the next section).
- Use column width adjustment to ensure that the cells are wide enough to display the dates and any additional information without getting cut off.
- Add any other formatting elements that you believe will enhance the overall aesthetics and organization of your calendar. This can include adding headers to specific sections, applying text or cell color coding for different types of events, or inserting symbols or icons to represent specific activities.
Customize your calendar to align with your personal style or the branding guidelines of your team or organization. Experiment with different formatting options until you achieve the desired look and feel.
Remember, formatting choices can impact the overall user experience, so it’s important to strike a balance between aesthetics and functionality. Keeping the calendar easy to read and navigate is key. With your calendar beautifully formatted, you’re now ready to start adding events and appointments to keep track of your schedule.
Adding Events
One of the primary purposes of a calendar is to keep track of events and appointments. Google Sheets allows you to add events directly to your calendar, making it simple to stay organized and manage your schedule. Here’s how you can add events to your calendar:
- Select the cell corresponding to the date and day of the event.
- Enter the details of the event, such as the event name, start time, end time, and any additional information you find necessary.
- If the event spans multiple days, you can merge the cells to create a larger space for the event details.
- Continue adding events to the respective dates in your calendar, ensuring they are properly categorized and labeled.
As you add events, you can use different formatting options to make them stand out. For instance, you can change the text color, apply bold formatting, or use cell borders to emphasize important events or differentiate between different types of activities.
Remember to keep your calendar updated by adding important events in a timely manner. Regularly reviewing and adjusting your calendar will help ensure that you stay organized and effectively manage your commitments.
In addition to manually adding events, you can also consider integrating your Google Calendar with your Google Sheets calendar. This allows you to sync events, appointments, and reminders from your Google Calendar directly into your spreadsheet, streamlining the process and minimizing the risk of overlooking any important dates.
With events added to your calendar, you can now leverage the power of conditional formatting to highlight specific dates and improve the visual clarity of your schedule.
Highlighting Dates with Conditional Formatting
Conditional formatting in Google Sheets allows you to automatically apply formatting to cells based on specified conditions. This feature is especially useful for highlighting important dates or events in your calendar. Here’s how you can use conditional formatting to achieve this:
- Select the range of cells that represent the dates in your calendar.
- Click on the “Format” menu at the top of the screen and choose “Conditional formatting.”
- In the conditional formatting sidebar that appears on the right, select “Add new rule.”
- Choose the type of conditional formatting you want to apply. For example, you can select “Date is” to format cells that match a specific date or “Text contains” to format cells that contain certain keywords or labels.
- Define the condition by specifying the criteria or values to be met. For instance, you can enter a specific date, a range of dates, or a text string to look for in the cells.
- Select the formatting options, such as applying a different background color, changing the font style or color, or adding borders.
- Preview the formatting and make any adjustments as necessary.
- Click “Done” to apply the conditional formatting.
Conditional formatting allows you to visually distinguish specific dates from others in your calendar. This can be particularly helpful for highlighting important deadlines, events, or milestones. By creating custom rules and formatting options, you can tailor your calendar to your unique needs and preferences.
Keep in mind that conditional formatting is a dynamic feature, meaning it will automatically update as you modify or add data to the cells. This ensures that your calendar remains up to date and visually consistent.
With conditional formatting applied, your calendar becomes even more visually engaging and informative. However, if you’d like to further customize the appearance and functionality of your calendar, you can explore additional customization options.
Customizing Your Calendar
Your calendar in Google Sheets doesn’t have to be limited to the default design. You have the flexibility to customize it further to suit your preferences and needs. Here are some customization options you can explore:
- Change the color scheme: Modify the colors of your calendar to match your personal style or the visual identity of your organization. You can choose a palette that is pleasing to the eye and helps differentiate between different types of events or activities.
- Add graphics or icons: Include graphics or icons to represent specific events or activities in your calendar. This can make it easier to identify and remember important dates at a glance.
- Utilize formatting rules: Experiment with various formatting options, such as cell borders, font styles, or text effects, to create a visually appealing and well-organized calendar. Formatting rules can help you maintain consistency and clarity throughout your calendar.
- Insert additional columns or rows: If you require extra space for notes, descriptions, or other relevant information, feel free to insert additional columns or rows to accommodate your needs. This can be particularly useful when managing multiple projects or when you need to provide more context for specific events.
- Add dropdown menus or data validation: Incorporate dropdown menus or data validation to streamline data entry and ensure consistency. For example, you can create a dropdown list of predefined event types or locations to select from, reducing the risk of typos or inconsistencies in your calendar.
Remember that customization options may vary based on your familiarity with Google Sheets and your level of comfort with HTML and CSS. Don’t be afraid to experiment and find the customization options that work best for you.
By customizing your calendar, you can make it a reflection of your style and make it more enjoyable to use. Take the time to personalize your calendar and make it a tool that not only keeps you organized but also sparks joy and creativity.
With your calendar fully customized, it’s time to explore different ways to use or share it, be it printing physical copies or easily sharing it digitally with others.
Printing or Sharing Your Calendar
Once you have created and customized your calendar in Google Sheets, you may want to print physical copies or share it with others digitally. Google Sheets provides several options to accomplish both. Here’s how you can print or share your calendar:
Printing:
- Click on the “File” menu at the top-left corner of the screen.
- Choose “Print” from the dropdown menu.
- In the print settings, review the preview of your calendar to ensure it appears as desired.
- Select the printer, page size, orientation, and other print settings according to your preferences.
- Click “Print” to generate a physical copy of your calendar.
Printing your calendar allows for easy offline access and reference. You can hang it on a wall, keep it in a binder, or place it on your desk for quick and convenient scheduling.
Sharing:
- Click on the “Share” button at the top-right corner of the screen.
- In the sharing settings, enter the email addresses or names of the individuals you want to share the calendar with.
- Select the level of access you want to grant to each person, such as editing, commenting, or viewing only.
- Customize the notification settings, allowing recipients to receive updates or notifications about changes to the calendar.
- Click “Send” to share the calendar with the specified individuals.
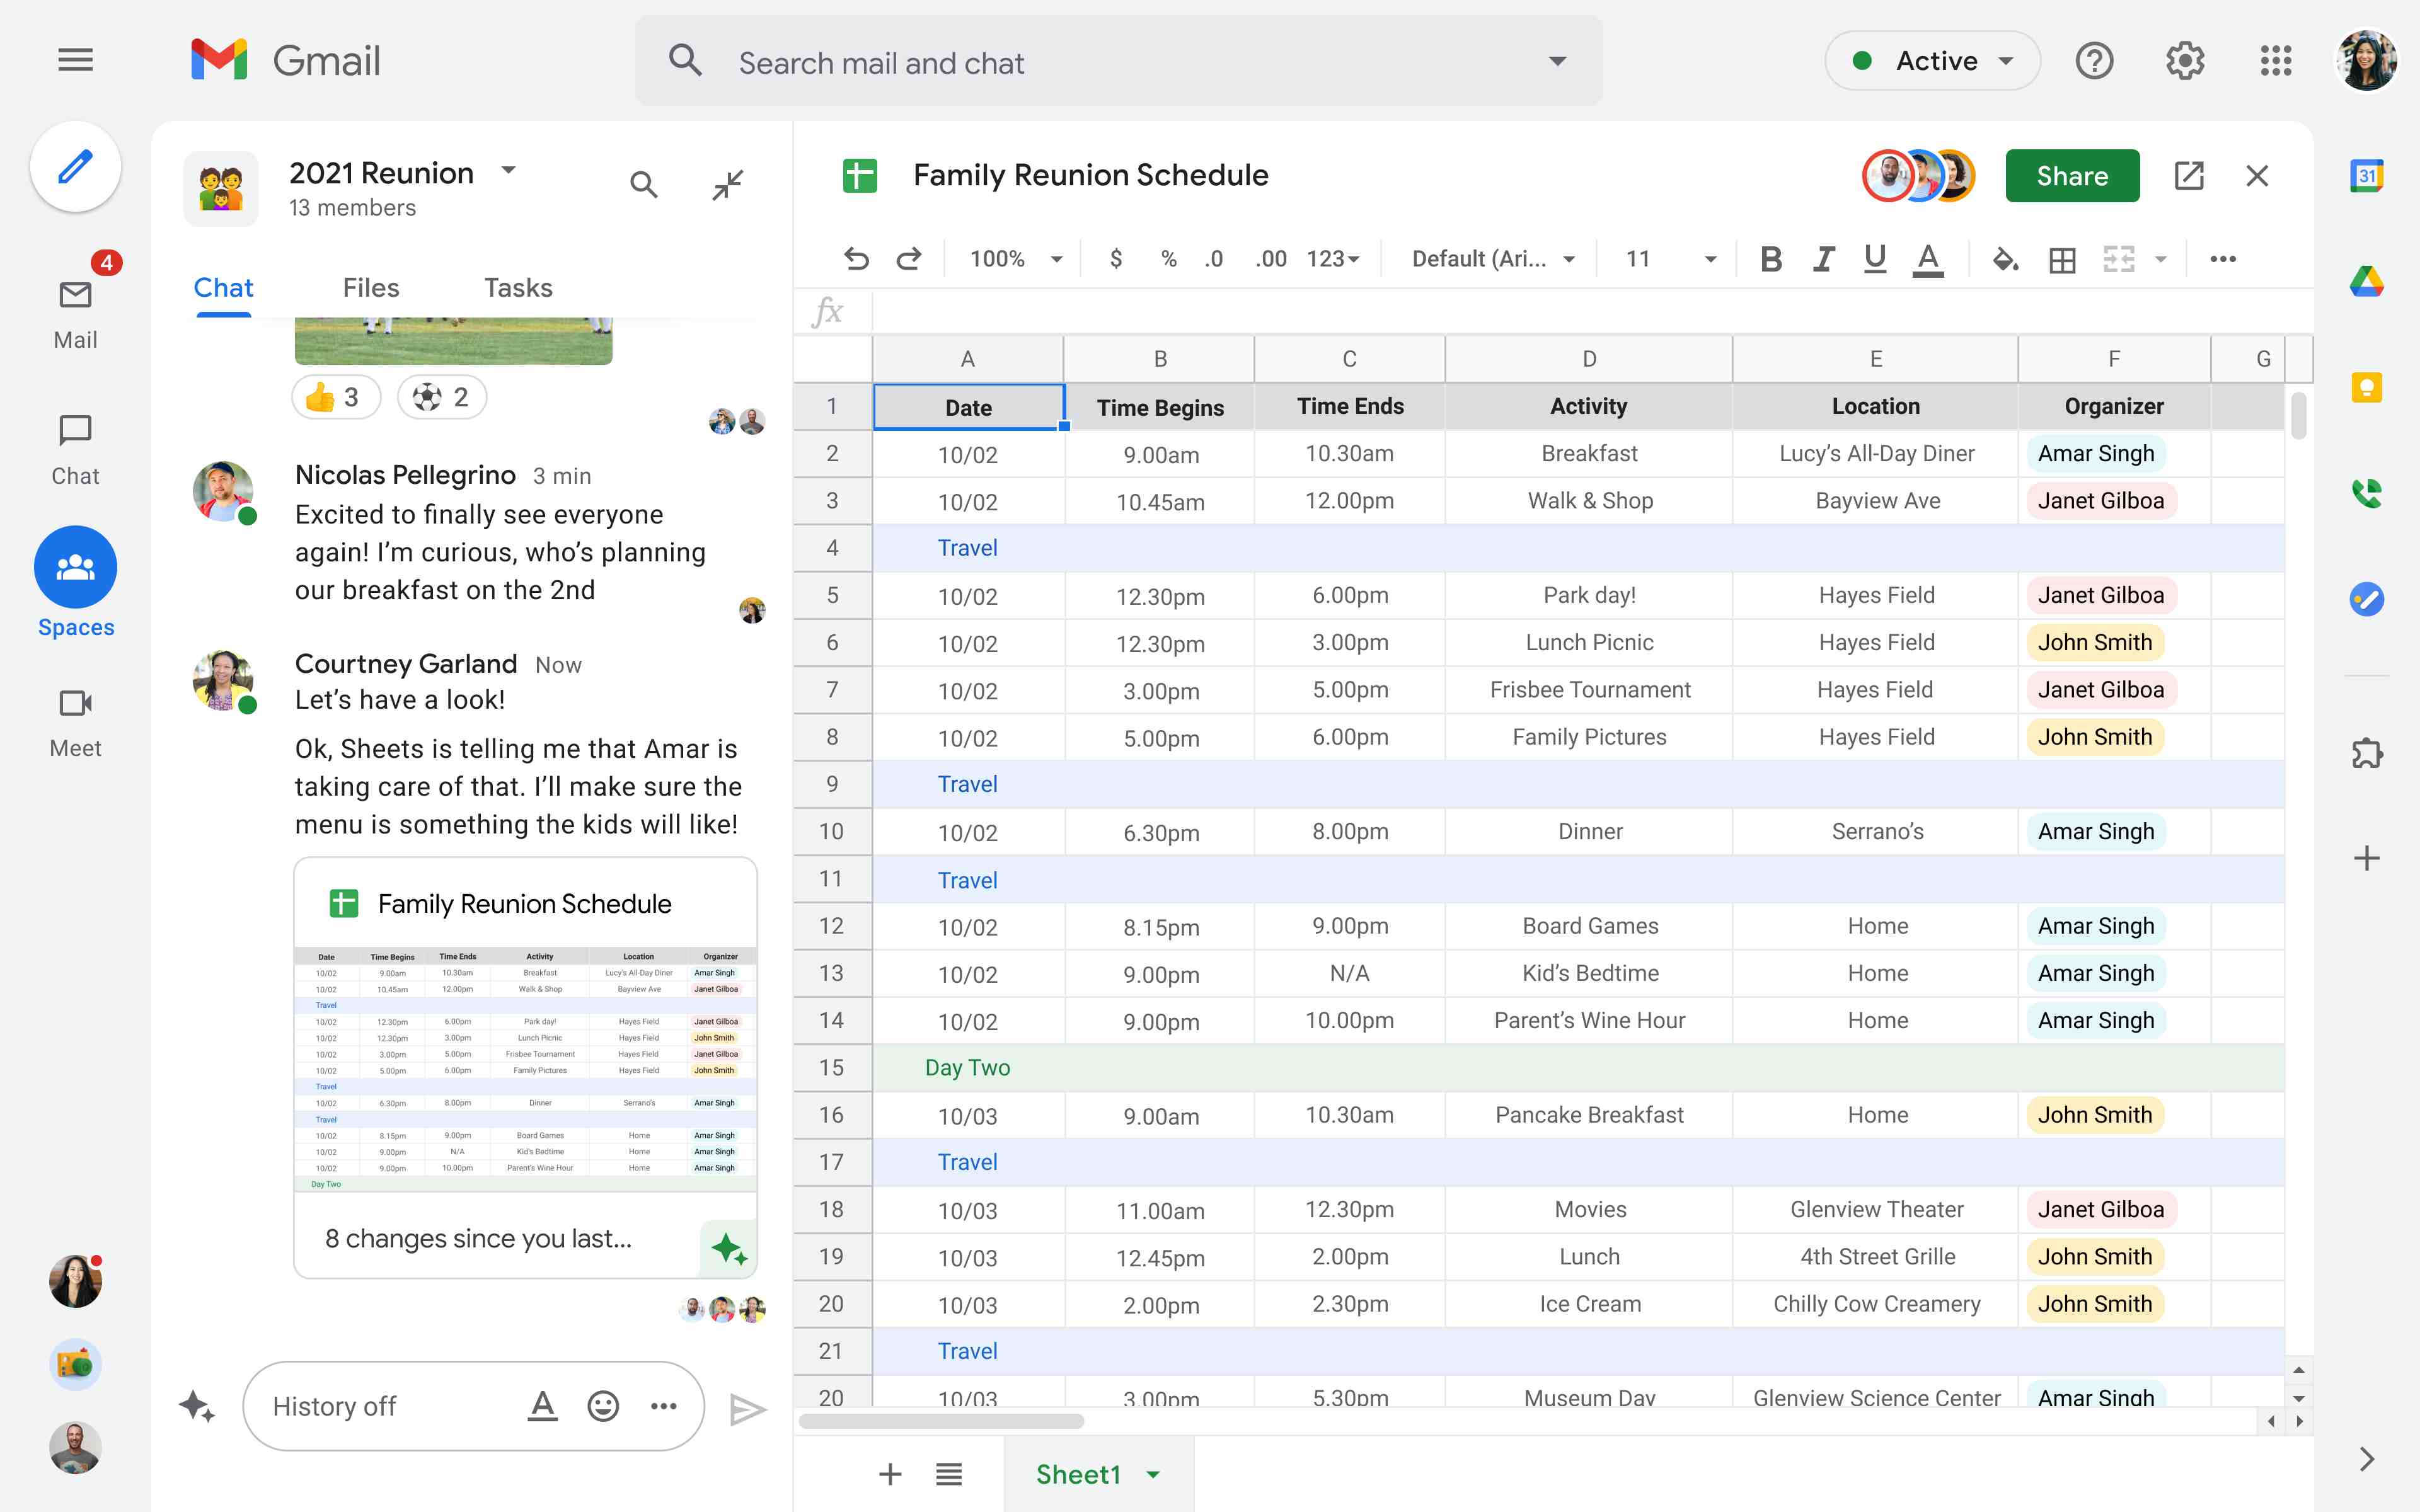
Sharing your calendar digitally allows for real-time collaboration with others. The shared calendar can be accessed online, and multiple individuals can make changes or additions simultaneously, ensuring everyone is on the same page.
With the ability to print physical copies or share your calendar digitally, you can choose the method that best suits your needs and the preferences of your team or organization. Whether you prefer the tangible form of a printed calendar or the convenience and flexibility of digital sharing, Google Sheets offers the flexibility to accommodate both options.
Now that you have learned how to print or share your calendar, you are ready to put your calendar to use and stay organized in an efficient and collaborative manner.