Introduction
Welcome to the digital age, where staying organized is made easier than ever with the help of online calendars. One of the most popular calendar applications is Google Calendar, a versatile tool that allows you to keep track of your events, appointments, and important dates. But what if you want to subscribe to someone else’s calendar and have their events automatically show up on your Google Calendar? That’s where this guide comes in handy.
In this article, we will walk you through the step-by-step process of subscribing to a Google Calendar. Whether it’s a schedule of events, a sports team’s game dates, your favorite artist’s concert schedule, or any other calendar you wish to follow, we’ve got you covered.
By subscribing to a calendar, you’ll be able to view all the events on that calendar within your own Google Calendar, ensuring that you never miss an important event again. This can be especially useful for staying up-to-date with friends, coworkers, or organizations that share their calendars with you.
Don’t worry if you’re new to Google Calendar – we’ll start from scratch and guide you through the process, ensuring that you’ll be able to subscribe to a calendar in no time. So, let’s dive in and get started on the journey of subscribing to a Google Calendar!
Step 1: Create a Google Account
Before you can start subscribing to a Google Calendar, you need to have a Google Account. If you already have one, you can skip to the next step. If not, follow these simple instructions to create one:
- Go to the Google Account creation page by typing “create Google Account” into your search engine.
- Click on the first link that appears, usually titled “Create your Google Account”.
- You will be directed to the account creation form. Fill in your personal information, including your first and last name, desired email address, password, and phone number.
- Read and accept the terms of service and privacy policy by checking the appropriate boxes.
- Google may ask you to verify your identity through a phone call or text message. Follow the instructions provided to complete the verification process.
- Once you have successfully created your Google Account, congratulations! You are ready to move on to the next step.
Having a Google Account not only allows you to subscribe to calendars, but it also provides you with access to a wide range of Google services, such as Gmail, Google Drive, and Google Docs. Plus, your Google Account will keep all your subscribed calendars in sync across different devices, ensuring you have access to them wherever you go.
Now that you have a Google Account, let’s move on to the next step and get closer to subscribing to your desired calendar!
Step 2: Access Google Calendar
Now that you have a Google Account, it’s time to access Google Calendar. Follow the simple steps below to get started:
- Open your preferred web browser on your computer or mobile device.
- Type “Google Calendar” into the search bar or directly enter the URL “calendar.google.com” in the address bar.
- Press Enter or click on the search result that says “Google Calendar – Apps on Google Play” for Android users or “Google Calendar: Free Calendar App for Personal Use” for iOS users.
- If you’re not already signed into your Google Account, you will be prompted to do so. Enter your email address and password to log in.
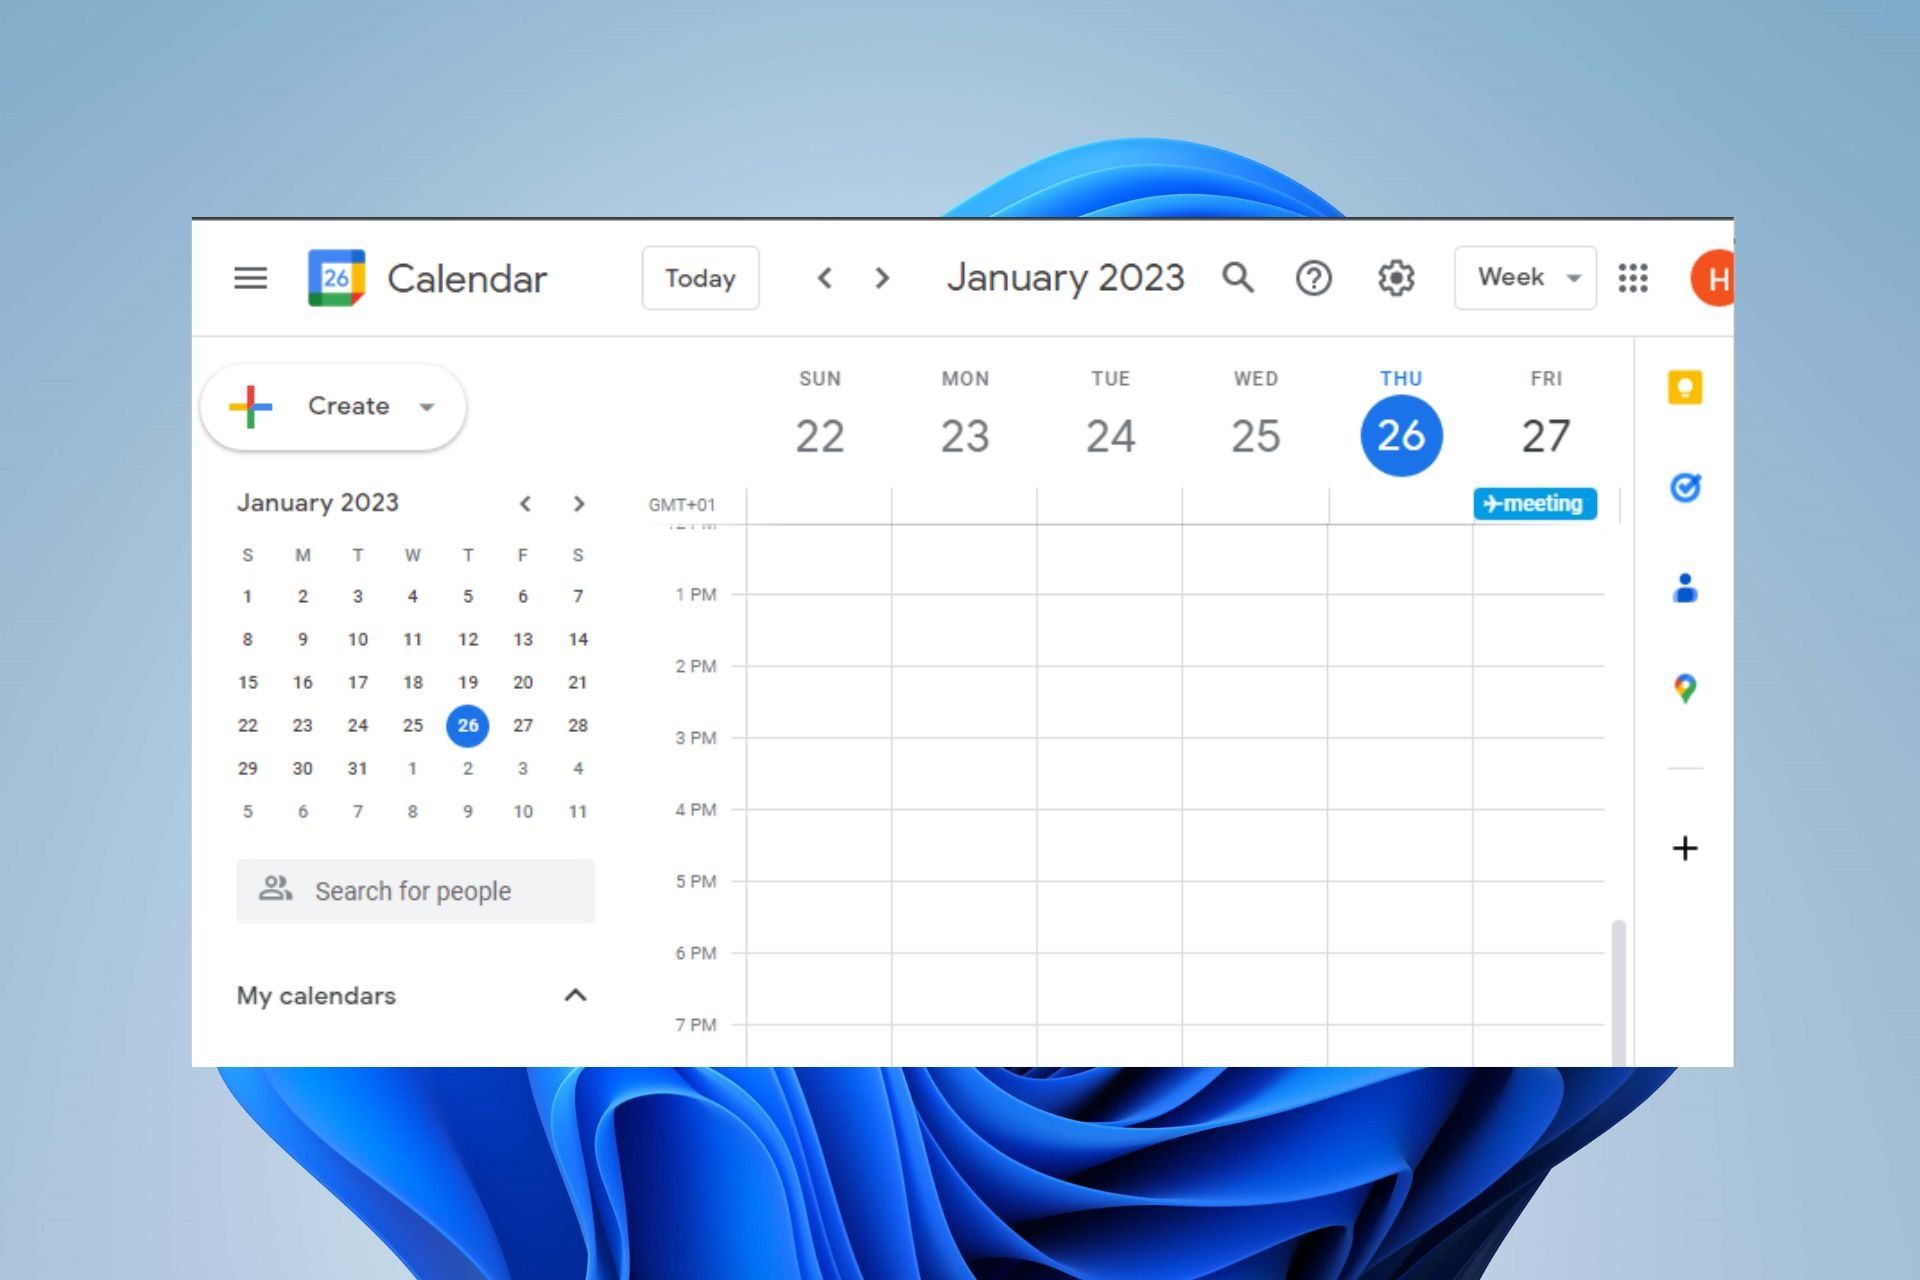
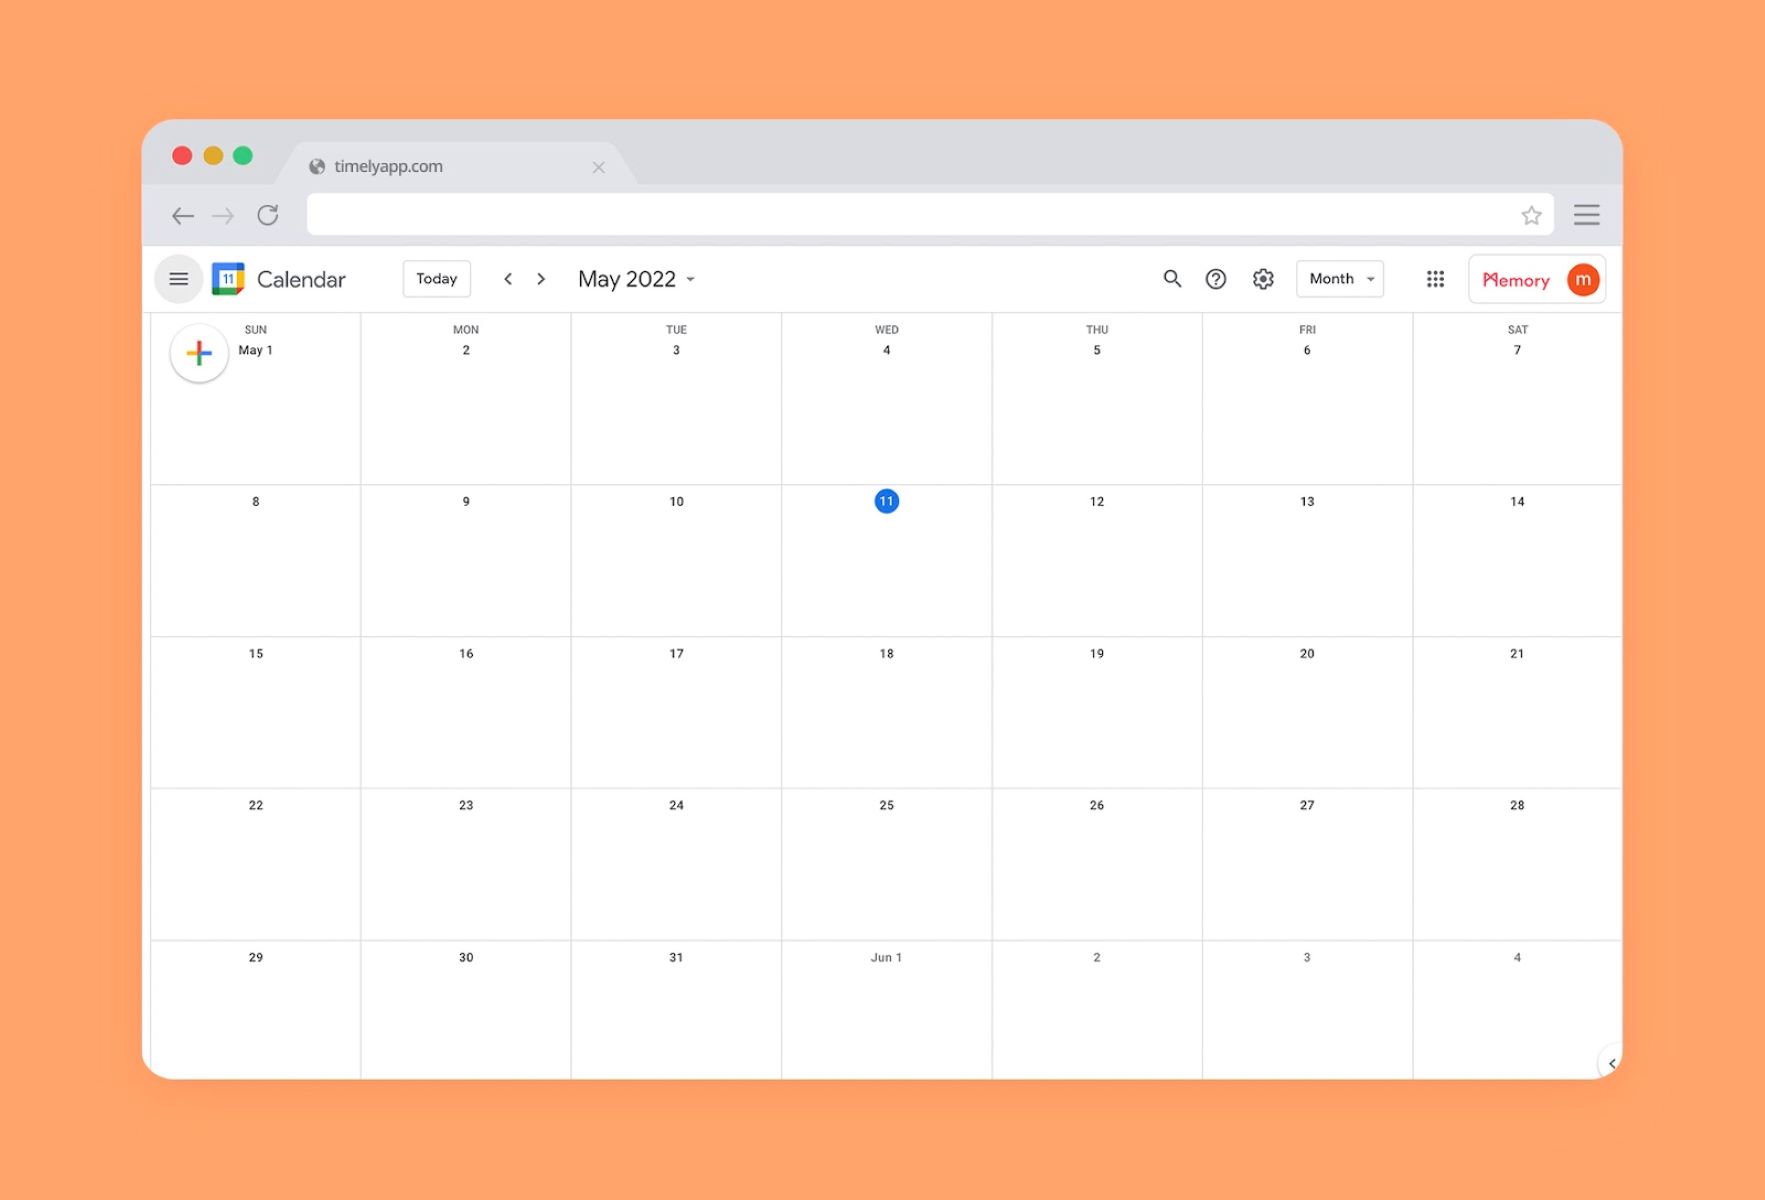
- Once you’ve successfully signed in, you will be taken to the main Google Calendar interface.
Google Calendar is designed with a clean and user-friendly interface to make it easy for you to navigate and manage your schedule. You will find various features and options that will help you stay organized and keep track of important events.
Google Calendar can be accessed not only through a web browser but also via the Google Calendar mobile app, available for both Android and iOS devices. The mobile app provides the same functionality as the web version, allowing you to view and manage your calendar on the go.
Now that you have accessed Google Calendar, let’s move on to the next step to learn how to locate the “Add calendar” option.
Step 3: Locate the “Add calendar” option
Locating the “Add calendar” option is essential in order to subscribe to a calendar on Google. Follow the steps below to find this option:
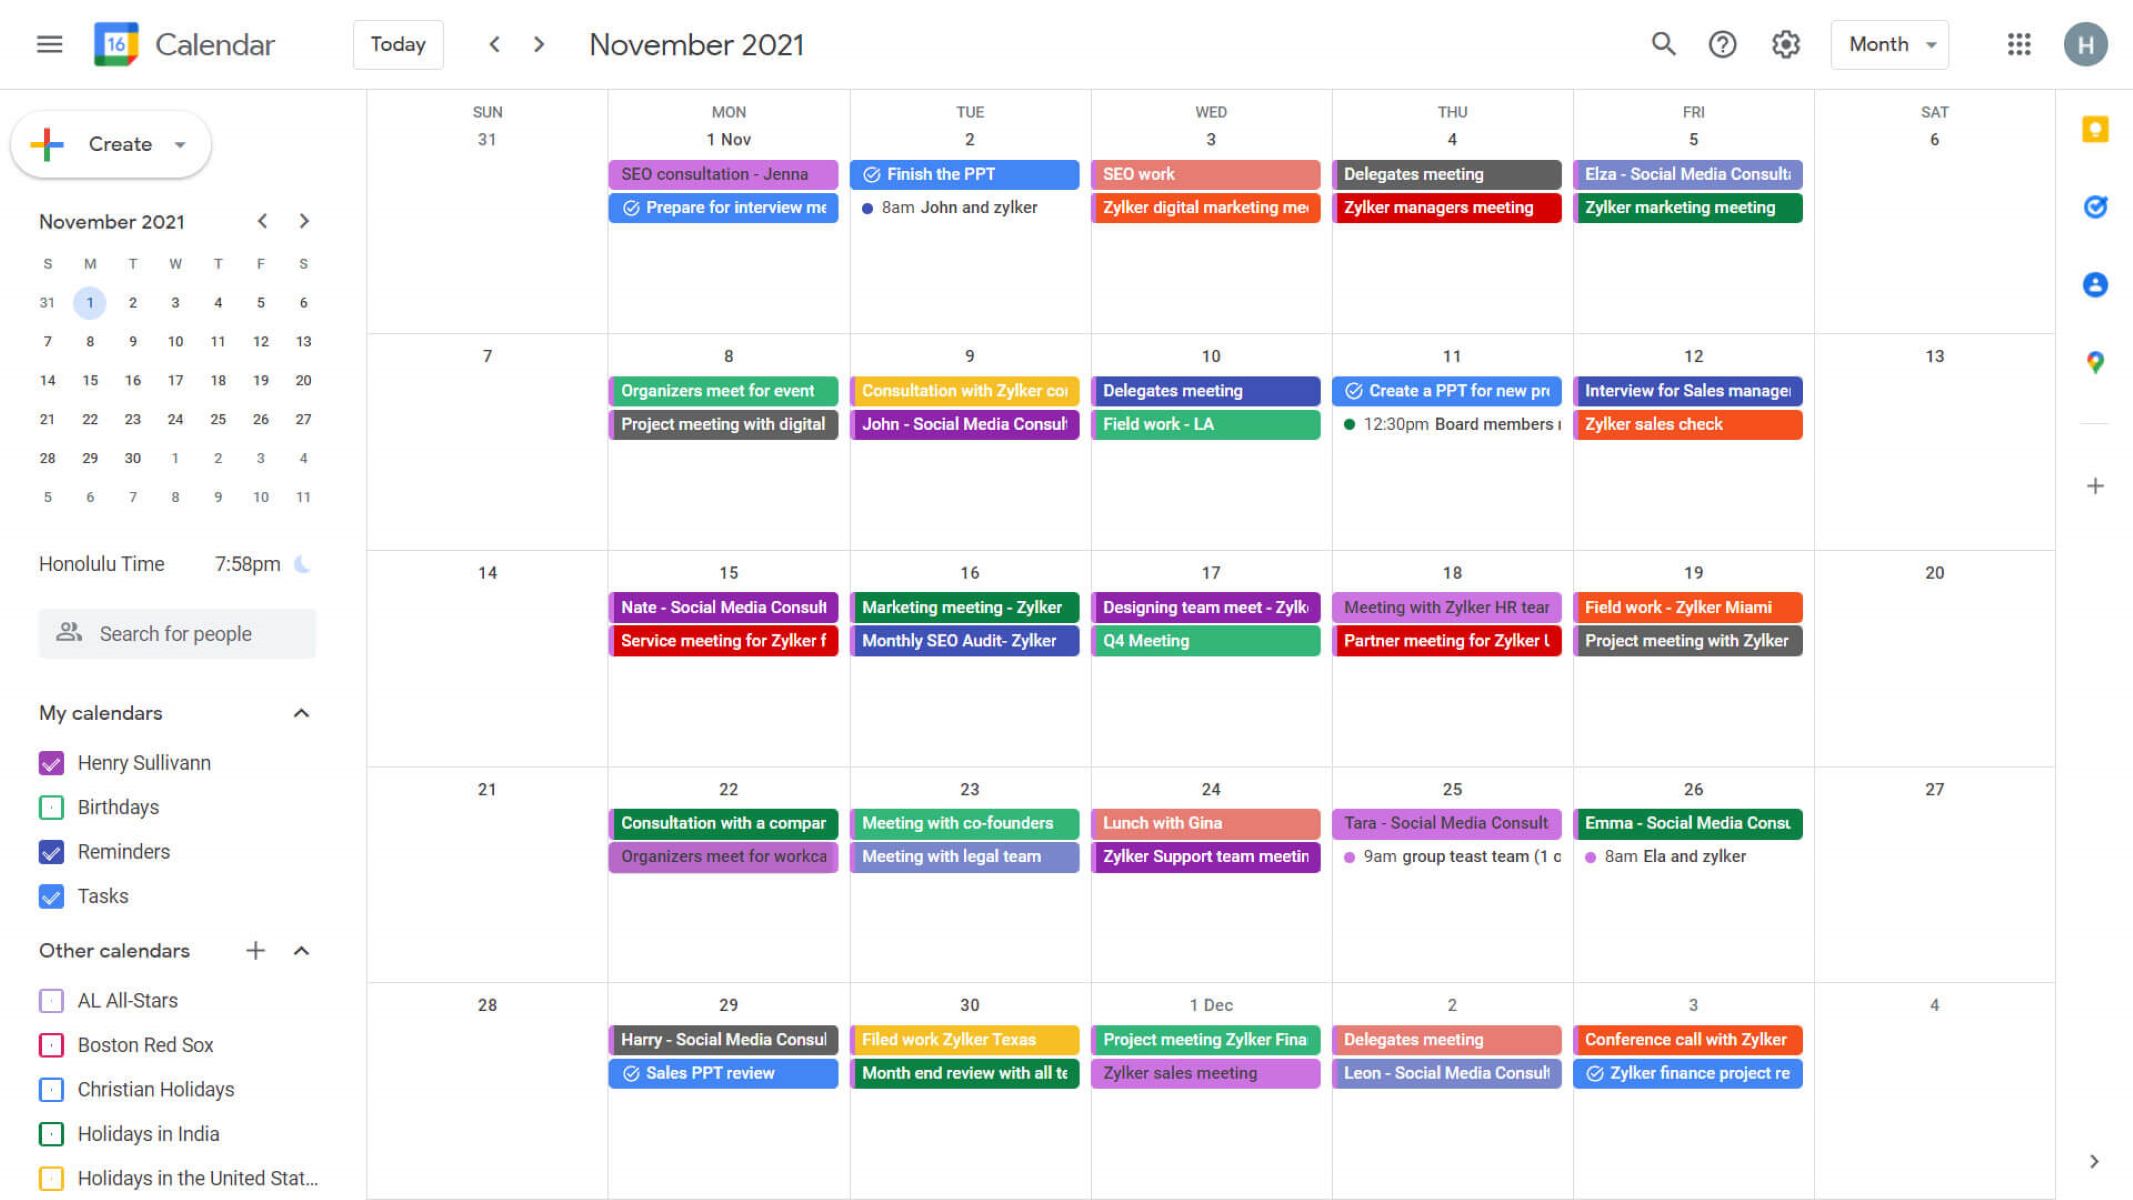
- Once you’ve accessed Google Calendar, take a look at the left sidebar. You will see a list of calendars that you currently have access to.
- Scroll down to the bottom of the calendar list until you see the “Other calendars” section.
- Within the “Other calendars” section, you will find a “+” icon or an option that says “Add” or “Add other calendars”. Click on this icon or option to proceed.
- A dropdown menu will appear with several options. Look for the “From URL” or “Subscribe to calendar” option and click on it.
By selecting the “From URL” or “Subscribe to calendar” option, you are indicating that you want to add a calendar to your Google Calendar by subscribing to it using a specific URL.
It’s worth mentioning that Google Calendar also provides other options to add calendars, such as “Add a coworker’s calendar” or “Add a room’s calendar” if you’re using Google Calendar for work or organization purposes. However, for the purpose of this guide, we will focus on the “From URL” or “Subscribe to calendar” option.
After successfully locating the “Add calendar” option, you are now ready to move on to the next step, where we will discuss how to choose the calendar you want to subscribe to.
Step 4: Choose the desired calendar to subscribe to
Once you’ve found the “Add calendar” option, it’s time to choose the calendar you want to subscribe to on Google. Follow the steps below to proceed:
- After clicking on the “From URL” or “Subscribe to calendar” option, a dialog box will appear where you can enter the URL of the calendar you wish to subscribe to.
- The URL of the calendar is typically provided by the calendar owner or organization. Ensure that you have the correct URL before proceeding. Copy the URL to your clipboard.
- Return to the dialog box in Google Calendar and paste the URL into the designated field. You can do this by right-clicking and selecting “Paste” or using the keyboard shortcut Ctrl+V (Windows) or Command+V (Mac).
- Once you’ve entered the URL, double-check to ensure it is correct and then click on the “Add calendar” or “Subscribe” button.
Google Calendar will now attempt to add the calendar based on the URL you provided. If the calendar is public and accessible, Google Calendar will successfully add it to your list of subscribed calendars.
It’s important to note that not all calendars are publicly accessible or available for subscription. Some calendars may require permission or invitation to access. In such cases, you may need to reach out to the calendar owner or organization to request access or an invitation.
Once you have successfully chosen the desired calendar to subscribe to, you are one step closer to staying updated with all the events and activities in that calendar. In the next step, we will discuss how to copy the calendar’s URL for future use or sharing.
Step 5: Copy the calendar’s URL
Copying the calendar’s URL is an essential step in the process of subscribing to a Google Calendar. Follow the steps below to copy the URL:
- Once you have successfully added the calendar to your Google Calendar, navigate to the list of subscribed calendars on the left sidebar.
- Locate the calendar you just added and hover your mouse over it. You should see a small menu icon (three vertical dots) or a settings icon (gear symbol) appear next to the calendar.
- Click on the menu icon or settings icon and a dropdown menu with various options will appear.
- Within the menu, look for an option that says “Get calendar URL”, “Copy URL”, or something similar. Click on this option to copy the calendar’s URL to your clipboard.
- Once you’ve copied the URL, you can use it for various purposes. You can share it with others who might be interested in subscribing to the same calendar, or you can keep it handy for future reference.
By copying the calendar’s URL, you have the flexibility to add the same calendar to other calendar applications or even share it with friends, family, or colleagues who use different calendar platforms.
It’s important to note that the calendar’s URL is unique to that specific calendar. If the calendar owner makes any updates or changes to the calendar, your subscription will automatically reflect those changes.
Now that you have successfully copied the calendar’s URL, let’s move on to the next step to learn how to add the calendar to your Google Calendar.
Step 6: Add the calendar to your Google Calendar
After copying the calendar’s URL, it’s time to add the calendar to your Google Calendar. Follow the steps below to complete this process:
- Open your Google Calendar by accessing it through your web browser or the Google Calendar mobile app.
- In the left sidebar, locate the section titled “Other calendars”.
- Click on the “+” icon or the “Add” button next to the “Other calendars” section.
- From the dropdown menu that appears, select “From URL” or “Subscribe to calendar”.
- In the dialog box that appears, paste the calendar’s URL that you copied in the previous step.
- Double-check to ensure the URL is correct, and then click on the “Add calendar” or “Subscribe” button.
- Google Calendar will now attempt to add the calendar based on the URL you provided. If the calendar is accessible and publicly available, it will be successfully added to your list of subscribed calendars.
- Your subscribed calendar will now appear in the “Other calendars” section of your Google Calendar interface.
Once you have added the calendar, Google Calendar will automatically update and sync events from the subscribed calendar. This means that any new events or changes made to the subscribed calendar by the owner will be reflected in your Google Calendar.
It’s important to note that the frequency of updates may vary depending on the calendar and its settings. Some calendars may update in real-time, while others may have a delay in syncing. If you notice any discrepancies or delays, try refreshing your Google Calendar or waiting for a few minutes to allow the updates to take effect.
Now that you have successfully added the calendar to your Google Calendar, you are all set to start enjoying the convenience of having all your events in one place. In the next step, we will discuss optional settings you can adjust for your subscribed calendar.
Step 7: Adjust calendar settings (optional)
Once you have added a calendar to your Google Calendar, you have the option to adjust the settings to suit your preferences. While this step is optional, it can help you personalize your experience with the subscribed calendar. Follow the steps below to adjust the calendar settings:
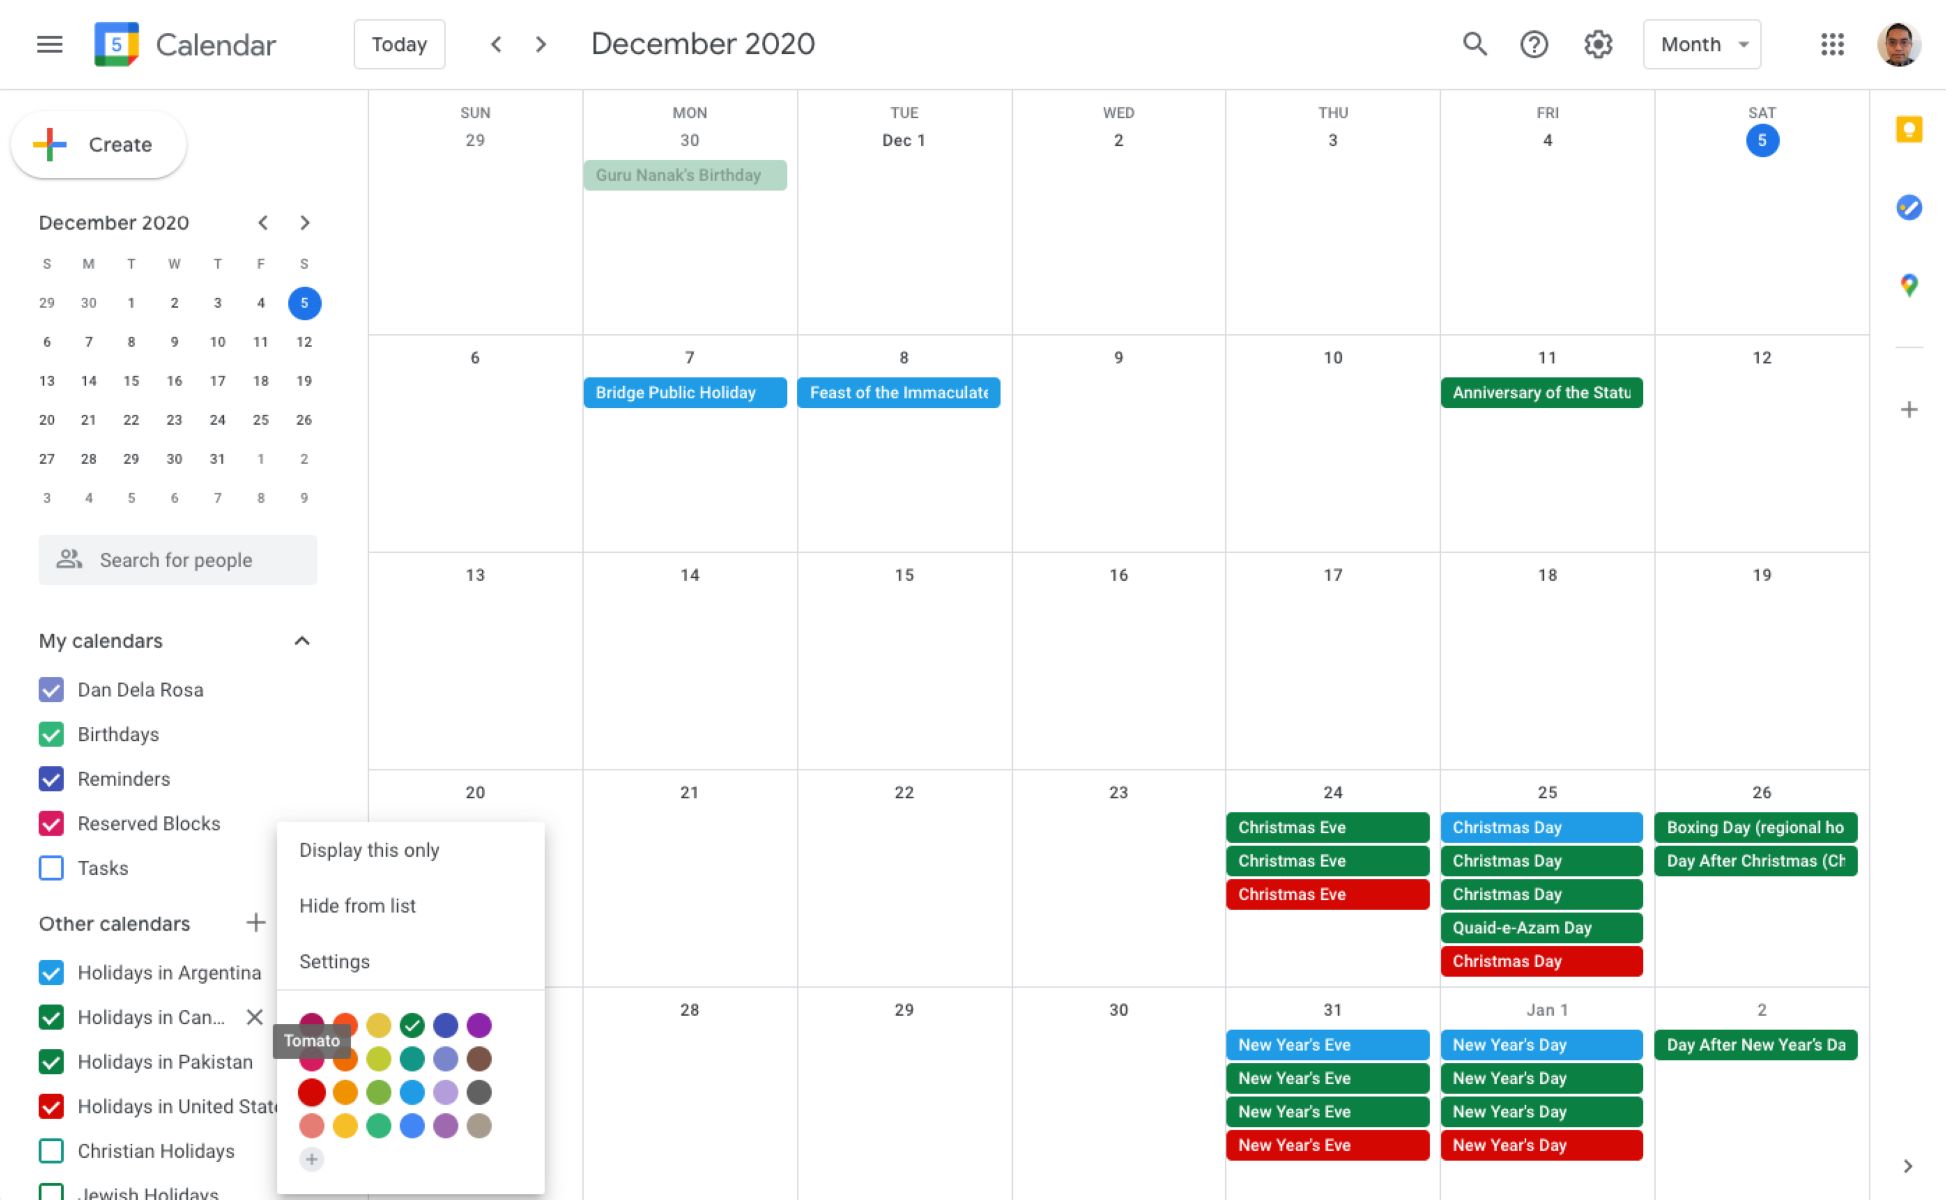
- In your Google Calendar, locate the subscribed calendar in the “Other calendars” section of the left sidebar.
- Hover your mouse over the calendar and look for the small menu icon (three vertical dots) or settings icon (gear symbol) that appears next to it.
- Click on the menu icon or settings icon to reveal a dropdown menu of options.
- Within this menu, you will find various settings that you can adjust.
- Common settings that you may want to consider include changing the calendar’s color, renaming the calendar, or adjusting the notifications for events on the subscribed calendar.
- Choose the settings you wish to adjust and make your desired changes.
- Once you have made the necessary changes, the settings will be applied to the subscribed calendar.
Adjusting the calendar settings allows you to personalize the appearance and behavior of the subscribed calendar within your Google Calendar. It gives you the ability to differentiate and categorize various calendars by color, making it easier to visually distinguish them.
You can also rename the calendar to something more meaningful or descriptive, especially if you have multiple subscribed calendars. This helps to keep your calendar list organized and easily identifiable.
Furthermore, adjusting the notifications for events on the subscribed calendar allows you to control how and when you receive reminders for upcoming events. You can choose to receive email notifications, mobile notifications, or even pop-up notifications within your Google Calendar interface.
Remember that the specific settings available to you may vary depending on the version of Google Calendar you are using, whether it’s the web version or the mobile app version.
Now that you have the option to customize the settings of your subscribed calendar, let’s move on to the final step, where we will discuss how to view the events from your subscribed calendar in your Google Calendar.
Step 8: View subscribed calendar events on Google Calendar
After successfully subscribing to a calendar and adjusting the necessary settings, it’s time to reap the benefits and view the events from your subscribed calendar in your Google Calendar. Follow the steps below to proceed:
- Open your Google Calendar by accessing it through your web browser or the Google Calendar mobile app.
- In the left sidebar, locate the section titled “Other calendars”.
- Within the “Other calendars” section, you will see the list of subscribed calendars you have added.
- To view the events from a specific calendar, simply ensure that the checkbox next to its name is checked.
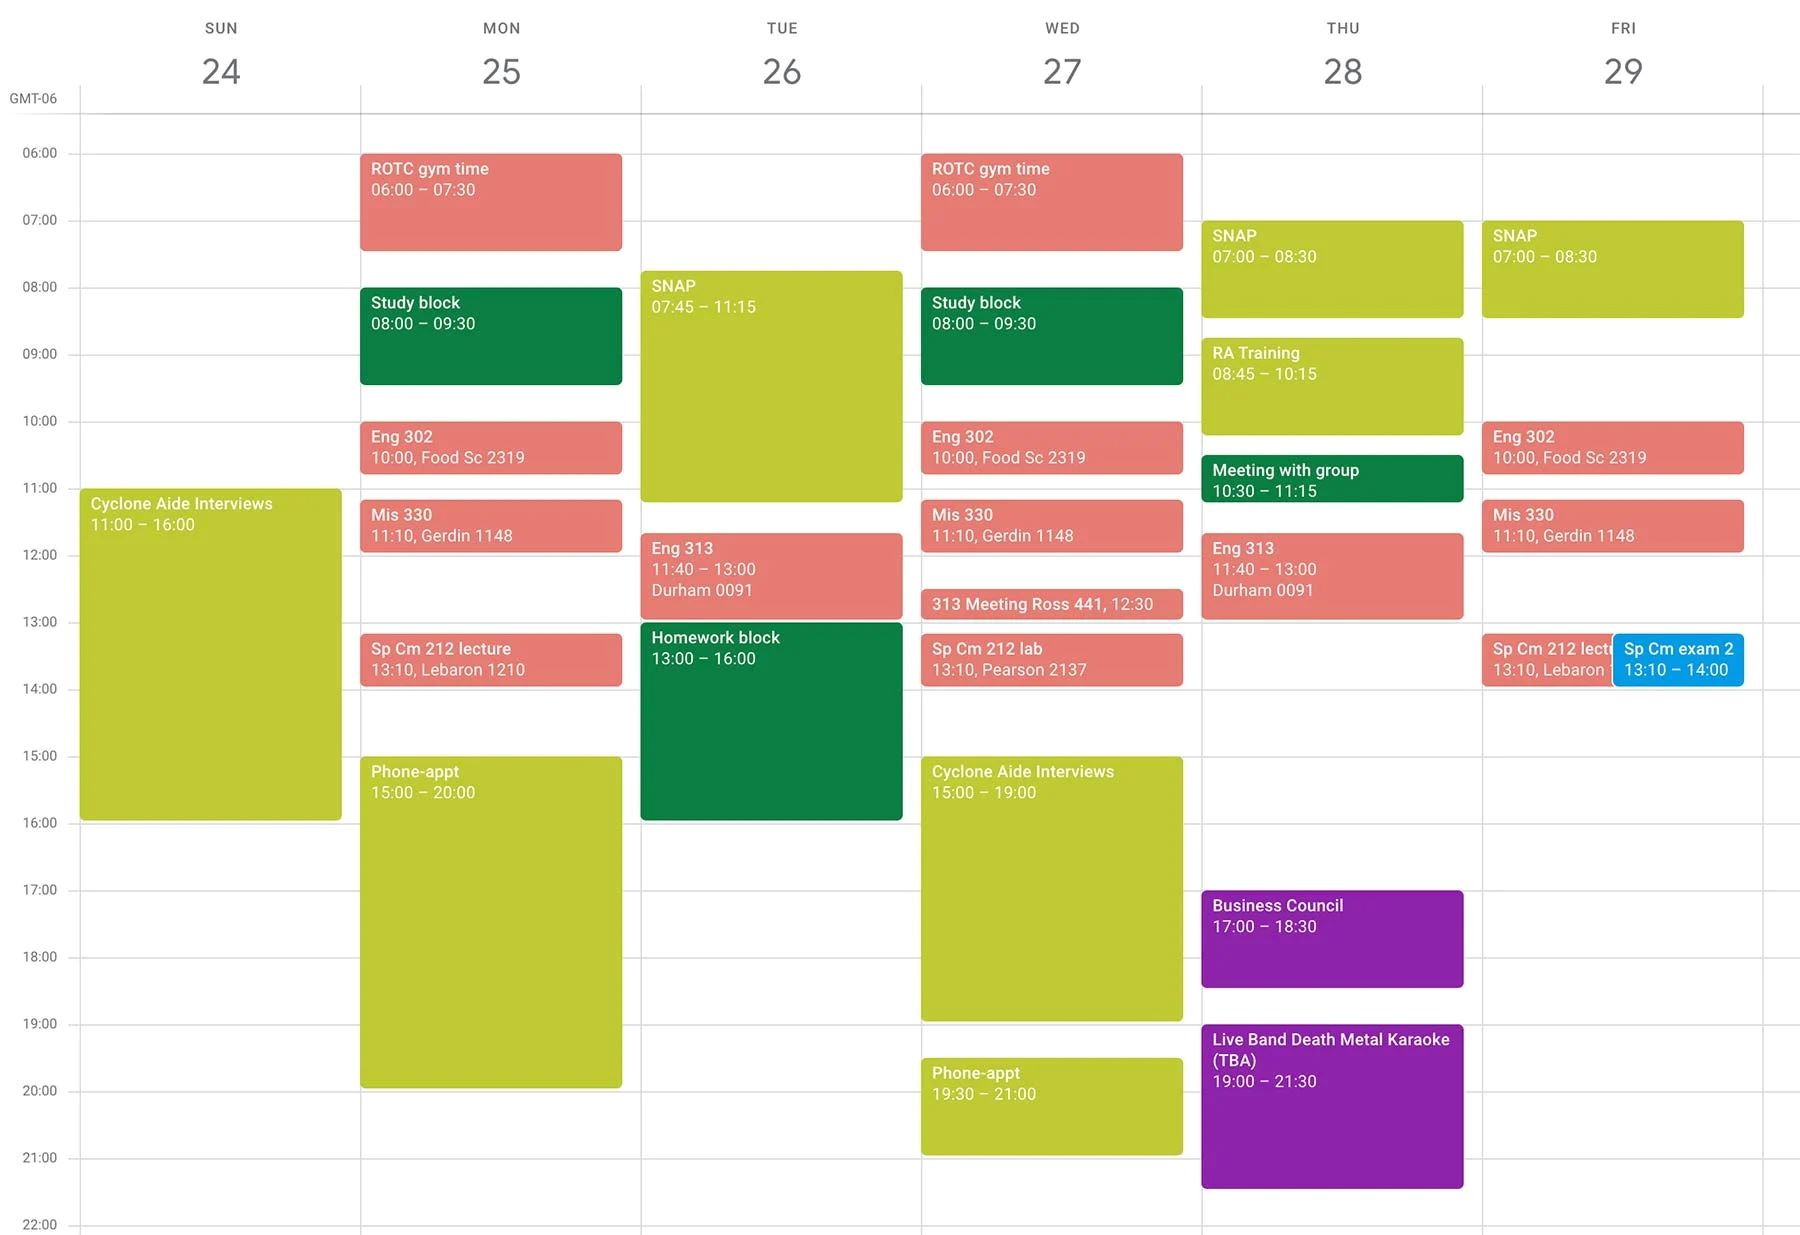
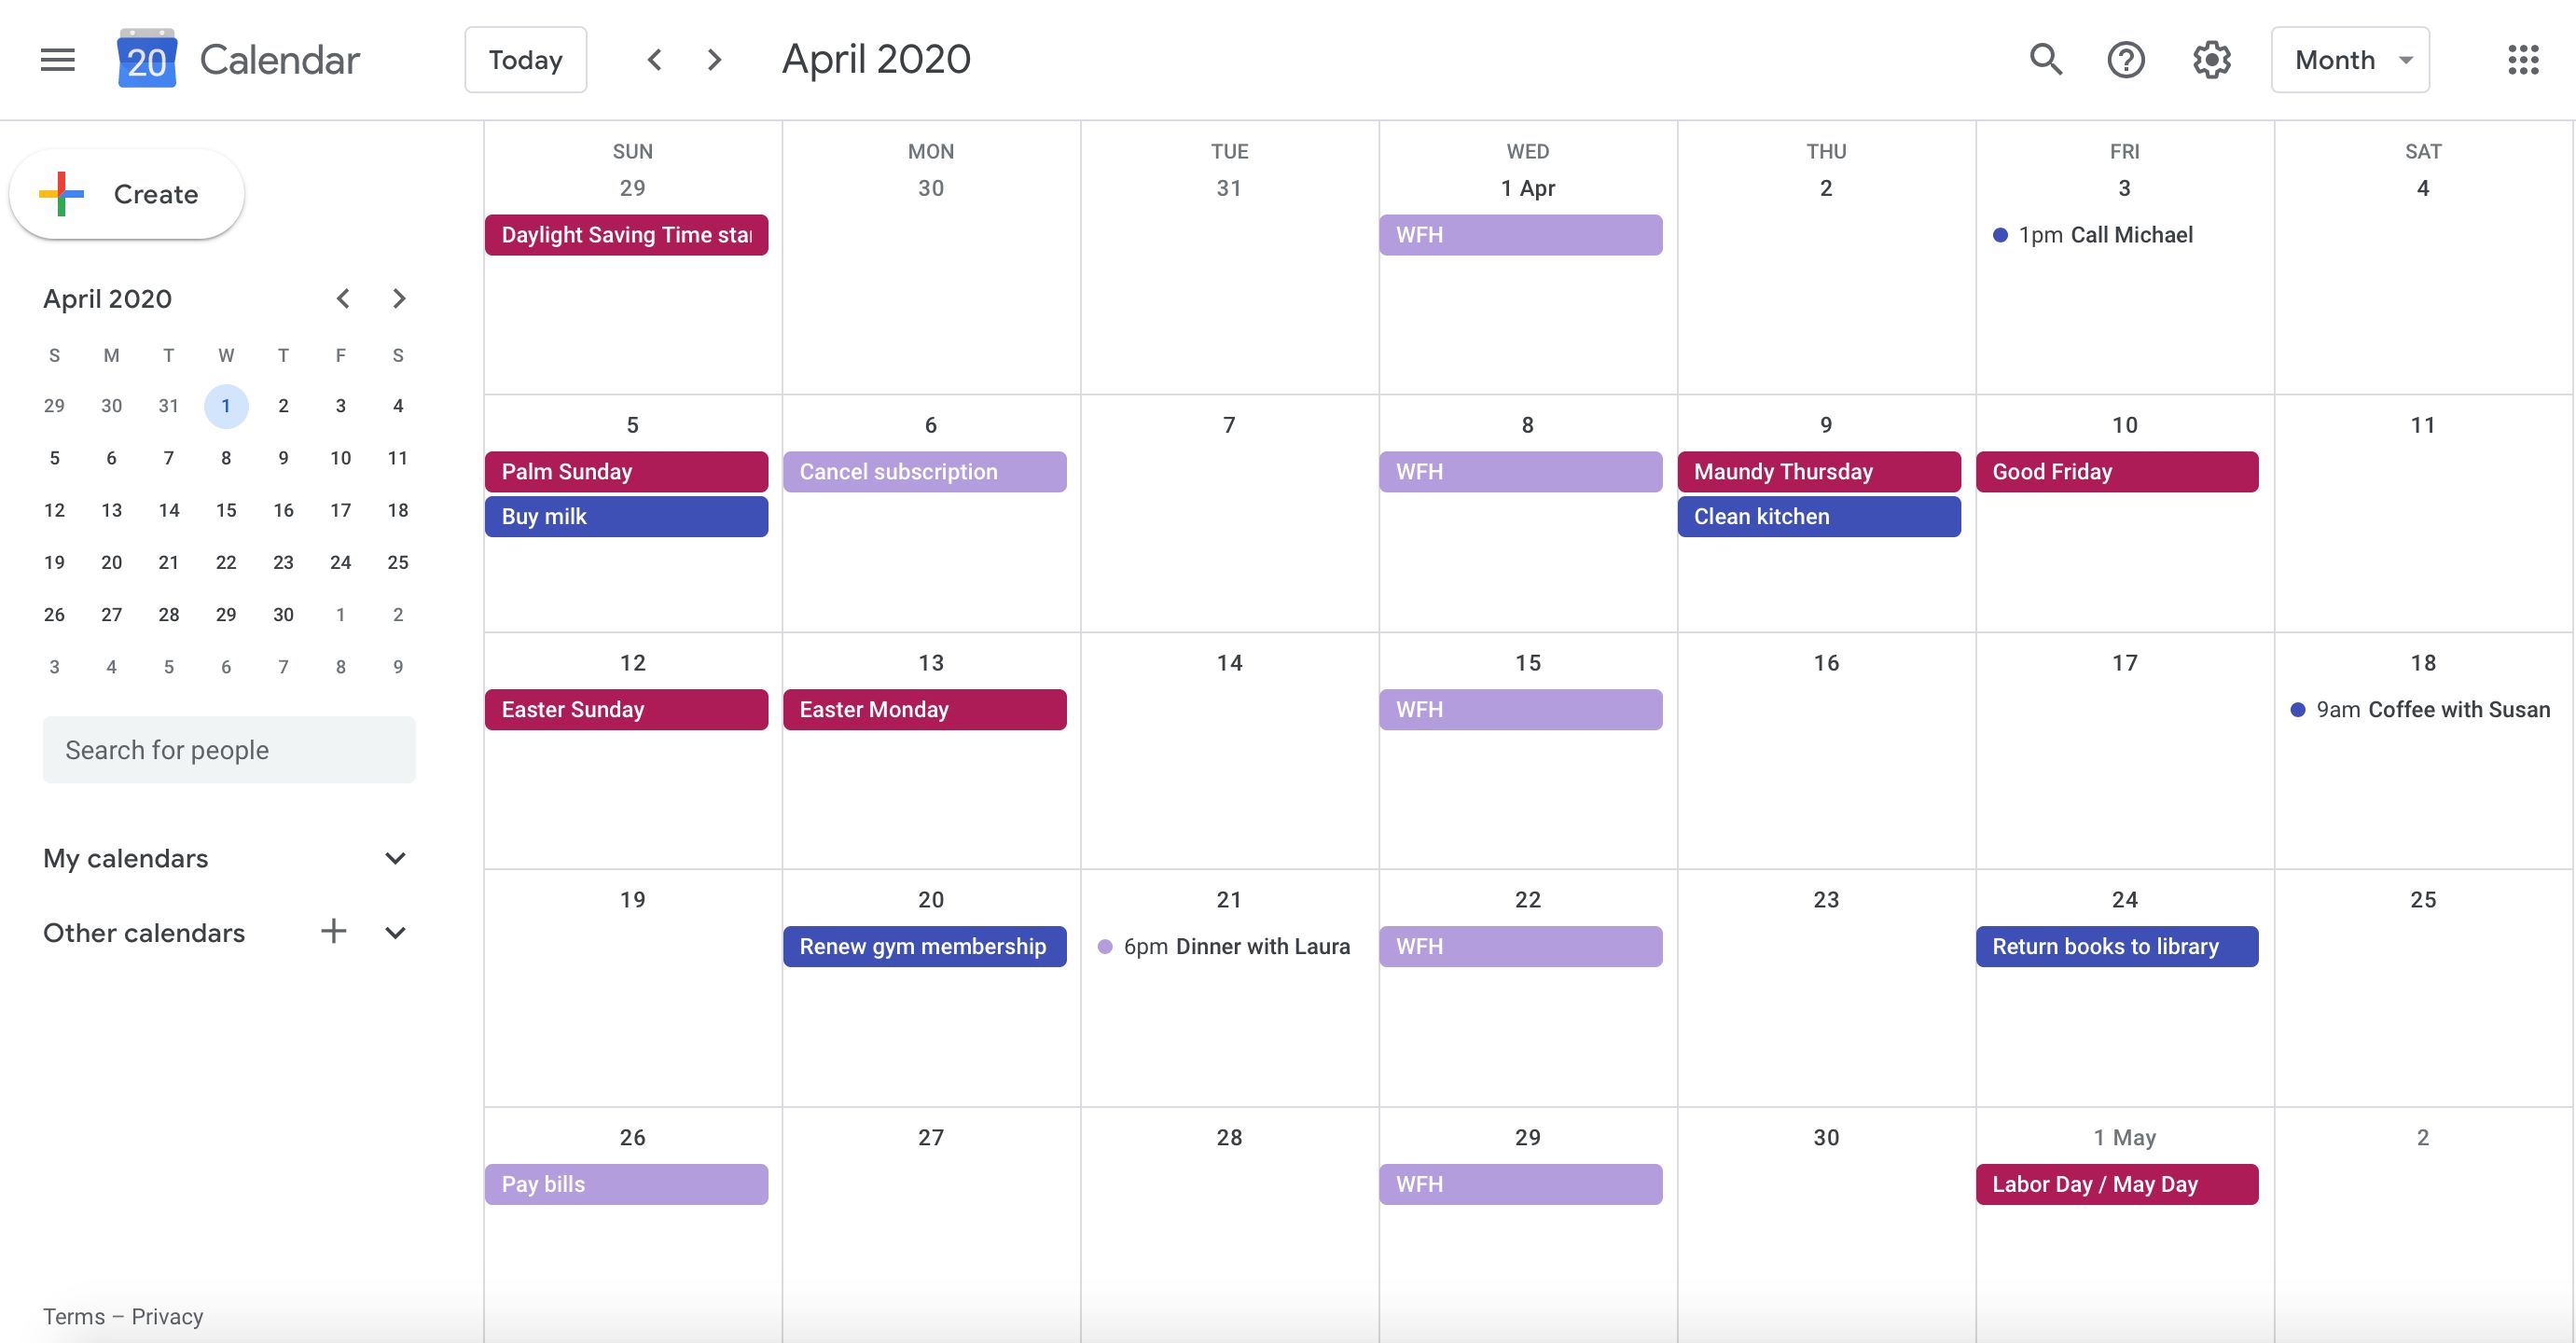
- Once you have checked the box, the events from the subscribed calendar will appear within your main Google Calendar interface.
- The events will be color-coded according to the settings you have chosen for each calendar, making it easy to differentiate them at a glance.
- You can interact with the events as you would with any other event in your Google Calendar. Click on an event to view more details, make edits, or add reminders or additional information.
- By viewing the subscribed calendar events within your Google Calendar, you have a consolidated view of all your events in one place, allowing for better organization and planning.
It’s important to note that any updates or changes made to the subscribed calendar by the owner will automatically reflect in your Google Calendar. This ensures that you stay up-to-date with the latest events and any modifications to existing events.
If you no longer wish to view the events from a subscribed calendar, simply uncheck the box next to its name in the “Other calendars” section. This will remove the events from your calendar view, but you will still have the option to re-enable them at any time.
With the ability to view subscribed calendar events in your Google Calendar, you now have a comprehensive overview of your schedule, seamlessly incorporating events from various calendars into one cohesive view.
Congratulations! You have now successfully subscribed to a calendar and learned how to view its events in your Google Calendar. Enjoy the convenience and organization that comes with having all your events in one place!
Conclusion
Subscribing to a Google Calendar is a simple and effective way to stay up-to-date with events, appointments, and schedules that are important to you. By following the step-by-step process outlined in this guide, you can easily add and view subscribed calendars within your Google Calendar interface, providing a consolidated view of all your events in one place.
We started by creating a Google Account, which is the foundation for accessing and utilizing Google Calendar. With a Google Account, you have access to a wide range of Google services, including Google Calendar, Gmail, and Google Drive, all synchronized across your devices.
We then guided you through the process of accessing Google Calendar and locating the “Add calendar” option. By choosing the desired calendar to subscribe to and copying its URL, you were able to add the calendar to your Google Calendar effortlessly.
We also discussed optional settings, allowing you to personalize the appearance and behavior of your subscribed calendars. Adjusting the calendar settings, such as color-coding, renaming, and notifications, enhanced your user experience and organization.
Finally, we explored how to view the events from your subscribed calendar within your Google Calendar, providing you with a comprehensive overview of your schedule. The synchronized updates ensure that you are always aware of any changes or additions made by the calendar owner.
With the knowledge and skills gained from this guide, you are now fully equipped to subscribe to Google Calendars of your choice, keeping your schedule organized, and never missing an important event.
So go ahead, explore the world of Google Calendar subscriptions, and uncover a new level of efficiency in managing your time and commitments!