Introduction
Canceling a meeting in Google Calendar can be a simple and straightforward process. Whether you need to reschedule due to conflicting commitments or unforeseen circumstances, knowing the steps to cancel a meeting can save you time and keep everyone involved informed.
Google Calendar is a widely used online calendar tool that allows you to schedule and manage events effortlessly. With its user-friendly interface, canceling a meeting can be done with just a few clicks.
In this article, we will guide you through the process of canceling a meeting in Google Calendar. We will also provide you with some tips on how to effectively communicate the cancellation to the attendees.
Whether you are using Google Calendar for personal or professional purposes, mastering the skill of canceling meetings can help you stay organized and keep your schedule up to date.
So, let’s dive into the step-by-step process of canceling a meeting in Google Calendar and learn how to effectively notify the attendees.
Step 1: Accessing your Google Calendar
To begin canceling a meeting in Google Calendar, you need to first access your Google Calendar account. Here’s how:
- Open a web browser and navigate to calendar.google.com. If you’re already logged in to your Google account, you will be directed to your calendar automatically.
- If you’re not logged in, enter your Google account credentials (email and password) to sign in.
- Once you’re logged in, you will see your Google Calendar main page, displaying your upcoming events and meetings.
If you’re using the Google Calendar mobile app on your smartphone or tablet, open the app to access your calendar.
By accessing your Google Calendar, you’re ready to proceed to the next step of canceling the meeting you wish to cancel. Let’s move on to Step 2.
Step 2: Locating the meeting you want to cancel
Once you have accessed your Google Calendar, the next step is to locate the specific meeting that you want to cancel. Here’s how you can do it:
- Take a look at your calendar view. You will see the dates and times of your upcoming events and meetings displayed in the calendar grid.
- Scroll through the calendar to find the date on which the meeting you want to cancel is scheduled.
- If the meeting is on a different date, you can navigate to the specific month, week, or day by using the forward and backward buttons located at the top left corner of your calendar.
- Once you have located the correct date, scan the time slots to find the meeting you want to cancel. Meetings are generally represented by block color codes or descriptions on the calendar grid.
- If you have a busy schedule, you can use the search function provided by Google Calendar to quickly find the specific meeting. Just enter keywords related to the meeting, such as the title or names of attendees, in the search bar located at the top of the calendar page.
- Google Calendar also offers various viewing options, such as day, week, month, or even schedule view, which can help you visualize your events and meetings in a way that suits your preferences.
By following these steps, you should be able to locate the meeting you want to cancel with ease. Once you have found the meeting, move on to Step 3 to open the event details.
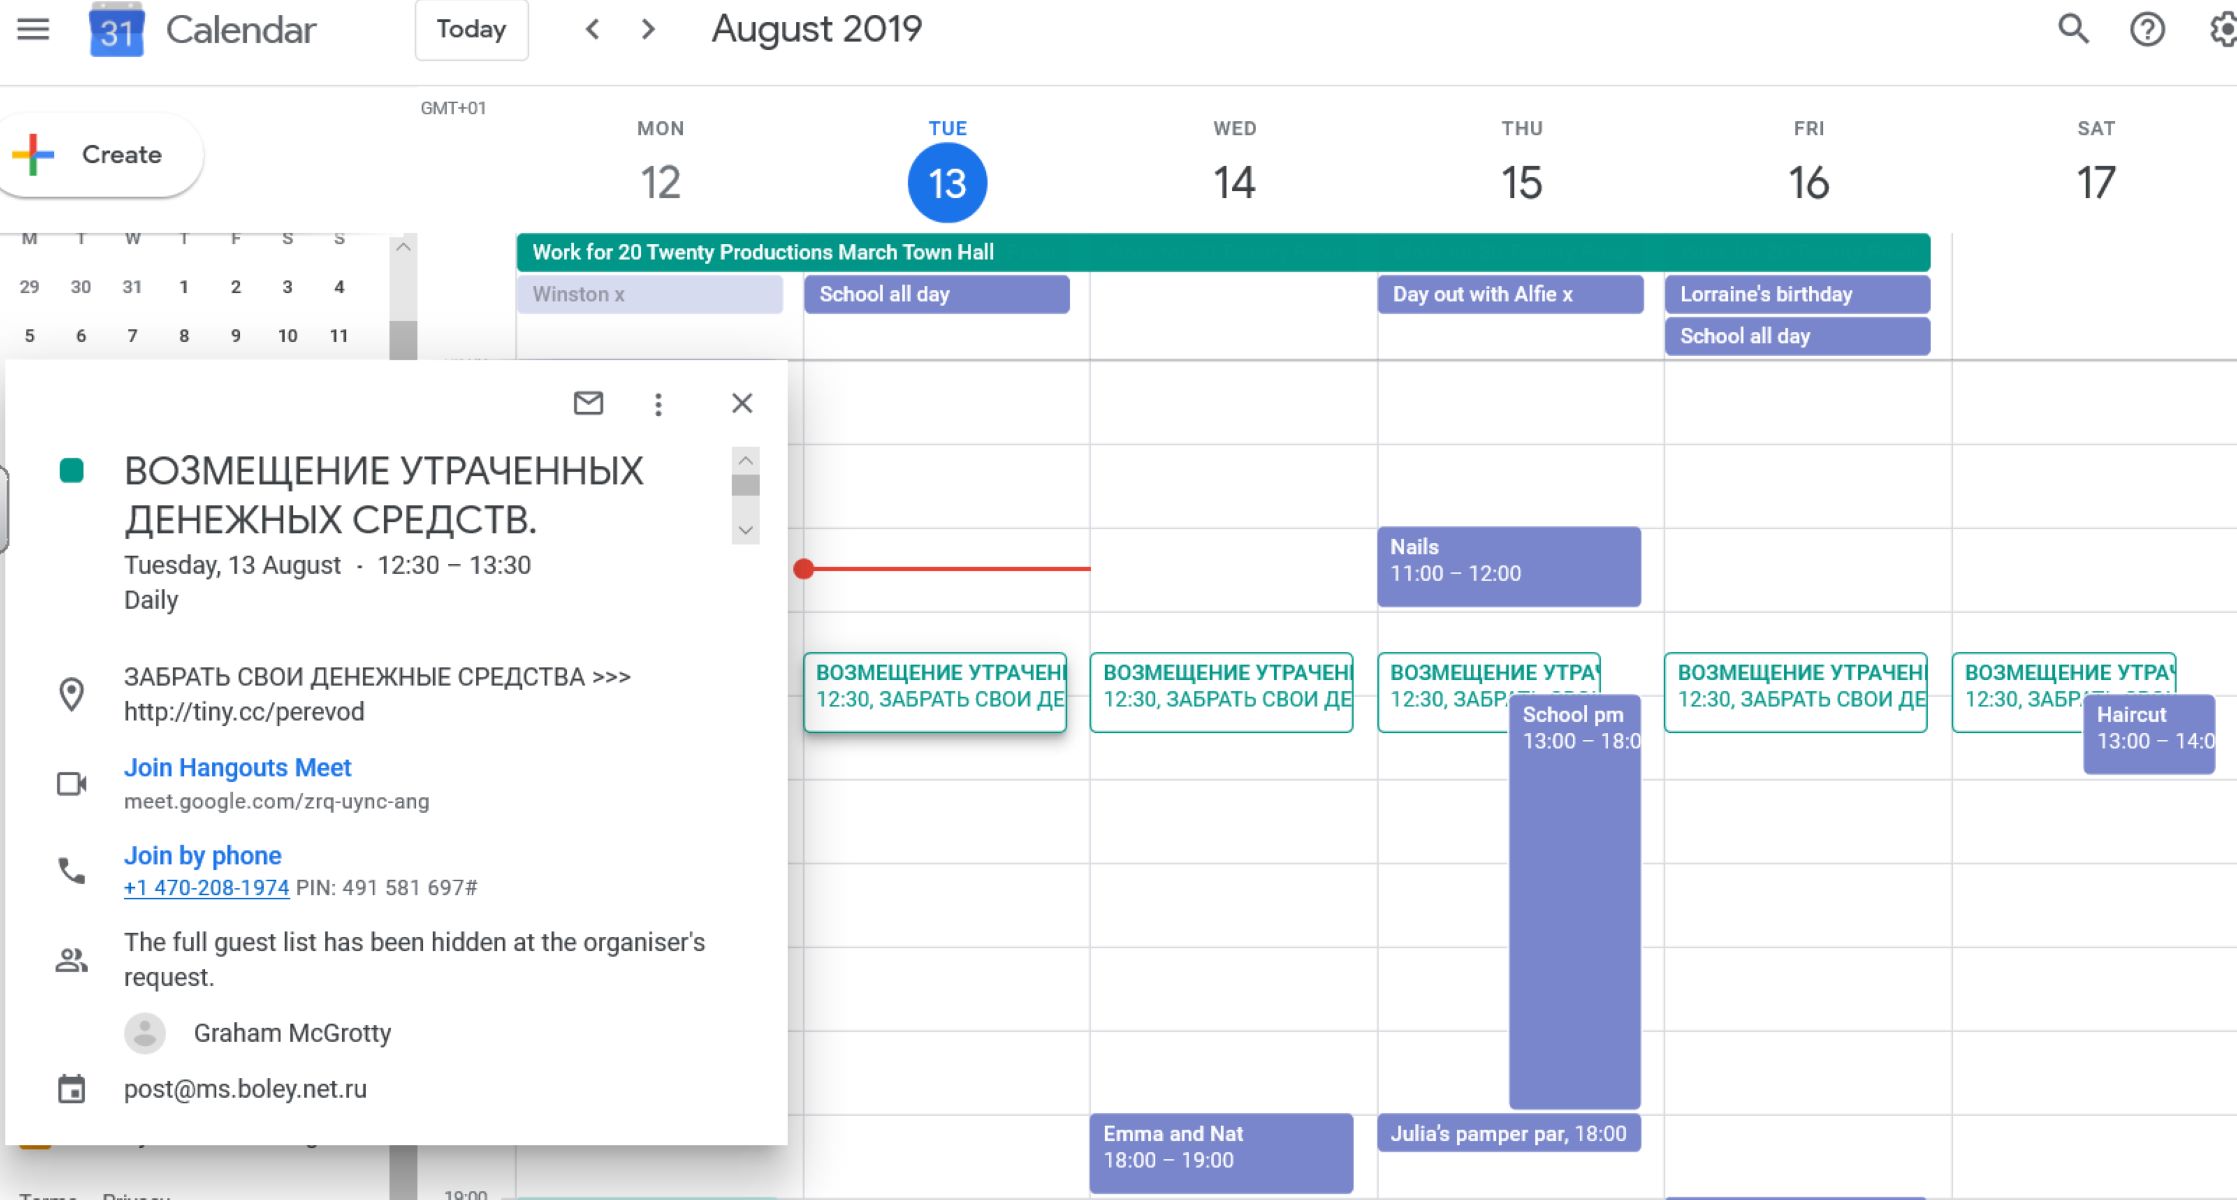
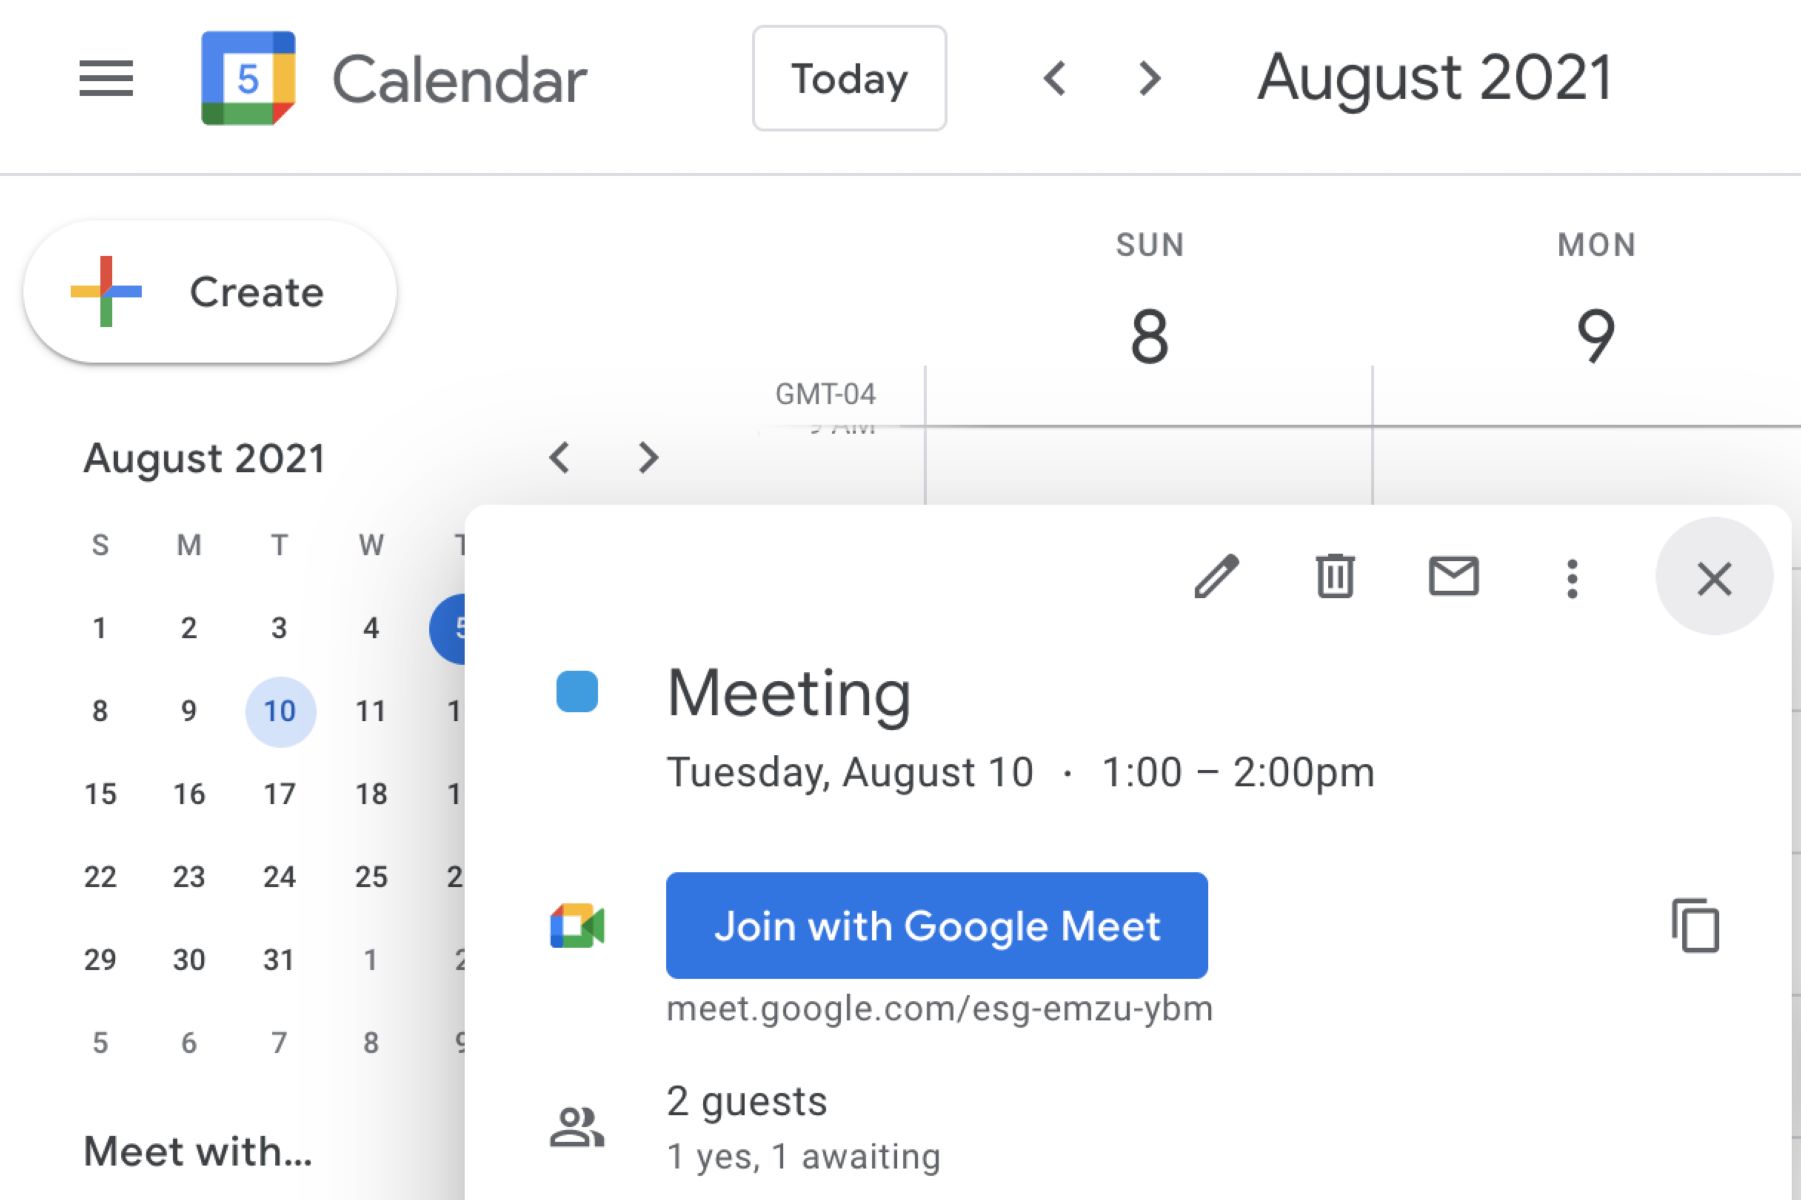
Step 3: Opening the event details
After successfully locating the meeting you want to cancel in Google Calendar, it’s time to open the event details to proceed with canceling the meeting. Here’s how:
- Click or tap on the meeting block on your calendar to open the event details.
- A pop-up window or a separate tab will appear, displaying the specific details of the meeting.
- In the event details, you will find information such as the meeting title, date, time, location, and the list of attendees.
- Take a moment to review the event details to ensure that you have selected the correct meeting. Double-check the date, time, and other relevant information.
- At this stage, you have the option to make any additional changes to the meeting if necessary. For example, if you want to reschedule instead of canceling, you can modify the date and time accordingly.
Opening the event details allows you to have a clear understanding of the meeting’s specifics and any adjustments that need to be made before proceeding with the cancellation. Once you have reviewed the details and made any necessary changes, you are ready to move on to Step 4 and cancel the meeting.
Step 4: Cancelling the meeting
Now that you have accessed the event details of the meeting you want to cancel, it’s time to proceed with canceling the meeting. Here’s how you can do it in Google Calendar:
- Within the event details window, locate the option to cancel the meeting. This is usually represented by a button or a link labeled “Cancel” or “Delete”.
- Click or tap on the cancel button/link to initiate the cancellation process.
- A confirmation message will appear, prompting you to confirm the cancellation.
- Take a moment to review the confirmation message to ensure that you are canceling the correct meeting. Pay attention to the date, time, and other relevant details mentioned in the confirmation.
- If you are sure about canceling the meeting, confirm the cancellation by clicking or tapping on the “Confirm” or “Delete” button.
- Upon confirming the cancellation, the meeting will be removed from your Google Calendar, and any associated notifications or reminders will be canceled as well.
It’s important to note that canceling the meeting in Google Calendar only removes it from your calendar. It does not automatically notify the attendees of the cancellation. To inform the attendees of the canceled meeting, proceed to Step 5.
By following these steps, you can easily cancel a meeting in Google Calendar and ensure that it is removed from your schedule. Let’s move on to the next step and learn how to notify the attendees about the cancellation.
Step 5: Notifying the attendees
After canceling a meeting in Google Calendar, it’s important to notify the attendees about the cancellation to keep everyone informed. Here’s how you can effectively communicate the cancellation:
- Within the event cancellation confirmation message, look for an option to send a notification to the attendees. This is usually presented as a checkbox or a button labeled “Send notification” or “Notify attendees”.
- Make sure the notification option is selected to send an update to all the attendees of the canceled meeting.
- In the notification window that appears, you have the option to customize the message. It’s best to provide a clear and concise explanation for the cancellation.
- Consider including any alternative arrangements or rescheduling plans, if applicable, to facilitate a smooth transition for the attendees.
- Review the notification message to ensure its accuracy and effectiveness in conveying the cancellation details.
- Once you are satisfied with the notification, click or tap on the “Send” button to send the cancellation update to all the attendees.
By notifying the attendees promptly, you enable them to adjust their schedules accordingly and avoid any confusion or inconvenience. Effective communication ensures that all parties involved are aware of the meeting cancellation and any necessary follow-up actions.
Now that you have successfully canceled the meeting and notified the attendees, you can consider rescheduling or making any necessary arrangements. However, this step is optional and depends on your specific circumstances. If you wish to proceed with rescheduling, please refer to Step 6.
Step 6: Optional: Rescheduling the meeting
If you need to reschedule the meeting that you have canceled in Google Calendar, you can follow these optional steps to make the necessary adjustments:
- Access your Google Calendar and navigate to the date and time slot when you want to hold the rescheduled meeting.
- Create a new event by clicking or tapping on the date and time slot. Fill in the event details such as the title, date, time, and location.
- Invite the same attendees by adding their email addresses or selecting them from your contact list. This ensures that they receive the notification and invitation to the rescheduled meeting.
- Include a message in the event description to inform the attendees that this is a rescheduled meeting and provide any relevant details or updates.
- Once you have filled in the necessary information, save the event to add it to your calendar and send notifications to the attendees.
Rescheduling the meeting allows you to find a new date and time that works for everyone involved. It also ensures that the attendees are well-informed about the change and can adjust their schedules accordingly.
Remember to communicate the rescheduled meeting details clearly to avoid any confusion and ensure that all attendees are aware of the new date, time, and location (if applicable).
With these optional steps, you can easily handle the rescheduling process and keep your meeting on track.
As a final note, it’s always a good practice to check with the attendees for their availability before finalizing the rescheduled date and time to ensure maximum attendance.
Conclusion
Canceling a meeting in Google Calendar is a simple and efficient process that allows you to manage your schedule effectively. By following the steps outlined in this article, you can easily cancel a meeting, notify the attendees, and, if necessary, reschedule the meeting for a more convenient time.
Remember to access your Google Calendar and locate the meeting you want to cancel. Open the event details to verify the specific meeting and make any modifications if needed. Then, proceed to cancel the meeting and send a notification to all the attendees to keep them informed.
Furthermore, if you find it necessary to reschedule the meeting, you have the option to make the necessary adjustments and invite the attendees to the rescheduled meeting. This ensures that all participants are aware of the new date, time, and location.
By effectively canceling and rescheduling meetings in Google Calendar, you can maintain a well-organized schedule, avoid conflicts, and facilitate clear communication with your colleagues, clients, or team members.
Make use of these efficient tools and methods to streamline your meeting management process and stay on top of your commitments.
So, the next time you need to cancel or reschedule a meeting, follow these step-by-step instructions, and make the most of Google Calendar’s features.
Take control of your schedule, save time, and ensure effective communication with ease.