Introduction
Welcome to Google Calendar, a versatile tool that helps you organize your schedule, manage appointments, and stay on top of important events. With its user-friendly interface and robust features, Google Calendar has become the go-to choice for individuals and businesses alike.
In this article, we will guide you through the process of creating a new calendar in Google Calendar. Whether you need a separate calendar for personal events, work-related tasks, or a specific project, Google Calendar allows you to easily create and organize multiple calendars to suit your needs.
By creating a new calendar, you can keep different aspects of your life or work separate, allowing for clear visibility and easy management of events. With the ability to share calendars, you can also collaborate with others, ensuring everyone stays on the same page.
So, let’s dive in and explore the step-by-step process of creating a new calendar in Google Calendar, and make organizing your schedule a breeze!
Step 1: Go to Google Calendar
To create a new calendar in Google Calendar, you will first need to access the platform. Here’s how you can do it:
- Open your web browser and navigate to Google Calendar by typing in https://calendar.google.com.
- If you already have a Google Account, sign in with your credentials. If you don’t have an account, click on the “Create account” button and follow the on-screen instructions to create one.
- Once signed in, you will be redirected to the Google Calendar homepage, where you can view your existing calendars and manage your schedule.
It’s important to note that Google Calendar is also available as a mobile app for both Android and iOS devices. If you prefer using the app, you can download it from the Google Play Store or the Apple App Store, sign in with your Google Account, and access your calendars on the go.
Whether you choose to use the web version or the mobile app, the steps to create a new calendar remain the same. So, now that you are on the Google Calendar platform, let’s move on to the next step: creating your new calendar!
Step 2: Click on the “+” icon
Now that you’re on the Google Calendar platform, the next step is to create a new calendar by clicking on the “+” icon. Follow these steps:
- Look for the “+” icon located in the top left corner of the Google Calendar interface. This icon represents the option to create something new.
- Click on the “+” icon. A dropdown menu will appear with several options.
- From the dropdown menu, select the “Create new calendar” option. This will open a new window where you can customize and set up your new calendar.
The “+” icon serves as the gateway to creating new elements in Google Calendar, including events, reminders, and calendars. By selecting “Create new calendar,” you are indicating your desire to create a brand new calendar to organize your events separately.
It’s important to note that if you are using the Google Calendar mobile app, you may need to tap on the “Add” button or a similar symbol to access the option to create a new calendar. The layout may vary slightly across different platforms, but the functionality remains the same.
Once you’ve successfully clicked on the “+” icon and selected the “Create new calendar” option, you’re ready to move on to the next step, where you’ll input the necessary details for your new calendar.
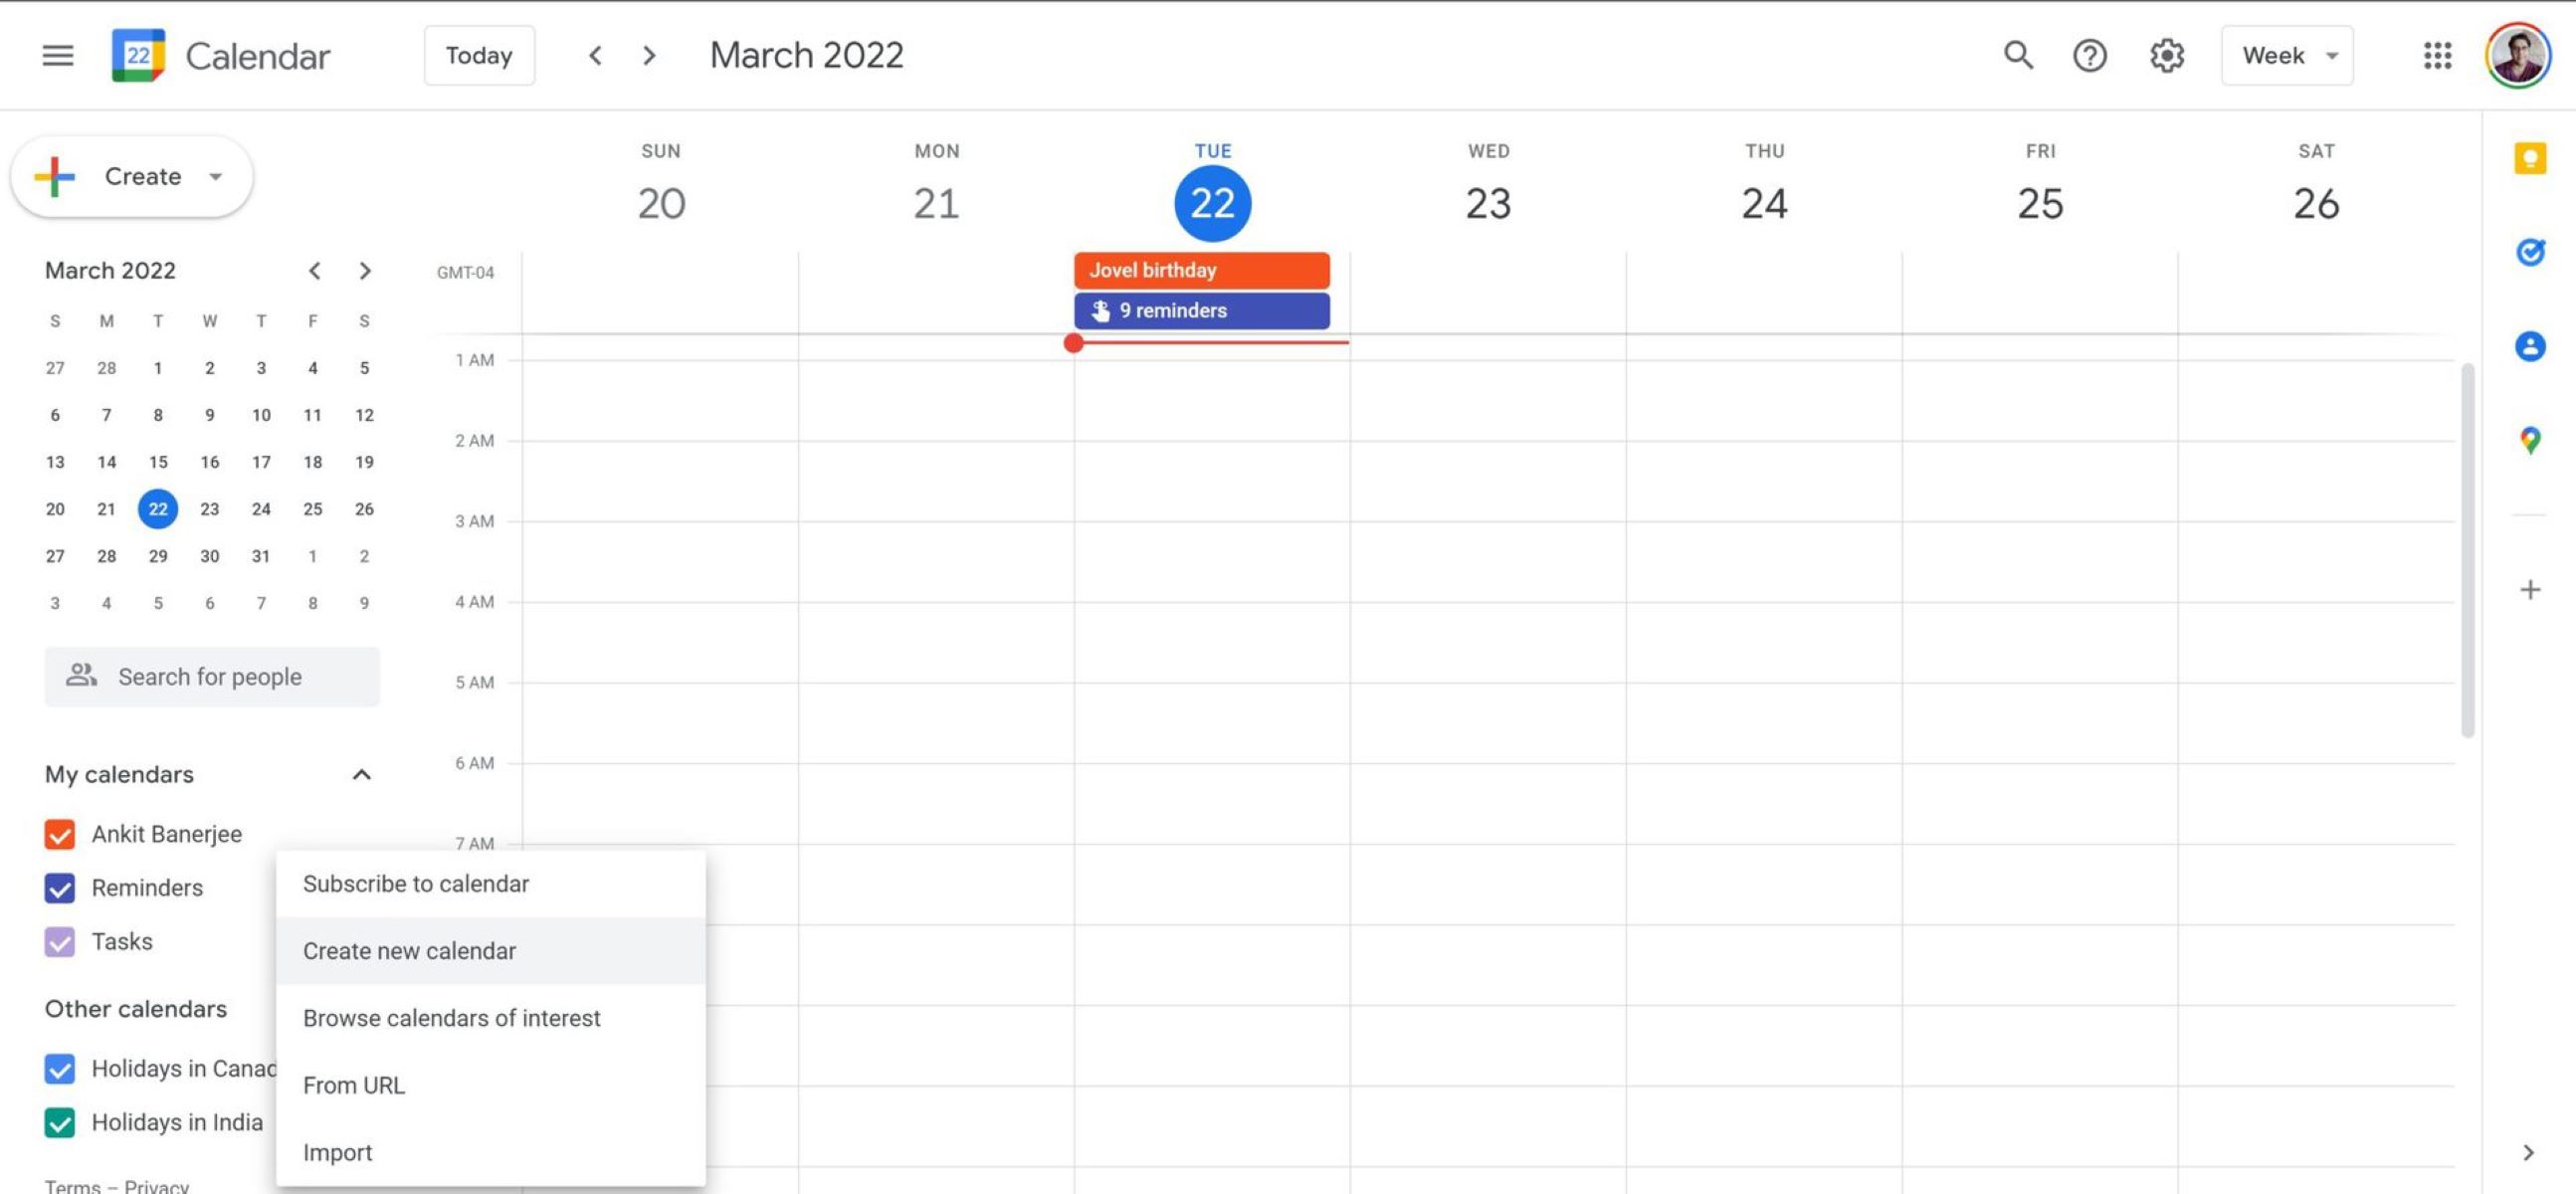
Step 3: Select “Create new calendar”
After clicking on the “+” icon, a dropdown menu will appear in Google Calendar. In this step, you need to select the “Create new calendar” option from the menu. Follow these instructions:
- Click on the “+” icon in the top left corner of the Google Calendar interface.
- From the dropdown menu that appears, locate and click on the “Create new calendar” option.
By selecting “Create new calendar,” you are indicating your intent to create a fresh calendar that is separate from your existing ones. This new calendar will allow you to categorize and manage your events more effectively.
After you click on this option, a new window will open where you can input the details and customize various settings for your new calendar. This window provides you with the opportunity to personalize your calendar to suit your specific needs.
It’s important to note that the process of selecting “Create new calendar” may vary slightly on the mobile app, but the overall functionality remains the same. Look for a similar option, such as “Add calendar” or an icon with a plus sign (+), to create a new calendar.
Once you have successfully selected “Create new calendar,” you’re ready to move on to the next step, where you’ll have the chance to provide details for your new calendar.
Step 4: Enter calendar details
Now that you have selected “Create new calendar,” it’s time to enter the details for your new calendar in Google Calendar. Follow these steps to customize and personalize your calendar:
- In the new window that opens after selecting “Create new calendar,” enter a name for your calendar in the designated field. Choose a name that accurately represents the purpose or theme of your calendar, whether it’s for personal, work, or specific project-related events.
- Next, provide a description for your calendar. While this step is optional, adding a description can be helpful for clarifying the purpose or providing additional context for the calendar’s content.
- Choose a time zone for your calendar. This ensures that events and reminders are displayed accurately in relation to your local time. Select the appropriate time zone from the dropdown menu.
- If you want to make your calendar public, enabling others to view its events, check the “Make available to public” box. If you prefer to keep your calendar private, leave this option unchecked.
- Upon entering these details, click on the “Create calendar” button to proceed. Your new calendar will be created and added to your Google Calendar interface.
Remember, the name and description of your calendar can always be edited later if needed. Additionally, you can adjust the time zone or visibility settings at any time to suit your changing needs.
By entering the necessary details for your new calendar, you’re one step closer to having a dedicated space to organize and manage your events. Now, let’s move on to the next step and customize the settings for your newly created calendar.
Step 5: Customize calendar settings
After creating your new calendar in Google Calendar, it’s time to customize the settings to suit your preferences. By customizing the settings, you can personalize your calendar’s appearance and functionality. Follow these steps to make the necessary adjustments:
- Locate your newly created calendar in the list on the left-hand side of the Google Calendar interface. It should appear under the “My calendars” section.
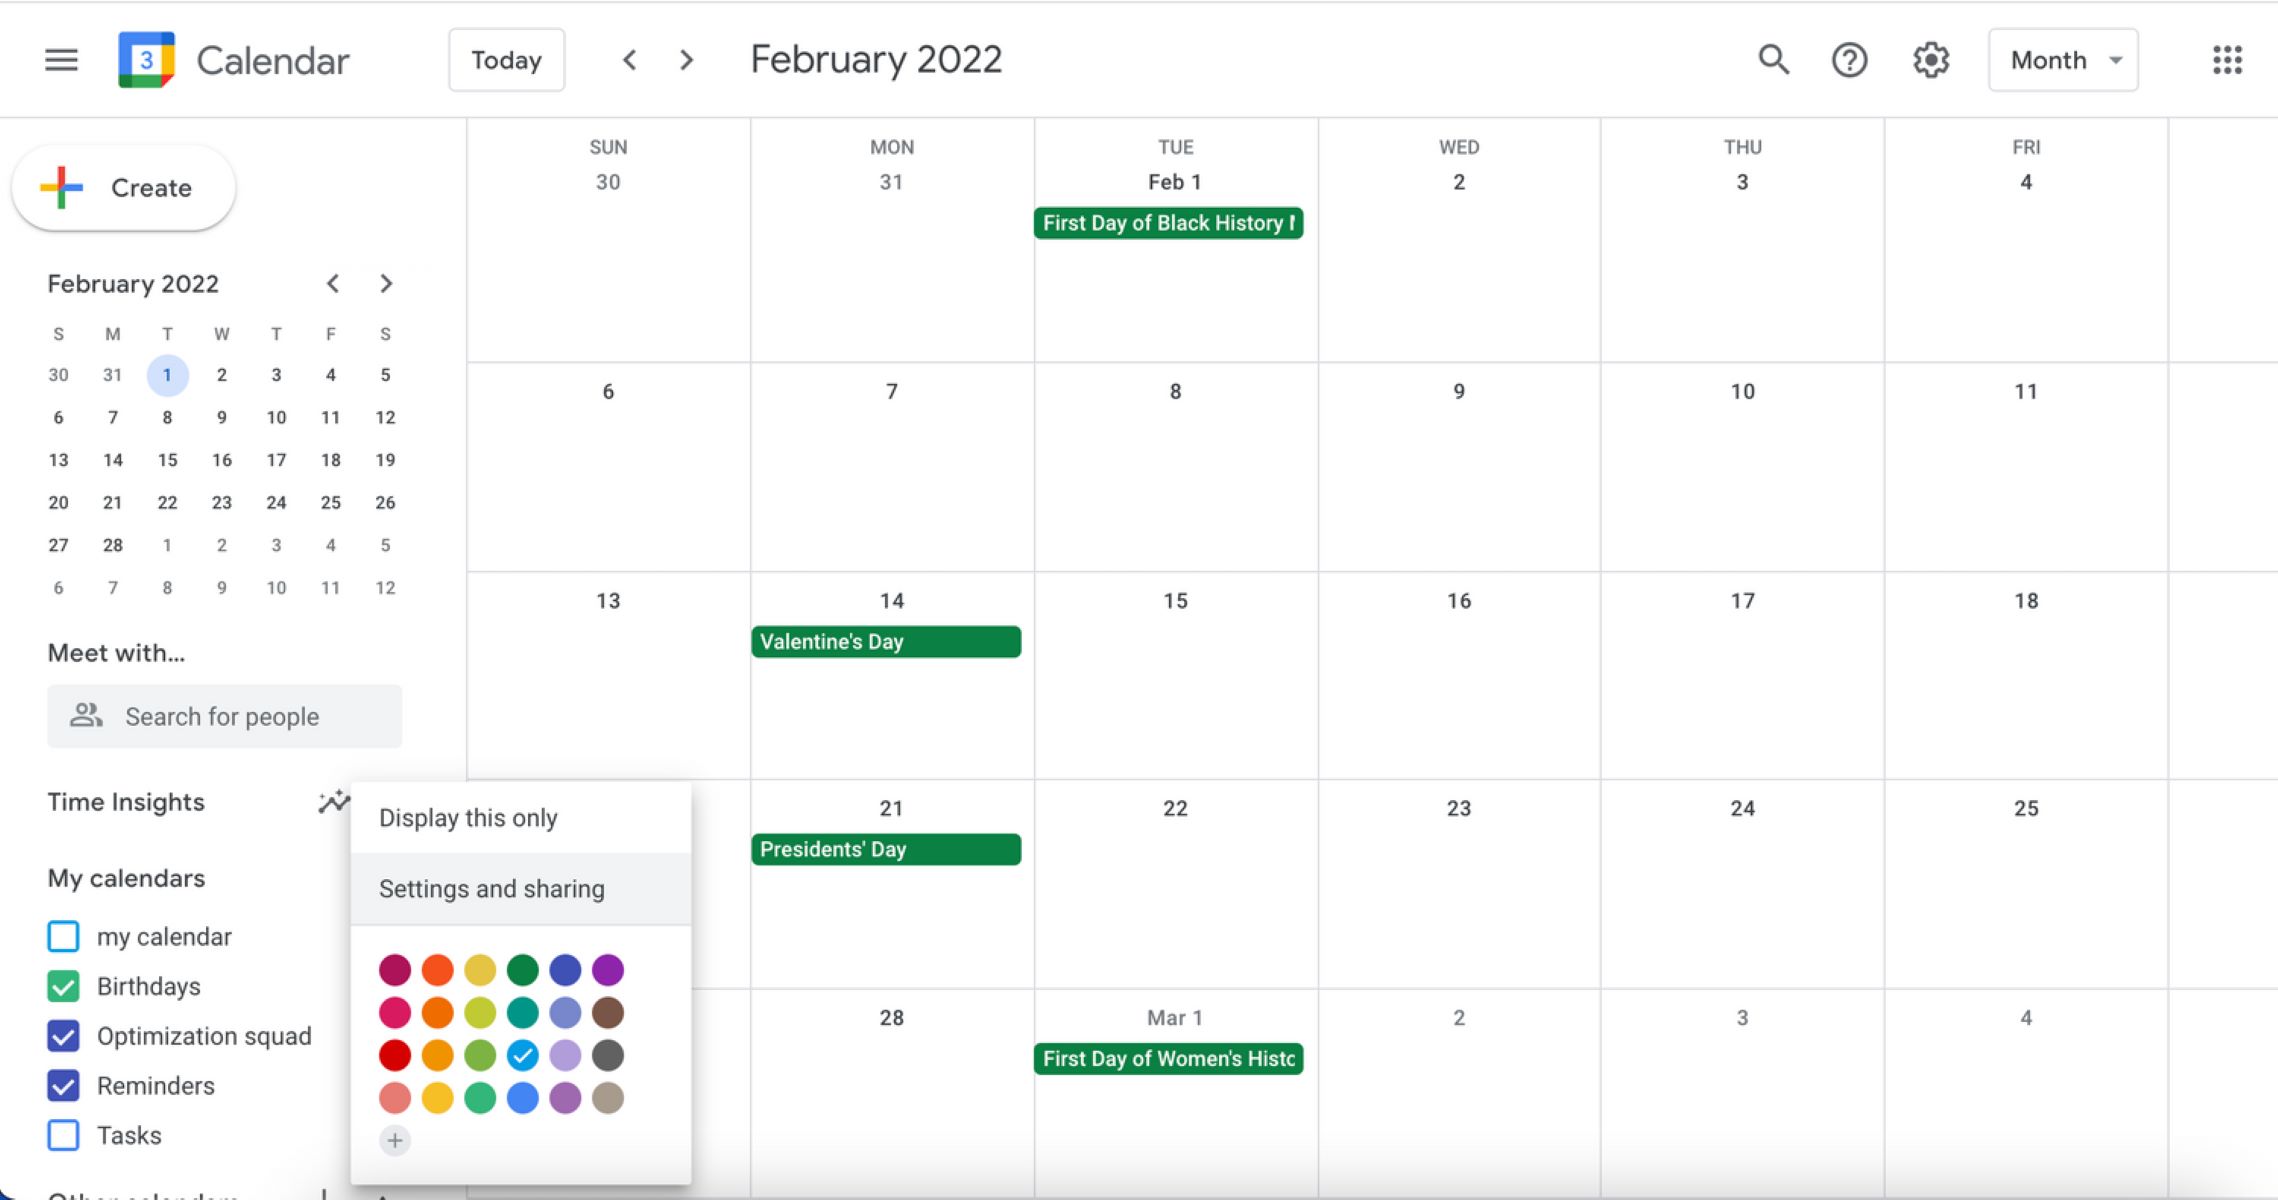
- Hover your cursor over the calendar name to reveal a three-dot menu icon to the right. Click on this icon to open a dropdown menu of options.
- From the dropdown menu, select “Settings and sharing” to access the settings for your calendar.
Upon selecting “Settings and sharing,” you will be presented with a range of options to customize your calendar:
- Calendar color: Choose a color that represents your calendar visually. This color will help distinguish events and reminders from other calendars.
- Notifications: Set up reminders for your events. You can choose to receive notifications via email or as pop-up alerts on your computer or mobile device.
- Share with specific people: If you want to collaborate or grant access to specific individuals, you can add them by email and set their level of permissions (view, edit, or manage).
- Integrate with other apps: Google Calendar offers integration with various other apps and services. Explore these options to enhance your calendar’s capabilities.
- Advanced settings: For more advanced customization, you can delve into the advanced settings, where you can adjust visibility, event defaults, and other specific features.
Remember to save any changes you make to your calendar settings by clicking the “Save” or “Done” button before leaving the settings page.
By customizing the settings according to your preferences, you can make your calendar work for you. Take a moment to explore the various options and fine-tune your calendar’s appearance and functionality.
Now that you have customized your calendar settings, let’s move on to the final step and save your new calendar in Google Calendar.
Step 6: Save the new calendar
After customizing the settings for your new calendar in Google Calendar, it’s time to save your changes and finalize the creation process. Follow these steps to save your new calendar:
- Once you have made the necessary adjustments to your calendar settings, click the “Save” or “Done” button to save your changes.
- Your new calendar will now be visible in the “My calendars” section on the left-hand side of the Google Calendar interface.
- To access and navigate your new calendar, simply click on its name in the calendar list.
By saving your new calendar, you ensure that all the customization and settings you’ve applied are preserved. You can now start populating your calendar with events, reminders, and appointments based on your specific needs.
Remember, your newly created calendar is also integrated with your Google Account, allowing for seamless synchronization across devices and easy sharing with others if desired.
It’s important to note that you can always go back to the calendar settings to modify or update them as needed. As your needs change, you might want to adjust the color, notifications, or sharing settings to better align with your workflow.
Congratulations! You have successfully created a new calendar in Google Calendar and customized its settings to suit your preferences. Now, you can efficiently manage your schedule and stay organized with the help of this powerful tool.
Feel free to explore more features and functionalities offered by Google Calendar to enhance your productivity and streamline your daily activities. Happy scheduling!
Conclusion
Creating a new calendar in Google Calendar is a straightforward process that allows you to keep your events and appointments organized and easily manageable. By following the steps outlined in this guide, you can create separate calendars for personal, work, or specific project-related activities, ensuring clear visibility and efficient scheduling.
Google Calendar offers a user-friendly interface and a range of customizable settings. You can personalize your calendar’s appearance, set up notifications, and even share it with others for collaborative purposes.
Remember to access Google Calendar through the web version or the mobile app, depending on your preference and convenience. The steps to create a new calendar remain the same across both platforms.
Whether you’re a student, professional, or just someone looking to stay organized, Google Calendar provides the tools you need to manage your time effectively. By creating separate calendars and customizing the settings, you can tailor your calendar to suit your specific needs and preferences.
Take advantage of the features and functionalities offered by Google Calendar, such as color-coding, notifications, and integration with other apps, to optimize your scheduling and productivity.
Now that you have the knowledge to create a new calendar, why wait? Start organizing your events and stay on top of your schedule with the help of Google Calendar.
Remember, creating a new calendar is just the beginning. Continuously update and maintain your calendar, and explore additional features offered by Google Calendar to make the most out of this powerful tool.
With Google Calendar by your side, you can streamline your daily activities, manage your time effectively, and never miss an important event again. Happy scheduling!