Introduction
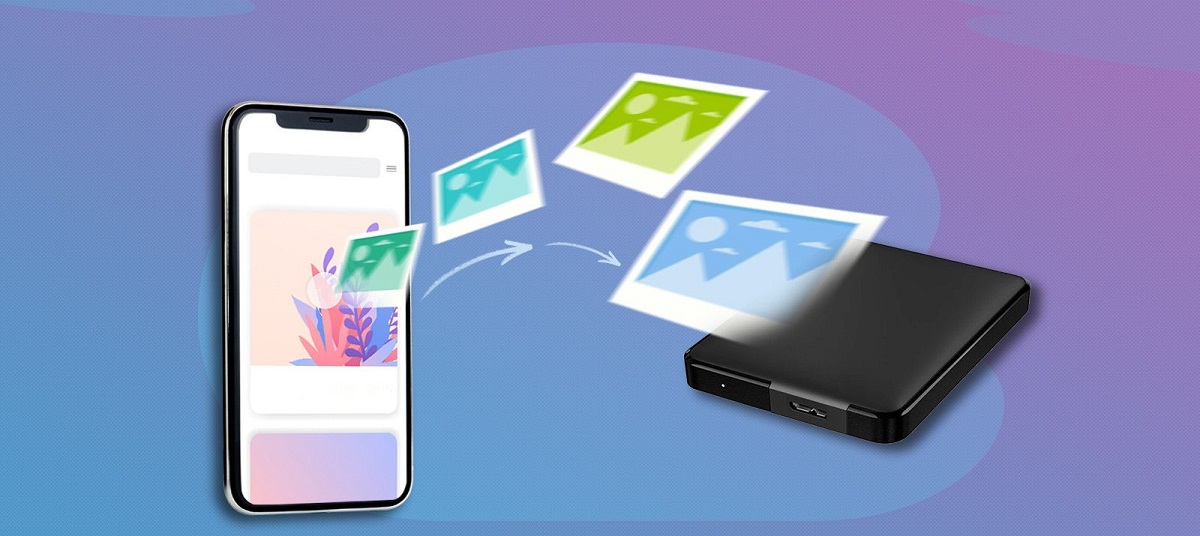
Welcome to this step-by-step guide on how to move files from iCloud to an external hard drive. If you are running out of storage space on your iCloud account, transferring your files to an external hard drive is a great solution. Not only does it free up space on your iCloud storage, but it also allows you to have a backup of your files on a physical device.
iCloud is a cloud storage service provided by Apple that allows users to store and synchronize their files across multiple devices. While iCloud offers a convenient way to access your files on the go, it has limited storage space, especially for users with free accounts. By moving your files to an external hard drive, you can keep your important data safe and easily access it whenever needed.
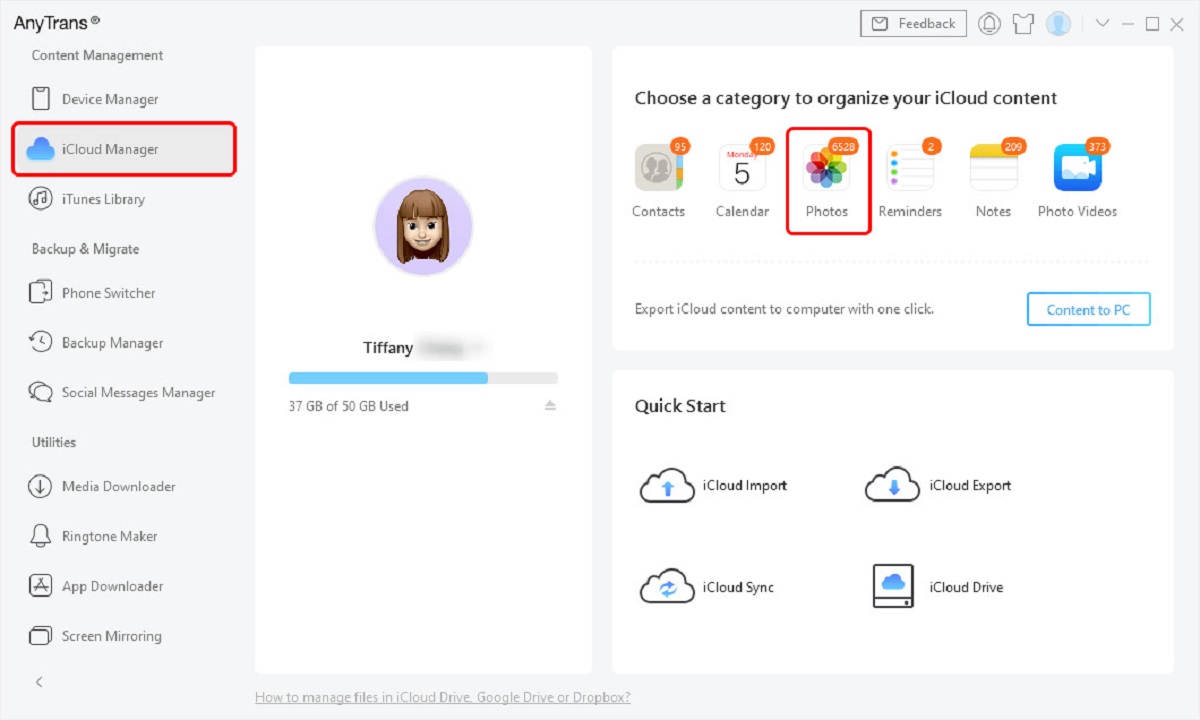
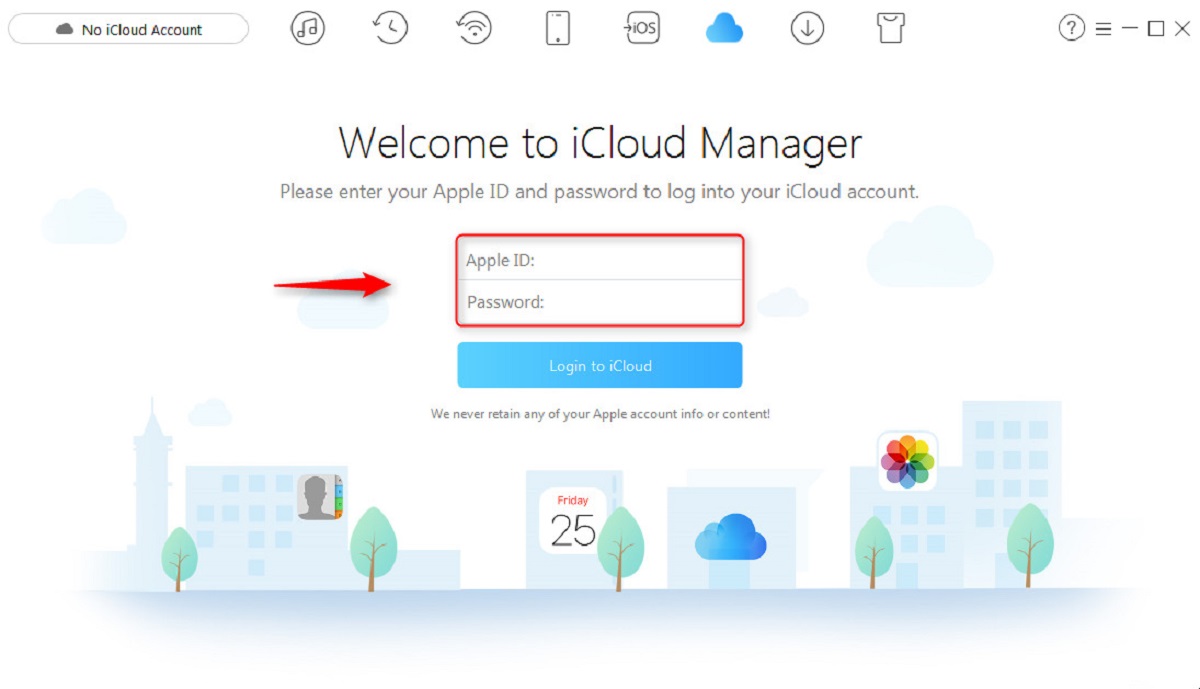
In this guide, we will walk you through the process of transferring your files from iCloud to an external hard drive. Whether you are a Mac user or have iCloud installed on a Windows computer, this guide will provide you with the necessary steps to complete the file transfer.
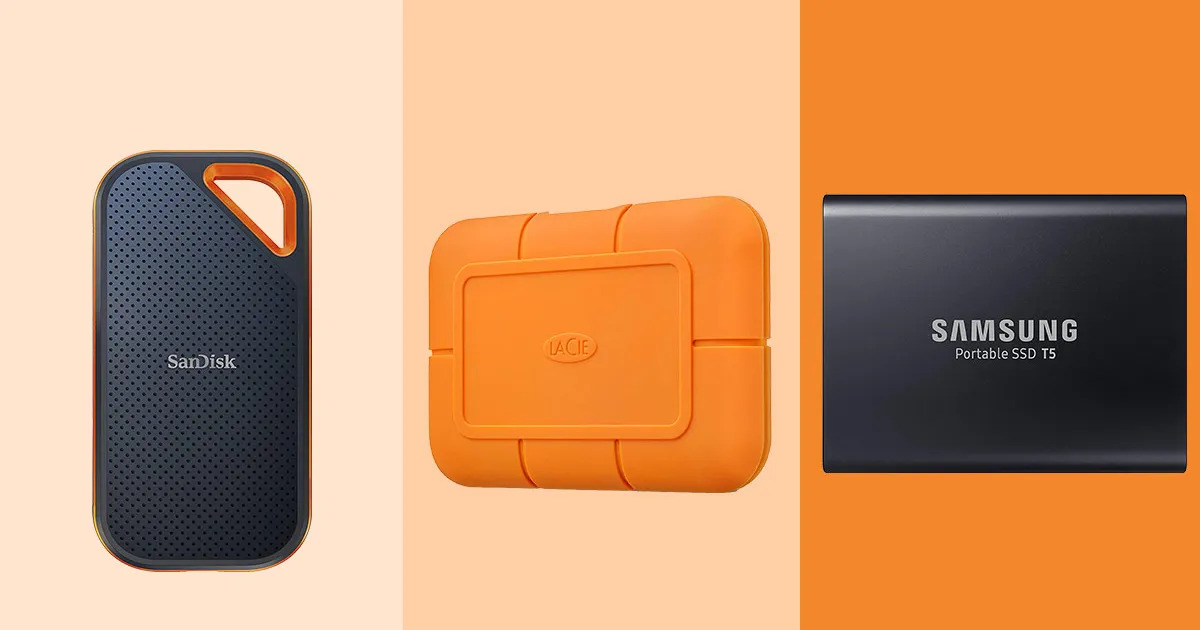
Please note that this guide assumes you already have an external hard drive connected to your computer. If you haven’t done so yet, make sure to connect your external hard drive before proceeding with the steps mentioned in this guide. Additionally, be aware that the steps may vary slightly depending on the version of macOS or Windows you are using.
Now that we have covered the basics, let’s dive into the step-by-step process of moving your files from iCloud to an external hard drive.
Step 1: Connect your external hard drive to your Mac
The first step in moving your files from iCloud to an external hard drive is to ensure that the external hard drive is properly connected to your Mac. To do this, follow these steps:
- Locate the USB or Thunderbolt port on your Mac.
- Take the cable that came with your external hard drive and connect one end to the USB or Thunderbolt port on your Mac.
- Connect the other end of the cable to the appropriate port on your external hard drive.
- Once the connection is made, your Mac should recognize the external hard drive and display it as a connected device.
It is important to ensure that the external hard drive is properly connected and recognized by your Mac before proceeding to the next step. If you encounter any issues, double-check the connections and consult the user manual for your external hard drive for further troubleshooting steps.
Keep in mind that the specific steps for connecting the external hard drive may vary depending on the model and brand of your device. Refer to the manufacturer’s instructions if you are unsure about the connection process.
Now that your external hard drive is connected to your Mac, you are ready to proceed to the next step of transferring your files from iCloud to the external hard drive. Continue reading to learn how to locate and select your files in iCloud.
Step 2: Open Finder and locate the files in iCloud
Once your external hard drive is connected to your Mac, the next step is to open Finder and locate the files you want to transfer from iCloud.
Follow these steps to find your files in iCloud:
- Click on the Finder icon, which is usually located in the Dock at the bottom of your screen.
- In the Finder window, you will see a sidebar on the left-hand side. Look for the “iCloud Drive” option and click on it.
- This will open the iCloud Drive window, where you can see all the files and folders stored in your iCloud account.
- Browse through the folders and subfolders to find the specific files you want to transfer to the external hard drive.
- If you have organized your files into folders, navigate to the relevant folder to locate the files you need.
You can also use the search bar at the top-right corner of the Finder window to search for specific files or folders by name.
Take your time to locate and identify the files you want to transfer. This step may require some organization and planning, especially if you have a large number of files in your iCloud account.
Now that you have located your files in iCloud, it’s time to select the files you want to move to the external hard drive. Continue reading to learn how to select the files for transfer.
Step 3: Select the files you want to move to the external hard drive
Now that you have located the files you want to transfer from iCloud to your external hard drive, the next step is to select them for the transfer.
Follow these steps to select the files:
- In the iCloud Drive window, navigate to the folder where the files you want to transfer are located.
- Single-click on the first file you want to select. You can hold down the Command (⌘) key on your keyboard and click on additional files to select multiple files at once.
- If you want to select all the files in a folder, you can use the keyboard shortcut Command (⌘) + A.
- Make sure to review your selections and ensure that you have selected all the files you want to move to the external hard drive.
You can also select entire folders by single-clicking on the folder instead of individual files. This will automatically select all the files and subfolders within that folder.
Take your time to carefully select the files you want to transfer. Double-check to make sure you haven’t missed any important files or folders that you want to include in the transfer.
Once you have selected the files for the transfer, it’s time to move on to the next step and actually transfer the files to your external hard drive. Continue reading to learn how to complete the file transfer process.
Step 4: Drag and drop the selected files to the external hard drive
After selecting the files you want to transfer from iCloud to your external hard drive, it’s time to initiate the file transfer process. One of the simplest and most intuitive ways to accomplish this is by using the drag-and-drop method.
Follow these steps to drag and drop the selected files to the external hard drive:
- Locate the external hard drive icon on your desktop or in the Finder sidebar. It is usually represented by a hard drive icon.
- Open a new Finder window, displaying both the iCloud Drive window and the external hard drive window side by side. You can do this by clicking on the new Finder window icon in the dock and selecting “New Finder Window”.
- In the iCloud Drive window, select the files you want to transfer by clicking and dragging them. You can drag multiple files at once by holding down the Command (⌘) key on your keyboard while selecting multiple files.
- With the selected files still held by the mouse cursor, move your cursor to the external hard drive window and release the files by letting go of the mouse button. You will see the files being transferred to the external hard drive.
Depending on the size and number of files you are transferring, the process may take some time. Be patient and avoid interrupting the transfer process to ensure that all files are successfully transferred.
Repeat these steps if you have additional files or folders you want to transfer to the external hard drive.
Once the transfer is complete, you can verify that the files have been successfully moved to your external hard drive by navigating to the external hard drive window and confirming their presence.
Now that you have successfully transferred your selected files from iCloud to the external hard drive, it’s important to wait for the transfer to complete before disconnecting the external hard drive. This will avoid any potential data corruption or loss. Continue reading to learn how to safely eject the external hard drive.
Step 5: Wait for the files to transfer
Once you have dragged and dropped the selected files from iCloud to your external hard drive, it’s crucial to allow enough time for the files to transfer completely. The length of time it takes for the transfer to complete will depend on the size and number of files being transferred, as well as the speed of your external hard drive and your computer’s processing power.
During the file transfer process, it is recommended that you do not interrupt or perform any other resource-intensive tasks on your computer. This will help ensure a smooth and efficient transfer without any errors or data loss.
The transfer progress can usually be monitored by looking at the file icons or progress bar in the external hard drive window. Some external hard drives may also have LED indicators that signal the transfer status.
While waiting for the files to transfer, it is advisable to be patient and avoid disconnecting the external hard drive or shutting down your computer. Prematurely disconnecting the drive may result in partial or incomplete transfers, leading to potential data corruption or loss.
If you have a large number of files or very large file sizes, it may take some time for the transfer to complete. You can utilize this waiting time to do other tasks or take a short break. Once the transfer is complete, you can move on to the next step.
Now that you have waited patiently for the file transfer to finish, you are ready to safely eject the external hard drive. Continue reading to learn the final step of the process.
Step 6: Safely eject the external hard drive
After the files have successfully transferred from iCloud to your external hard drive, it is important to safely eject the external hard drive before physically disconnecting it from your Mac. This ensures that all data has been written to the drive and reduces the risk of data corruption.
Here are the steps to safely eject the external hard drive:
- Locate the external hard drive icon on your desktop or in the Finder sidebar.
- Right-click (or Control-click) on the external hard drive icon.
- In the context menu that appears, select the “Eject” option.
- You can also eject the external hard drive by dragging its icon to the trash can icon on your desktop or in the Dock. The icon will change to an eject symbol, indicating that it is safe to remove the drive.
- Wait for macOS to notify you that it is safe to disconnect the external hard drive. You may see a message confirming that it is safe to remove the device.
Once you have safely ejected the external hard drive, you can physically disconnect it from your Mac by gently unplugging the cable from the USB or Thunderbolt port.
It is important to note that prematurely disconnecting the external hard drive before it has been properly ejected can result in data loss or potential damage to the drive. Taking the time to follow the proper ejection process ensures the integrity of your files and the longevity of your external hard drive.
Congratulations! You have successfully moved your files from iCloud to your external hard drive and safely ejected the device. Now you can enjoy the extra storage space and peace of mind knowing that your files are backed up on a physical device.
Conclusion
Transferring files from iCloud to an external hard drive is a practical solution for managing your storage space and creating a backup of your important data. In this guide, we have outlined a step-by-step process to help you successfully move your files.
Remember, the process begins with connecting your external hard drive to your Mac and then locating the desired files in iCloud through the Finder. After selecting the files you want to transfer, you can simply drag and drop them into the external hard drive. It’s crucial to wait for the files to transfer completely before safely ejecting the external hard drive.
By following these steps, you can confidently move your files from iCloud to an external hard drive, freeing up space and keeping your data secure. It is always recommended to double-check your files after the transfer to ensure that everything has been successfully moved to the external hard drive.
Additionally, we advise you to regularly backup your files even after transferring them to an external hard drive. This will provide an extra layer of protection against any potential data loss.
We hope this guide has been helpful to you in understanding how to move your files from iCloud to an external hard drive. By following these steps and taking the necessary precautions, you can effectively manage your files and ensure their safety for the long term.
Thank you for reading and we wish you the best in your file management journey!


