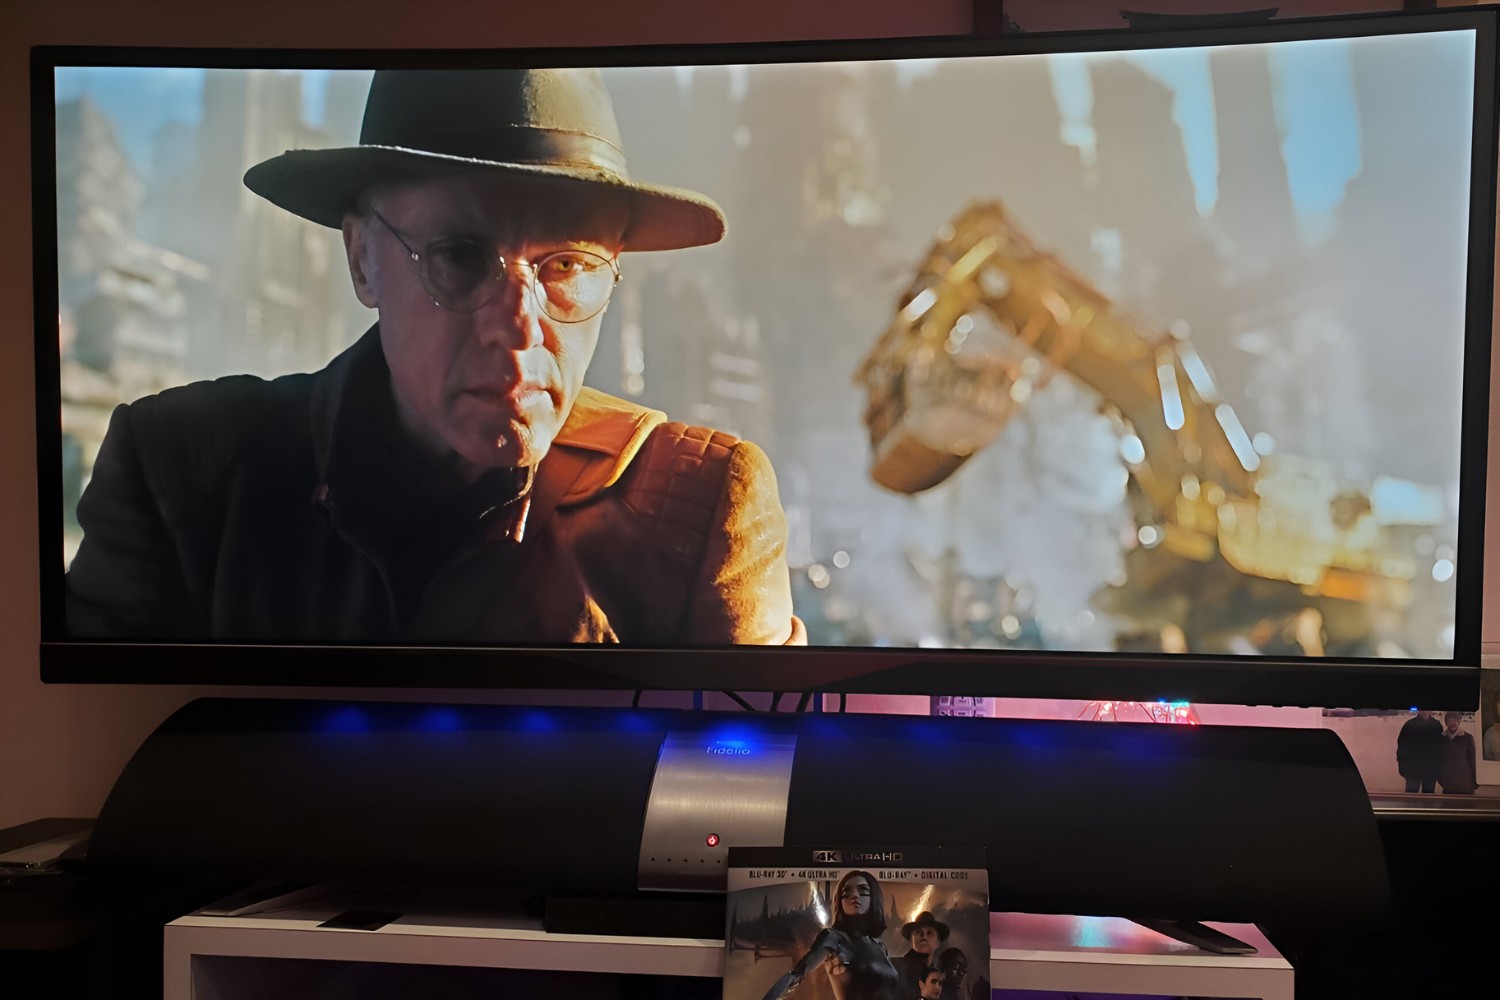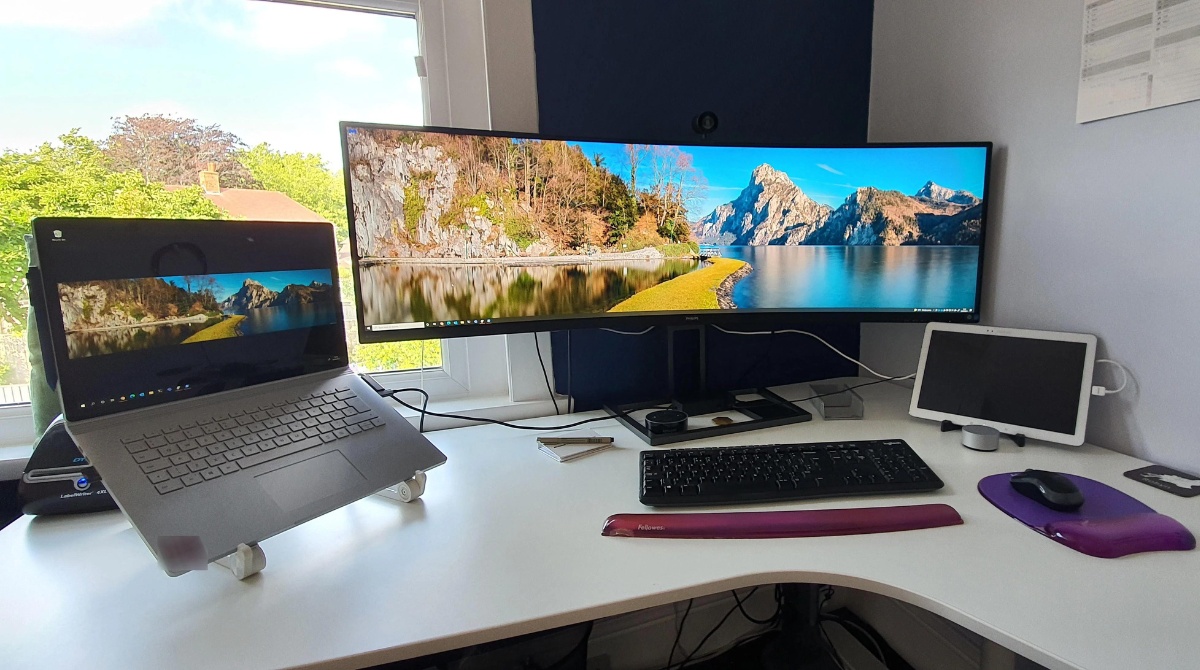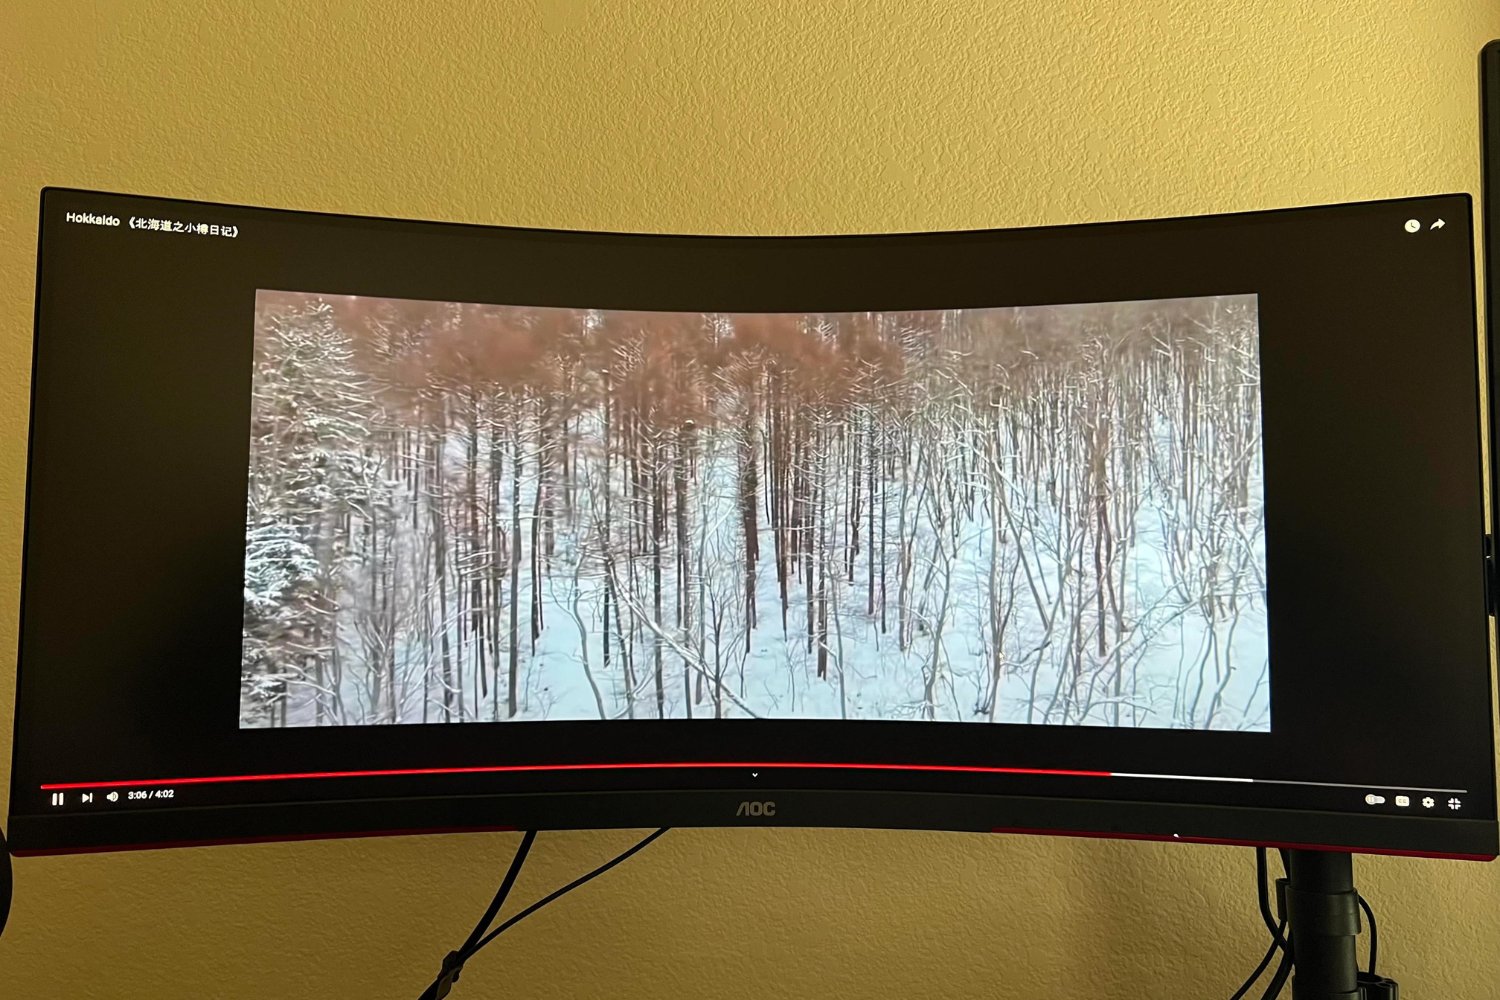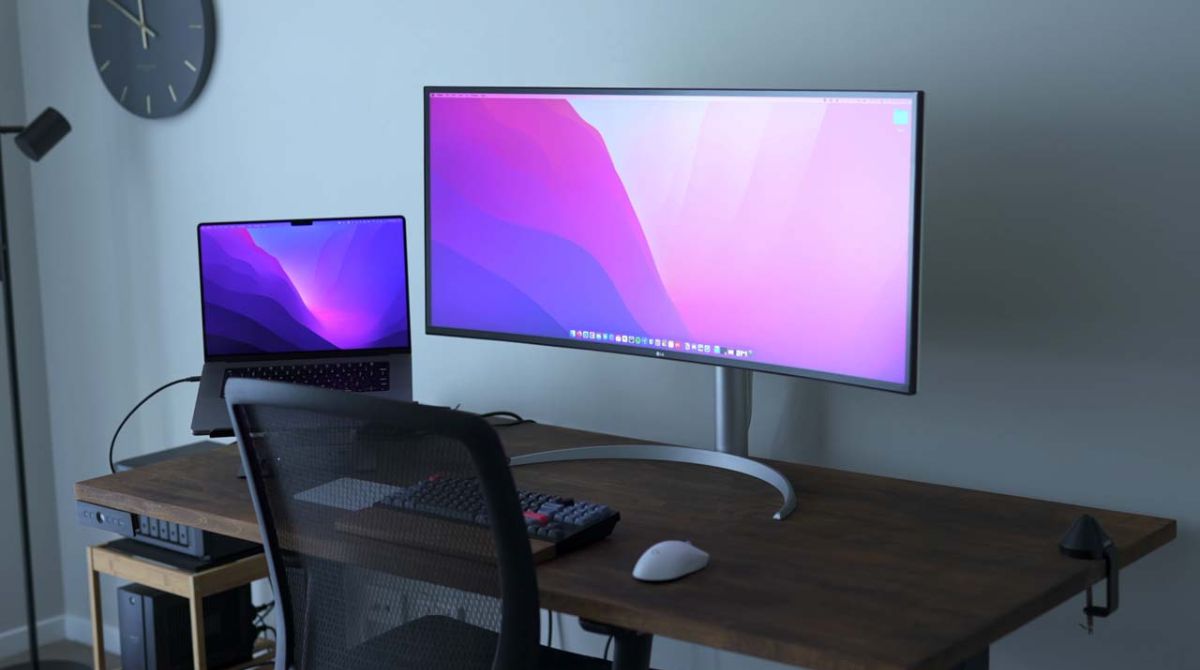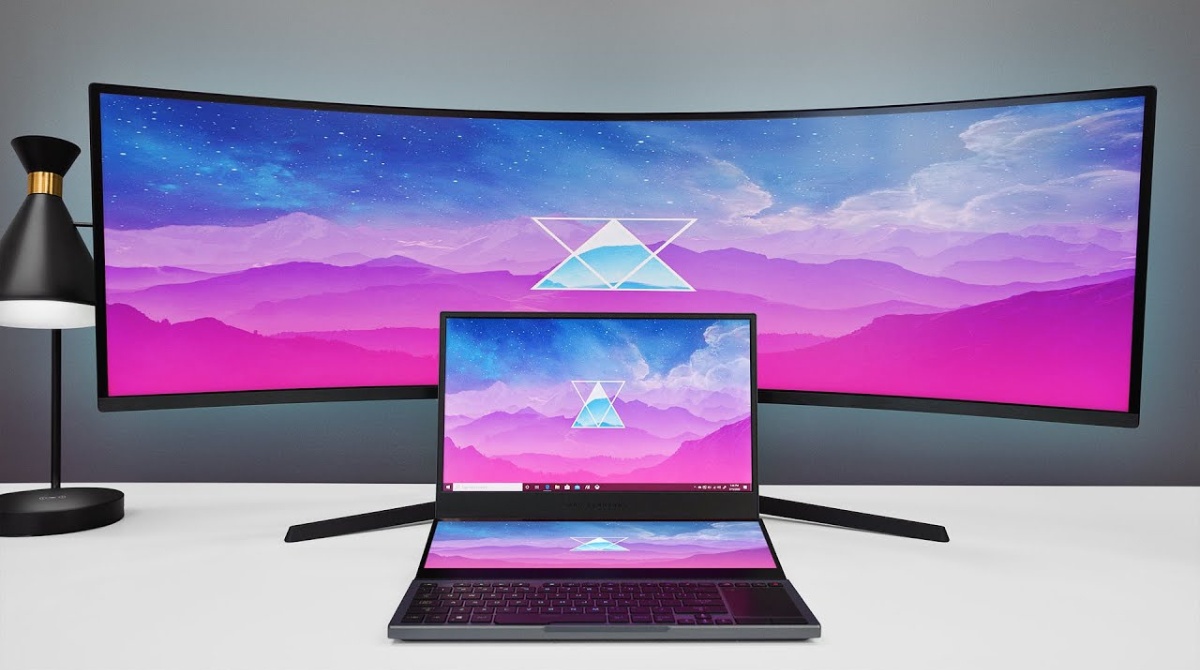
To display on an ultrawide monitor using a laptop, you need to connect the two devices with the correct cable and then configure your operating system to use the monitor's native resolution. This process unlocks the expanded workspace for productivity, multitasking, and gaming, but requires attention to your laptop's ports and the monitor's settings to avoid a stretched or blurry image.
What you need to display on an ultrawide monitor
Before connecting, identify the video output ports on your laptop and the input ports on your monitor. Common connection options include HDMI, DisplayPort, and USB-C (with DisplayPort Alt Mode or Thunderbolt support). For PCs, DisplayPort is generally preferred due to its higher bandwidth, which is necessary for driving the high resolutions and refresh rates of ultrawide monitors. DisplayPort 1.4, for example, supports ultrawide resolutions like 5120x2160 at 60Hz and many 3440x1440 ultrawides at high refresh rates. HDMI 2.0 can also support 3440x1440 at 60Hz or higher refresh rates. Be aware that older HDMI versions, such as HDMI 1.4, may limit your monitor to a lower resolution like 1920x1080 instead of its native ultrawide resolution. A critical warning: a USB-C port on your laptop can transmit video only if it supports DisplayPort Alt Mode or Thunderbolt. A charging-only USB-C cable will not carry a video signal, so verify your cable and port capabilities. If you use HDMI, remember that a separate audio connection is often required to get sound from my LG ultrawide monitor.
How to connect your laptop to the monitor
Follow this verified physical connection process to ensure a stable link between your laptop and the ultrawide monitor.
- Power off your laptop.
- Connect one end of the video cable (HDMI, DisplayPort, or USB-C) to your laptop and the other end to the monitor.
- Power on both devices. They should automatically detect each other.
Setting the correct resolution in Windows
Once connected, configure Windows to use the monitor's native resolution for optimal sharpness.
- Right-click the desktop and select "Display settings" (Windows 10) or go to "Settings > System > Display" (Windows 10/11).
- Select the ultrawide monitor from the display list.
- Under "Display resolution," choose the "Recommended" value, which will be the monitor's native resolution (e.g., 3440x1440 or 5120x1440).
Fixing a stretched or blurry image on the screen
If the image appears stretched or blurry after setting the resolution, adjust two key settings. First, in Windows Display settings, set the "Scale" to 100% or the recommended value for optimal sharpness; while scaling to 125% or 150% can make text larger, it may cause blurriness in older applications. Second, use the monitor's on-screen display (OSD) menu to check its aspect ratio or scaling setting. Ensure this is set to "Auto" or "1:1 pixel mapping" to prevent the monitor from stretching a non-native resolution to fill the screen.
What to do if the native resolution is not available
If the native resolution does not appear as an option in Windows, take these steps. First, update your graphics drivers to the latest version. Second, check if your cable is the limiting factor, an older HDMI cable (e.g., HDMI 1.4) may not support the required bandwidth. If the resolution is still missing, use your GPU's control panel to create a custom resolution. Open the NVIDIA Control Panel, AMD Software, or Intel Graphics Command Center, navigate to the custom resolution settings, and enter your monitor's native resolution (e.g., 3440x1440) with the correct refresh rate.
How to manage Windows on an ultrawide screen
Windows does not natively treat an ultrawide monitor as multiple separate displays for window management, which can make snapping windows challenging. To overcome this, use a third-party tool like Microsoft PowerToys, specifically its FancyZones feature. FancyZones lets you create custom window layouts (e.g., dividing the screen into two, three, or four zones) and snap windows into those zones using a keyboard shortcut or by dragging. This is essential for organizing multiple applications side by side on the ultrawide screen, and you may also need to get your computer screen to fit on an ultrawide monitor if the image is stretched or cut off. For those who want to use an ultrawide monitor with a Mac, similar third-party window management tools are available, as macOS also lacks native support for splitting an ultrawide screen into distinct zones.