Introduction
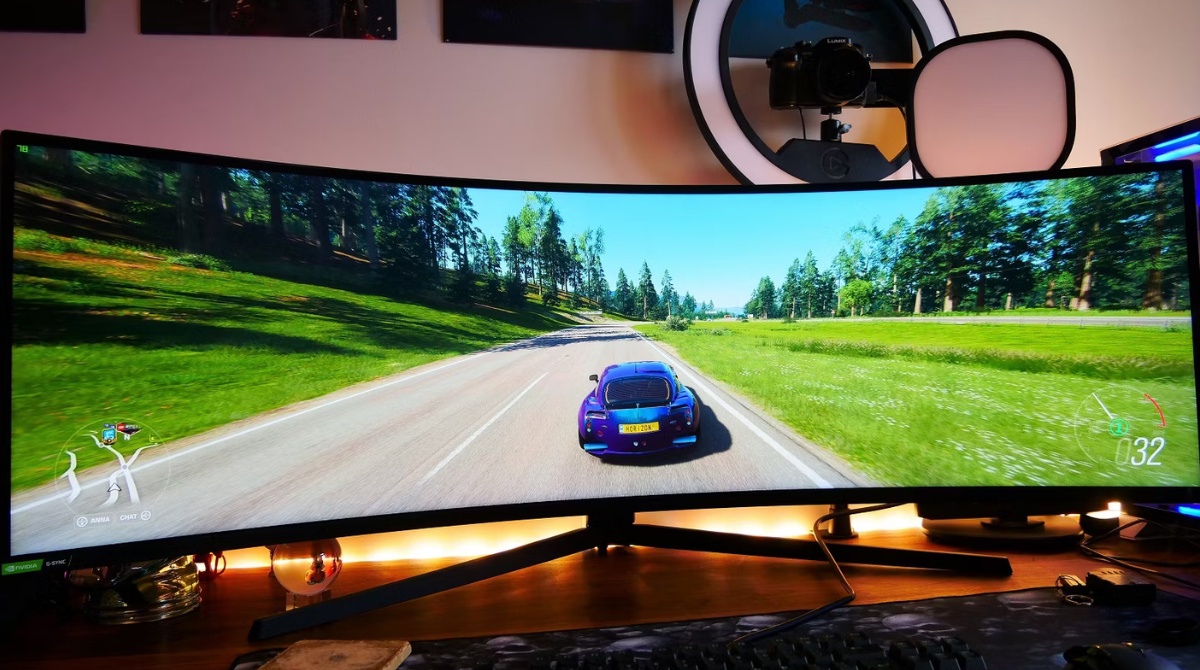
With the advent of ultrawide monitors, computer users now have the ability to enjoy a remarkably immersive viewing experience. These monitors offer a wider aspect ratio, providing expanded screen space for productivity, gaming, and multimedia enjoyment. However, for some users, the challenge arises when their computer screen doesn’t fit properly on an ultrawide monitor.
When the display doesn’t fill the entire screen or is cropped, it can be frustrating and diminish the benefits of an ultrawide monitor. Fortunately, there are several steps you can take to ensure that your computer screen fits perfectly on your ultrawide display.
In this article, we will explore various methods to adjust your computer screen to fit on an ultrawide monitor, allowing you to maximize your viewing experience and make the most out of your investment.
While the specific steps may vary depending on your operating system and graphics card, the overall concepts and principles remain the same. By following these guidelines, you will be able to overcome the common challenges associated with setting up an ultrawide monitor.
So, whether you are struggling with a stretched image, letterboxing, or black bars on the sides of your screen, we’ve got you covered. Let’s dive in and explore the different methods you can employ to get your computer screen to fit perfectly on your ultrawide monitor.
Understanding Ultrawide Monitors
Before delving into the methods of adjusting your computer screen on an ultrawide monitor, it’s important to have a clear understanding of what exactly an ultrawide monitor is and how it differs from traditional displays.
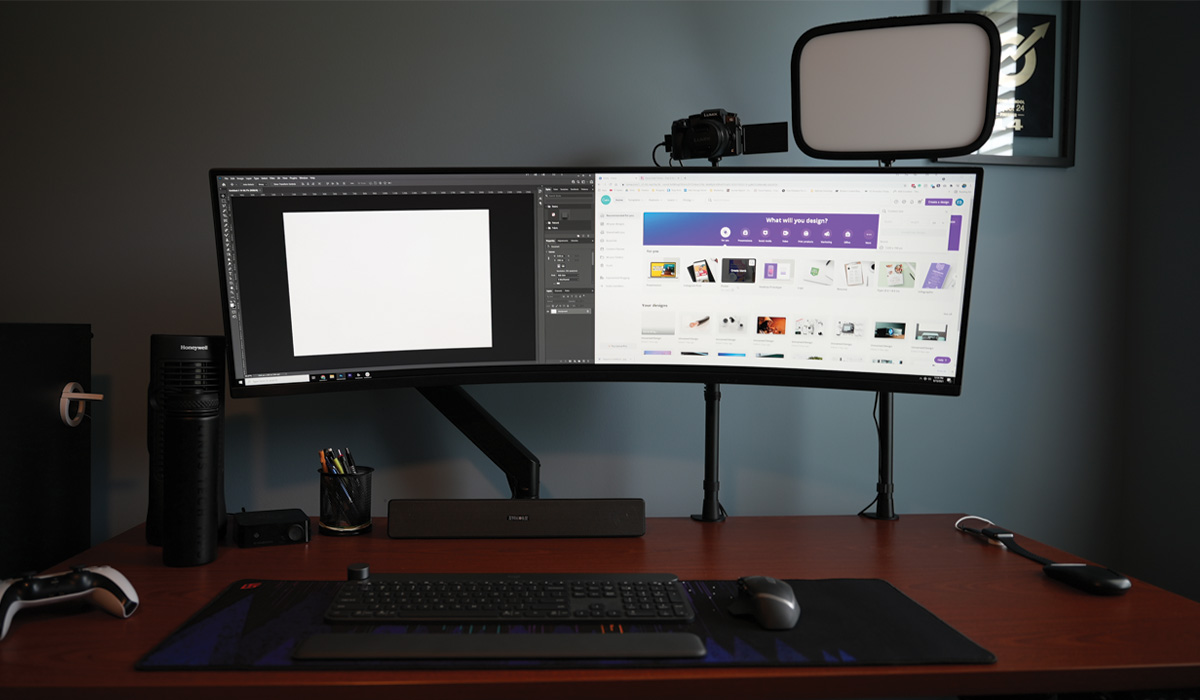
An ultrawide monitor is a type of display that features an aspect ratio larger than the standard 16:9 widescreen ratio. While a standard monitor typically has a resolution of 1920×1080 pixels, an ultrawide monitor offers a wider width, such as 2560×1080 or 3440×1440 pixels. This wider aspect ratio provides a more expansive viewing area, allowing for increased productivity and a more immersive visual experience.
Ultrawide monitors are particularly beneficial for tasks that require multiple windows or applications to be open simultaneously, such as video editing, graphic design, or stock trading. The wider screen real estate allows for better multitasking, as you can comfortably have multiple windows side by side without the need for extensive scrolling or resizing.
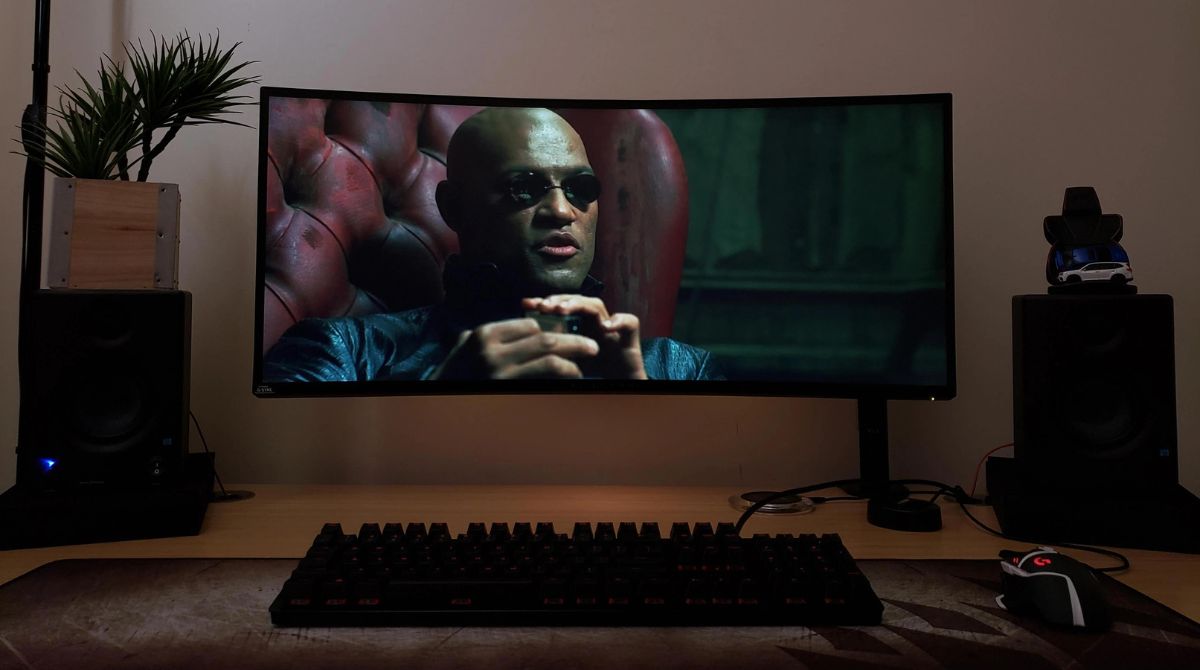
Another advantage of ultrawide monitors is their ability to enhance gaming experiences. Many developers now optimize their games specifically for ultrawide displays, providing an immersive field of view that extends beyond what is possible on a standard monitor. Playing games on an ultrawide monitor can truly transport you into the virtual world, providing a more realistic and engaging gameplay experience.
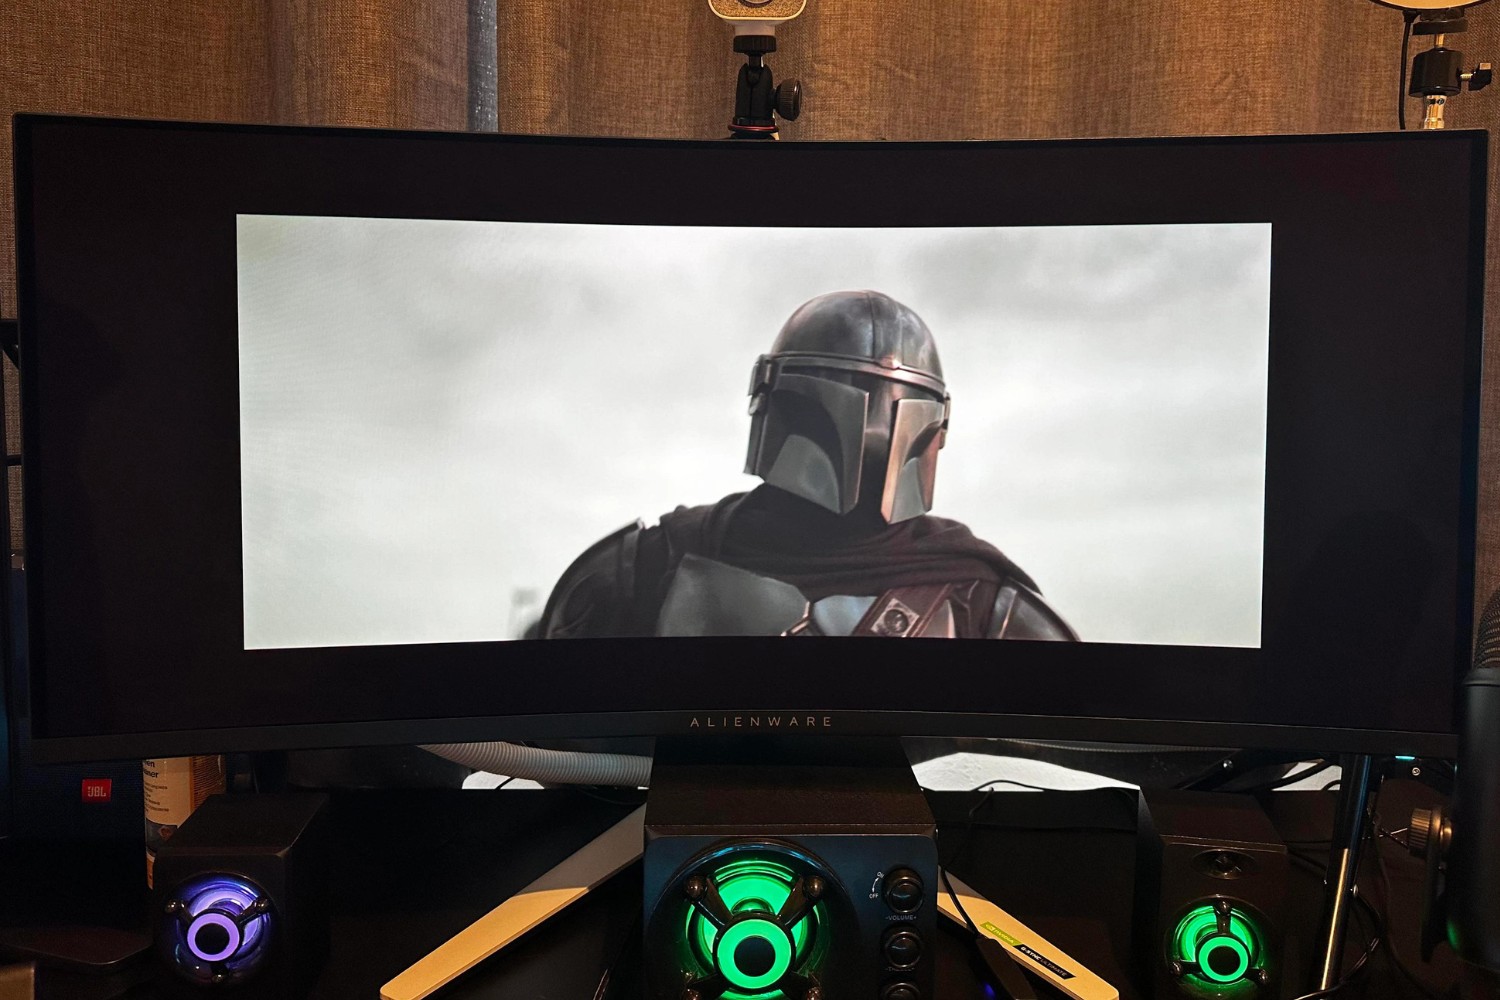
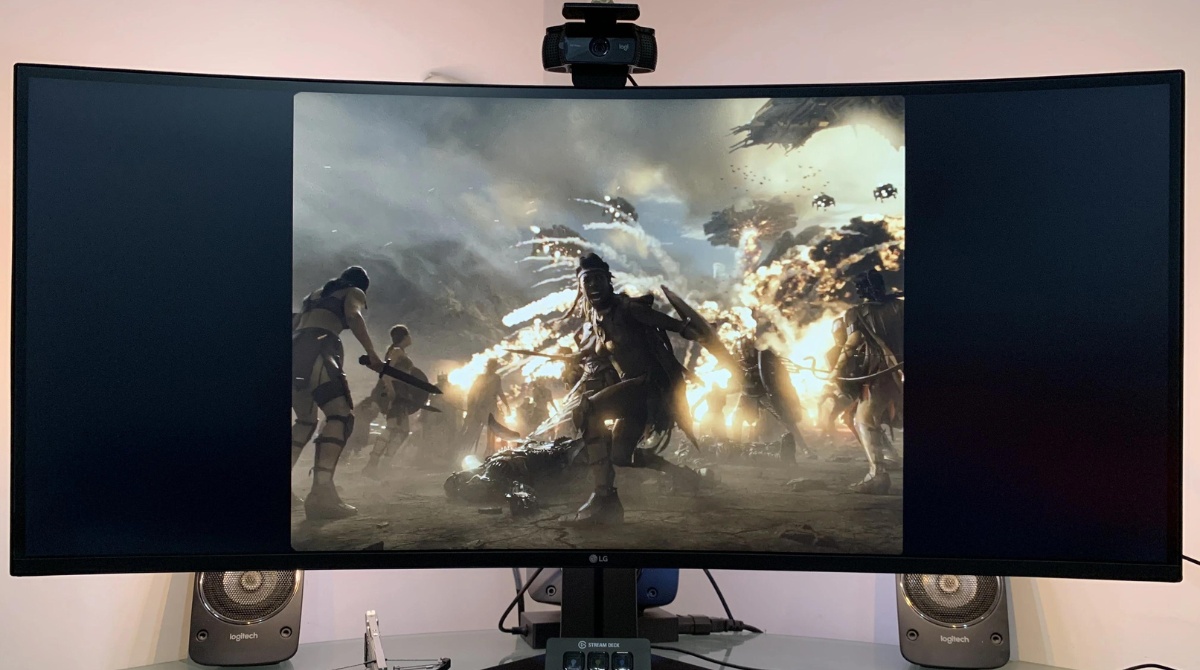
It’s important to note that due to their wider aspect ratio, ultrawide monitors may require some adjustments to make screen content fit properly. This is because most software and applications are designed with the standard 16:9 aspect ratio in mind. As a result, you may encounter instances where the content doesn’t fully utilize the wider screen, leading to black bars or stretched images.
Now that we have a better understanding of what ultrawide monitors are and their benefits, let’s explore the various ways in which you can adjust your computer screen to fit seamlessly on an ultrawide display. By implementing these methods, you can optimize your viewing experience and fully leverage the advantages of your ultrawide monitor.
Adjusting Display Settings
One of the first steps to getting your computer screen to fit on an ultrawide monitor is to adjust the display settings. This ensures that the screen content fills the entire screen without any cropping or stretching. Here’s how you can do it:
- Access the display settings: Right-click on the desktop and select “Display settings” from the context menu. This will open the display settings panel.
- Choose the correct resolution: Under the “Resolution” section, select the recommended resolution for your ultrawide monitor. This will ensure that the display is optimized for your specific monitor model.
- Adjust the scaling settings: In some cases, you may need to adjust the scaling settings to ensure that the content is properly sized on the screen. Look for the “Scale and layout” or “Scale” option and set it to the recommended or custom scaling level that suits your needs.
- Apply the changes: Once you’ve made the necessary adjustments to the display settings, click on the “Apply” or “OK” button to save the changes and apply them to your monitor.
Additionally, some ultrawide monitors feature built-in settings that allow you to fine-tune the display. These settings can be accessed through the monitor’s on-screen display (OSD) menu. Look for options like “Picture mode” or “Aspect ratio” and choose the one that best fits your preferences and the type of content you’re viewing.
It’s worth noting that the specific steps and options may vary depending on your operating system and graphics card. However, the general concept of adjusting the display settings remains consistent. Experimenting with different settings can help you find the ideal configuration that ensures a perfect fit for your computer screen on your ultrawide monitor.
Now that you know how to adjust the display settings, let’s explore an alternative method for screen adjustment – using Windows Magnifier. This tool can help you magnify and resize specific areas of your screen to achieve the desired fit on your ultrawide monitor.
Using Windows Magnifier
If adjusting the display settings alone doesn’t provide the desired fit for your computer screen on your ultrawide monitor, you can utilize a built-in tool in Windows called Magnifier. Windows Magnifier is a powerful accessibility tool that allows you to magnify and resize specific areas of your screen, making it a useful tool for adjusting your display on an ultrawide monitor. Here’s how you can use it:
- Open Windows Magnifier: Press the Windows key and the plus (+) key simultaneously, or search for “Magnifier” in the Windows search bar and click on the Magnifier app.
- Select the desired magnification mode: In the Magnifier window, you’ll have three magnification options to choose from – “Full screen,” “Lens,” or “Docked.” Select the one that suits your needs. “Full screen” magnifies the entire screen, “Lens” magnifies a specific portion that follows your cursor, and “Docked” magnifies a fixed portion of the screen.
- Adjust the magnification level: You can increase or decrease the magnification level by using the plus (+) and minus (-) keys or the zoom slider in the Magnifier window. Experiment with different magnification levels until you find the one that provides the best fit on your ultrawide monitor.
- Resize the Magnifier window: If needed, you can resize the Magnifier window by clicking and dragging the edges. This allows you to focus on specific areas of the screen and adjust the magnification accordingly.
By utilizing Windows Magnifier, you can fine-tune the display on your ultrawide monitor, ensuring that the screen content fits perfectly without any cropping or stretching. Play around with the different magnification modes and levels to find the optimal configuration that suits your needs and preferences.
However, it’s important to note that using Windows Magnifier is a temporary solution and may not be ideal for long-term usage. It’s best to explore the other methods discussed in this article, such as adjusting display settings or customizing screen resolution, to achieve a permanent fix for your computer screen on your ultrawide monitor.
Now that we’ve covered using Windows Magnifier, let’s move on to customizing screen resolution to further refine the fit on your ultrawide monitor.
Customizing Screen Resolution
In addition to adjusting display settings and using Windows Magnifier, customizing the screen resolution is another effective method to ensure that your computer screen fits perfectly on your ultrawide monitor. Here’s how you can customize your screen resolution:
- Access the display settings: Right-click on the desktop and select “Display settings” from the context menu.
- Scroll down to the “Resolution” section: Here, you’ll see a list of available screen resolutions for your ultrawide monitor.
- Choose a suitable resolution: Select a resolution that matches the native resolution or aspect ratio of your monitor. If your monitor supports a higher resolution than what is currently selected, choosing the higher resolution can provide a better fit for your screen content.
- Apply the changes: Once you’ve selected the desired resolution, click “Apply” or “OK” to apply the changes. Your screen will briefly flicker as the new resolution is applied.
Customizing the screen resolution allows you to tailor the display to the specific dimensions of your ultrawide monitor, ensuring that the screen content is displayed without any letterboxing or stretching. By choosing the appropriate resolution, you can make the most out of your ultrawide monitor and enjoy a seamless viewing experience.
If the recommended resolutions don’t provide the desired fit, you can also experiment with custom resolutions. Some graphics card drivers allow you to create custom resolutions that precisely match the aspect ratio of your ultrawide monitor. However, it’s important to note that creating custom resolutions should be done with caution and considering the compatibility of your monitor and graphics card.
By customizing the screen resolution, you can optimize the fit of your computer screen on your ultrawide monitor and ensure that your display is utilized to its full potential. However, if you’re still facing issues with screen fit, it’s worth exploring another potential solution – adjusting scaling and DPI settings.
Scaling and DPI Settings
Scaling and DPI (Dots Per Inch) settings play a crucial role in adjusting the size of on-screen elements, including text and icons, to match the dimensions of your ultrawide monitor. By fine-tuning these settings, you can further ensure that your computer screen fits perfectly on your ultrawide display. Here’s how you can adjust scaling and DPI settings:
- Access the display settings: Right-click on the desktop and select “Display settings.”
- Scroll down to the “Scale and layout” section: Here, you’ll find the scaling and DPI settings for your monitor.
- Adjust scaling settings: By default, Windows recommends a scaling level based on the resolution and screen size. However, if the recommended scaling doesn’t provide the desired fit, you can try adjusting it manually. Move the slider to increase or decrease the scaling level until the on-screen elements appear proportionate and properly sized on your ultrawide monitor.
- Modify DPI settings: If necessary, you can change the DPI settings to fine-tune the size of the on-screen elements further. Click on “Advanced scaling settings” and then choose “Advanced sizing of text and other items.” Here, you can select a custom DPI value or choose from the available preset options.
- Apply the changes: Once you’ve made the necessary adjustments to the scaling and DPI settings, click “Apply” or “OK” to save the changes. You may need to sign out and sign back in for the changes to take effect.
By customizing the scaling and DPI settings, you can ensure that the content on your computer screen is appropriately sized and fits within the boundaries of your ultrawide monitor. This helps eliminate any issues with overscaling or underscaling, enhancing your overall viewing experience.
It’s worth noting that while adjusting the scaling and DPI settings can resolve many fit-related issues, some applications may not be fully compatible with these settings. In such cases, you may encounter instances where certain programs or windows do not scale properly. If this occurs, consider using third-party window management tools or exploring software-specific settings to fine-tune the appearance and fit of individual applications.
Now that we have explored adjusting scaling and DPI settings, let’s move on to another potential solution – updating graphics drivers.
Updating Graphics Drivers
Outdated or incompatible graphics drivers can often cause display issues, including problems with screen fit on an ultrawide monitor. By updating your graphics drivers, you can ensure that your computer can properly communicate with your monitor, enabling a seamless and accurate display. Here’s how you can update your graphics drivers:
- Identify your graphics card: Determine the manufacturer and model of your graphics card. You can do this by right-clicking on the desktop, selecting “Display settings,” and scrolling down to the “Advanced display settings” option. Under the “Display information” section, you’ll find the details of your graphics card.
- Visit the manufacturer’s website: Go to the website of your graphics card manufacturer, such as NVIDIA, AMD, or Intel.
- Find the driver download section: Look for the “Support” or “Drivers” section on the manufacturer’s website.
- Select your graphics card model and operating system: Locate the appropriate driver for your graphics card model and ensure it matches your operating system.
- Download and install the latest driver: Follow the instructions provided by the manufacturer to download and install the latest graphics driver for your system. It’s recommended to choose the “clean installation” option if available to ensure a thorough update.
- Restart your computer: After the installation is complete, restart your computer to apply the changes.
Updating your graphics drivers can address compatibility issues, software bugs, and other problems that may affect the display on your ultrawide monitor. The updated drivers ensure that your computer and monitor communicate effectively, allowing for proper screen fit and optimal performance.
If you’re still experiencing issues with screen fit after updating your graphics drivers, it’s essential to explore other solutions, such as adjusting browser settings or using window management tools, which we will explore in the following sections.
Now that we have covered updating graphics drivers, let’s proceed to the next section, where we will discuss adjusting browser settings to improve the screen fit on your ultrawide monitor.
Adjusting Browser Settings
When it comes to browsing the web on your ultrawide monitor, you may encounter instances where websites don’t fully utilize the wider screen space or appear stretched or distorted. Fortunately, you can make adjustments to your browser settings to enhance the screen fit and optimize your browsing experience. Here’s how you can adjust browser settings:
- Open your web browser: Launch your preferred web browser, such as Google Chrome, Mozilla Firefox, or Microsoft Edge.
- Access the browser settings: Look for the three-dot menu icon or the gear icon typically located in the top-right corner of the browser window. Click on it to access the browser settings.
- Adjust the zoom level: In the settings menu, locate the “Zoom” or “Zoom level” option. You can increase or decrease the zoom level to ensure that websites fill the screen appropriately without any cropping or stretching. You can also try using the keyboard shortcuts “Ctrl +” to zoom in and “Ctrl -” to zoom out.
- Enable or disable full-screen mode: Some browsers allow you to toggle full-screen mode, which expands the browser window to fill the entire screen. Look for the full-screen mode option in the settings menu or use the keyboard shortcut “F11” to enter or exit full-screen mode.
- Clear cache and cookies: In the browser settings, you may find the option to clear your cache and cookies. Clearing these data can help resolve display issues caused by outdated or conflicting website data.
- Experiment with extensions or add-ons: Certain browser extensions or add-ons, such as “Tab Resize” or “Window Resizer,” can assist with managing multiple windows or resizing browser windows to fit your preferred screen dimensions. Explore the available options in the respective browser’s extension store.
By adjusting the zoom level, using full-screen mode, and exploring browser extensions, you can tailor the browsing experience to fit your ultrawide monitor better. These settings allow you to make the most out of the available screen space and enjoy a seamless browsing experience.
Keep in mind that not all websites may be optimized for ultrawide monitors. In such cases, you may encounter certain websites that still exhibit letterboxing or stretching. However, by employing these browser settings adjustments, you can overcome many common display-related issues associated with browsing on an ultrawide monitor.
Now that we have explored adjusting browser settings, let’s move on to discussing the use of window management tools to further enhance the screen fit on your ultrawide monitor.
Using Window Management Tools
Window management tools are a valuable resource for optimizing the screen fit on your ultrawide monitor. These tools provide additional flexibility in arranging and resizing windows, allowing you to make the most out of the available screen real estate. Here’s how you can utilize window management tools:
- Research and choose a window management tool: There are numerous window management tools available, both free and paid, that offer a range of features. Popular options include Magnet, Divvy, and AquaSnap. Take some time to explore the features and capabilities of different tools to find the one that suits your needs.
- Download and install the chosen tool: After selecting a window management tool, visit the official website and download the software. Follow the installation instructions provided by the tool’s developer.
- Learn the keyboard shortcuts and features: Window management tools often come with unique keyboard shortcuts and features that allow you to resize and arrange windows effortlessly. Spend some time familiarizing yourself with the tool’s functionality and customization options.
- Experiment with window resizing and positioning: Use the window management tool to resize and position windows on your ultrawide monitor. You can snap windows to specific areas of the screen, create custom grids, or even set up hotkeys for specific window arrangements.
- Customize the tool’s settings: Many window management tools offer customization options to tailor the behavior and appearance of the windows. Experiment with the tool’s settings to optimize the screen fit and enhance your productivity.
Window management tools empower you to take full control of window placement and resizing on your ultrawide monitor. By utilizing these tools, you can easily arrange and organize multiple windows, ensuring they fit perfectly on the screen and maximizing your multitasking capabilities.
It’s important to note that window management tools may have different features and workflows, so it’s recommended to read the documentation or watch tutorials specific to the tool you choose. Additionally, keep in mind that while these tools can greatly improve window management, they may not solve all screen fit issues, especially regarding application-specific compatibility or website layouts.
Now that we have covered the use of window management tools, it’s time to wrap up the article. We have explored various methods to adjust your computer screen to fit on an ultrawide monitor, ensuring that you can fully enjoy the immersive experience provided by these displays.
Conclusion
In conclusion, getting your computer screen to fit on an ultrawide monitor requires a combination of adjustments and tools to optimize the display. By following the methods discussed in this article, you can overcome common challenges such as cropping, stretching, or black bars, and ensure a seamless and immersive viewing experience on your ultrawide monitor.
We started by understanding the concept of ultrawide monitors and their benefits, including increased productivity and enhanced gaming experiences. We then explored various methods to adjust your computer screen, such as adjusting display settings, using Windows Magnifier, customizing screen resolution, tweaking scaling and DPI settings, updating graphics drivers, adjusting browser settings, and utilizing window management tools.
Adjusting display settings, including resolution and scaling, ensures that your screen content fills the entire ultrawide monitor without any cropping or stretching. Windows Magnifier provides a temporary solution by allowing you to magnify specific areas of the screen to achieve the desired fit. Customizing the screen resolution helps tailor the display to the specific dimensions of your ultrawide monitor.
Scaling and DPI settings allow you to adjust the size of on-screen elements, while updating graphics drivers ensures compatibility and optimal performance. Adjusting browser settings helps improve the screen fit during web browsing, and window management tools enable precise control over window placement and resizing.
Remember to adjust these settings based on your personal preferences, the capabilities of your monitor and graphics card, and the specific requirements of your applications. It’s important to experiment and find the configurations that work best for you.
By implementing these methods and utilizing the tools available, you can ensure that your computer screen fits perfectly on your ultrawide monitor, allowing you to fully enjoy the expanded viewing area and the benefits of these immersive displays.
Now that you have the knowledge and tools at your disposal, go ahead and optimize your ultrawide monitor setup for an unparalleled visual experience.