With the surge of new phones on the market, it’s natural for people to be switching phones all the time. And when you buy a new phone, you’d think of its capabilities and what you can do with it. However, it’s important not to let all the excitement get to your head. The first thing you should do upon getting a new phone is to move all your accounts from your old phone and transfer Google Authenticator to your new iPhone. This is highly important for your privacy and overall safety. Doing this will allow you to access two-factor authentication on your new phone. Thus, in this guide, we’ll teach you how to transfer Google Authenticator to a new iPhone.
What Is Google Authenticator?

Before learning how to transfer Google Authenticator to a new iPhone, there’s something else on the agenda we must attend to first. This is understanding what Google Authenticator is and what it does. This way, we can better process how it works.
Google Authenticator is a two-factor authorization tool that generates verification codes on your phone. It provides you better security for your phone because it requires you to enter a code before signing into your account.
The app provides you verification codes on authorized phones. You can have multiple accounts registered under it. Google Authenticator offers you automatic setup via QR codes, as well. You can even customize the app interface to have a dark theme to make it more pleasing to the eyes.
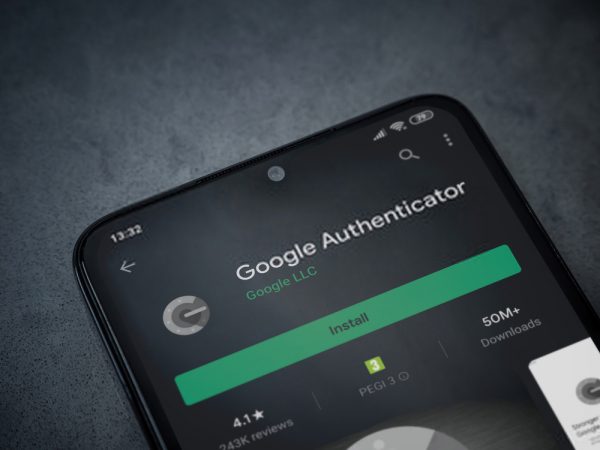
Google Authenticator is available on the App Store and on Google Play Store. It supports most websites that support logins using Google accounts. When you log in to a website using your Google account, it will automatically activate. That is, of course, if you have Google Authenticator turned on.
Some people don’t like using Google Authenticator because they think it’s a hassle. They don’t really like the idea of having to input a code right after entering their password. Although it may be tiring to think about entering a code right after a password, Google Authenticator is worth your trouble.
Why Use Google Authenticator?

Let’s stop and think for a second before proceeding with how to transfer Google Authenticator to a new iPhone. Why exactly do people, even iPhone users, use Google Authenticator? Well, Google Authenticator is useful for a number of reasons.
Google Authenticator Ensures Your Safety
The first and most obvious reason out of all the reasons is simple. Since it requires you to undergo a two-factor authorization process, it can ensure your safety. While other services do two-step authorization by sending you a code through text, Google Authenticator does otherwise.
Google Authenticator functions as an app. It sends you the code from within the app. It doesn’t use text messages because those can be tracked pretty easily. Chances are, you log in to your Google account a lot. If you rely on your Google account, then you tend to log in every day. If you go to net cafes for work, then you’re susceptible to logging in multiple times a day.
The app eliminates the chances of your code being intercepted and tracked by outside parties. With it, you no longer need to be afraid of your Google account getting hacked. You can rest assured.
You also get a new code every minute. In contrast to text message codes which usually last half an hour, with Google Authenticator, the possibility of you being tracked goes down. With it, your codes have a less likelihood of getting stolen.
Google Authenticator Is Reliable and Easy to Use
The Google Authenticator app is also reliable. You don’t need to go to your e-mail or check your text messages to view your code. All you need to do is check it and the code will be there. You also don’t need an internet connection or data to get your code.
Not only does Google Authenticator not need the internet, but you also don’t even need a SIM card to use it. This is because it doesn’t send codes through text. It functions using a time-based one-time password algorithm. The same code that your phone generates will be the same as the one Google does.
With Google Authenticator, you can also have multiple accounts in one place. Say for example you have two Google accounts, with two-factor authorization enabled on both. Using the app, you don’t need to have two separate codes. The only thing you need to do is enable Google Authenticator on both accounts.
Google Authenticator is easy to use. All you need to have is the app and the rest is history. Quite literally the only thing you have to do is to download the Google Authenticator app and check it every time you log in. Once you open the app, the simple user interface makes it so that the code is already there.
Last but definitely not least, the app only needs a bit of space on your phone. It is less than 2 MB in size, and instantly starts up when you boot it. It works fine on every phone regardless of their storage space and speed.
How to Use Google Authenticator on iPhone
The first thing to do before using Google Authenticator is to download the app to your new iPhone. After downloading the app, the next thing to do is set up your Google account for it. Setting up is as simple as a few button taps.
To set your Google account up, go to your Gmail. Once there, open your settings and select Manage. It will take you to a new page. At the top of this page, click Security. Then, select 2-Step Verification and activate it.
Once you’ve activated the two-step authorization, open your Google Authenticator app for confirmation. Doing this will allow Google Authenticator to send you codes from then on. Upon entering your password, Google Authenticator will activate.
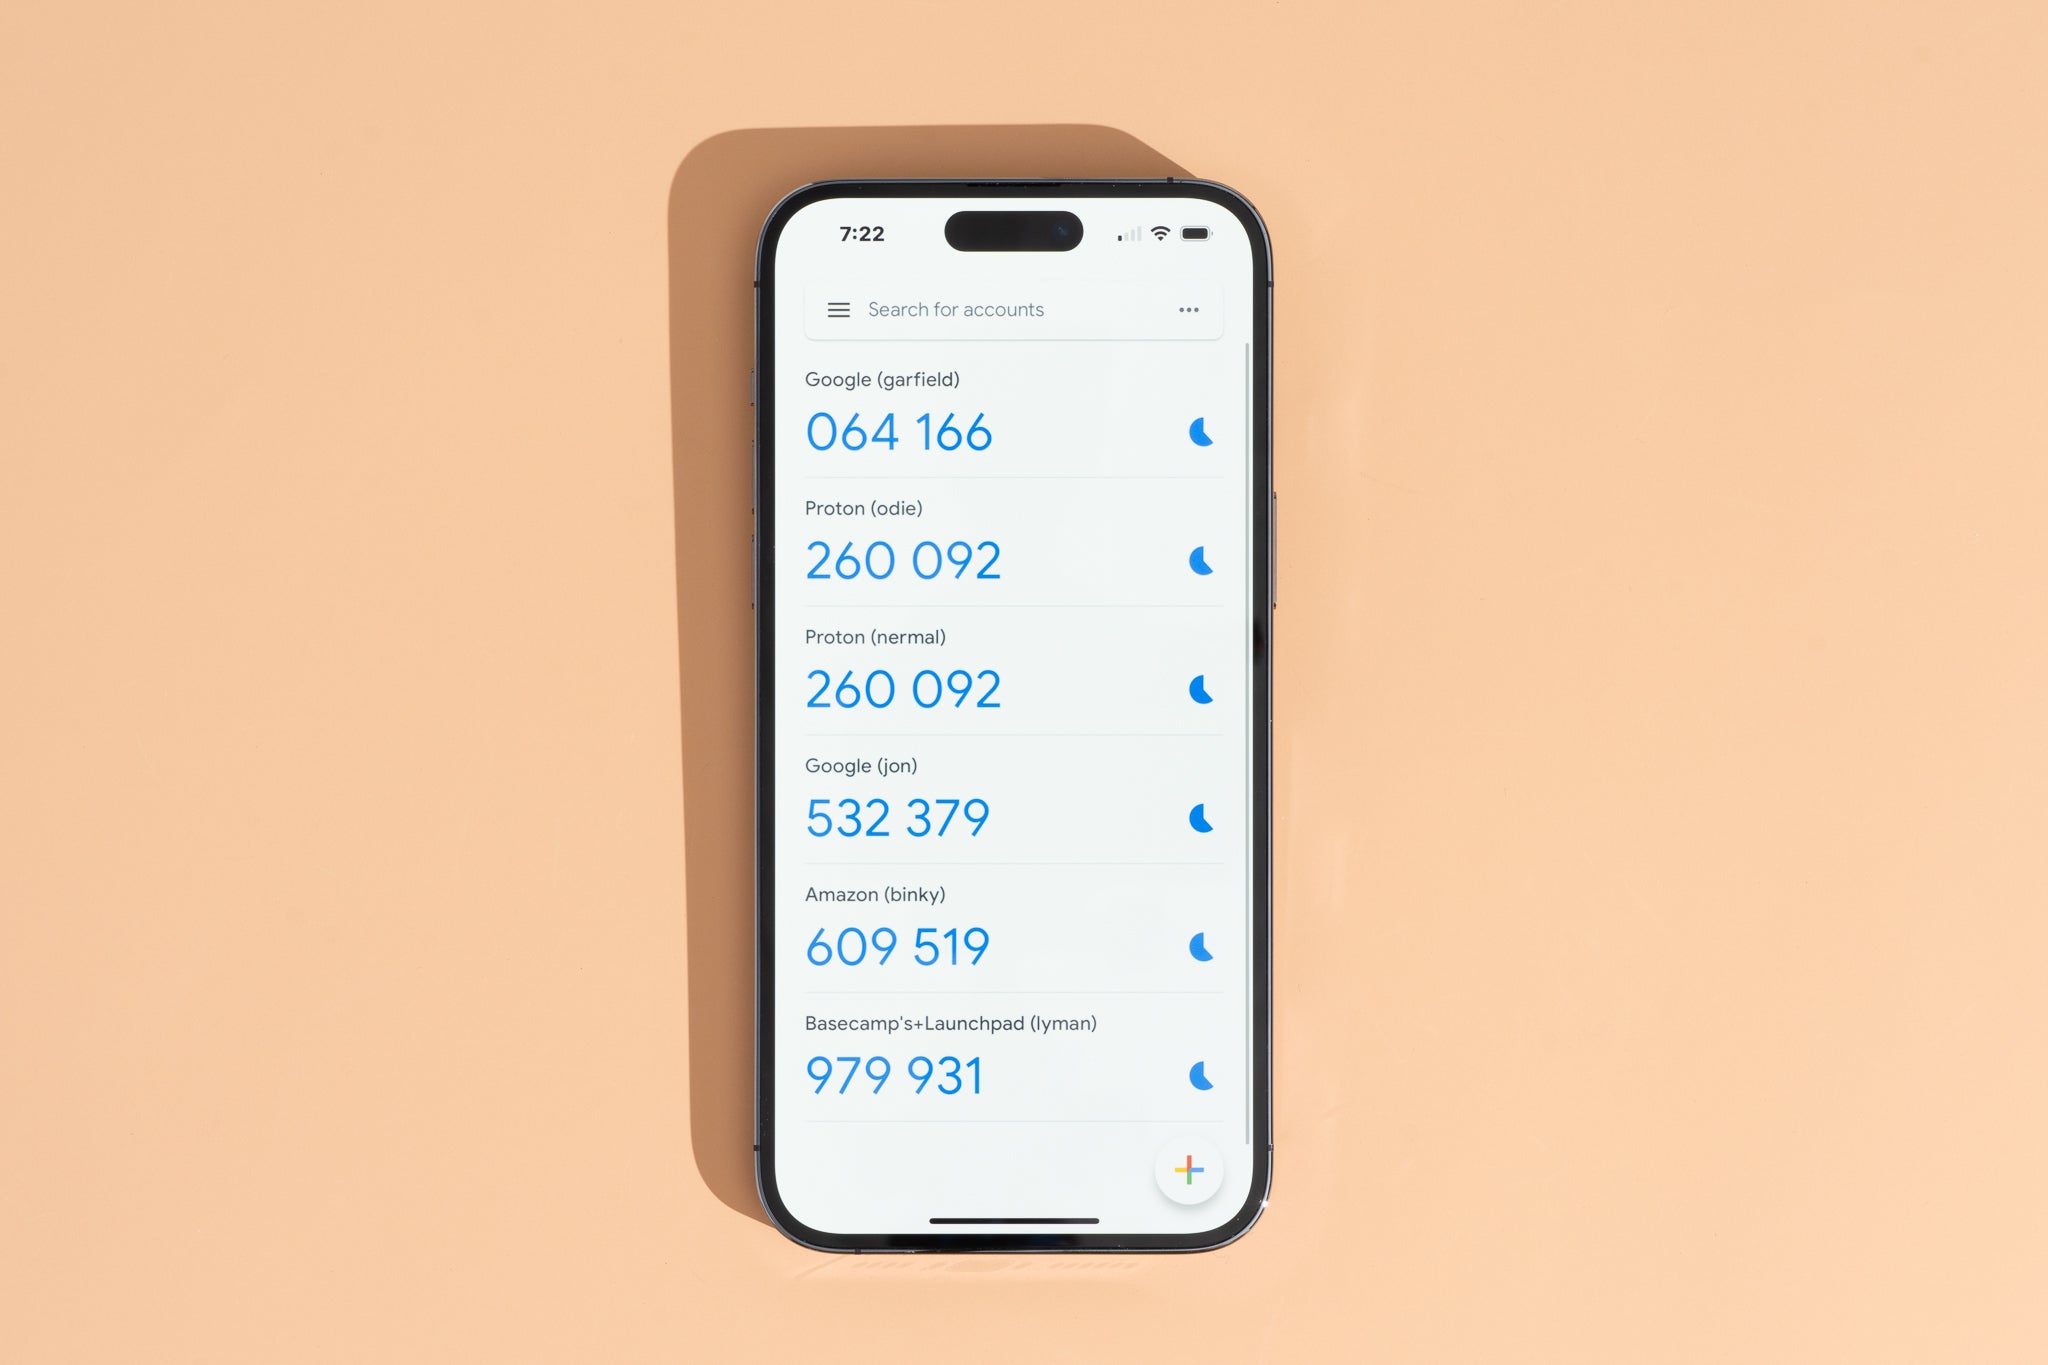
The login page will ask for a code, which can be found on your app. Open your Google Authenticator app and you will see all of the accounts which have been set up with it. Below each of these accounts is the code. On the right, there will be a timer in the form of a pie chart.
Upon entering your code, you’ll be logged into your account without a single complication. It’s all rinse and repeat from there. Whenever you log in to your account, you’ll always need to enter a code from Google Authenticator. This is true even when you log into your account at home.
Why You Should Transfer Google Authenticator to New iPhone
Why should you transfer your Google Authenticator to your new iPhone? Well, there are plenty of benefits for you to reap. Plus, not doing this can have a lot of repercussions, which is quite scary.
For instance, in case your old phone is stolen with Google Authenticator on it, your whole Google account can be jeopardized. The same is true when you lose your iPhone or end up breaking it. Losing your old phone with Google Authenticator on it can mean losing your Google account entirely.
When you lose a phone with Google Authenticator on it, moving your Google Authenticator new phone is practically impossible. This is because you need your old phone’s app in order to transfer Google Authenticator to your new phone. Thus, you can be completely locked out of all the Google accounts you have the authenticator activated on.
To avoid these things from happening, moving your Google Authenticator to your new iPhone is the best thing to do. While you still have your old phone, you should move Google Authenticator immediately to the new one. But now, the question is how to transfer Google Authenticator to a new iPhone.
How to Transfer Google Authenticator to a New iPhone
Whether you get a better phone or an older model, changing phones is normal. No phone is going to last you a lifetime. Technology gets better, and phones constantly become outdated. May it be in the near or distant future, you’re definitely going to get a new phone.
Now let’s say that you got a new iPhone. On your old phone, you had Google Authenticator activated. And now, you don’t know whether you want Google Authenticator on your new phone or not because it might be a hassle. The answer to that should be yes, for reasons we’ve already stated.
Now, the question is how to transfer Google Authenticator to a new iPhone. For Android users, this is easy. But for you, it might be tricky. Getting the app back once it’s gone is very tricky to deal with.
You might think that installing it again will fix the problem, but it won’t. Hence, when transferring it to a new iPhone, don’t delete the Google Authenticator app on your old iPhone. You have to keep it there before getting it on your new one. With that being said, here is how to transfer Google Authenticator to a new iPhone.
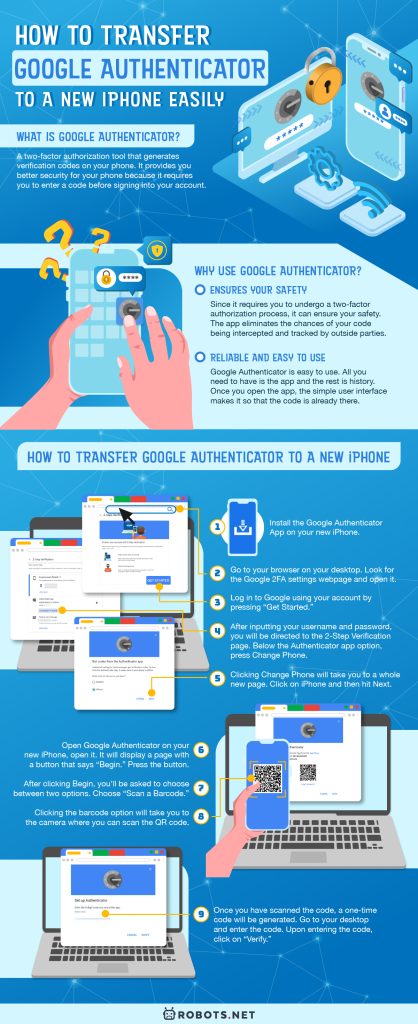
To move Google Authenticator to your new iPhone, you will need three things. These are your old phone, your new iPhone, as well as a desktop. Note that you shouldn’t delete Google Authenticator from your old phone until you have it on your new one.
1. Install the Google Authenticator App
First and foremost, you should have your Google Authenticator app ready on your new iPhone as well as your old one to begin the process.
2. Check Google Account Security Settings
Go to your browser on your desktop. Look for the Google 2FA settings webpage and open it.
3. Click on Get Started
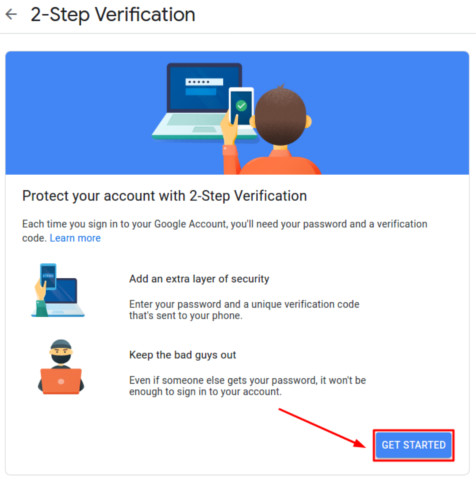
Log in to Google using your account by pressing “Get Started.” Once you’ve done this, you will be asked for your username and password.

4. Change Phone
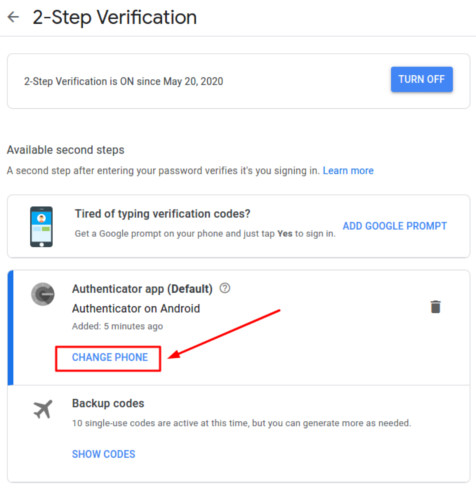

After inputting your username and password, you will be directed to the 2-Step Verification page. On this page, you will see two options. The first is the Authenticator app, and the second is the Backup codes. Below the Authenticator app option, press Change Phone.
5. Choose iPhone
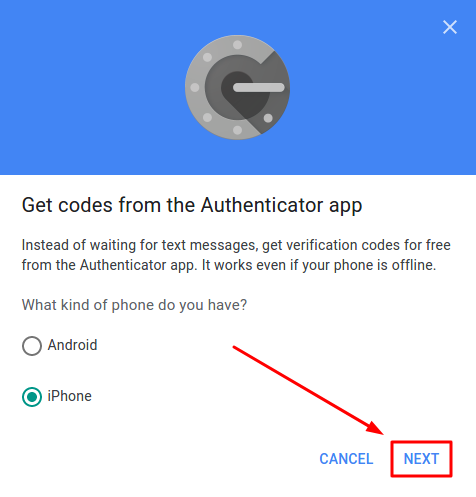
Clicking Change Phone will take you to a whole new page. On it, you will be asked what type of phone you have. Click on iPhone and then hit Next.

6. Open Google Authenticator
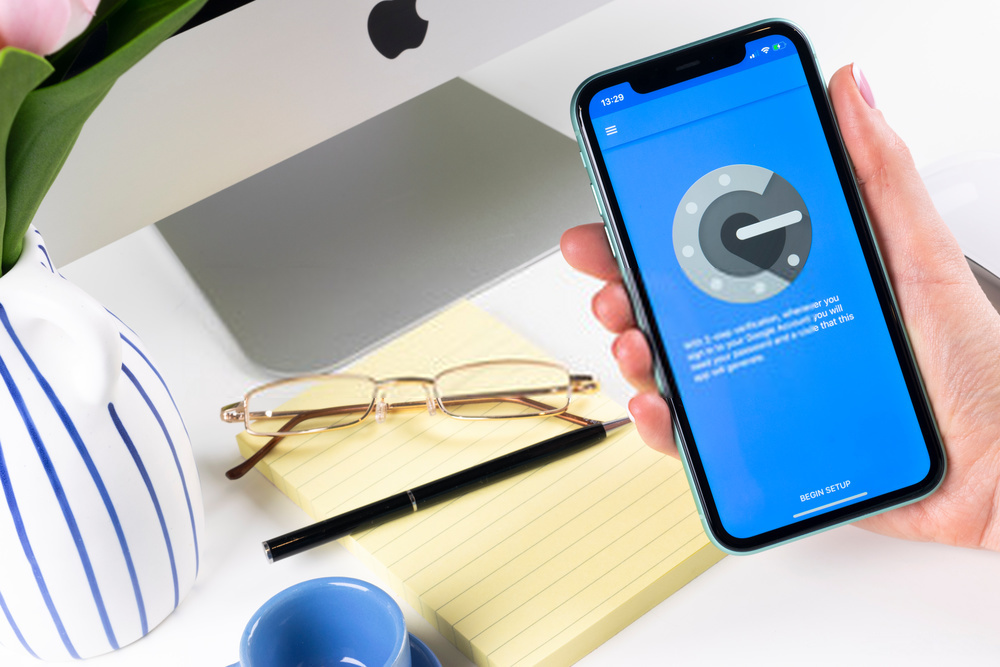
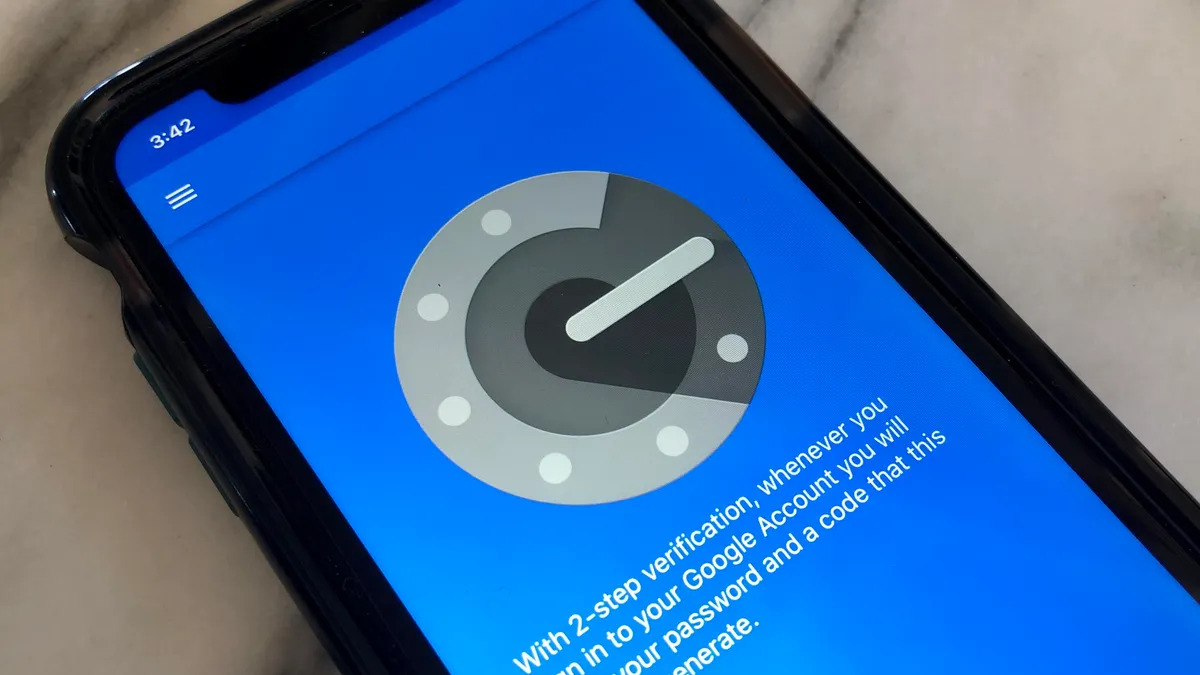
Assuming you already have Google Authenticator on your new iPhone, open it. It will display a page with a button that says “Begin.” Press the button.
7. Choose “Scan a Barcode”
After clicking Begin, you’ll be asked to choose between two options. You can either do “Scan a barcode” or “Enter a provided key.” Choose the first option, as the second one will not work.
8. Scan QR Code
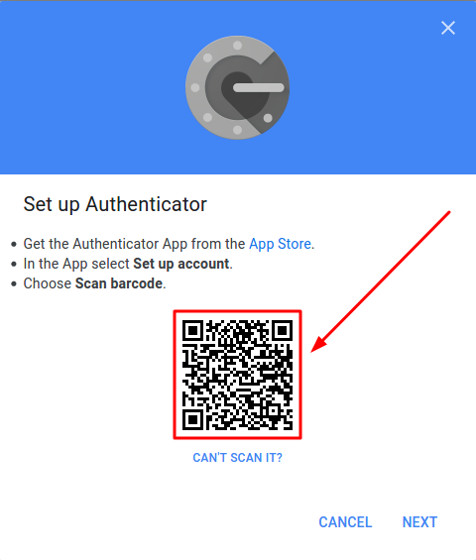
Clicking the barcode option will take you to the camera where you can scan the QR code. You can also see the shared secret key.

9. Enter the Code and Verify
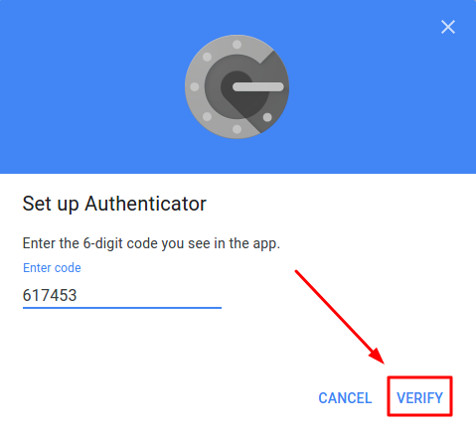
Once you have scanned the code, a one-time code will be generated. The token for your selected Google account will be created. Go to your desktop and enter the code. Upon entering the code, click on “Verify.”

10. Turn Off 2FA for Every Website
You might think you’re finished after verifying, but you still have to move your tokens to your new iPhone. To do this, you’ll need to turn off two-factor authorization for every website by going to 2FA settings in the app.
11. Turn 2FA Back On
Enrolling new tokens is easy. All the websites register tokens from your old phone. So turning two-factor authorization off and then turning it back on after a while resets it. They will then begin recognizing your new iPhone.
By doing all of these steps, you can ensure that your Google Authenticator recognizes your new iPhone. After following these steps, you can then delete the authenticator app from your old phone.
Final Reminder
We hope this article has informed you of how to transfer Google Authenticator to a new iPhone. By following the steps we have stated, you can be sure to move your app to your new phone safely. The process itself is quite simple, it’s just a tedious task to do.
The only thing you should remember is to keep your old phone with you during the moving process. You should also be sure to have backup codes in place in case you lose or break your phone.
