People today are more on online purchases and payments. They look for services that offer convenience and security. Since different platforms offer these elements, we can consider them as indulgences as well. For Apple users, there is the Apple Pay that offers contactless but secure purchases. People will enjoy this cardless, cashless lifestyle, which they can do in apps, in stores, and on the web.
In this article, we will discuss what Apple Pay is, its features, and how to use it on different Apple devices. Moreover, we will tackle its benefits and some of its alternatives.
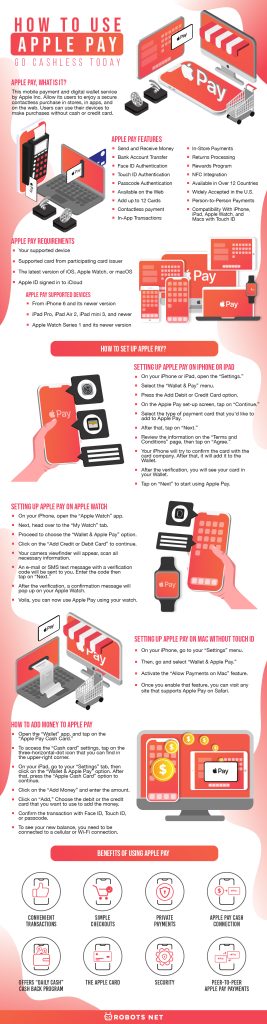
Apple Pay, What Is It?
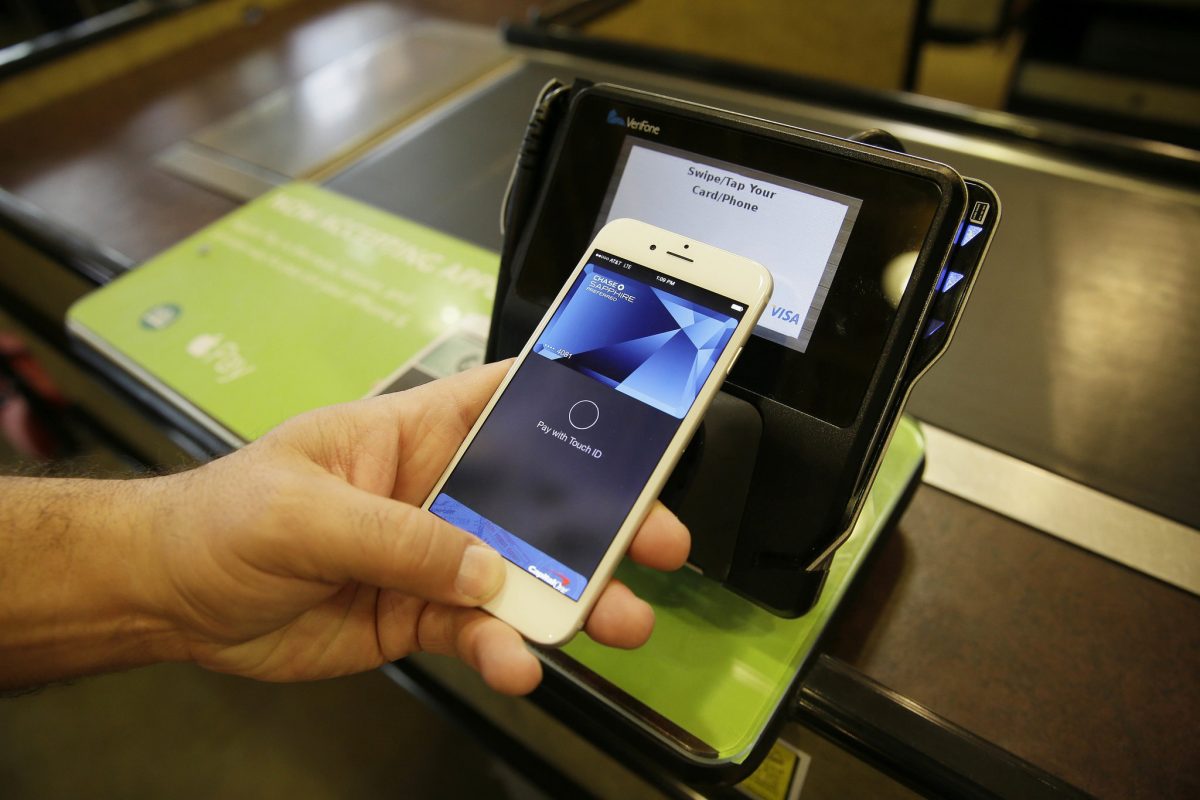
This mobile payment and digital wallet service by Apple Inc. allow its users to enjoy a secure contactless purchase in stores, in apps, and on the web. Also, it lets its users send and receive money from loved ones and friends via Messages. This digital wallet for Apple devices is a simple and safe way of paying. Users can use their devices to make purchases without cash or credit card. Furthermore, they don’t need to dig deep into their bags to get their wallet or purse. That means that their device can serve as a debit or credit card that can also be used at contactless-capable point-of-sale terminals. They need not worry since this digital wallet works with any merchant that accepts contactless payments. It features two-factor authentication via Touch ID, Face ID, PIN, or passcode that make it more secure.
Apple Pay Features
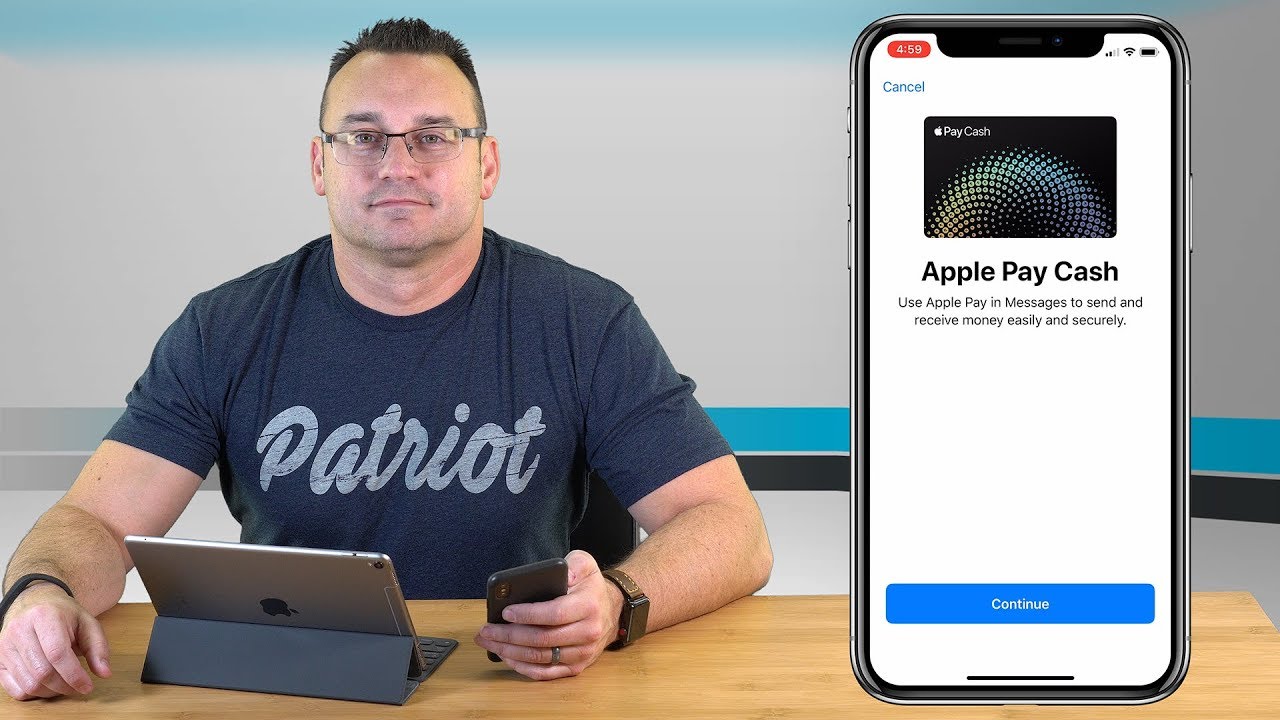
- Send and Receive Money
- Bank Account Transfer
- Face ID Authentication
- Touch ID Authentication
- Passcode Authentication
- Available on the Web
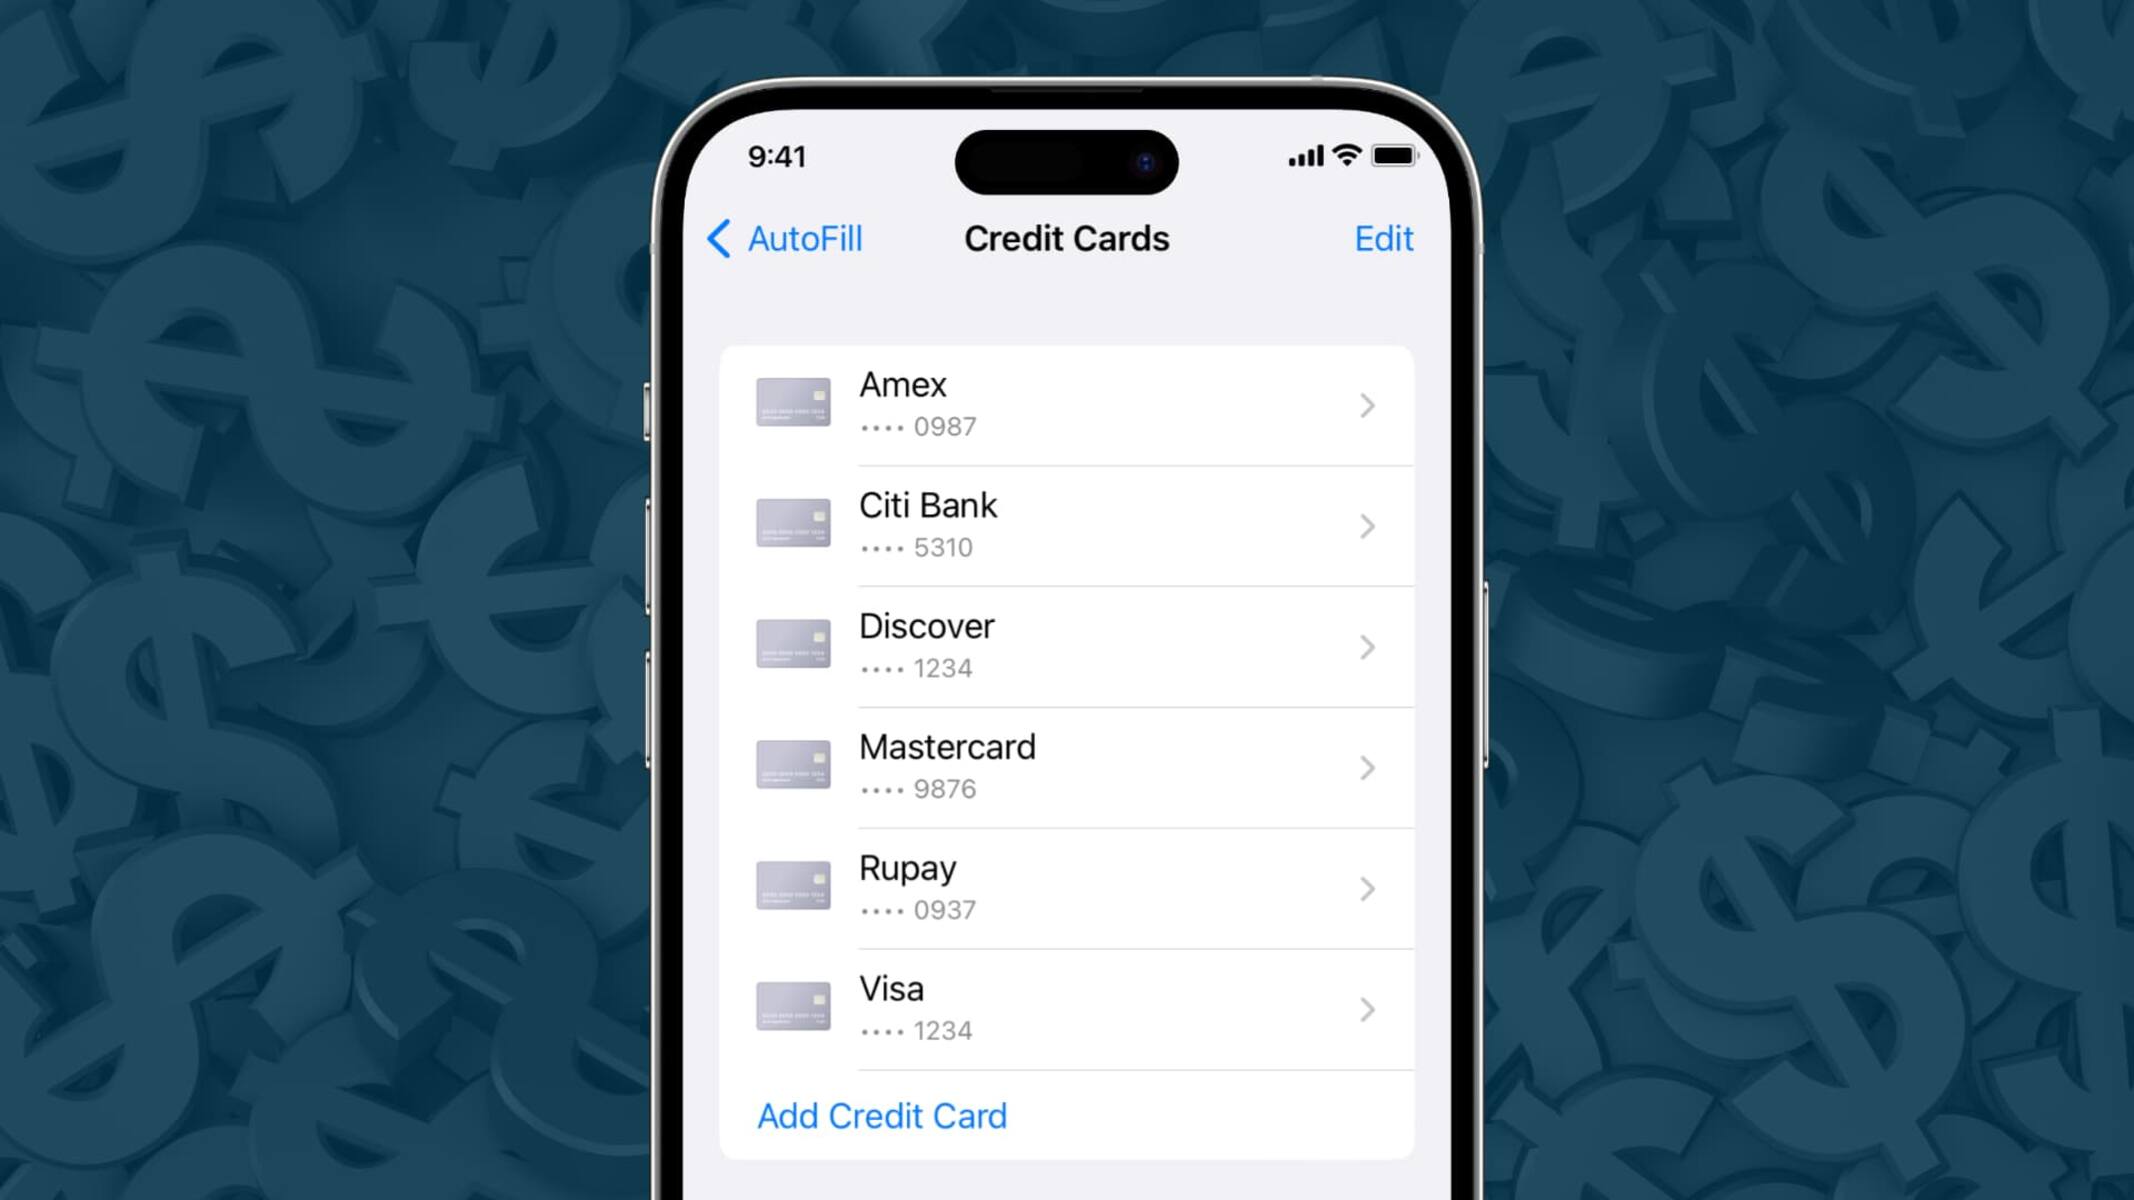
- Add up to 12 Cards
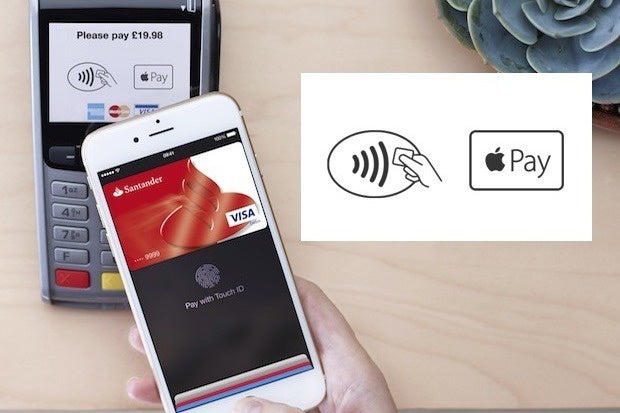
- Contactless payment
- In-App Transactions
- In-Store Payments
- Returns Processing
- Rewards Program
- NFC Integration
- Available in Over 12 Countries
- Widely Accepted in the U.S.
- Person-to-Person Payments
- Compatibility With iPhone, iPad, Apple Watch, and Macs with Touch ID
Apple Pay Requirements
Before getting started with Apple Pay, here are some requirements:
- Your supported device
- Supported card from participating card issuer
- The latest version of iOS, Apple Watch, or macOS
- Apple ID signed in to iCloud
Apple Pay Supported Devices
- iPhone 6, iPhone 6s, iPhone 6 Plus, iPhone 6s Plus, iPhone 7, iPhone 7 Plus, iPhone 8, iPhone 8 Plus, iPhone SE, iPhone X, iPhone XS, iPhone XS Max, iPhone XR
- iPhone 11 and its newer version
- iPad Pro, iPad Air 2, iPad mini 3, and newer
- Apple Watch Series 1 and its newer version
How to Set Up Apple Pay?
Setting Up Apple Pay on iPhone or iPad
- On your iPhone or iPad, open the “Settings.”
- Select the “Wallet & Pay” menu.
- Press the Add Debit or Credit Card option.
- On the Apple Pay set-up screen, tap on “Continue.”
- Select the type of payment card that you’d like to add to Apple Pay. The card can be a debit card, credit card, and Apple Card.
- If you already have a compatible card on your iTunes and App Store, iOS will recommend you to add it to Apple Pay.
- You have two ways on how to add a new card.
- You can scan a card by using your device’s cameras and capture all important information as well.
- Otherwise, you can manually enter your card information by entering your name, card number or expiration date, and security code.
- After that, tap on “Next.”
- Review the information on the “Terms and Conditions” page, then tap on “Agree.”
- Your iPhone will try to confirm the card with the card company. After that, it will add it to the Wallet. However, there are instances that you may need to call your card issuer, or you might receive a verification code through a text message that you will need to enter. Either way will help verify your identity.
- After the verification, you will see your card in your Wallet.
- Tap on “Next” to start using Apple Pay.
Setting Up Apple Pay on Apple Watch

- On your iPhone, open the “Apple Watch” app.
- Next, head over to the “My Watch” tab.
- Proceed to choose the “Wallet & Apple Pay” option.
- Click on the “Add Credit or Debit Card” to continue.
- If you already have a compatible card in your iTunes and App Store, Apple will automatically ask you to enter the security code of your compatible card.
- If you don’t want to use your card, select “Add a different credit or debit card.”
- Your camera viewfinder will appear. Align the front of your card with the border set by your camera to properly capture a photo of it and scan all necessary information. You can also enter the information on your card manually.
- An e-mail or SMS text message with a verification code will be sent to you. Enter the code then tap on “Next.”
- After the verification, a confirmation message will pop up on your Apple Watch.
- Voila, you can now use Apple Pay using your watch.
Setting Up Apple Pay on Mac Without Touch ID

- On your iPhone, go to your “Settings” menu.
- Then, go and select “Wallet & Apple Pay.”
- Activate the “Allow Payments on Mac” feature.
- Once you enable that feature, you can visit any site that supports Apple Pay on Safari.
Setting Up Apple Pay on Mac With Touch ID
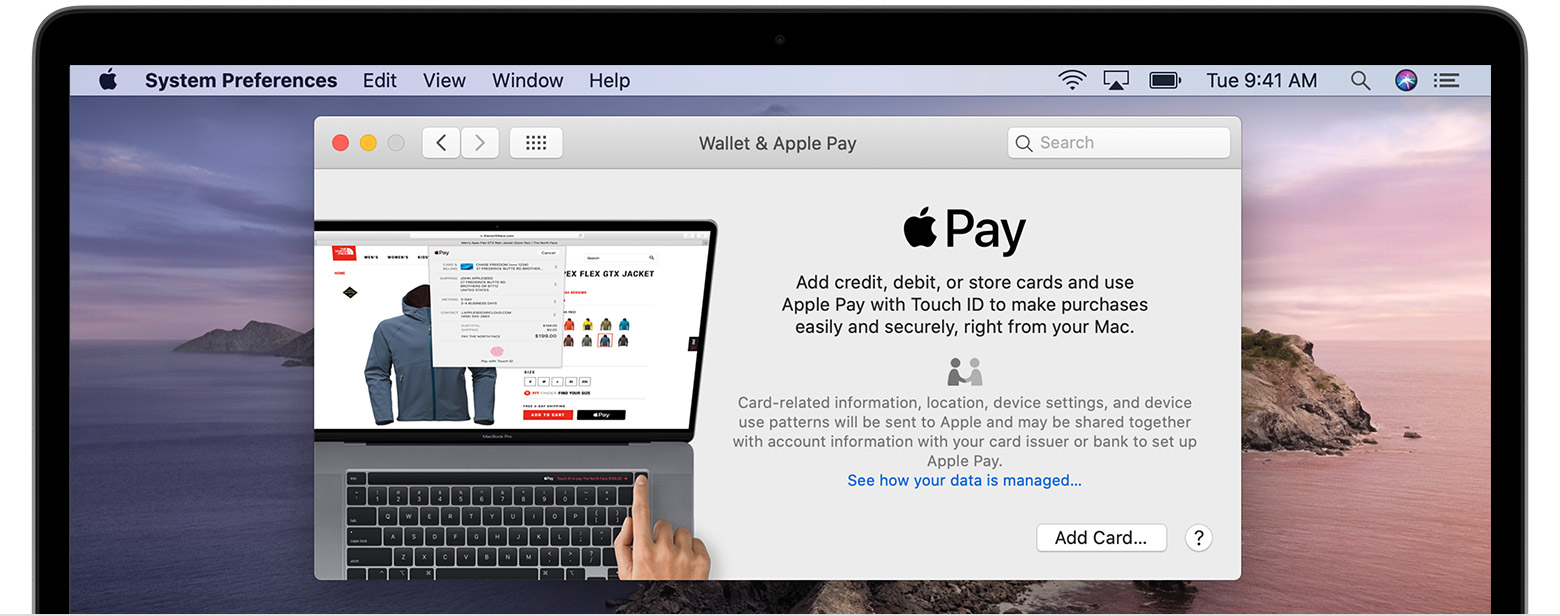
- From the “Applications” folder or the Apple menu bar, open “System Preferences.”
- Click on the “Wallet & Apple Pay” icon.
- To add a credit or debit card, click on the “Add Card” button.
- To add your card information, position your card in front of your Facetime camera for it to capture the information in it. On the other hand, you can choose to manually enter the card information.
- To verify your card number, click on “Next.”
- Verify the expiration date of the card you wish to use.
- Enter your three-digit CVC security code that you can find on the back of the card.
- Click on “Next.”
- Review the card’s Terms and Conditions, then click on “Accept.”
- Select the “Verification Method” on how you prefer the verification code to be sent to you. It can be through an e-mail or an SMS text message.
- Click on “Next.”
- Type the “Verification Code” that you received.
- Click on “Next.”
- After the completion of the verification, you are all set up.
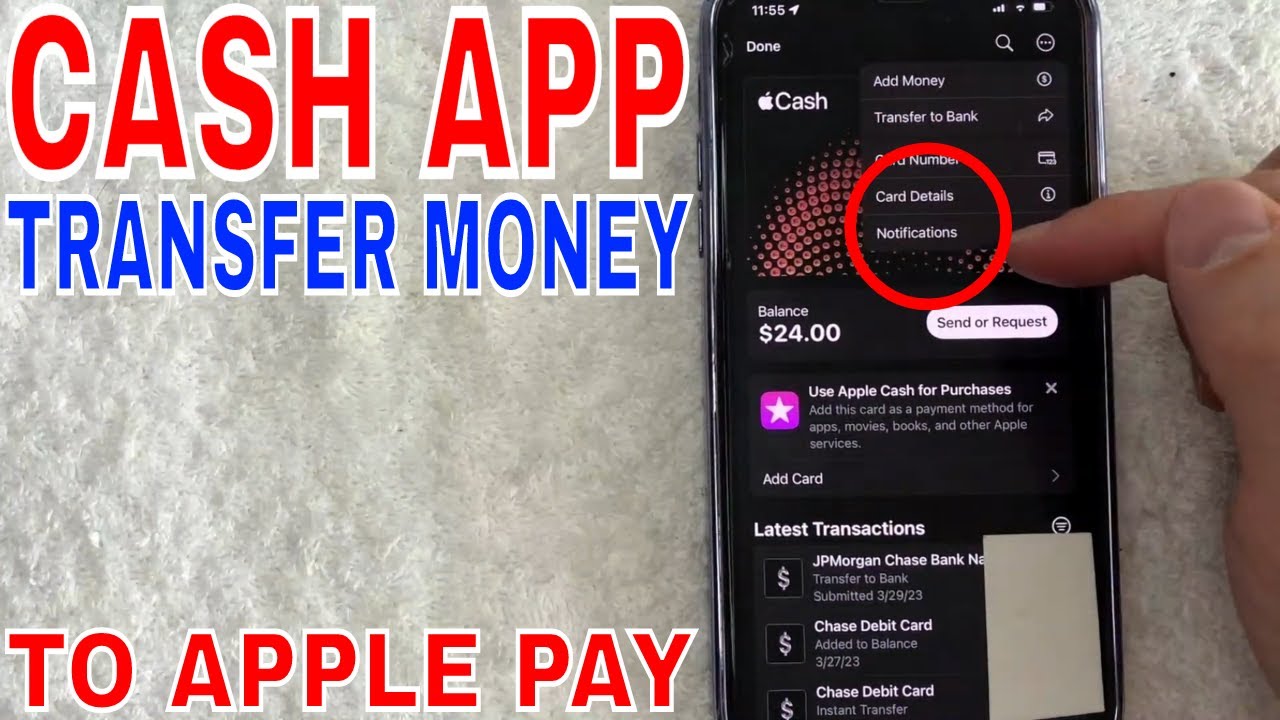
How to Add Money to Apple Pay
- On your iPhone and for Apple Watch, open the “Wallet” app, and tap on the “Apple Pay Cash Card.”
- To access the “Cash card” settings, tap on the three-horizontal-dot icon that you can find in the upper-right corner.
- On your iPad, go to your “Settings” tab, then click on the “Wallet & Apple Pay” option. After that, press the “Apple Cash Card” option to continue.
- Click on the “Add Money” option and enter the amount that you would like to add to your wallet.
- The minimum amount that you can add is $10, while $3,000 is the maximum for one transaction. Remember that you can’t add more than $10,000 in just a week.
- Click on “Add,” which you can find in the top-right corner of your screen.
- Choose the debit or the credit card that you want to use to add the money.
- Confirm the transaction with Face ID, Touch ID, or passcode.
- To see your new balance, you need to be connected to a cellular or Wi-Fi connection.
How to Use Apple Pay on Different Devices
How to Use Apple Pay on Mac Desktop and Laptop
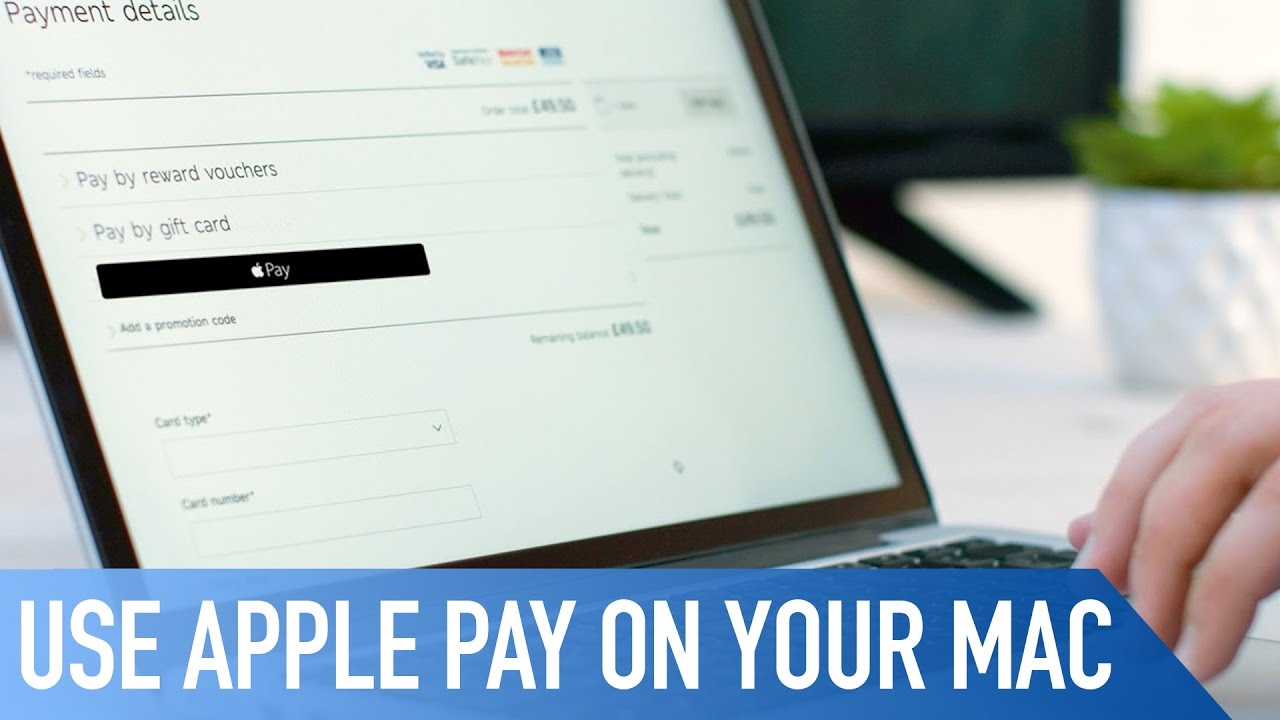
With Touch ID
- On your iPhone or iPad, open “Safari.”
- On the web, navigate to the “Participating retailer website” that offers Apple Pay.
- Navigate through the “Checkout Process.”
- Tap on “Checkout with Apple Pay”
- After that, click on the “Pay with Apple Pay” option.
- Double-check your contact information. This is to ensure that your shipping and billing address is correct.
- Place your Touch ID-registered finger lightly on the “Touch ID” button to confirm the transaction.
Without Touch ID
- On your desktop or laptop computer, open “Safari.”
- On the web, navigate on the “Participating retailer website” that offers Apple Pay.
- Navigate through the “Checkout Process.”
- Tap on “Checkout with Apple Pay.’
- After that, press the “Pay with Apple Pay” option.
- Double-check your contact information. This is to ensure that your shipping and billing address is correct.
- Get your iPhone or your Apple Watch.
- To pay using Apple Pay, place the Touch ID-registered finger on your phone’s home button.
- For the devices with Face ID, double-press the side button.
- To finish the process, press the side-button on your Apple Watch.
How to Use Apple Pay on iPhone
Paying With iPhone With Face ID
- Launch Apple Pay. You can do it by double-clicking on the sleep/wake button that you can find on the right side of your iPhone.
- Authentication will be done through Face ID or passcode.
- After the authentication, you will see “Hold Near Reader” on your iPhone screen.
- With that, place your iPhone near the point-of-sale terminal.
- Wait until you see “Done” and a checkmark on the screen.
Paying With iPhone With Touch ID
- Double-tap on the “Touch ID” home.
- Place your finger lightly and wait for a “Hold Near Reader” prompt to appear.
- If your fingerprint cannot be recognized, you can instead use the “Pay with Passcode” option.
- Place your iPhone near the point-of-sale terminal.
- Wait until a “Done” and a checkmark on the screen.
How to Use Apple Pay on iPad
- Tap on the “Apple Pay” option. This will open a pop-up that allows you to choose your card.
- Your shipping address and contact information will be automatically displayed.
- To complete the purchase, use Touch ID.
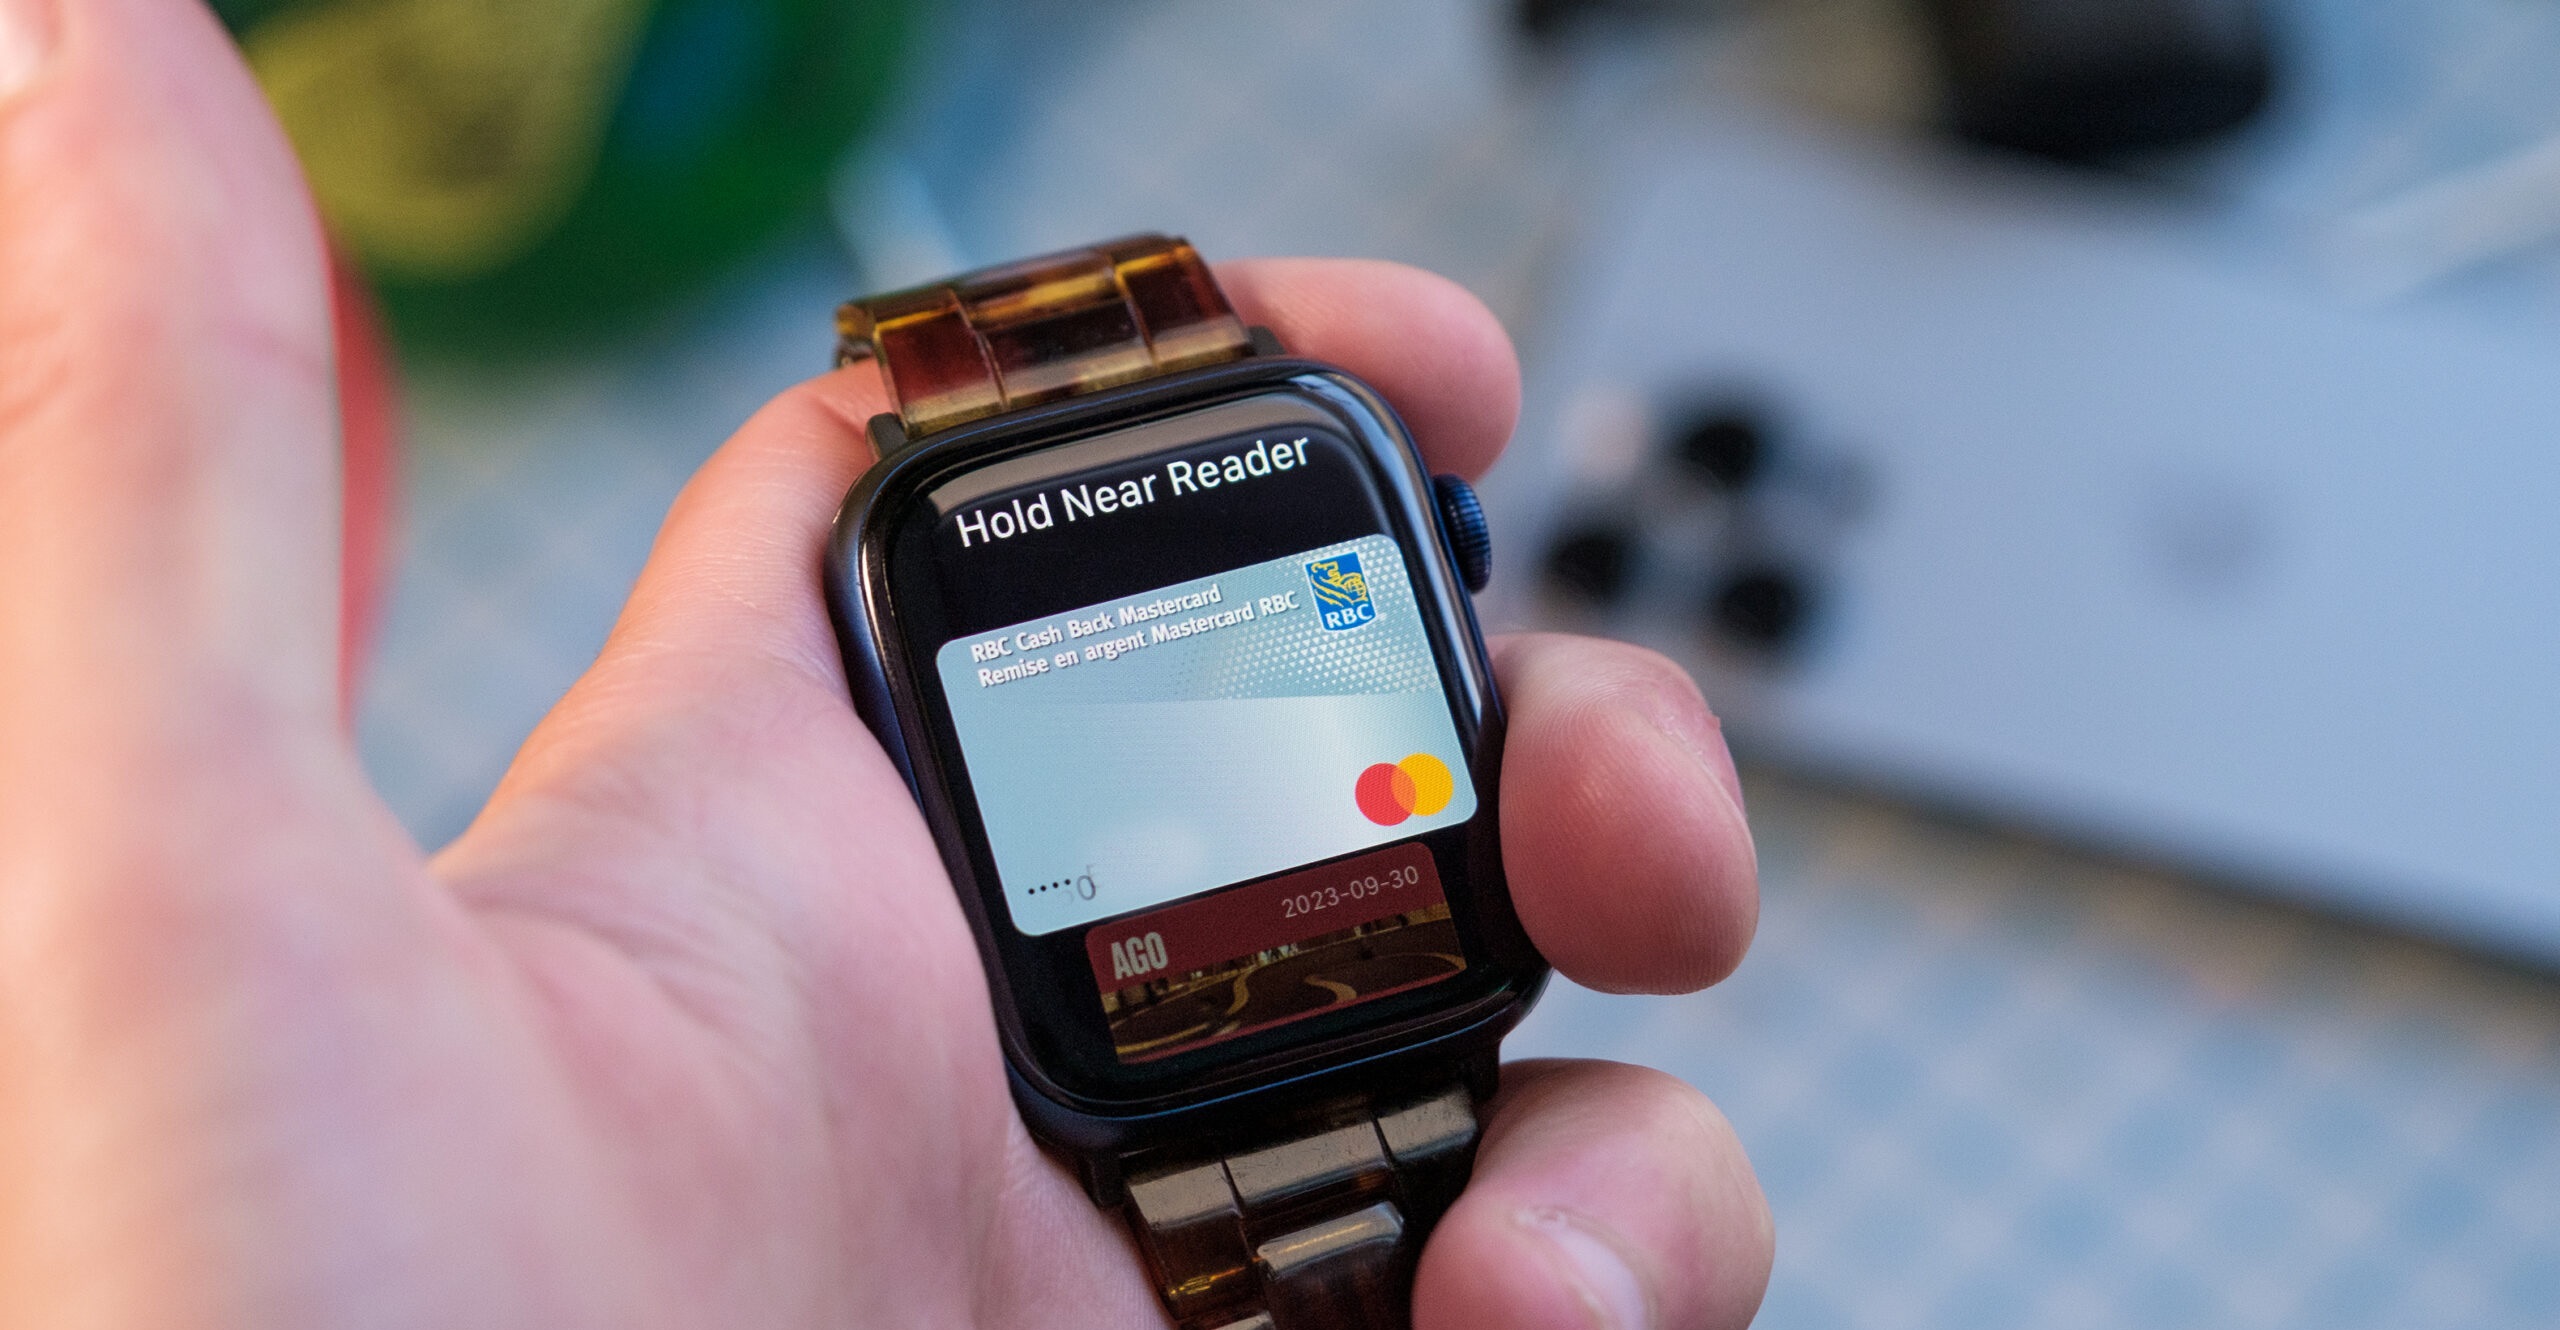
How to Use Apple Pay on Apple Watch

- Launch Apple Pay on your Apple Watch by double-pressing the button next to the Digital Crown.
- Your preferred card for payment will be displayed on your Apple Watch screen. It’ll also have the “Hold Near Reader to Pay” message.
- Position the display of your Apple watch near the point-of-sale terminal.
- For the confirmation of your payment, there will be a pulse and beep.
How to Send Money Using Apple Pay
On iPhone Or iPad
- Tap on the “Messages” app.
- Either you start a “New Conversation” or visit an existing conversation.
- Click on the “Apple Pay” feature to continue.
- Tap on the “Application” button that you can find at the bottom of your Message screen if you don’t see the “Apple Pay” button.
- After that, press the “Apple Pay” button to continue.
- Determine or select the amount you wish to send. Otherwise, tap “Show Keyboard” and enter the amount that you want to send.
- Tap on “Pay.”
- You can add a note if you want and that can serve as instruction for the receiver.
- Click on the Send button to continue the process.
- Authorization of the payment is through Face ID, Touch ID, or passcode.
On Apple Watch
- Go and open your “Messages” app.
- Continue by starting a “New Conversation” or select an existing one.
- Look for the “Apple Pay” button and click on it.
- Determine the “Amount to Send” or enter the specific amount that you wish to transfer.
- Tap on “Pay.”
- Then, you can review the payment and make sure if you sent it to the correct person. If not, you can cancel your transaction.
- To select another payment method, scroll down.
- To confirm and send the money/payment, double-click on the side button.
Benefits of Using Apple Pay
Convenient Transactions
Apple Pay is more convenient and simpler to use. This cardless and cashless method works with most Apple devices. It does not require any form of hardware or software to be functional. Also, paying for products and services can be done on the Messages app.
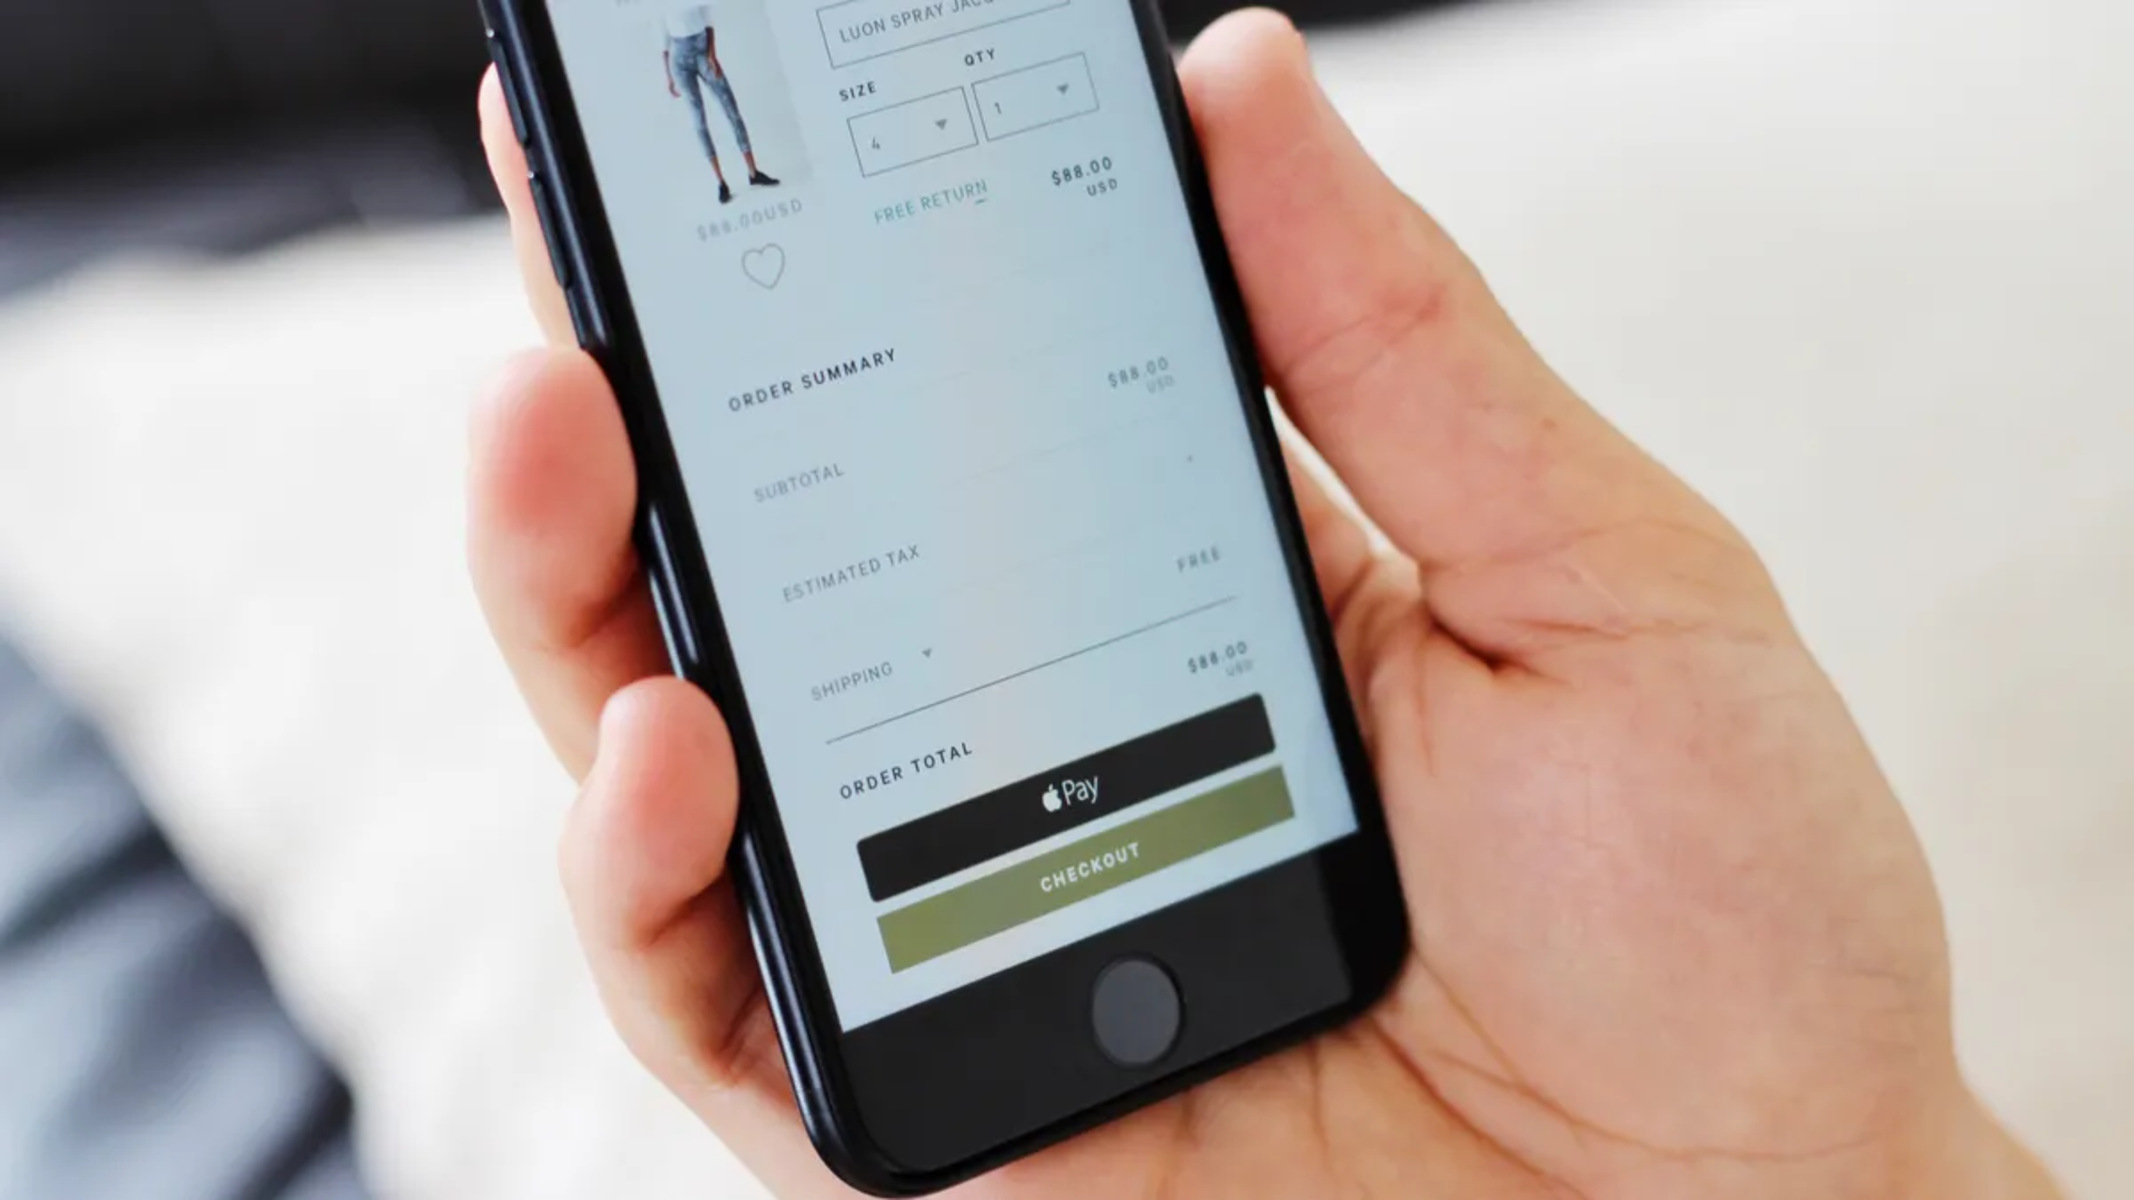
Simple Checkouts
This contactless payment system lets its users make purchases without spending time waiting for long lines. The customer just needs to tap on the “Apple Pay” button, go through the purchase order, and confirm the payment through Face ID, Touch ID, or Passcode.
Private Payments
Apple Pay makes its users’ transactions with other companies and their customers in private. With that, only the important information is stored for technical purposes.
Apple Pay Cash Connection
The money sent by customers to businesses for payments is automatically transferred to Apple Pay Cash. With that, the money debited can be used immediately on online transactions. Also, they have the option to transfer their balance to their bank accounts immediately.
Offers “Daily Cash” Cash Back Program
This program gives the user 1% cashback on all purchases, 2% cashback on all Apple Pay purchases using the Apple Card, and 3% on all Apple-related purchases.
The Apple Card
This physical and digital credit card that iPhone users can sign up using their iPhone works like a traditional credit card. It will then work along with the Wallet app.
Peer-to-Peer Apple Pay Payments
It allows sending money to friends and family members with a connected debit card. Sending payments can be done in Messages through Touch ID, Face ID, or skin authentication.
Security
Unauthorized payment is not possible since it requires Face ID, Touch ID, and skin contact authentication method for payment confirmation.
Alternatives to Apple Pay
Google Pay

This cross-platform payment system works on any device, browser, and operating system. Also, this is a great way to make transactions online, in apps, and stores. Moreover, it is used to send money to friends and family members. Users use this to shop online or make in-store purchases using their mobile phones.
Samsung Pay
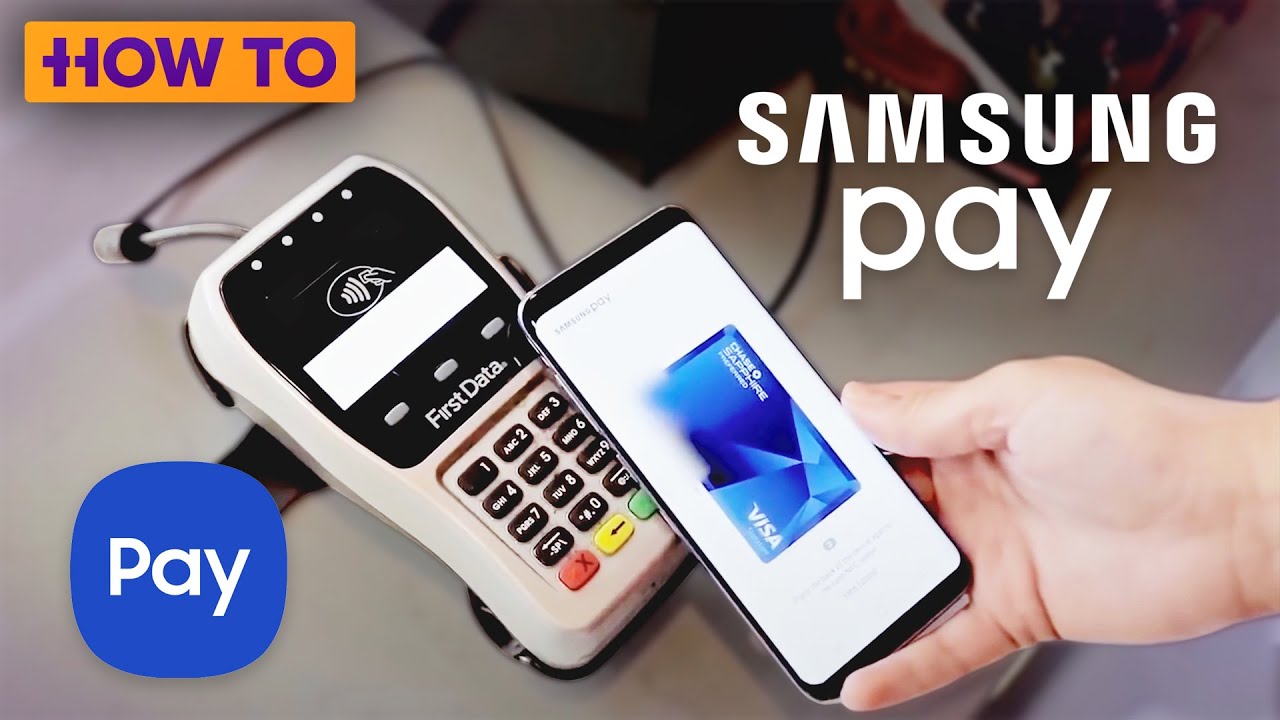
It allows its users to create a virtual card, which they can use for transfer purposes. Also, it can be used as a virtual prepaid card after linking it to their bank account. Moreover, it uses a combination of NFC and MST to process payments. Payment for purchases is done by tapping the phone against the POS. The authentication of the transaction is through the phone’s fingerprint scanner, PIN, or iris scan.
LoopPay
This mobile payment system enables retail consumers to pay using their mobile phones. Also, it uses MST or Magnetic Secure Transmission to take advantage of what is on the most credit card terminals, the magnetic stripe reader. This can be used via a phone case for some iPhone devices or as a key fob along with an app on Android or iOS devices. Making purchases is done by tapping on a button on the case or fob, selecting a card in the app, and positioning the device to the reader. However, there’s a need to register the cards with the app.
Enjoy Cashless Lifestyle With Apple Pay
All of us prefer convenience in all transactions that we make. Just like when we are shopping, we tend to wait for our turn in a long line, especially during holidays. Apple Pay makes our life easier by making cashless, cardless transactions possible. It lets us make payments and purchase goods online. Also, it makes sending and receiving money and even making payments possible with the use of our Apple devices. Aside from enjoying this cashless lifestyle, we can be confident that our information is secured. With that, there’s no need to worry when it comes to sending payments.
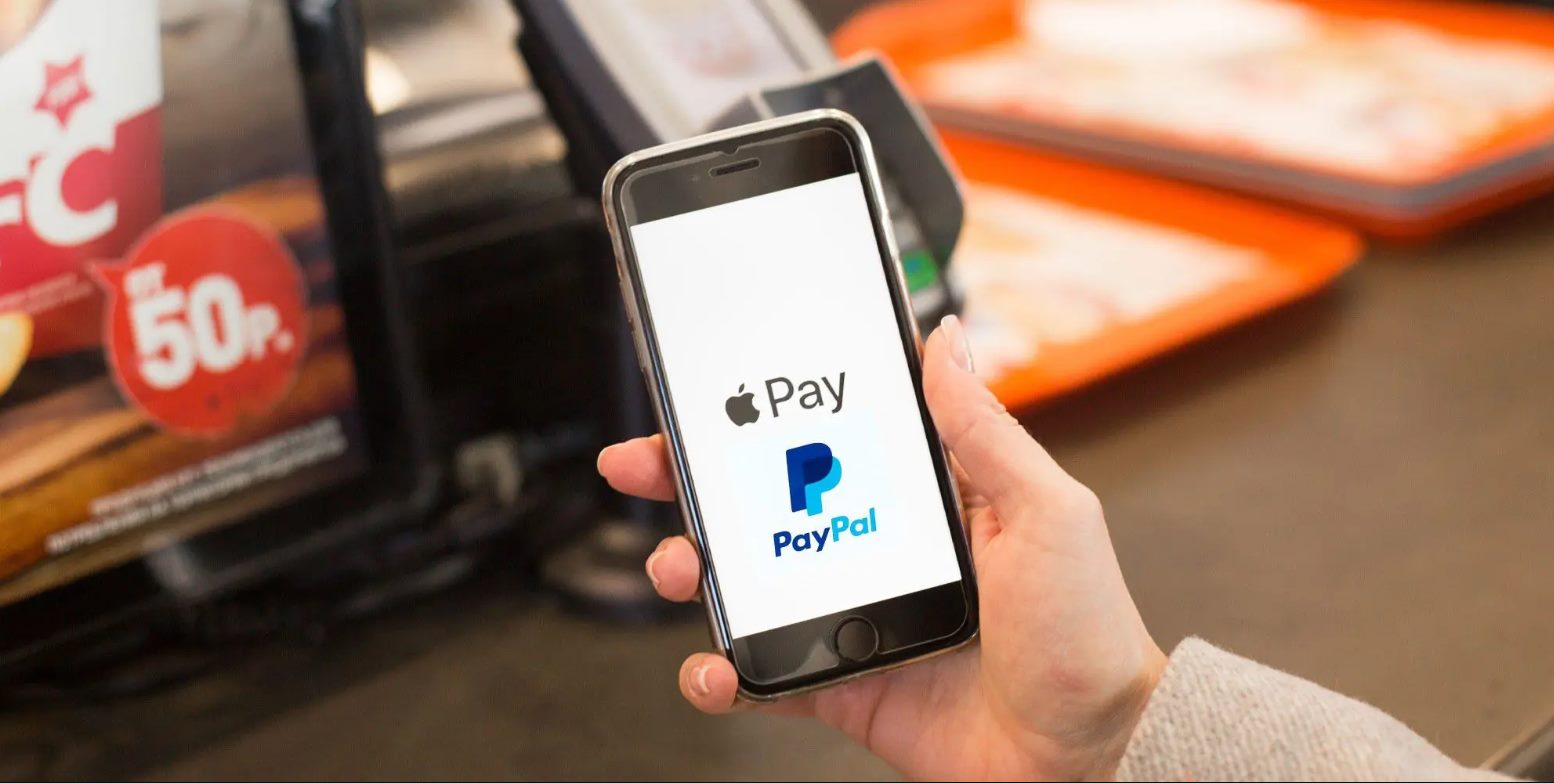
If you’re looking to join the contactless payment lifestyle, go cashless today, and try the best alternatives to PayPal if you are not using an Apple device. However, you can also read our reviews on WePay and Square Cash if you wish to explore more options as a non-Apple user.