Introduction
Transferring money between different digital payment platforms has become increasingly convenient in today’s interconnected world. As technology progresses, more and more people are using services like Apple Pay and Cash App to send and receive funds with ease.
If you are looking to transfer money from Apple Pay to Cash App, you have come to the right place. In this guide, we will walk you through the step-by-step process to help you seamlessly move your funds between these two popular platforms.
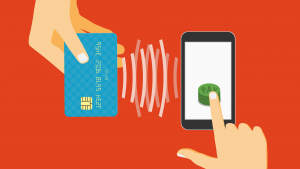
Apple Pay is a mobile wallet that allows you to make secure and contactless payments using your iPhone, iPad, or Apple Watch. It is integrated into various apps and websites, making it effortless to use for online transactions. On the other hand, Cash App is a peer-to-peer payments platform that enables users to send, receive, and request money quickly and easily.
The ability to transfer money from Apple Pay to Cash App opens up a world of possibilities. Whether you need to split a bill with friends, reimburse someone for an expense, or simply move money between your accounts, this process can be done in just a few simple steps.
In the following sections, we will guide you through the setup process, how to add money to Apple Pay, how to link Apple Pay with Cash App, and finally, how to transfer money between the two platforms. By the end of this guide, you will have a clear understanding of how to make secure and seamless money transfers from Apple Pay to Cash App.
Step 1: Setting Up Apple Pay and Cash App
Before you can transfer money from Apple Pay to Cash App, you’ll need to ensure that both platforms are set up properly on your device. Follow these steps to get started:
- Setting Up Apple Pay:
- Open the Wallet app on your iPhone.
- Tap on the ‘+’ button to add a new card.
- Follow the prompts to add your credit or debit card to Apple Pay.
- Once your card is added, you may be asked to verify it through a verification process, such as providing additional information or receiving a verification code.
- After successfully setting up Apple Pay, you can now proceed to the next step.
- Setting Up Cash App:
- Open the Cash App and sign up for an account using your email address or phone number.
- Follow the registration prompts and create a unique username (also known as a $Cashtag).
- Link a bank account or debit card to your Cash App account to add funds and enable transfers.
- Once you’ve completed the setup process for both Apple Pay and Cash App, you’re now ready to proceed to the next step.
If you haven’t already set up Apple Pay on your device, here’s how:
If you haven’t already installed Cash App on your device, you can download it from the App Store or Google Play Store. Once you have the app installed:
By following these simple steps, you can ensure that your Apple Pay and Cash App accounts are properly set up and ready for transferring money between the two platforms. It’s important to have both accounts established to ensure a smooth and efficient transfer process.
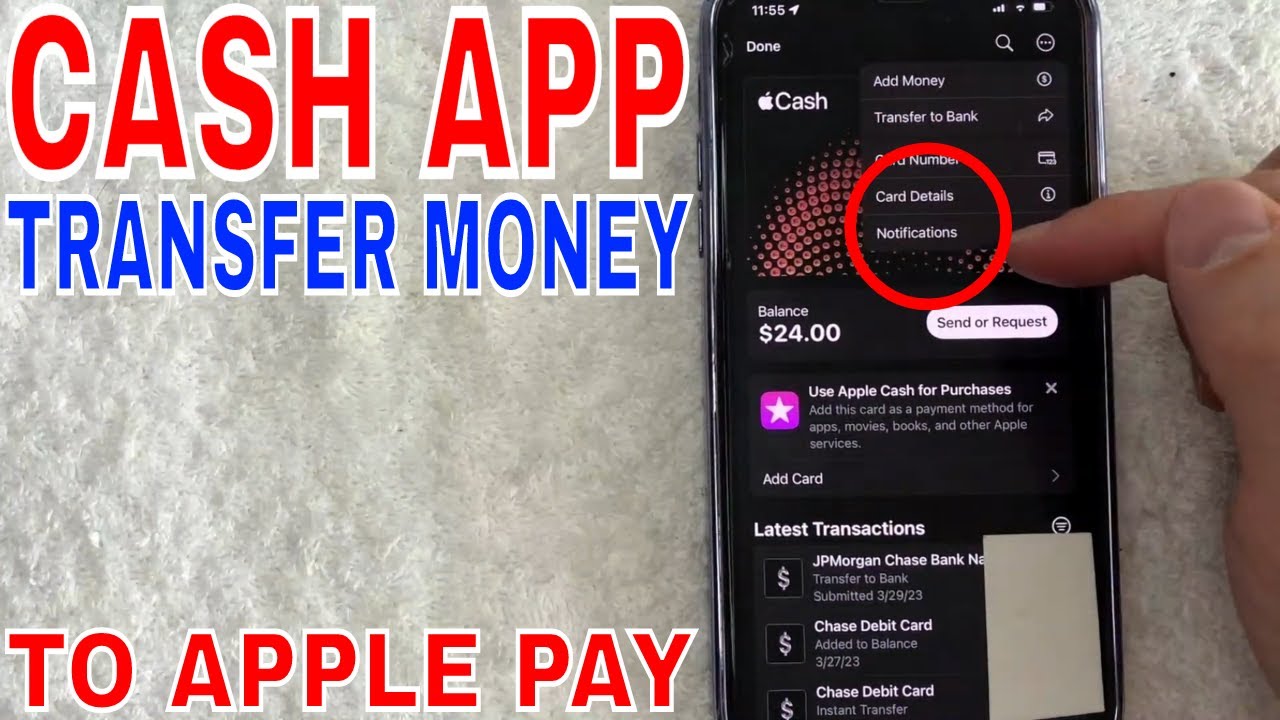
Step 2: Adding Money to Apple Pay
Before you can transfer money from Apple Pay to Cash App, you’ll need to have funds available in your Apple Pay account. Here’s how you can add money to your Apple Pay wallet:
- Add Money Using a Supported Card:
- Open the Wallet app on your iPhone and tap on the Apple Pay Cash card.
- Tap on the ‘…’ icon in the top-right corner of the screen.
- Choose ‘Add Money’ and enter the amount you wish to add to your Apple Pay account.
- Select the linked debit card or credit card from which you want to transfer the funds.
- Authenticate the transaction using Touch ID, Face ID, or your device passcode.
- Once the transaction is complete, the money will be added to your Apple Pay account and will be available for transfer.
- Add Money Using Apple Cash:
- Open the Wallet app on your iPhone and tap on the Apple Pay Cash card.
- Tap on ‘Transfer to Bank’ and enter the amount you wish to add to your Apple Pay account.
- Choose the bank account linked to your Apple Cash account.
- Confirm the transfer and authenticate it using Touch ID, Face ID, or your device passcode.
- The funds will be transferred from your bank account to your Apple Pay account and will be available for use.
If your bank or financial institution supports adding money to Apple Pay directly, follow these steps:
If you have an Apple Cash account, you can transfer money from your bank account to Apple Pay using the following steps:
By adding money to your Apple Pay wallet, you ensure that you have sufficient funds to transfer to your Cash App account. Following these steps will enable you to have a seamless and hassle-free experience when transferring money from Apple Pay to Cash App.
Step 3: Linking Apple Pay with Cash App
In order to transfer money from Apple Pay to Cash App, you will need to link your Apple Pay account with your Cash App account. Here’s how you can do that:
- Open Cash App:
- Access the Settings:
- Select “Apple Pay” Option:
- Link Apple Pay:
- Authorize the Connection:
- Confirm Linking:
Launch the Cash App on your device and log in to your account using your email address or phone number.
In the main menu of the Cash App, look for the “Settings” option. It is usually represented by a gear or a cog icon. Tap on it to access the settings.
Within the settings menu, you should see an option for “Apple Pay.” Tap on this option to proceed.
On the Apple Pay settings page, you will be prompted to link your Apple Pay account. Tap on the “Link Apple Pay” button to initiate the linking process.
You may be asked to give permission to Cash App to access your Apple Pay account. Grant the necessary permissions to authorize the connection between the two platforms.
Once the connection is established, you should see a confirmation message on the screen indicating that your Apple Pay account is now linked with Cash App.
By linking your Apple Pay account with Cash App, you create a secure and direct connection that allows for seamless transfers between the two platforms. This step is crucial to ensure the smooth transfer of funds from Apple Pay to Cash App.
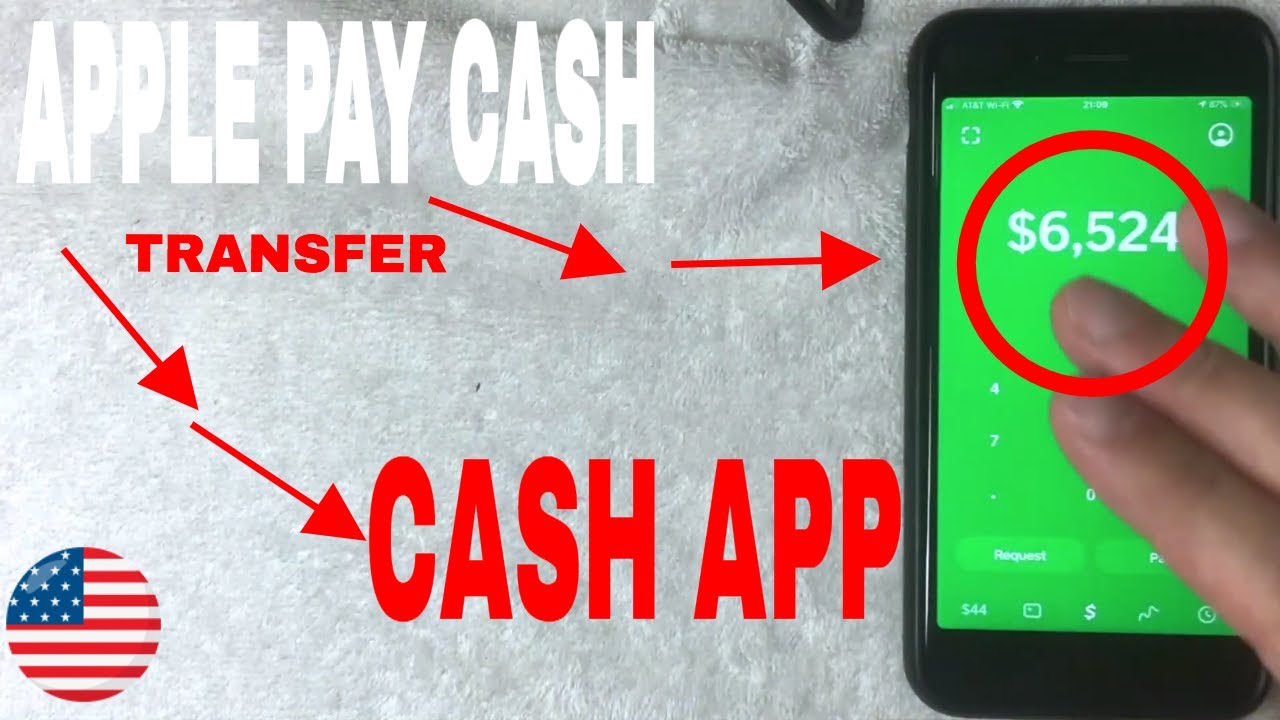
Step 4: Transferring Money from Apple Pay to Cash App
Now that you have successfully linked your Apple Pay account with Cash App, you can proceed to transfer money from Apple Pay to Cash App using the following steps:
- Open Cash App:
- Tap on the “Banking” Tab:
- Select “Apple Pay” Option:
- Choose Amount and Confirm Transfer:
- Verify with Apple Pay:
- Wait for the Transfer:
- Confirm Successful Transfer:
Launch the Cash App on your device and log in to your account using your email address or phone number.
At the bottom of the screen, you will see a navigation bar. Tap on the “Banking” tab to access the banking features of Cash App.
Within the banking section, you should see an option for “Apple Pay.” Tap on this option to proceed with the transfer.
Enter the amount you want to transfer from your Apple Pay account to Cash App. Double-check the amount to make sure it is accurate, then tap on the “Confirm” button to initiate the transfer.
You may be prompted to authenticate the transfer using your Apple Pay credentials, such as Touch ID, Face ID, or your Apple Pay passcode. Follow the prompts to complete the verification process.
Once the transfer is initiated, you just have to wait for the transaction to complete. The transfer time may vary depending on various factors, such as network speed and transaction volume.
Once the transfer is completed, you will receive a notification or see a confirmation message in the Cash App indicating that the money has been successfully transferred from your Apple Pay account to your Cash App account.
By following these steps, you can easily transfer money from your Apple Pay account to your Cash App account. This enables you to have your funds readily available for any transactions or payments you wish to make using Cash App.
Step 5: Confirming the Transfer
After transferring money from your Apple Pay account to your Cash App account, it’s important to confirm that the transfer was successful. Here’s how you can do it:
- Open Cash App:
- Check Account Balance:
- Review Recent Transactions:
- Verify Availability of Funds:
- Make Test Transaction:
Launch the Cash App on your device and log in to your account using your email address or phone number.
In the Cash App, you will find your current account balance displayed prominently on the home screen. Take a moment to check the balance to ensure that it reflects the transferred amount from your Apple Pay account.
Within the Cash App, there is typically a “Transactions” or “Activity” tab where you can review recent transactions. Tap on this tab to see if the transfer from your Apple Pay account to Cash App is listed as a recent transaction. It should display the transferred amount and the time of the transfer.
If the transferred amount is correctly reflected in your Cash App account balance and is listed as a recent transaction, you can be confident that the transfer was successful. This means the funds from your Apple Pay account are now available for use within Cash App.
If you want to be absolutely sure, you can make a small test transaction within Cash App to ensure that the funds are indeed available and can be used for payments, transfers, or other transactions.
By confirming the transfer, you can have peace of mind knowing that the money successfully made its way from your Apple Pay account to your Cash App account. This step ensures that you can confidently use and manage your funds within the Cash App platform.
Conclusion
Transferring money from Apple Pay to Cash App can be a swift and convenient process when you follow the appropriate steps. By setting up both Apple Pay and Cash App, adding money to your Apple Pay account, linking it with Cash App, and confirming the transfer, you can seamlessly move your funds between these two popular platforms.
Apple Pay provides a secure and contactless payment solution, while Cash App facilitates quick and easy peer-to-peer transactions. By combining the capabilities of these platforms, you have the flexibility to send, receive, and manage your funds effortlessly.
Ensuring that your Apple Pay and Cash App accounts are properly set up and linked is crucial to enable a smooth and successful transfer. By adding money to your Apple Pay account and following the steps to transfer it to your Cash App account, you can have your funds readily available for various transactions and payments.
Remember to confirm the transfer by checking your Cash App account balance and reviewing recent transactions. This verification step ensures the successful completion of the transfer and the availability of your funds within Cash App.
With this guide, you now have a clear understanding of how to transfer money from Apple Pay to Cash App. Utilize this knowledge to seamlessly manage your finances and make the most of these versatile digital payment platforms.
Start exploring the possibilities and enjoy the convenience of transferring money effortlessly between Apple Pay and Cash App!