Introduction
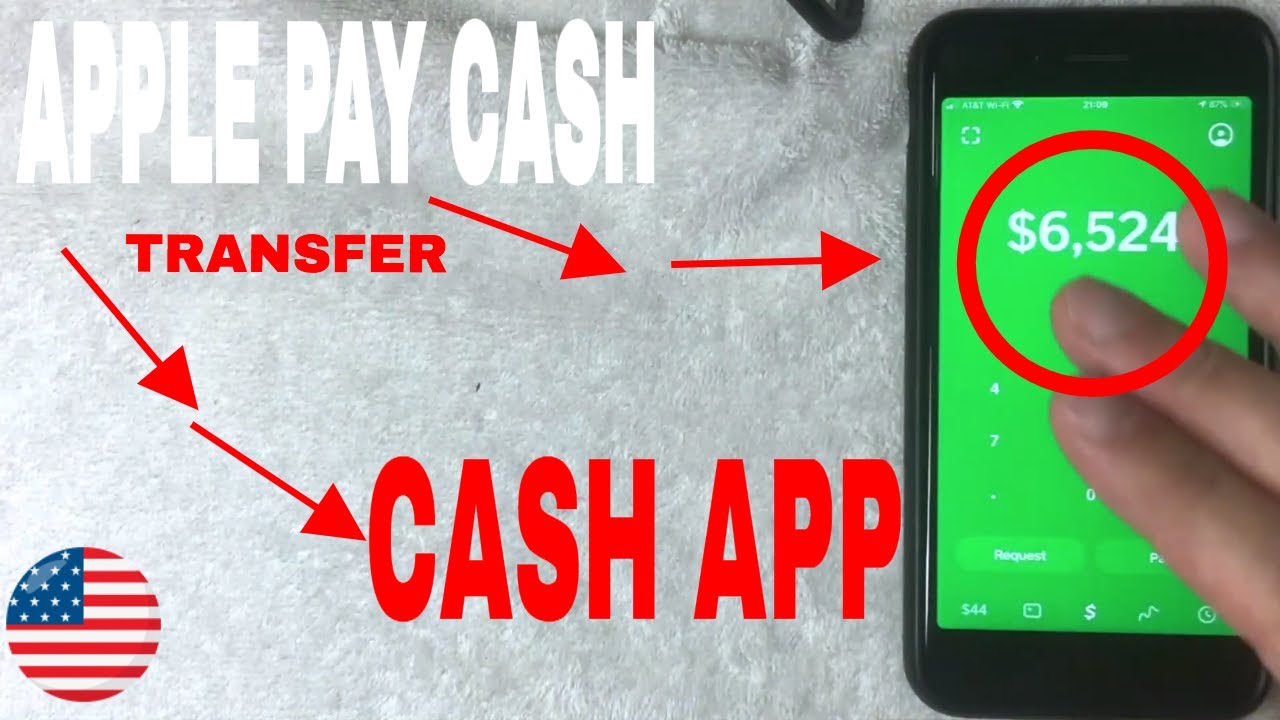
Welcome to our guide on how to add money from Cash App to Apple Pay! Both Cash App and Apple Pay are popular mobile payment platforms that offer convenient and secure ways to send and receive money. While Cash App allows you to make payments directly from your bank account or Cash App balance, Apple Pay allows you to make purchases using your iPhone, Apple Watch, or other compatible Apple devices. By linking your Cash App card to Apple Pay, you can easily add money to your Apple Pay account and make seamless transactions at participating retailers.
In this guide, we will walk you through the step-by-step process of adding money from Cash App to Apple Pay. Whether you’re looking to make payments in-store, online, or in apps, this guide will help you leverage the power of both Cash App and Apple Pay to streamline your financial transactions.
Before we dive into the step-by-step process, it’s important to note that you’ll need a verified Cash App account and a compatible Apple device to successfully complete the integration. If you haven’t done so already, make sure to sign up for a Cash App account and verify your identity. Additionally, ensure that you have the latest version of the Cash App and Apple Pay apps installed on your device, as well as an active internet connection.
Now that you’re ready, let’s get started with step 1: verifying your Cash App account!
Step 1: Verify your Cash App account
Before you can link your Cash App card to Apple Pay and add money, you need to verify your Cash App account. Verifying your account helps to ensure the security of your transactions and allows you to access additional features and benefits provided by Cash App. Here’s how you can verify your Cash App account:
- Open the Cash App on your mobile device.
- Tap on your profile icon located at the top-left corner of the screen.
- Select the “Personal” tab if you haven’t already done so.
- Enter your personal information, including your full legal name, date of birth, and the last four digits of your social security number.
- Follow the prompts to provide any additional information that may be required for verification, such as your address.
- Once you have submitted the necessary information, Cash App will review your details to verify your account. This process may take a few minutes or longer.
- If your account is successfully verified, you will receive a notification confirming the completion of the verification process.
It’s important to note that Cash App may require additional documentation or verification steps in certain cases. If this is necessary, follow the instructions provided by Cash App to fulfill these requirements and complete the verification process.
Verifying your Cash App account not only allows you to link your Cash App card to Apple Pay but also provides added security and peace of mind. Once you have successfully verified your account, you are one step closer to adding money from Cash App to Apple Pay. Now, let’s move on to step 2: linking your Cash App card to Apple Pay!
Step 2: Link your Cash App card to Apple Pay
Now that you have a verified Cash App account, the next step is to link your Cash App card to Apple Pay. By linking your Cash App card to Apple Pay, you can seamlessly transfer money from your Cash App balance to your Apple Pay account and enjoy the convenience of making secure payments with your Apple devices. Here’s how you can link your Cash App card to Apple Pay:
- Open the Wallet app on your Apple device.
- Tap on the “+” button or “Add Credit or Debit Card” option.
- Select “Cash App” from the list of available payment options.
- Follow the on-screen instructions to enter your Cash App card details, including the card number, expiration date, and CVV code.
- Review the Terms and Conditions and tap “Agree” to continue.
- Verify your Cash App card by following the authentication process, which may involve providing additional verification information.
- Once your Cash App card is successfully linked to Apple Pay, you will receive a confirmation message.
By linking your Cash App card to Apple Pay, you can enjoy the benefits of both platforms, including the ability to add money to your Apple Pay account for quick and convenient payments. Now that you have successfully linked your Cash App card to Apple Pay, let’s move on to step 3: adding money from Cash App to Apple Pay!
Step 3: Add money from Cash App to Apple Pay
With your Cash App card successfully linked to Apple Pay, you can now add money from your Cash App balance to your Apple Pay account. This will allow you to use the funds in your Cash App account for seamless transactions using your compatible Apple devices. Here’s how you can add money from Cash App to Apple Pay:
- Open the Wallet app on your Apple device.
- Tap on your Apple Pay Cash card, which should display your current balance.
- Select the “Info” button (“i” icon) next to your balance.
- Tap on the “Add Money” option.
- Enter the amount you want to add from your Cash App balance to your Apple Pay account.
- Choose whether to make the transfer instantly or within 1-3 business days. Note that instant transfers may incur a small fee.
- Confirm the transfer and authenticate it using the appropriate security measures, such as Face ID, Touch ID, or your device passcode.
- Once the transfer is complete, the added money will be available in your Apple Pay account for use.
Adding money from Cash App to Apple Pay allows you to leverage the funds in your Cash App balance for various transactions, whether it’s in-store purchases, online shopping, or app payments. This integration provides the freedom and flexibility to use your money conveniently through your Apple devices.
With the completion of step 3, you have successfully added money from Cash App to Apple Pay! You’re now ready to make seamless transactions using your Apple devices and the funds from your Cash App balance. Enjoy the convenience and security that Cash App and Apple Pay offer in your financial transactions!
Conclusion
Congratulations! You have successfully learned how to add money from Cash App to Apple Pay. By verifying your Cash App account, linking your Cash App card to Apple Pay, and adding money from Cash App to Apple Pay, you can now enjoy seamless and convenient transactions using your Apple devices.
With Cash App’s secure payment features and Apple Pay’s wide acceptance, you have the flexibility to make purchases in-store, online, and in apps with ease. The integration of these two platforms provides a seamless experience, allowing you to transfer funds from your Cash App balance to your Apple Pay account and pay for goods and services effortlessly.
Remember to keep your Cash App and Apple Pay apps updated to access the latest features and security enhancements. It’s also important to review and understand any fees associated with instant transfers from Cash App to Apple Pay to make informed decisions that best suit your financial needs.
We hope that this guide has been helpful in assisting you with adding money from Cash App to Apple Pay. Whether it’s for everyday purchases or special transactions, Cash App and Apple Pay offer convenient, secure, and user-friendly platforms to simplify your financial interactions.
Now, armed with the knowledge you’ve gained, go ahead and start utilizing the power of Cash App and Apple Pay together for seamless and hassle-free mobile transactions!