Introduction
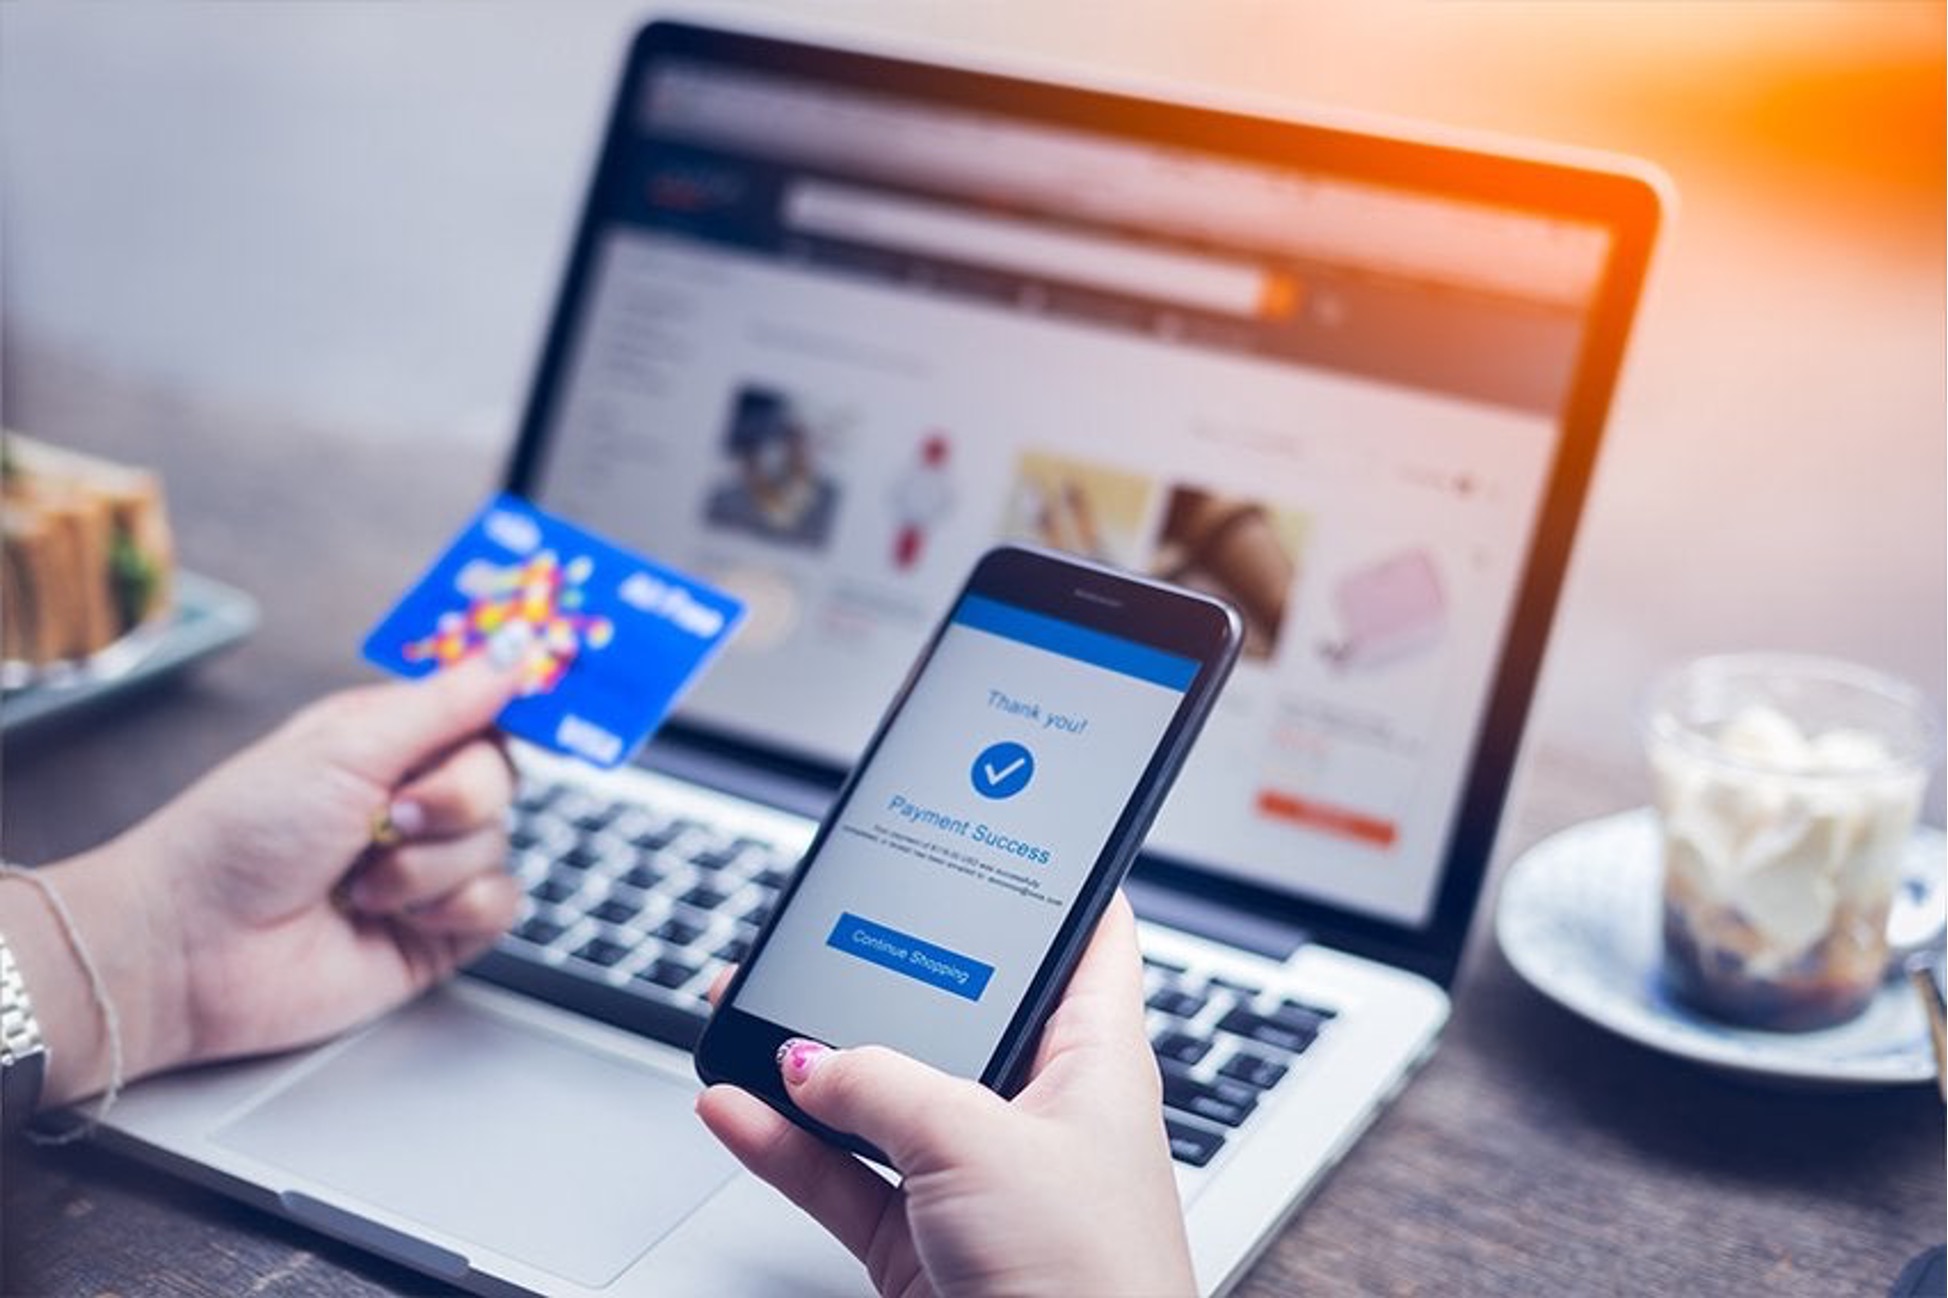
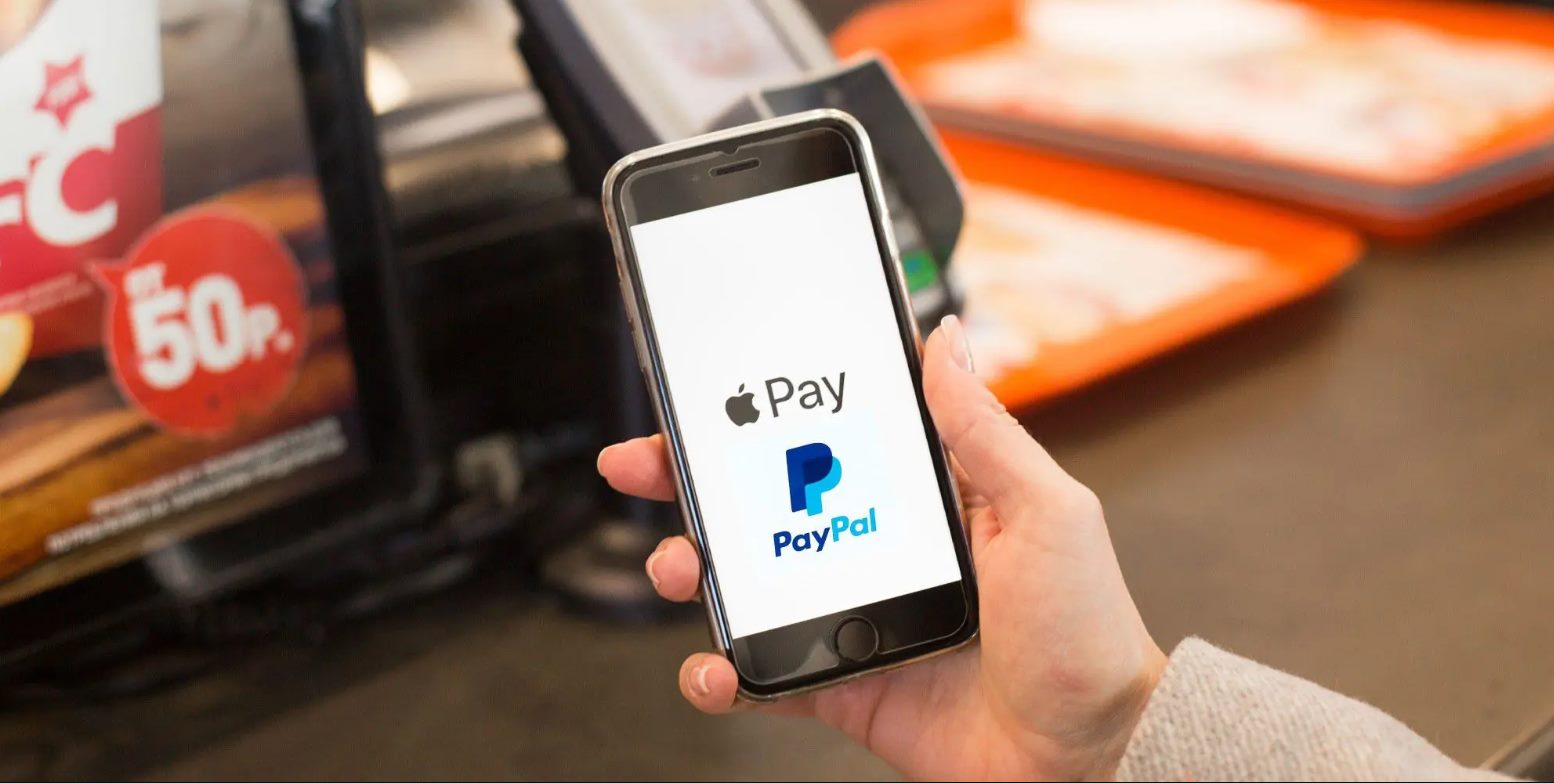
Welcome to this guide on how to link your PayPal account to Apple Pay. Combining the convenience of PayPal with the seamless payment experience of Apple Pay can streamline your online transactions and make shopping even easier. By linking your PayPal account to Apple Pay, you can securely make purchases across various online platforms, including websites and apps.
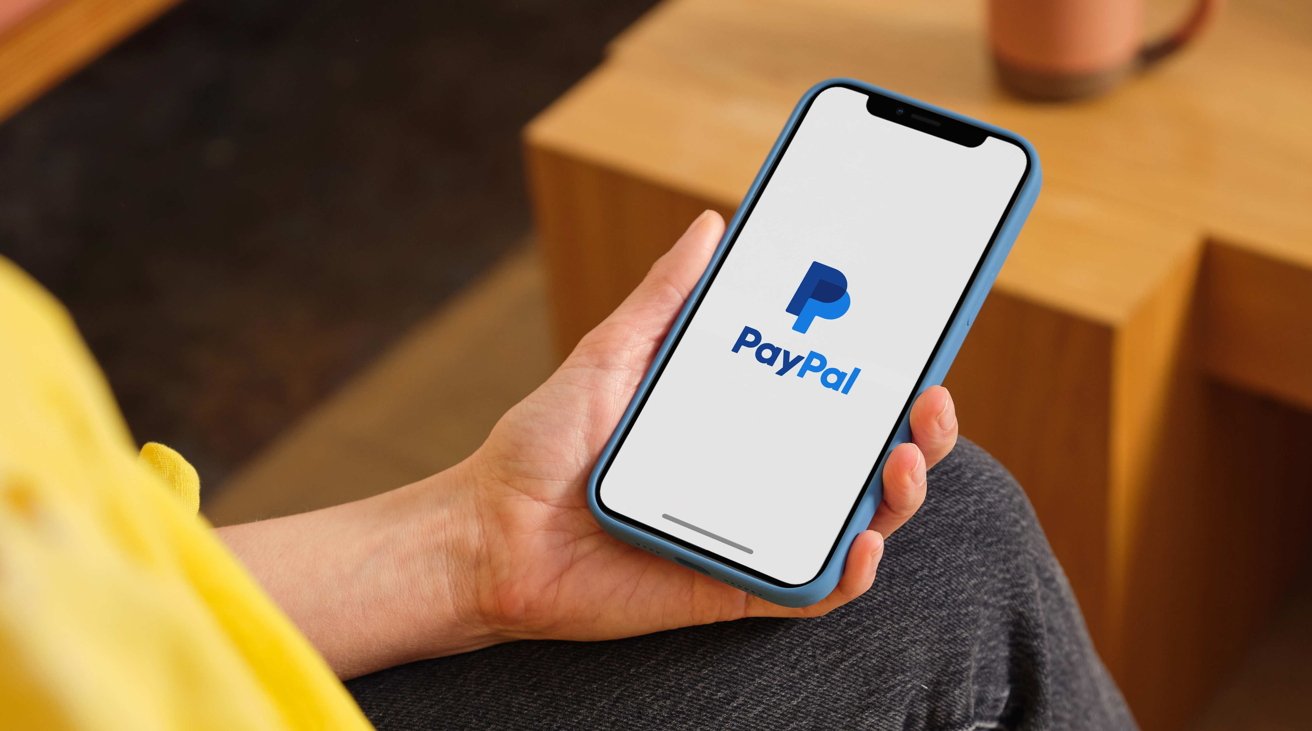
Apple Pay is a digital wallet service that allows users to make payments using compatible Apple devices, such as iPhone, iPad, and Apple Watch. It securely stores your credit or debit card information and can be used for contactless payments in stores, in-app purchases, and online transactions.
PayPal, on the other hand, is a widely recognized and trusted online payment system that enables individuals and businesses to send and receive money electronically. By linking your PayPal account to Apple Pay, you can enjoy the flexibility and security of PayPal while benefitting from the convenience of Apple Pay’s touchless payment technology.
In this guide, we will walk you through the step-by-step process of linking your PayPal account to Apple Pay. Whether you’re an avid Apple user or simply looking for a seamless and secure payment method, this guide will help you streamline your online transactions. So, let’s get started and bring together the best of PayPal and Apple Pay!
Step 1: Check your PayPal account and Apple Pay compatibility
Before you begin the process of linking your PayPal account to Apple Pay, it’s important to ensure that your PayPal account and Apple device are compatible with each other. Here are a few things to check:
- Device compatibility: Verify that your Apple device is compatible with Apple Pay. Apple Pay is available on iPhone 6 or later, Apple Watch Series 1 or later, iPad Pro, iPad Air 2 or later, iPad mini 3 or later, and Mac models with Touch ID or a secure enclave.
- Operating system: Make sure your device is running on the latest version of iOS, watchOS, or macOS, as Apple Pay may require specific software versions to function properly.
- PayPal account: Ensure that you have a valid and active PayPal account. If you don’t have one, you can sign up for a new account on the PayPal website.
- Geographic availability: Check if Apple Pay and PayPal are available in your country or region. The availability of these services may vary depending on your location.
To check the compatibility of your Apple device, follow these steps:
- Open the “Settings” app on your iPhone or iPad.
- Scroll down and tap on “Wallet & Apple Pay”.
- If you’re using an Apple Watch, open the “Watch” app on your iPhone and tap on “Wallet & Apple Pay”.
- On the next screen, you’ll find information about your device’s compatibility with Apple Pay.
To confirm the compatibility of your PayPal account and check if it’s supported in your country, you can visit the official PayPal website and browse through the list of supported countries and regions.
Once you have confirmed the compatibility of your PayPal account and Apple device, you’re ready to proceed to the next step. In the following steps, we will guide you on updating your PayPal app and adding it to your Apple Pay wallet. So, let’s move on to Step 2!
Step 2: Update your PayPal app
Before you can link your PayPal account to Apple Pay, it’s crucial to make sure that you have the latest version of the PayPal app installed on your device. Updating the app will not only ensure that you have access to the latest features but also minimize any potential compatibility issues. Here’s how to update your PayPal app:
- Open the App Store on your iPhone or iPad.
- Tap on the “Updates” tab at the bottom right corner of the screen.
- If an update is available for the PayPal app, you’ll find it listed under the “Available Updates” section.
- Tap on “Update” next to the PayPal app to download and install the latest version.
- Once the update is complete, open the PayPal app to ensure that it’s running the most recent version.
Updating your PayPal app will ensure that you have the necessary features and optimizations required to link your PayPal account to Apple Pay seamlessly. It’s always a good practice to keep your apps updated to enjoy the best possible experience and avoid any potential compatibility issues.
Now that you have the updated PayPal app installed on your device, we can move on to the next step: adding PayPal to your Apple Pay wallet. In the following section, we will guide you through the process of adding PayPal as a payment method to your Apple Pay wallet. Let’s move on to Step 3!
Step 3: Add PayPal to your Apple Pay wallet
Now that you have the updated PayPal app on your device, it’s time to add your PayPal account to your Apple Pay wallet. This will allow you to use PayPal as a payment method when making purchases through Apple Pay. Follow these steps to add PayPal to your Apple Pay wallet:
- Open the “Settings” app on your iPhone or iPad.
- Scroll down and tap on “Wallet & Apple Pay”.
- Tap on “Add Card” under the “Payment Cards” section.
- On the next screen, tap on the “PayPal” option.
- If prompted, sign in to your PayPal account using your email and password.
- Once signed in, you may be required to provide additional verification, such as a security code sent to your email or a text message.
- Follow the on-screen instructions to complete the process of adding PayPal to your Apple Pay wallet.
After successfully adding PayPal to your Apple Pay wallet, you’ll see your PayPal account listed as a payment card option. This means that when making a purchase, you can choose to pay with PayPal, and the transaction will be processed through your linked PayPal account.
Note that the availability and specific steps to add PayPal to Apple Pay may vary depending on your region and the version of iOS you’re using. Make sure you’re following the latest guidelines provided by Apple and PayPal for your specific device and software version.
Now that you have added PayPal to your Apple Pay wallet, it’s time to move on to the next step: verifying your PayPal account with Apple Pay. In the following section, we will guide you through the verification process, so you can start using PayPal as a payment option through Apple Pay. Let’s proceed to Step 4!
Step 4: Verify your PayPal account with Apple Pay
After adding your PayPal account to your Apple Pay wallet, the next step is to verify your PayPal account with Apple Pay. Verifying your account ensures that your PayPal transactions are secure and protected when using Apple Pay. Here’s how to verify your PayPal account with Apple Pay:
- Open the “Settings” app on your iPhone or iPad.
- Scroll down and tap on “Wallet & Apple Pay”.
- Select your PayPal account from the list of payment cards.
- Tap on “Verify Identity” or “Verify Your PayPal Account” (the exact wording may vary).
- Follow the on-screen instructions to complete the verification process.
- You may be required to enter additional information, such as your PayPal account details or personal information, to verify your account.
- Once the verification is successful, your PayPal account will be fully linked and verified with Apple Pay.
The verification process is crucial as it adds an extra layer of security to your PayPal transactions through Apple Pay. It confirms your identity and ensures that your financial information is safeguarded during online purchases.
It’s important to note that the verification process may differ depending on your region and the specific requirements set by PayPal and Apple Pay. Follow the instructions provided on the screen to complete the verification successfully.
Now that your PayPal account is verified with Apple Pay, you’re almost done! The final step is to set your default payment method. In the next section, we will guide you on how to set your default payment method in Apple Pay. Let’s move on to Step 5!
Step 5: Set your default payment method
Setting your default payment method is the final step in the process of linking your PayPal account to Apple Pay. By selecting a default payment method, you can ensure that PayPal is automatically used for transactions whenever possible. Here’s how to set your default payment method:
- Open the “Settings” app on your iPhone or iPad.
- Scroll down and tap on “Wallet & Apple Pay”.
- Under the “Payment Cards” section, locate your PayPal account.
- Tap on the arrow button next to your PayPal account.
- Toggle the “Default Card” option to enable it for your PayPal account.
By setting PayPal as your default payment method, your Apple device will prioritize using PayPal for transactions, making the checkout process even more convenient.
It’s important to note that you can have multiple payment cards linked to your Apple Pay wallet, including credit cards, debit cards, and now PayPal. You can choose different payment methods for different transactions, but setting a default payment method ensures that PayPal is used whenever possible.
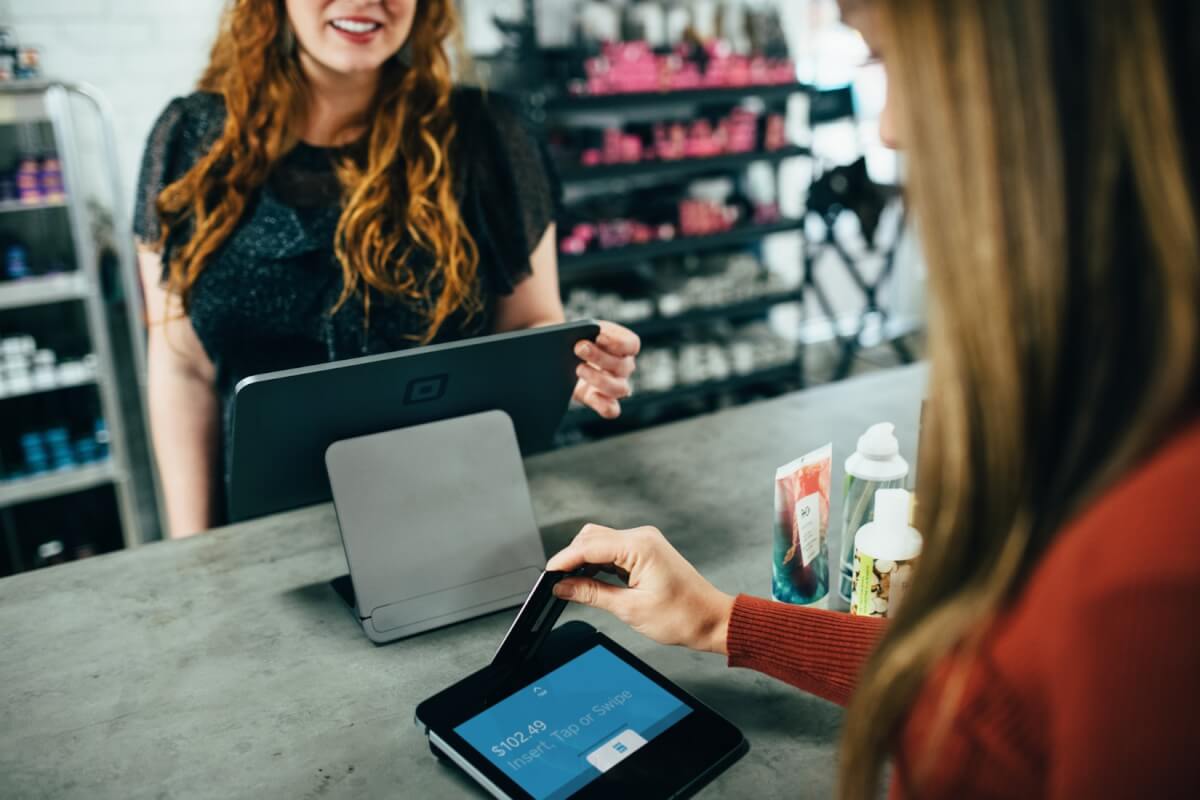
With your default payment method set, you have successfully linked your PayPal account to Apple Pay! You can now make payments with ease using PayPal through Apple Pay, whether it’s online, in-store, or in-app.
Congratulations! You’re all set to enjoy the convenience, security, and flexibility of using PayPal and Apple Pay together. So go ahead and start using your linked PayPal account for seamless transactions on your Apple device.
We hope this step-by-step guide has been helpful in enabling you to link your PayPal account to Apple Pay. If you have any further questions or encounter any issues during the process, don’t hesitate to reach out to the Apple support or PayPal customer service for assistance.
Thank you for choosing PayPal and Apple Pay as your preferred payment methods. Happy shopping!
Conclusion
By following the step-by-step process outlined in this guide, you have successfully linked your PayPal account to Apple Pay. This powerful combination allows you to enjoy the flexibility and security of PayPal while benefiting from the convenience and seamless payment experience of Apple Pay.
With your PayPal account added to your Apple Pay wallet, you can now make purchases online, in-app, and even in-store using your Apple device. Whether you’re shopping on your iPhone, iPad, or Apple Watch, PayPal provides a trusted payment method that simplifies the checkout process and safeguards your financial information.
Remember to keep your PayPal app updated to ensure you have access to the latest features and security enhancements. Verifying your PayPal account with Apple Pay adds an extra layer of protection and ensures secure transactions when using PayPal as a payment method.
Setting your default payment method helps streamline your payments by making PayPal the preferred choice for transactions whenever possible. Enjoy the convenience of quick and secure payments without the hassle of manually selecting payment methods.
If you have any questions or encounter any issues during the linking process, don’t hesitate to reach out to the Apple support or PayPal customer service. They are readily available to assist you and provide guidance.
Thank you for choosing to link your PayPal account to Apple Pay. We hope this guide has been helpful and that you enjoy the seamless payment experience offered by this powerful integration. Make secure purchases with ease and embrace the future of digital payments with PayPal and Apple Pay!