Introduction
Are you looking for a way to make a downloadable PDF file available on your website? Whether you want to share a document, an e-book, or a form, providing a direct download link to a PDF file can be a convenient and efficient solution. By following a few simple steps, you can create a seamless experience for your users, allowing them to access and download the PDF file with ease.
In this article, we will guide you through the process of making a PDF file available for download on your website. We will cover the preparation of the PDF file, choosing a hosting platform, uploading the file, creating a download link, customizing the appearance, and testing the link to ensure it works properly.
Before we delve into the step-by-step process, let’s talk about the benefits of offering downloadable PDF files on your website. First and foremost, it gives your users the ability to access your content offline. This is particularly useful for educational materials, research papers, or instructional documents that users might want to save for later reference.
Additionally, making a PDF file available for download can help increase the visibility of your website and drive more traffic. Search engines like Google index PDF files, so by optimizing your PDFs for relevant keywords, you can attract visitors who are searching for specific information contained in your PDF.
Now that we understand the advantages of offering downloadable PDF files, let’s get started with the step-by-step process of making a PDF file available for download on your website. By the end of this article, you will have a clear understanding of how to create a seamless and user-friendly PDF download experience for your website visitors.
Step 1: Prepare the PDF file
The first step in making a PDF file available for download on your website is to ensure that the file is properly prepared. Here are a few key considerations to keep in mind:
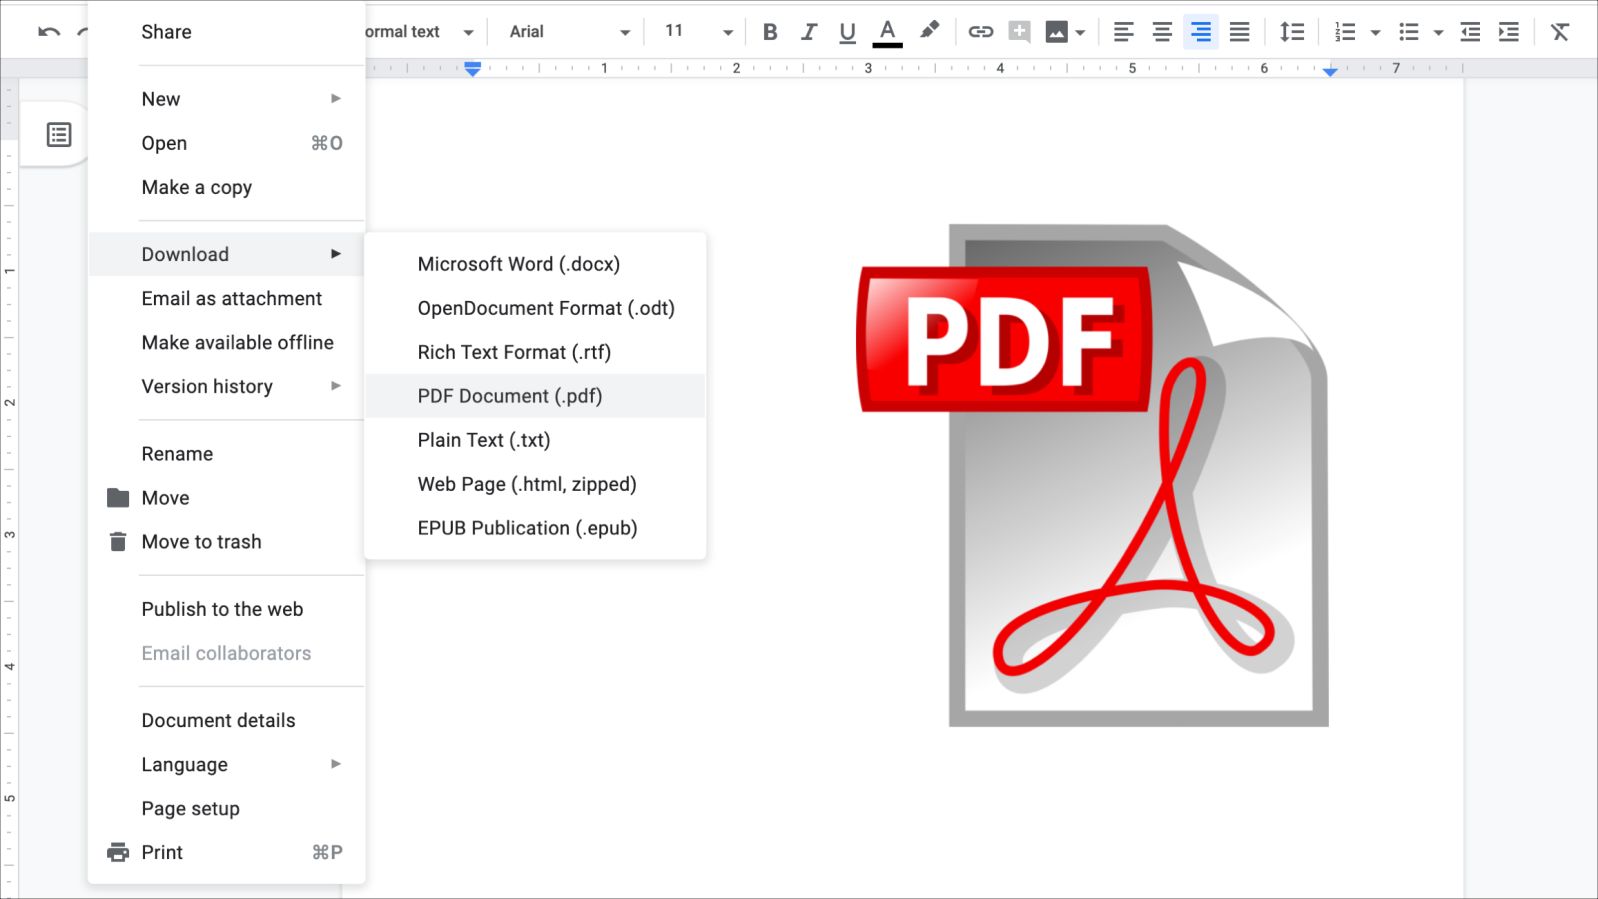
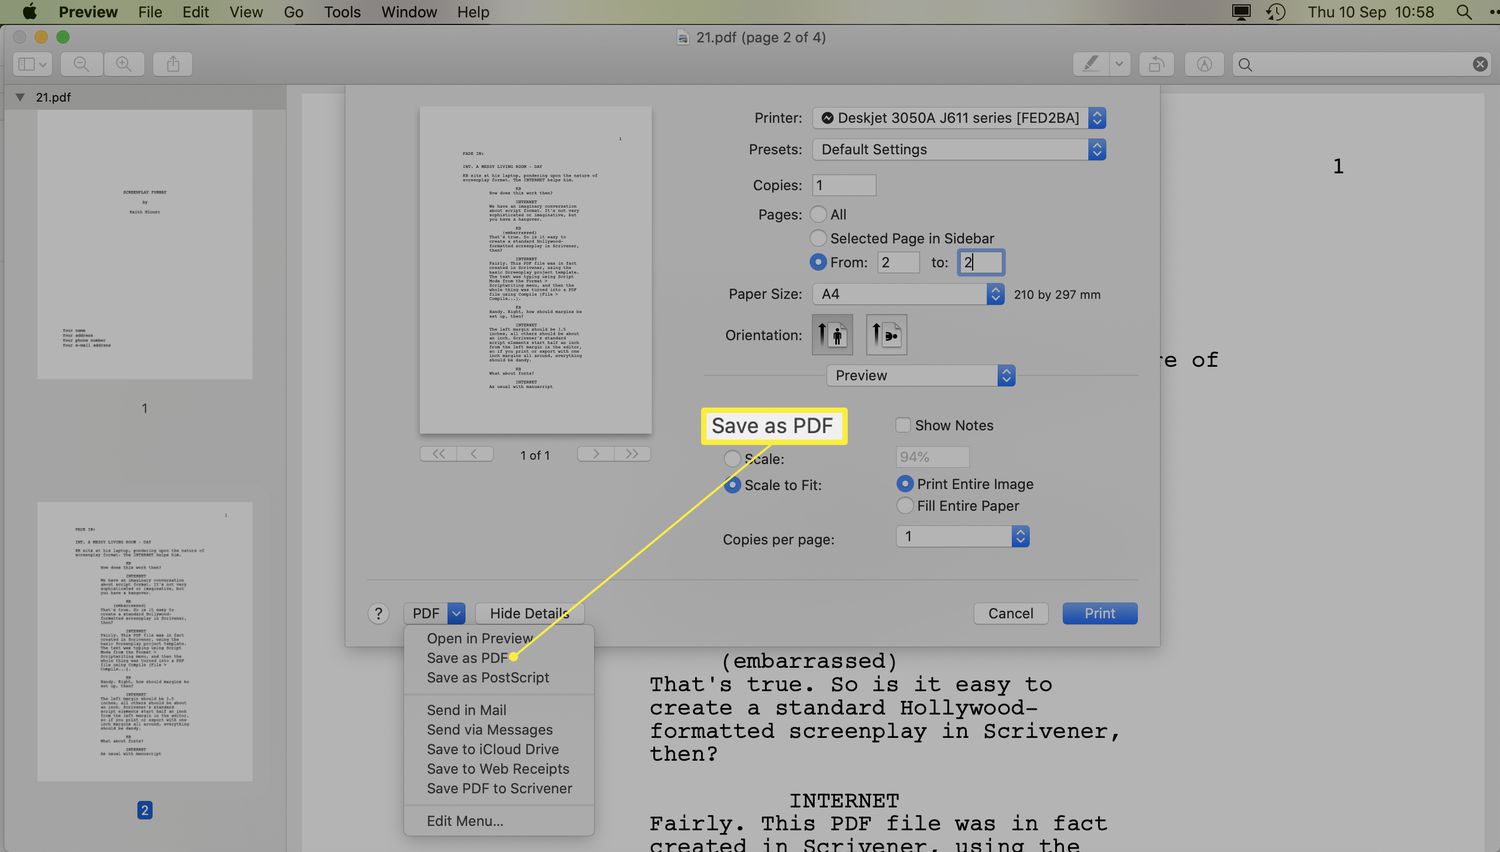
1. Create a high-quality PDF: Start by creating a PDF file that is of high quality and contains all the necessary content. If you are using a word processing software, such as Microsoft Word, make sure to save the document as a PDF. You can do this by going to “Save As” and selecting the PDF format.
2. Optimize the file size: It’s essential to optimize the file size of your PDF to ensure that it loads quickly on your website. Large file sizes can lead to slow loading times and may deter visitors from downloading the PDF. You can reduce the file size by compressing images and removing unnecessary elements.
3. Add relevant metadata: Metadata provides information about the PDF file, such as the title, author, and keywords. Adding relevant metadata will not only help with organizing and managing your PDF files but also improve the visibility of the file in search engines.
4. Secure your PDF (optional): Depending on the nature of your content, you may want to consider adding security measures to protect your PDF file. This can include password protection or restricting printing and editing rights. However, be mindful of balancing security with user convenience.
5. Proofread and format: Before finalizing your PDF file, make sure to proofread the content for any spelling or grammatical errors. Also, ensure that the formatting is consistent and visually appealing. A well-formatted PDF file will provide a better reading experience for your users.
By following these steps, you can ensure that your PDF file is well-prepared and optimized for a seamless download experience. Once you have taken care of these considerations, you are ready to move on to the next step: choosing a hosting platform.
Step 2: Choose a hosting platform
After preparing your PDF file, the next step is to choose a hosting platform where you can upload and store the file. There are several options available, each with its own advantages and features. Here are a few popular hosting platforms to consider:
1. Self-hosting: If you have a website with hosting capabilities, you can choose to self-host your PDF file. This provides you with complete control over the file and allows you to integrate it seamlessly into your existing website. However, keep in mind that self-hosting may require technical knowledge and sufficient server resources to handle downloads.
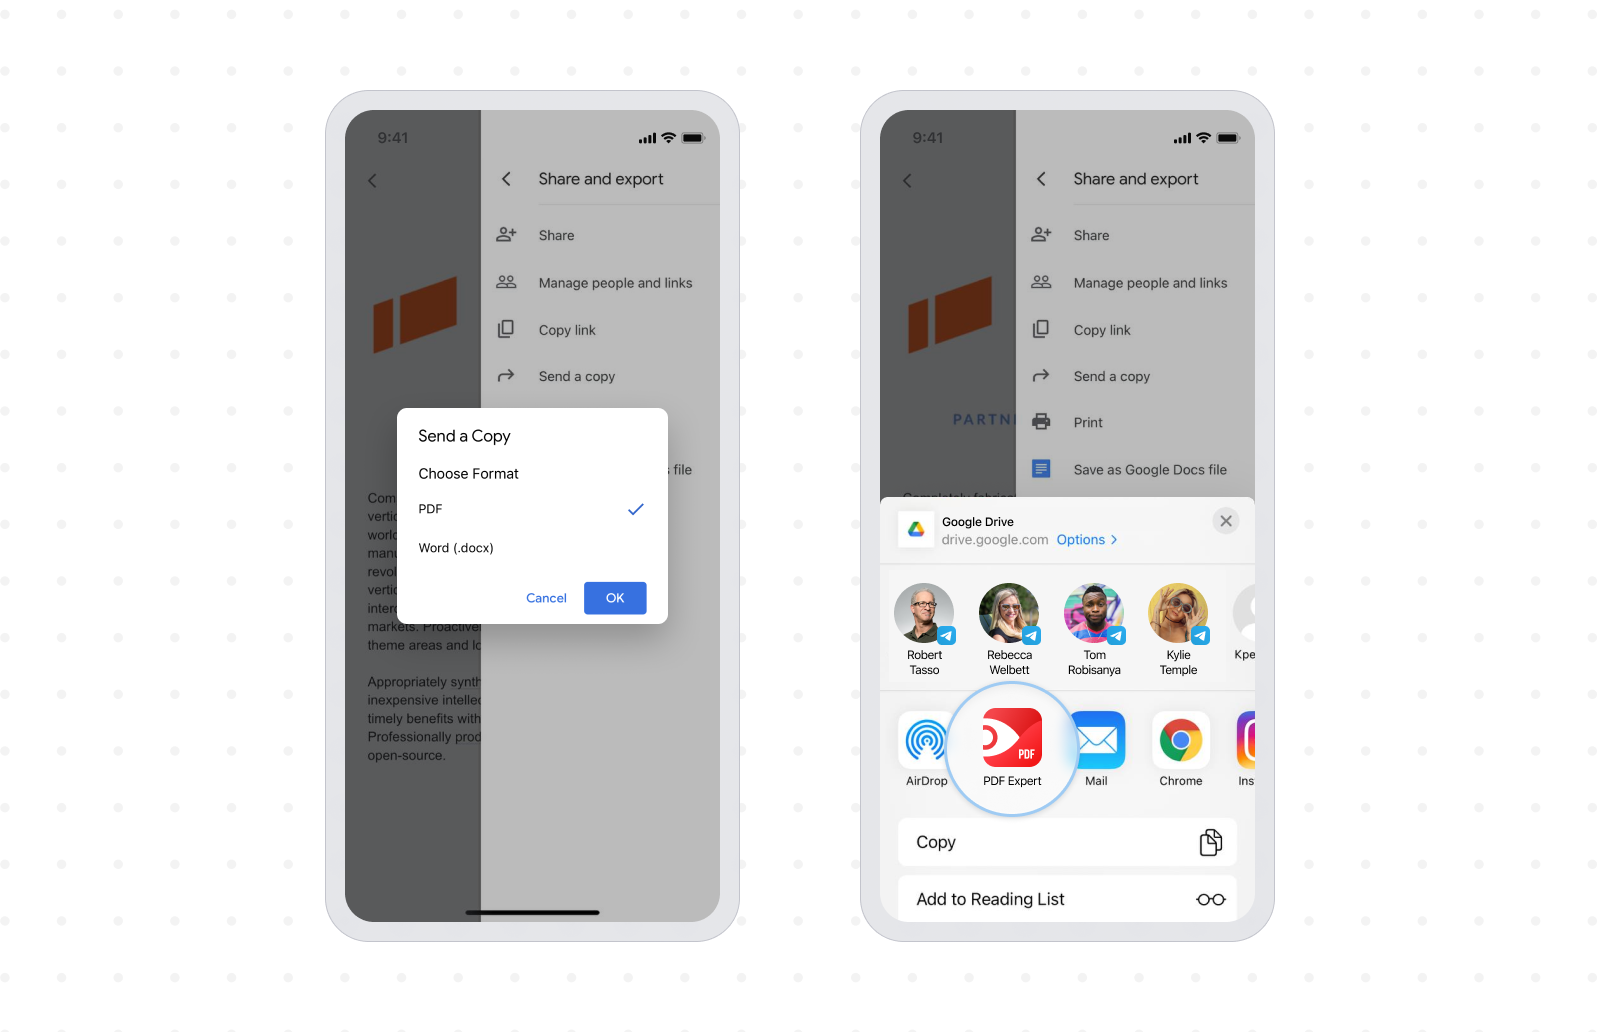
2. Cloud storage services: Platforms like Google Drive, Dropbox, and OneDrive offer convenient cloud storage options. You can upload your PDF file to these platforms and share the download link directly from there. These services often provide a generous amount of storage space for free, making them suitable for individuals and small businesses.
3. Content management systems (CMS): If you are using a CMS like WordPress, Joomla, or Drupal, you can take advantage of their built-in file management capabilities. These platforms allow you to upload and store files, including PDFs, within the CMS. You can then create links to the PDF files and embed them within your website’s content.
4. File hosting services: There are dedicated file hosting services like FileZilla, MediaFire, and Mega that specialize in providing storage and sharing options for various file types, including PDFs. These services often offer additional features such as file encryption, password protection, and customizable download links.
When choosing a hosting platform, consider factors such as storage capacity, ease of use, security features, and any limitations or restrictions that may apply. It’s important to ensure that the hosting platform you choose aligns with your specific requirements and offers a seamless experience for your users.
Once you have selected the hosting platform that best suits your needs, you are ready to move on to the next step: uploading the PDF file.
Step 3: Upload the PDF file to the hosting platform
Now that you have chosen a hosting platform, it’s time to upload your PDF file. The process may vary depending on the platform you selected, but here are the general steps:
1. Sign in or create an account: If you haven’t already, sign in to your hosting platform account. If you are using a cloud storage service or file hosting service, you may need to create a new account. Follow the instructions provided by the platform to complete the sign-up process.
2. Create a new folder (optional): To keep your files organized, consider creating a dedicated folder for your PDF files. This will make it easier to manage and locate them in the future. Most hosting platforms allow you to create new folders within your account.
3. Locate the upload option: Look for the “upload” or “add files” button within the hosting platform’s interface. This is typically located either at the top of the page or within the folder you want to upload the PDF file to. Click on the button to begin the upload process.
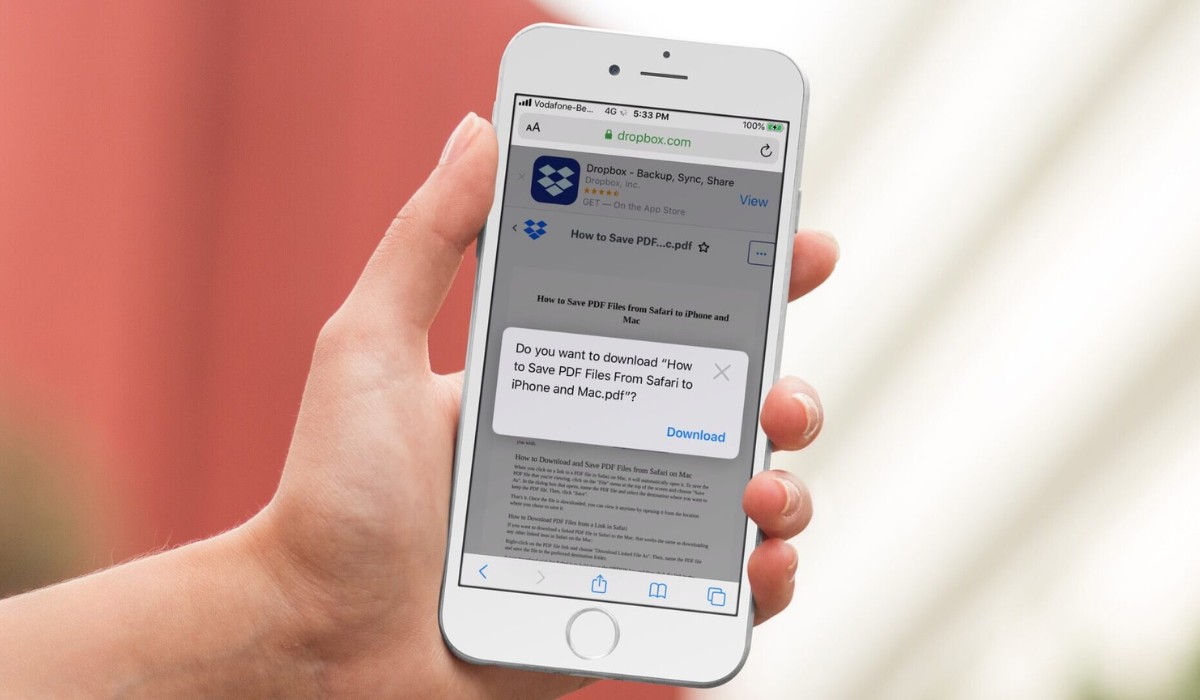
4. Select the PDF file: A file browser window will appear, allowing you to navigate to the location where your PDF file is saved on your computer. Select the PDF file and click on the “open” or “upload” button to initiate the upload process. The time it takes to upload will depend on the size of your PDF file and your internet connection speed.
5. Confirm the upload: Once the uploading process is complete, you will typically see a confirmation message indicating that the PDF file has been successfully uploaded. Some platforms may also display a progress bar during the upload process.
6. Repeat the process if necessary: If you have multiple PDF files to upload, repeat the above steps for each file. Make sure to upload all the necessary files to the appropriate location within your chosen hosting platform.
After successfully uploading your PDF file to the hosting platform, you will have a secure and reliable location from which you can share and provide access to your file. The next step involves creating a download link for your PDF file, which we will cover in the next section.
Step 4: Create a download link for the PDF file
With your PDF file uploaded to the hosting platform, it’s time to create a download link that will allow users to easily access and download the file. Here’s how you can create a download link for your PDF:
1. Locate the file: Navigate to the location where your PDF file is stored within the hosting platform. This could be within a specific folder or in the main file directory.
2. Right-click on the file: Once you’ve located the PDF file, right-click on it (or Ctrl+click on Mac) to reveal a menu of options.
3. Copy the file URL or link: In the menu, you should see an option such as “Copy link address” or “Copy link location”. Click on this option to copy the URL or link of the PDF file.
4. Create a hyperlink: Open the HTML editor or code editor for the webpage where you want to add the download link. Place your cursor at the desired location for the link and create an anchor tag using the “a” tag. For example:
<a href=”URL_or_link_of_the_PDF_file”>Download PDF</a>
5. Paste the file URL or link: Replace “URL_or_link_of_the_PDF_file” in the anchor tag with the URL or link you copied earlier. It should look something like this:
<a href=”https://www.yourdomain.com/path-to-the-PDF-file”>Download PDF</a>
6. Customize the link text (optional): If you want the link text to be something other than “Download PDF“, you can customize it within the anchor tag. For example:
<a href=”URL_or_link_of_the_PDF_file”>Click here to download</a>
7. Save and publish: Once you have created the download link and customized it (if desired), save the changes to the HTML file and publish it to your website. The download link should now be functional and ready for users to download the PDF file.
Remember to test the download link to ensure that it works correctly. Click on the link to initiate the download process and verify that the PDF file opens correctly on your computer.
Congratulations! You have successfully created a download link for your PDF file. In the next step, we will explore how to customize the appearance of the download link to match your website’s design and branding.
Step 5: Customize the appearance of the download link
Now that you have created a functional download link for your PDF file, you may want to customize its appearance to match your website’s design and branding. Here are some options to consider:
1. Styling with CSS: You can style the download link using custom CSS. This allows you to change the font, color, size, and other visual aspects of the link. To do this, add a class or ID to your download link in the HTML code, and then create corresponding CSS rules to modify its appearance.
2. Button design: If you prefer a more prominent and visually appealing download button, you can convert the download link into a button. Use CSS to apply styles such as background color, padding, border, and hover effects to create a button-like appearance. You can also add icons or graphics to enhance the button design.
3. Text customization: Instead of using a generic “Download PDF” text, consider customizing the link text to be more descriptive or engaging. For example, you can use phrases like “Get your free PDF”, “Download now”, or “Access the guidebook” to make the link more enticing to click.
4. Placement and alignment: Consider the placement and alignment of the download link within your webpage. You can position it prominently on the page or integrate it within the context of your content. Use CSS positioning properties or HTML tags like div or span to control the placement and alignment of the download link.
5. Visual cues: To further highlight the download link, you can use visual cues such as arrows, underlines, or hover effects. These can help draw attention to the link, making it more visible and clickable for users.
6. Consistency with branding: Ensure that the design and appearance of the download link align with your website’s overall branding. Use colors, fonts, and styles that are consistent with your website’s visual identity to create a cohesive and professional look.
Remember to test the customized download link across different devices and browsers to ensure that it displays correctly and remains functional. It’s important to strike a balance between customization and usability, ensuring that the download link remains clear, accessible, and easy to click for users.
By customizing the appearance of the download link, you can create a visually appealing and engaging experience for users, encouraging them to download your PDF file and explore your content further.
Once you have customized the appearance of the download link, you are ready for the final step: testing and finalizing the download link.
Step 6: Test and finalize the download link
After creating and customizing the download link for your PDF file, it’s crucial to thoroughly test it to ensure that it functions correctly and provides a seamless user experience. Here are the essential steps to test and finalize the download link:
1. Click the download link: Start by clicking on the download link yourself to verify that it initiates the download process and opens the PDF file correctly on your computer. Ensure that the file downloads promptly and is not corrupted.
2. Test on different devices and browsers: Validate the functionality of the download link on various devices and browsers to ensure cross-compatibility. Test it on desktop computers, laptops, smartphones, and tablets, using popular web browsers such as Google Chrome, Mozilla Firefox, Microsoft Edge, and Safari.
3. Test in different scenarios: Consider testing the download link in different scenarios. For example, try downloading the file while using a slow internet connection or with limited bandwidth to test the download speed and responsiveness of your website.
4. Check the file size: Verify that the downloaded PDF file matches the original file size and that it hasn’t been compressed or altered during the download process. Compare the properties of both files to ensure they are identical.
5. Test for accessibility: Ensure that users with disabilities can access the download link and download the PDF file. Test the link using a screen reader or other assistive technologies to verify that it can be easily located and activated.
6. Review download instructions: Take a moment to review the accompanying instructions or information provided alongside the download link. Make sure they are clear, concise, and provide any required details or guidance for downloading or using the PDF file.
7. Seek feedback: It can be helpful to seek feedback from others, such as colleagues, friends, or website visitors, to evaluate their experience with the download link. Gather their input and make any necessary improvements based on the feedback received.
By thoroughly testing and validating the functionality of the download link, you can detect and address any issues or inconsistencies and ensure a seamless experience for your website visitors.
Once you have conducted sufficient testing and are satisfied with the performance of the download link, you can consider it finalized. Publish your webpage or update the necessary content to make the download link available to your users.
Congratulations! You have successfully completed the process of making a downloadable PDF file available on your website. By following these steps, you have provided your users with easy access to valuable content, enhancing their overall experience on your website.
Conclusion
In this article, we have explored the step-by-step process of making a PDF file available for download on your website. By following these steps, you can provide a seamless and user-friendly experience for your visitors, allowing them to access and download your PDF content with ease.
We started by preparing the PDF file, ensuring it is of high quality, optimized for file size, and contains relevant metadata. Then, we discussed the importance of choosing a suitable hosting platform and explored different options such as self-hosting, cloud storage services, content management systems, and file hosting services.
Next, we learned how to upload the PDF file to the chosen hosting platform, including creating folders for organization purposes. We then moved on to creating a download link for the PDF file, customizing the appearance to match your website’s design and branding. We explored options such as CSS styling, button design, text customization, and visual cues.
After customizing the download link, we emphasized the importance of thoroughly testing it on various devices, browsers, and scenarios. We also discussed the need for accessibility testing and seeking feedback from others to ensure a smooth user experience.
By following these steps and finalizing the download link, you have successfully made a PDF file available for download on your website. This enhances the visibility and accessibility of your content, allowing users to access valuable information offline as well.
Remember to regularly update and maintain your PDF files, ensuring they remain relevant and up-to-date. Additionally, monitor the performance of your download links and make any necessary improvements based on user feedback and changing technological requirements.
With these insights and instructions, you are now equipped to expand the reach of your content by offering downloadable PDF files on your website. Take advantage of this powerful feature to provide valuable resources to your users and enhance their overall experience on your website.


