Introduction
Are you looking for a way to download Google Docs as PDF files on your iPhone? Whether you need to save an important document for offline access or share it with someone who doesn’t have access to Google Docs, converting your files to PDF format is a simple and convenient solution. With the Google Docs app for iPhone, you can easily convert your documents and download them as PDFs in just a few steps.
In this article, we will guide you through the process of downloading Google Docs as PDF files on your iPhone. We will show you the necessary steps, from opening the Google Docs app to saving the PDF file to your device’s Files app. Whether you use Google Docs for work, school, or personal projects, this method will come in handy whenever you need to convert and download your documents as PDFs.
Converting your Google Docs to PDF format offers several benefits. PDF files are widely supported and can be opened and viewed on various devices and operating systems. They also preserve the formatting and layout of your documents, ensuring that they appear the same way to everyone who opens them. Additionally, PDFs are often smaller in file size compared to other formats, making them easier to store and share.
Now, let’s dive into the step-by-step process of downloading Google Docs as PDF files on your iPhone.
Step 1: Open the Google Docs app
The first step towards downloading your Google Docs as PDF files is to open the Google Docs app on your iPhone. If you don’t have the app installed, you can download it for free from the App Store.
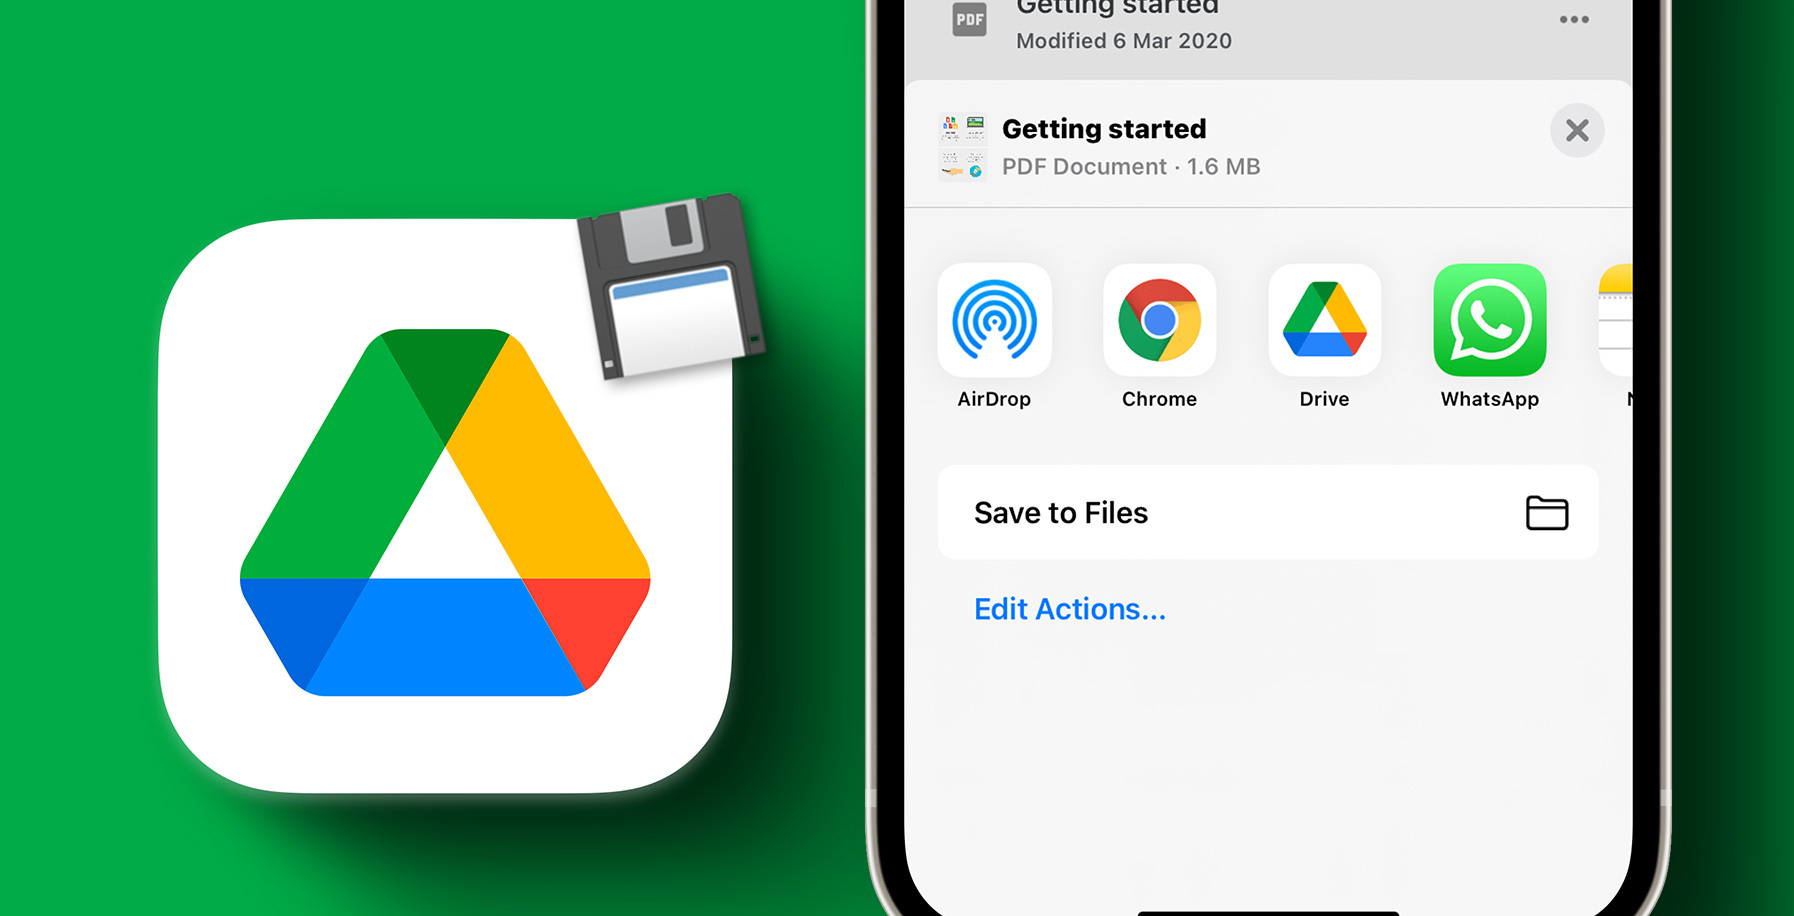
Once you have the Google Docs app installed on your iPhone, locate the app icon on your home screen and tap on it to open it. The Google Docs app has a white background with a colorful blue, yellow, and green triangle icon that represents the Google logo.
After opening the app, you will be directed to the home screen where you will find a list of your recent documents and folders. If you have used Google Docs before, you may see a list of documents that you have accessed or edited recently. If not, the home screen may be empty.
If you are not already signed in to your Google account, you will be prompted to enter your email address and password to access your Google Docs files. Enter your credentials and tap “Sign In” to proceed. If you have multiple Google accounts, make sure to sign in with the account that contains the document you want to download as a PDF.
Once you are signed in, you will have access to all your Google Docs files. You can then move on to the next step to open the document you wish to download as a PDF.
Step 2: Open the document you want to download as a PDF
Now that you have opened the Google Docs app and signed into your account, it’s time to locate and open the document that you want to download as a PDF. The Google Docs app provides an intuitive interface that allows you to easily find and access your files.
To open a specific document, tap on the search bar at the top of the screen and enter the name or keywords related to the document you are looking for. As you type, the app will start suggesting relevant documents based on your search query. You can tap on the document that appears in the search results to open it.
If you have recently accessed the document, you may find it directly on the home screen of the Google Docs app. In that case, simply scroll through the list of documents on the home screen to find the one you want to download as a PDF. You can identify the document by its title and thumbnail preview.
Alternatively, if you have organized your documents into folders, you can navigate to the appropriate folder by tapping on the “Menu” icon in the top-left corner of the screen. From the menu, select “My Drive” to access all your documents and folders. Then, tap on the folder that contains the document you wish to download as a PDF. Once you’re inside the folder, locate the document and tap on it to open it.
Once you have successfully opened the document, you will be able to view and edit its contents. You are now ready to proceed to the next step and download the document as a PDF.
Step 3: Tap the three dots icon at the top-right corner of the screen
After opening the document in the Google Docs app, you will need to access the document’s options menu to proceed with downloading it as a PDF. The options menu contains various functions and features that allow you to manage and customize your document.
To access the options menu, look for the three vertical dots icon located at the top-right corner of the screen. This icon represents the menu and is a common feature in many apps to indicate additional settings or actions.
Tap on the three dots icon, and a dropdown menu will appear on the screen with a list of available options. The options menu provides various functions for document management, such as sharing, exporting, printing, and more.
The options available in the menu may vary depending on the version of the Google Docs app you have installed and the features associated with your Google account. However, in most cases, you can find the necessary option to download the document as a PDF within this menu.
It’s important to note that the options menu is not limited to downloading documents as PDFs. You can explore other functions in this menu to perform different actions and customize your document according to your preferences.
In the next step, we will guide you on how to navigate the options menu to select the specific function that allows you to export and download the document as a PDF.
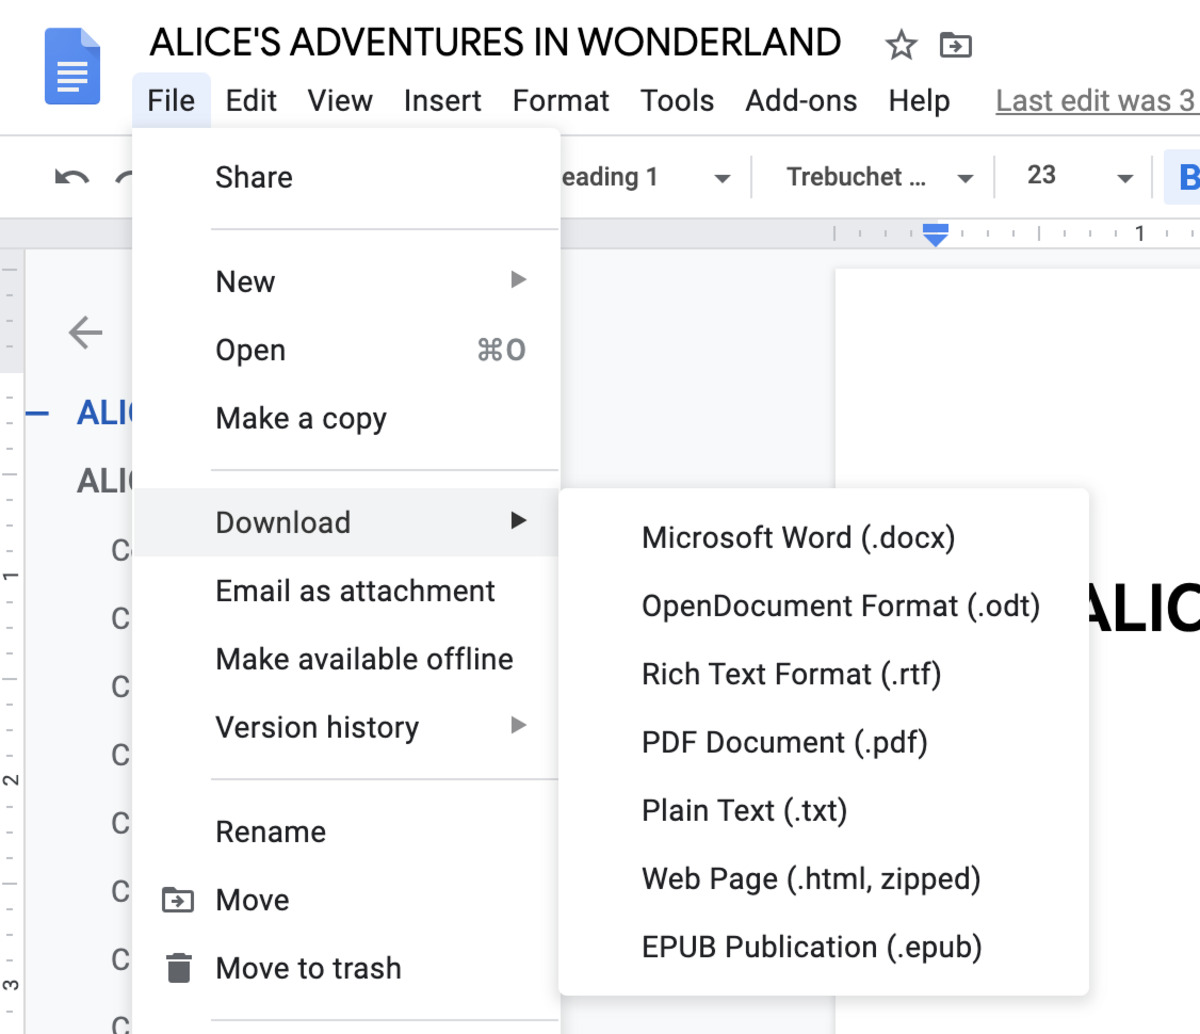
Step 4: Select “Share & export”
Now that you have accessed the options menu by tapping on the three dots icon, it’s time to locate and select the function that will allow you to export and download the document as a PDF. Within the options menu, you will find various actions and settings related to the document.
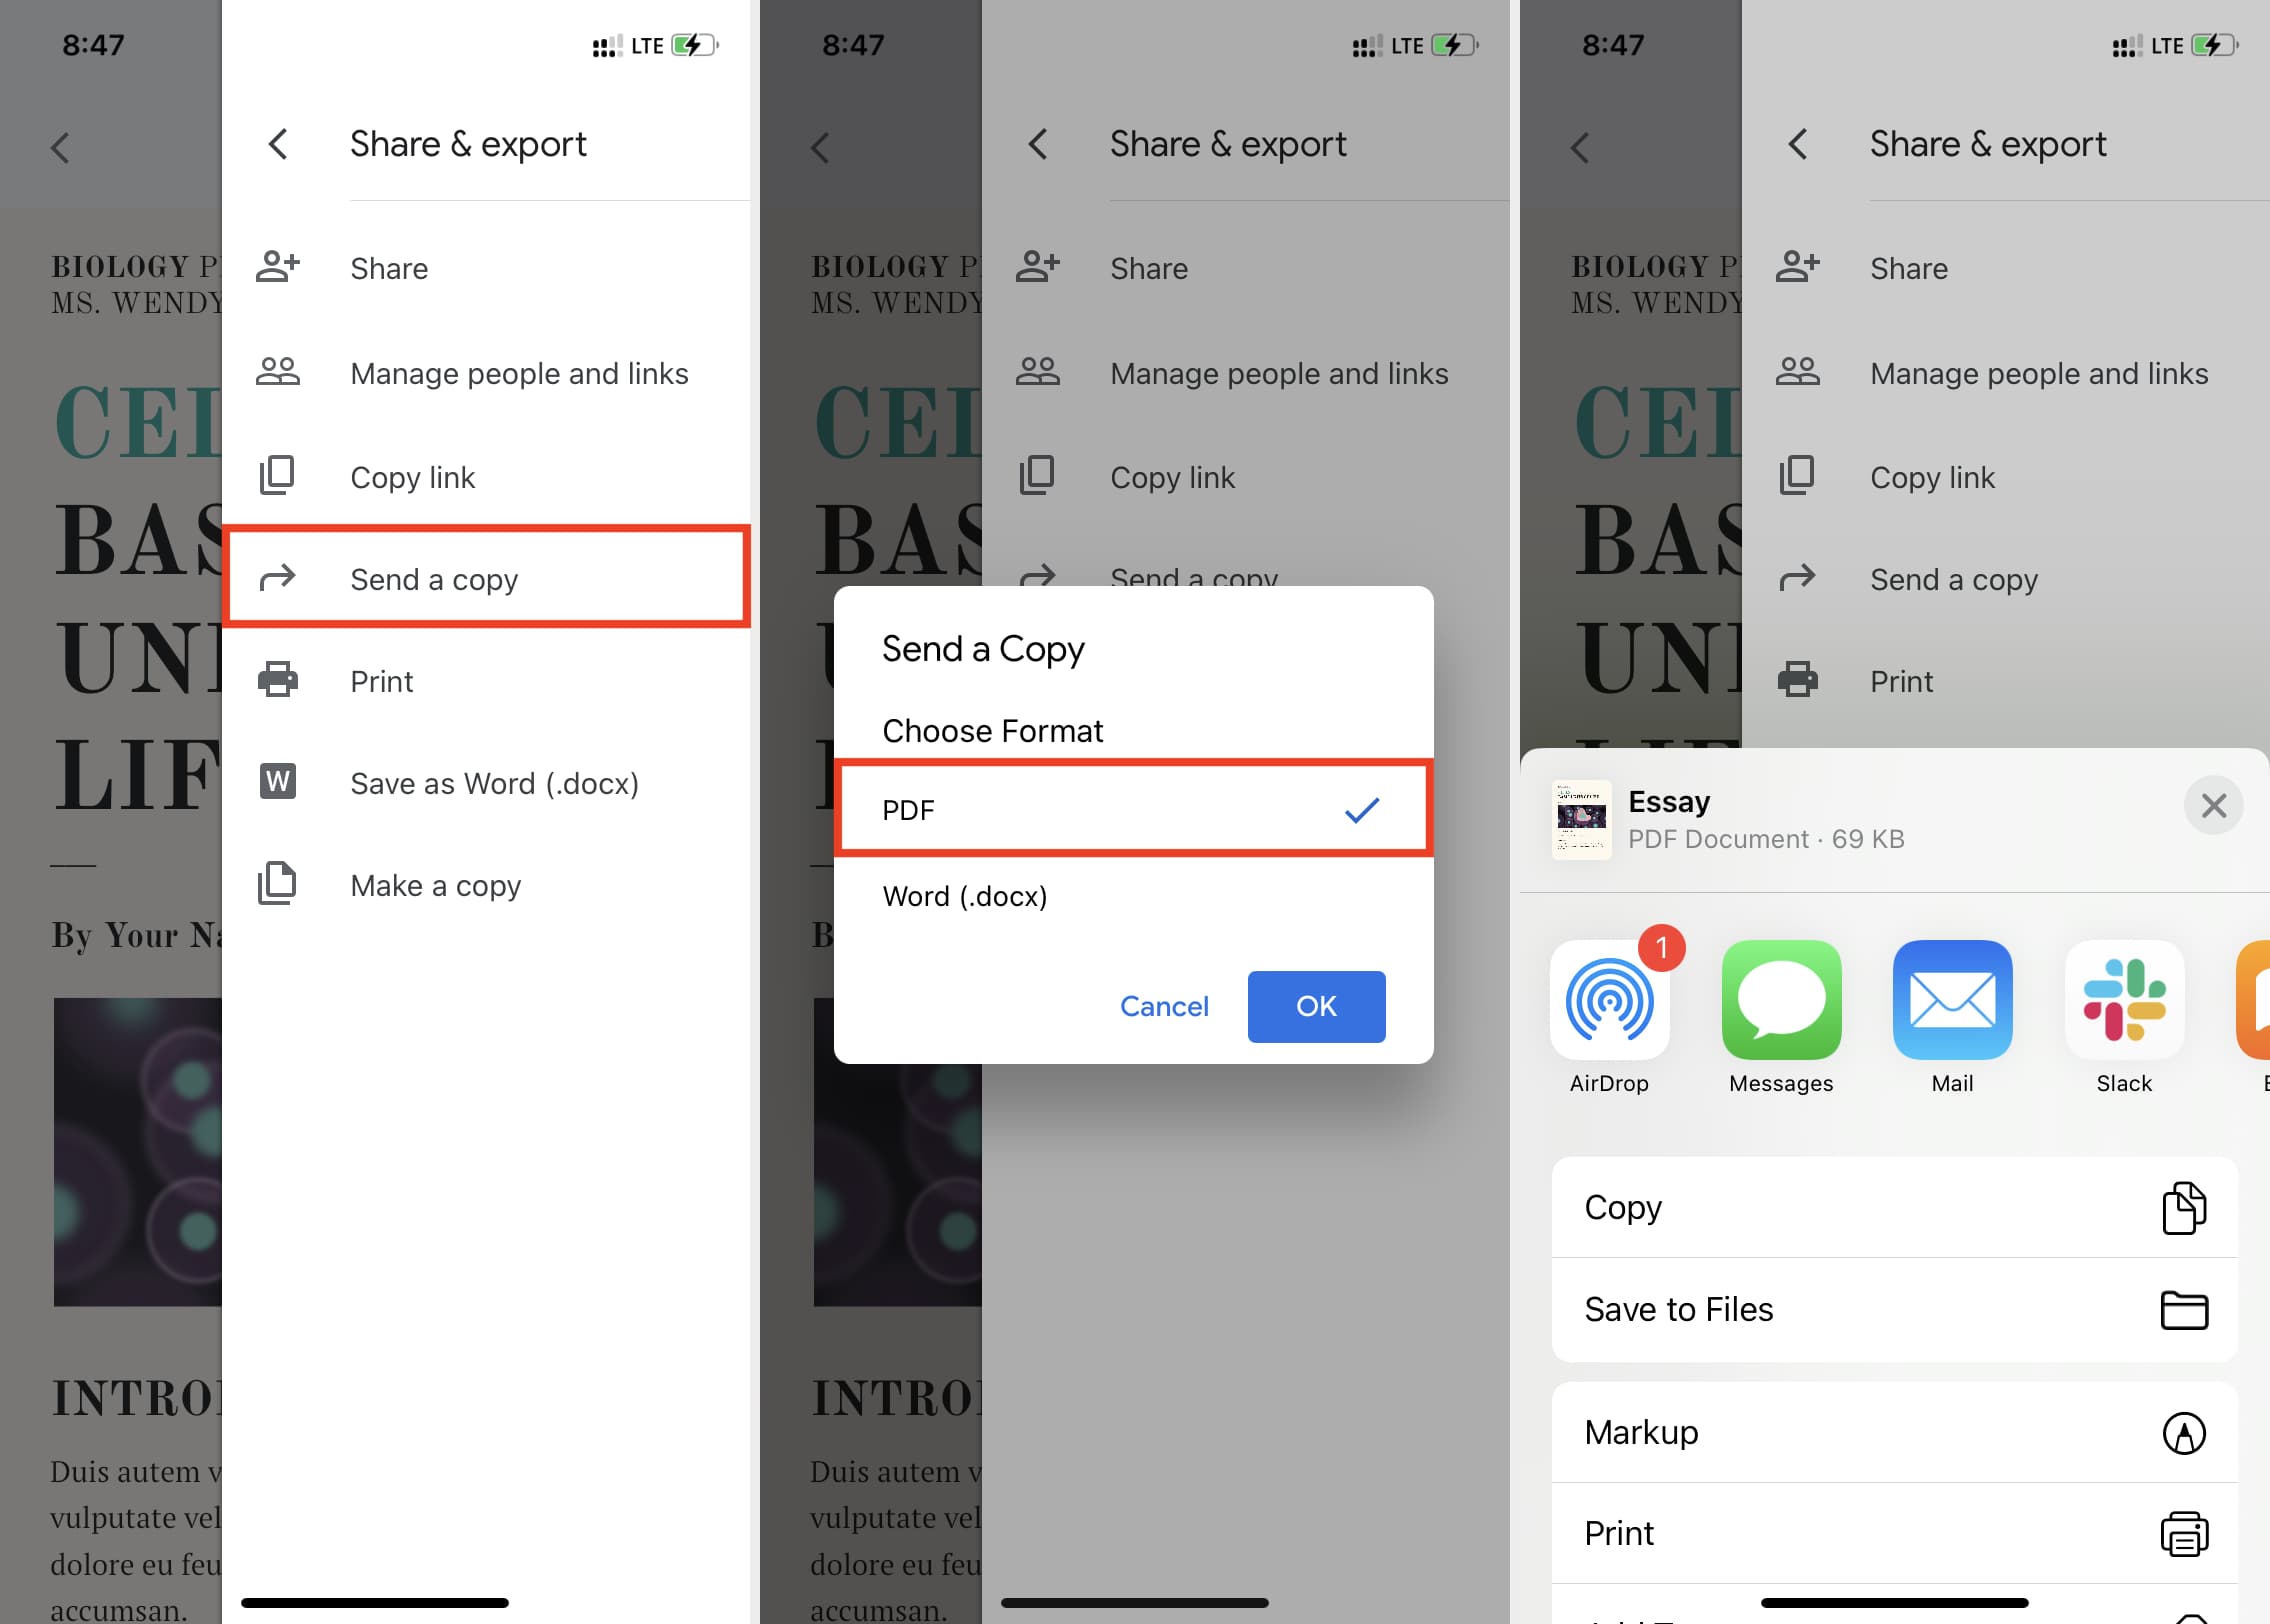
Scroll through the dropdown menu and look for the option labeled “Share & export”. This option is typically positioned towards the top of the menu and is represented by an icon that resembles a person with an arrow pointing outwards.
Tap on the “Share & export” option, and a new submenu will appear on the screen with additional choices. This submenu provides a range of actions and formats to share or export your document, including saving it as a PDF.
It’s worth noting that the submenu may contain other options related to sharing the document with others, such as sending it via email, creating a link to share, or collaborating with others in real-time. However, for the purpose of downloading your document as a PDF, we will focus on the “Export as PDF” option.
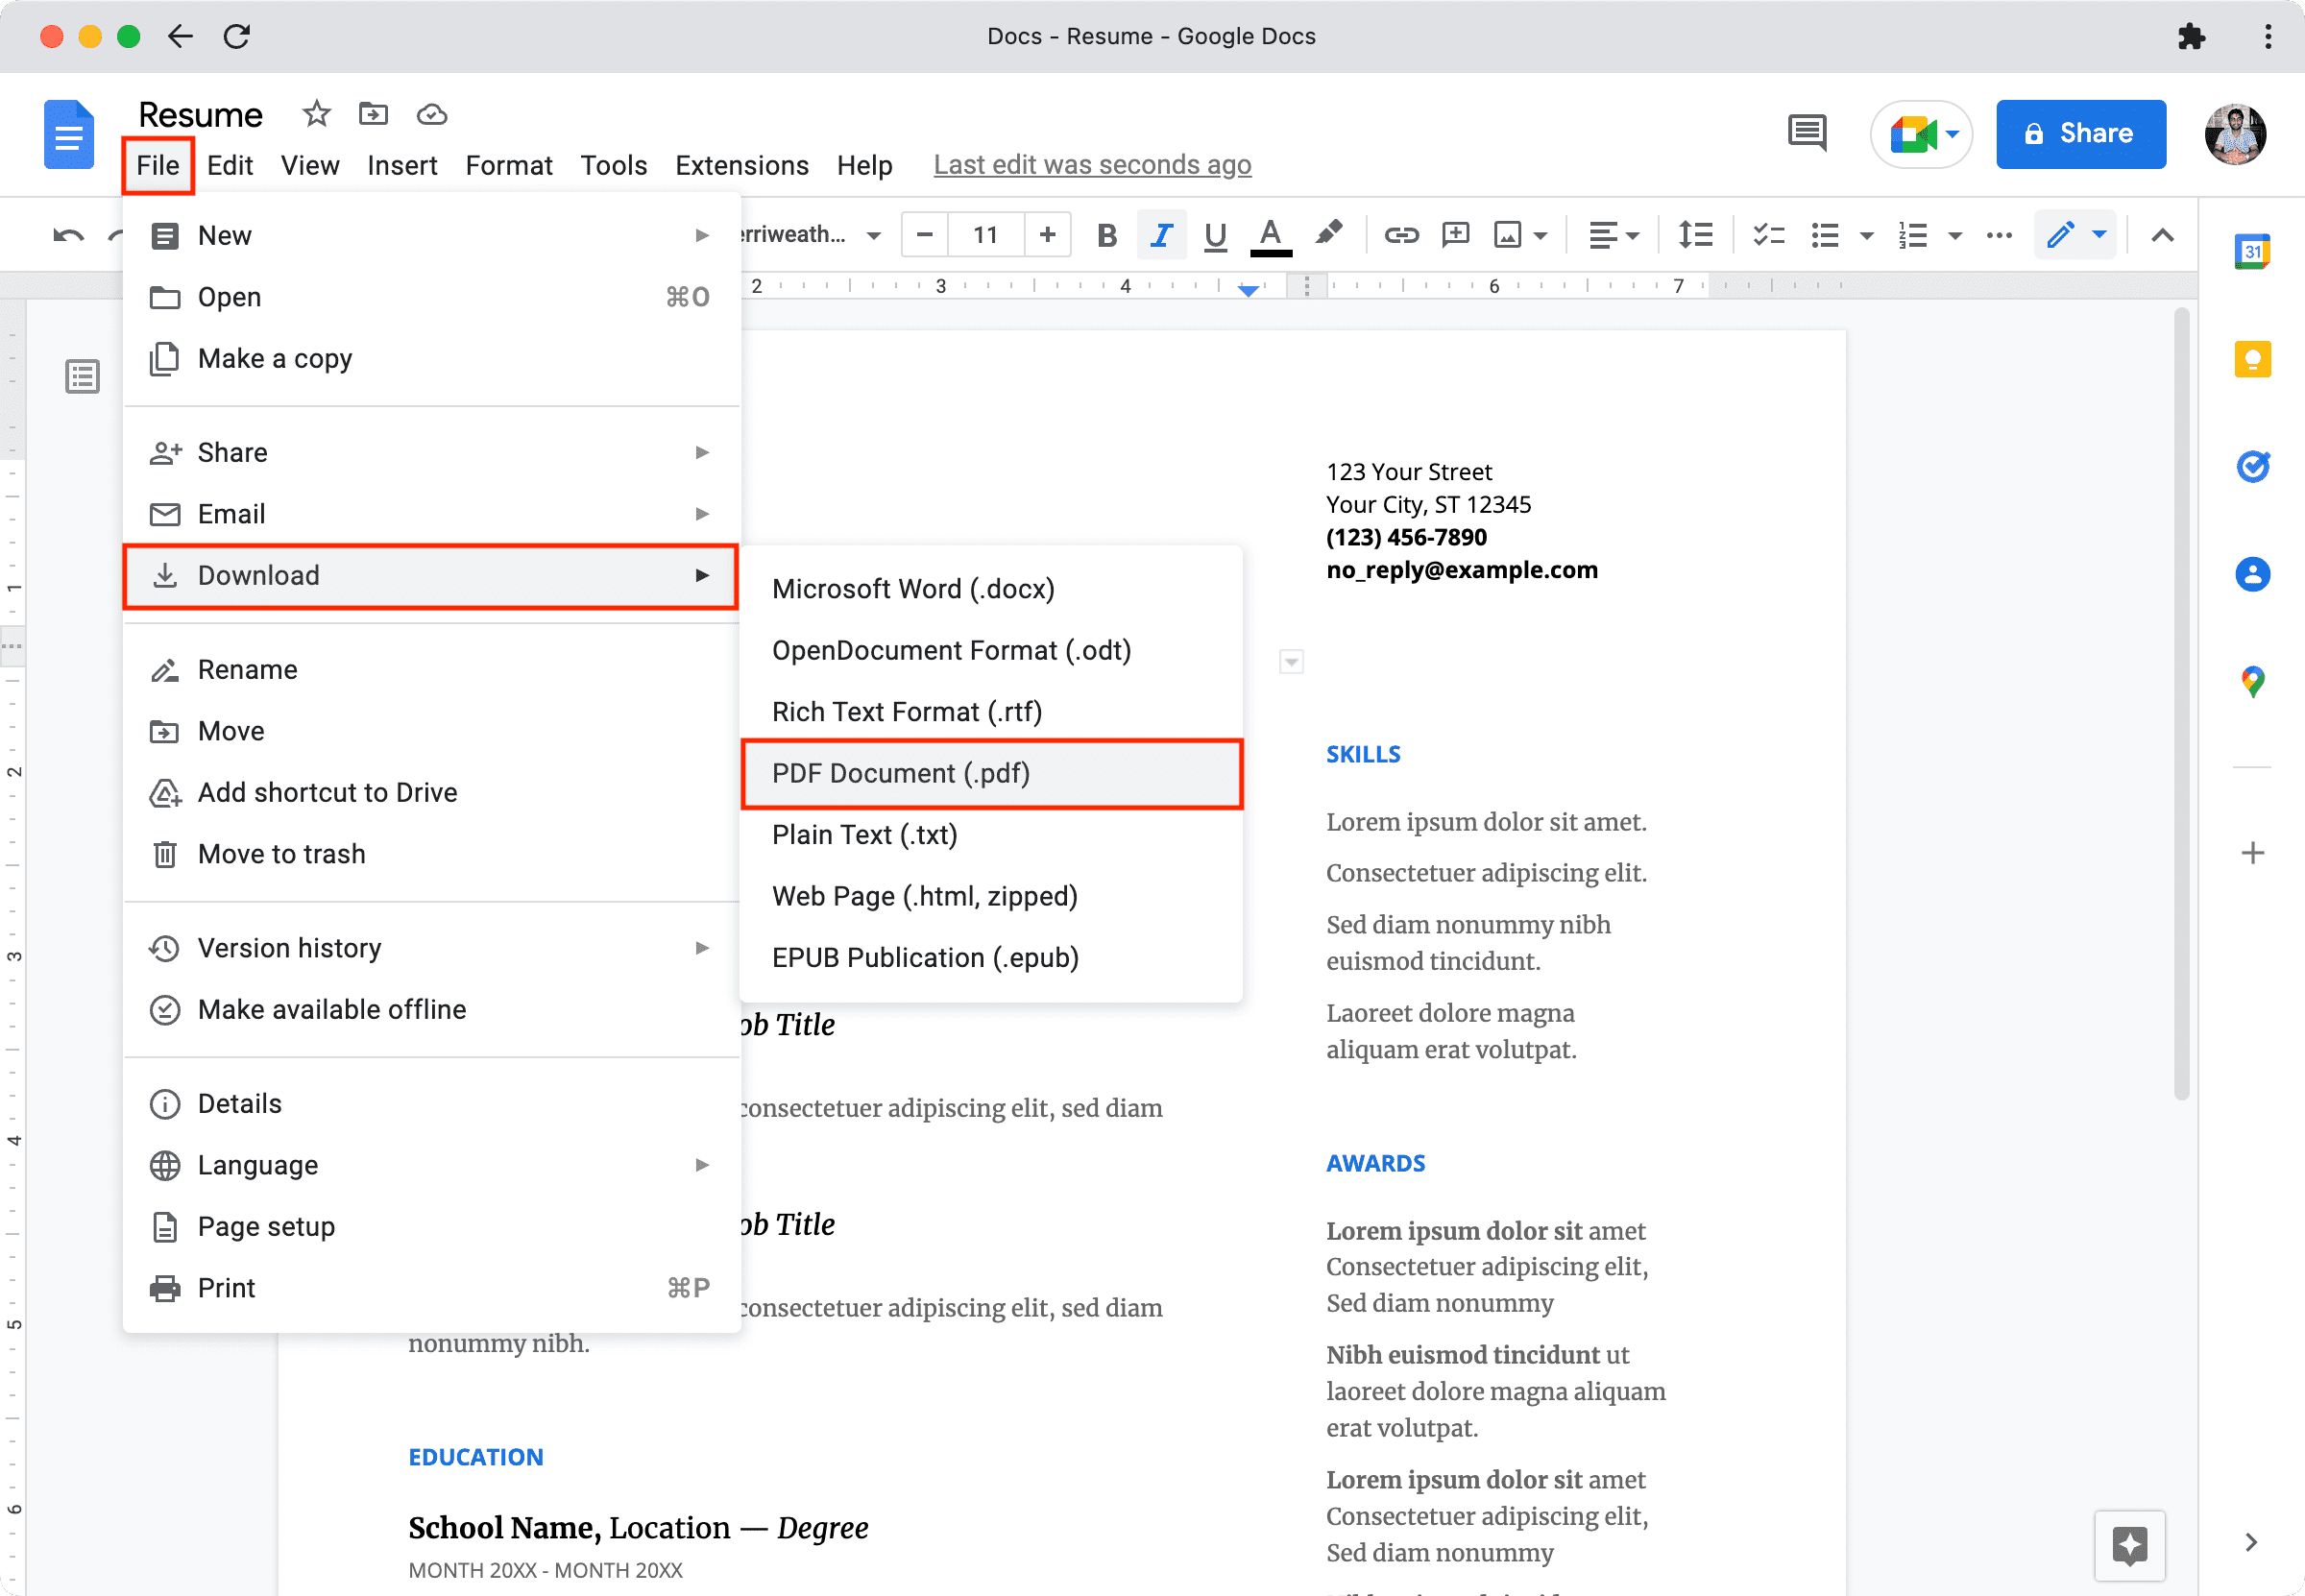
Scroll through the submenu and locate the option labeled “Export as PDF”. This option is represented by an icon that typically resembles a sheet of paper with a PDF symbol on it. Tap on this option to choose it and proceed to the next step of the process.
By selecting “Share & export” and then “Export as PDF”, you are on your way to converting your document into a downloadable PDF file. In the following steps, we will guide you on how to specify the destination for the PDF file and save it to your iPhone’s Files app.
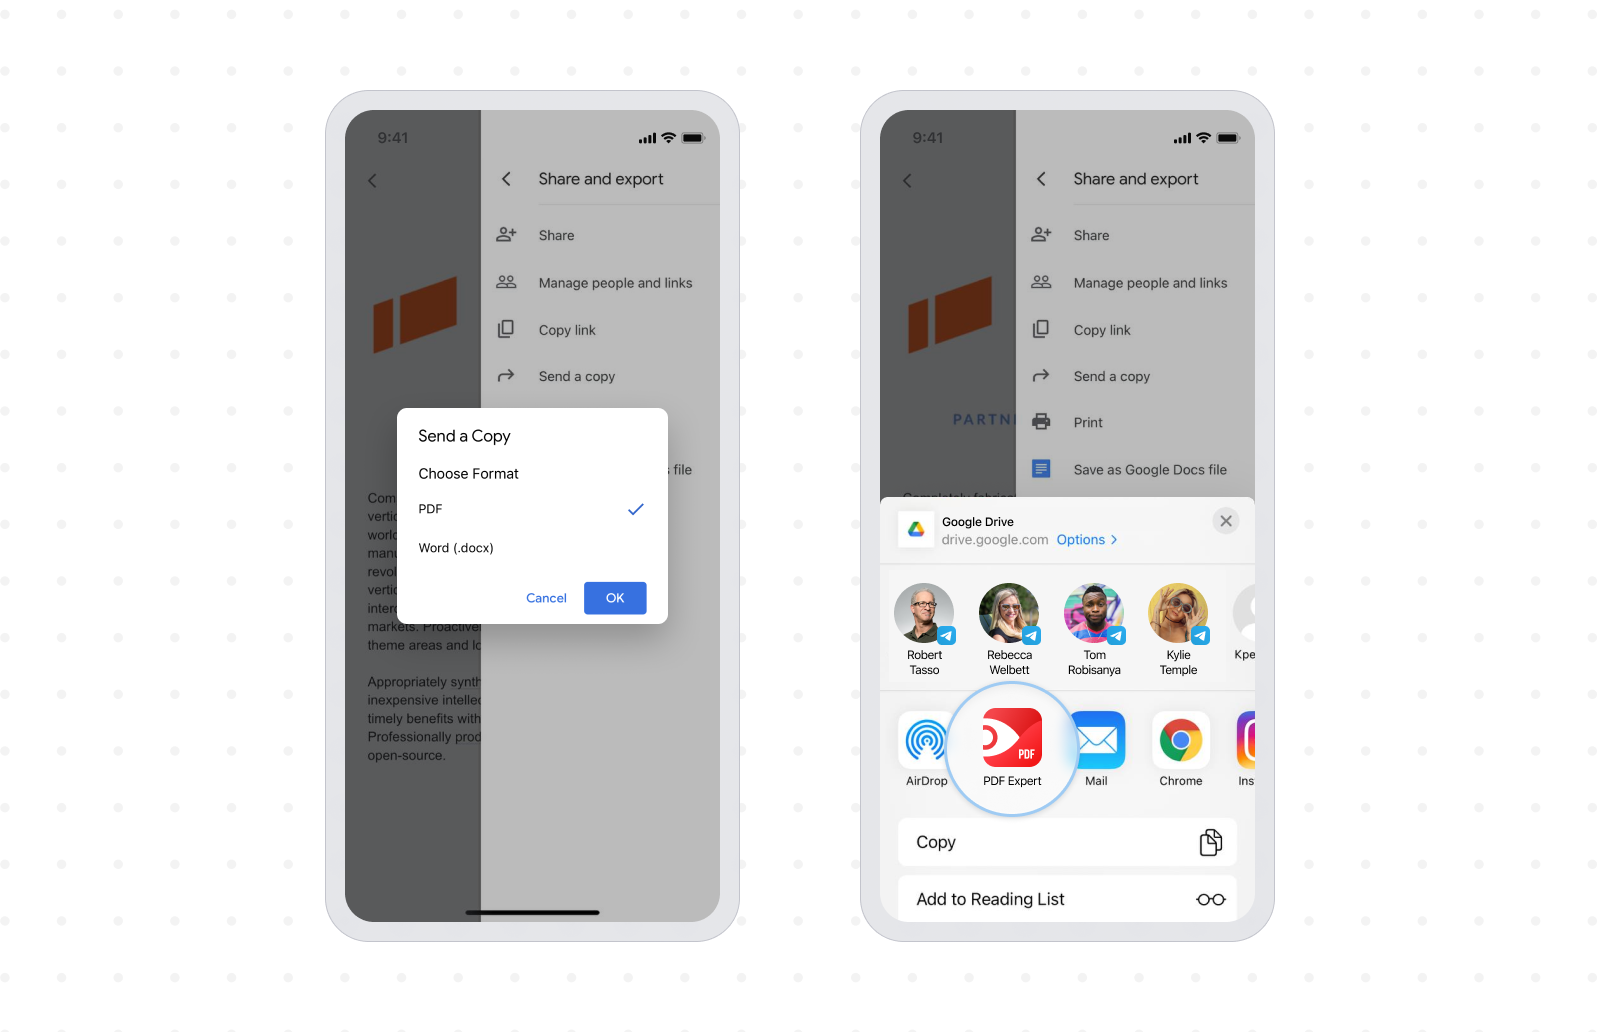
Step 5: Tap “Send a copy”
After selecting the “Export as PDF” option in the submenu, you will be presented with a few more choices related to downloading and sharing your document as a PDF. One of these choices is the option to “Send a copy”.
To proceed with downloading the document as a PDF, tap on the “Send a copy” option. By selecting this option, you are indicating that you want to create a copy of the document in PDF format, which can then be saved or shared as needed.
Upon tapping “Send a copy”, a menu will appear with a list of available destinations and methods for saving or sharing the PDF file. This menu allows you to choose the desired location for the PDF file and determine how you would like to handle it.
In this step, our focus will be on selecting the destination for the PDF file. The available options may include saving it to your iPhone’s Files app, sending it as an email attachment, or sharing it through other compatible apps installed on your device.
Scroll through the list of available destinations and choose the option that aligns with your preferences. For the purpose of saving the PDF file directly to your iPhone, select the option that corresponds to the Files app or the file management system on your device.
Once you have selected the destination, you can move on to the next step to finalize the download process and save the PDF file to your iPhone.
Now that you have tapped “Send a copy” and chosen the destination for the PDF file, you are only a few steps away from successfully downloading the Google Doc as a PDF on your iPhone. In the next steps, we will guide you on finalizing the process and saving the PDF file to your device for easy access and sharing.
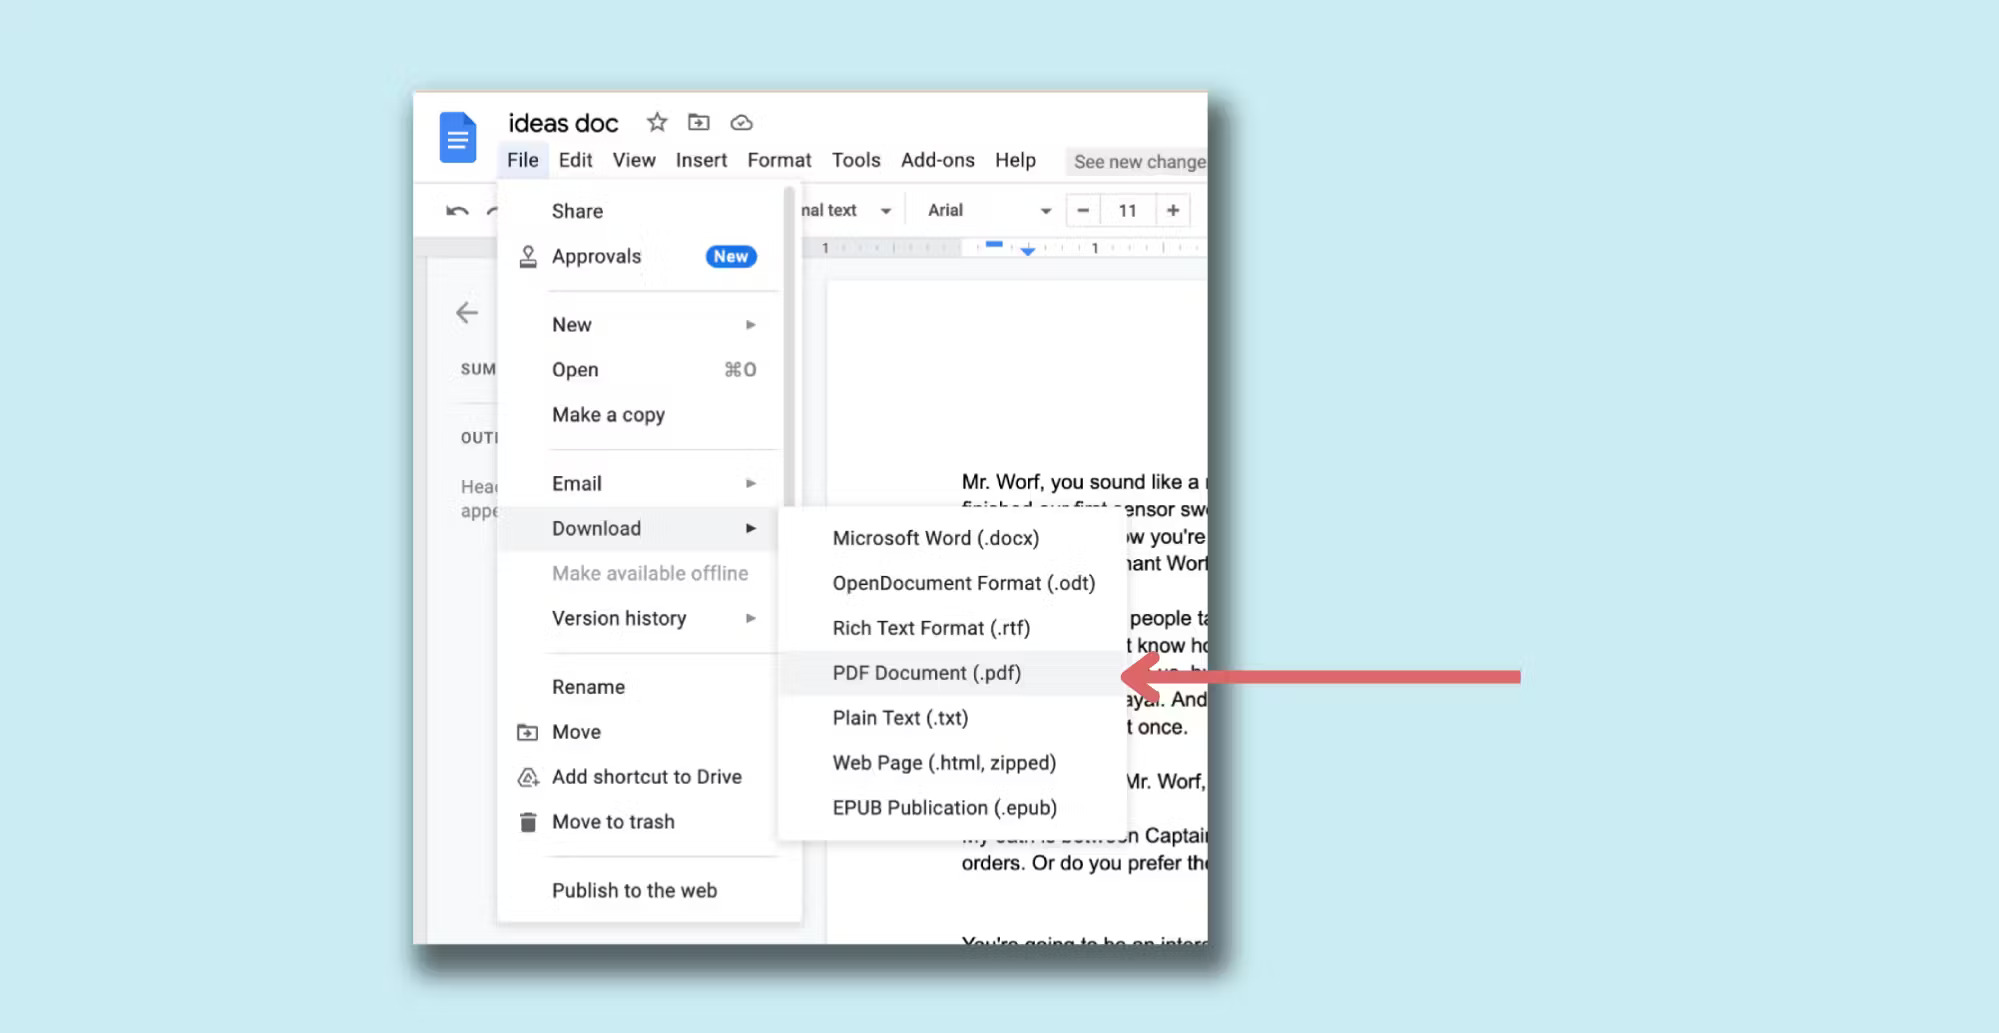
Step 6: Choose “Export as PDF”
After tapping “Send a copy” and selecting the destination for the PDF file, the next step is to confirm and finalize the export of the document as a PDF. This involves choosing the option to “Export as PDF” from the available choices presented to you.
In the menu that appeared after selecting “Send a copy”, look for the option labeled “Export as PDF”. This option is typically accompanied by an icon that resembles a sheet of paper with a PDF symbol on it. Tap on this option to proceed with the conversion of the document into a PDF format.
By selecting “Export as PDF”, you are instructing the Google Docs app to convert the document into a PDF file with all its formatting and content preserved. This ensures that the resulting PDF will closely resemble the original document, ready for sharing or saving as needed.
After choosing “Export as PDF”, the app will initiate the conversion process. This may take a few seconds depending on the size and complexity of the document. Once the conversion is complete, the PDF file will be generated and prepared for the final step of saving it to your device.
Keep in mind that the availability of the “Export as PDF” option may vary depending on the version of the Google Docs app and the features associated with your Google account. However, in most cases, you can find this option within the menu that appears after tapping “Send a copy”.
Now that you have chosen “Export as PDF”, you are one step closer to successfully downloading the Google Doc as a PDF on your iPhone. In the following steps, we will guide you through selecting the destination for the PDF file and saving it to your device for future use.
Step 7: Select the destination for the PDF file
After choosing the “Export as PDF” option and completing the conversion process, it’s time to select the destination where you want to save the PDF file on your iPhone. The available options may vary depending on your device’s file management system and the apps installed on your device.
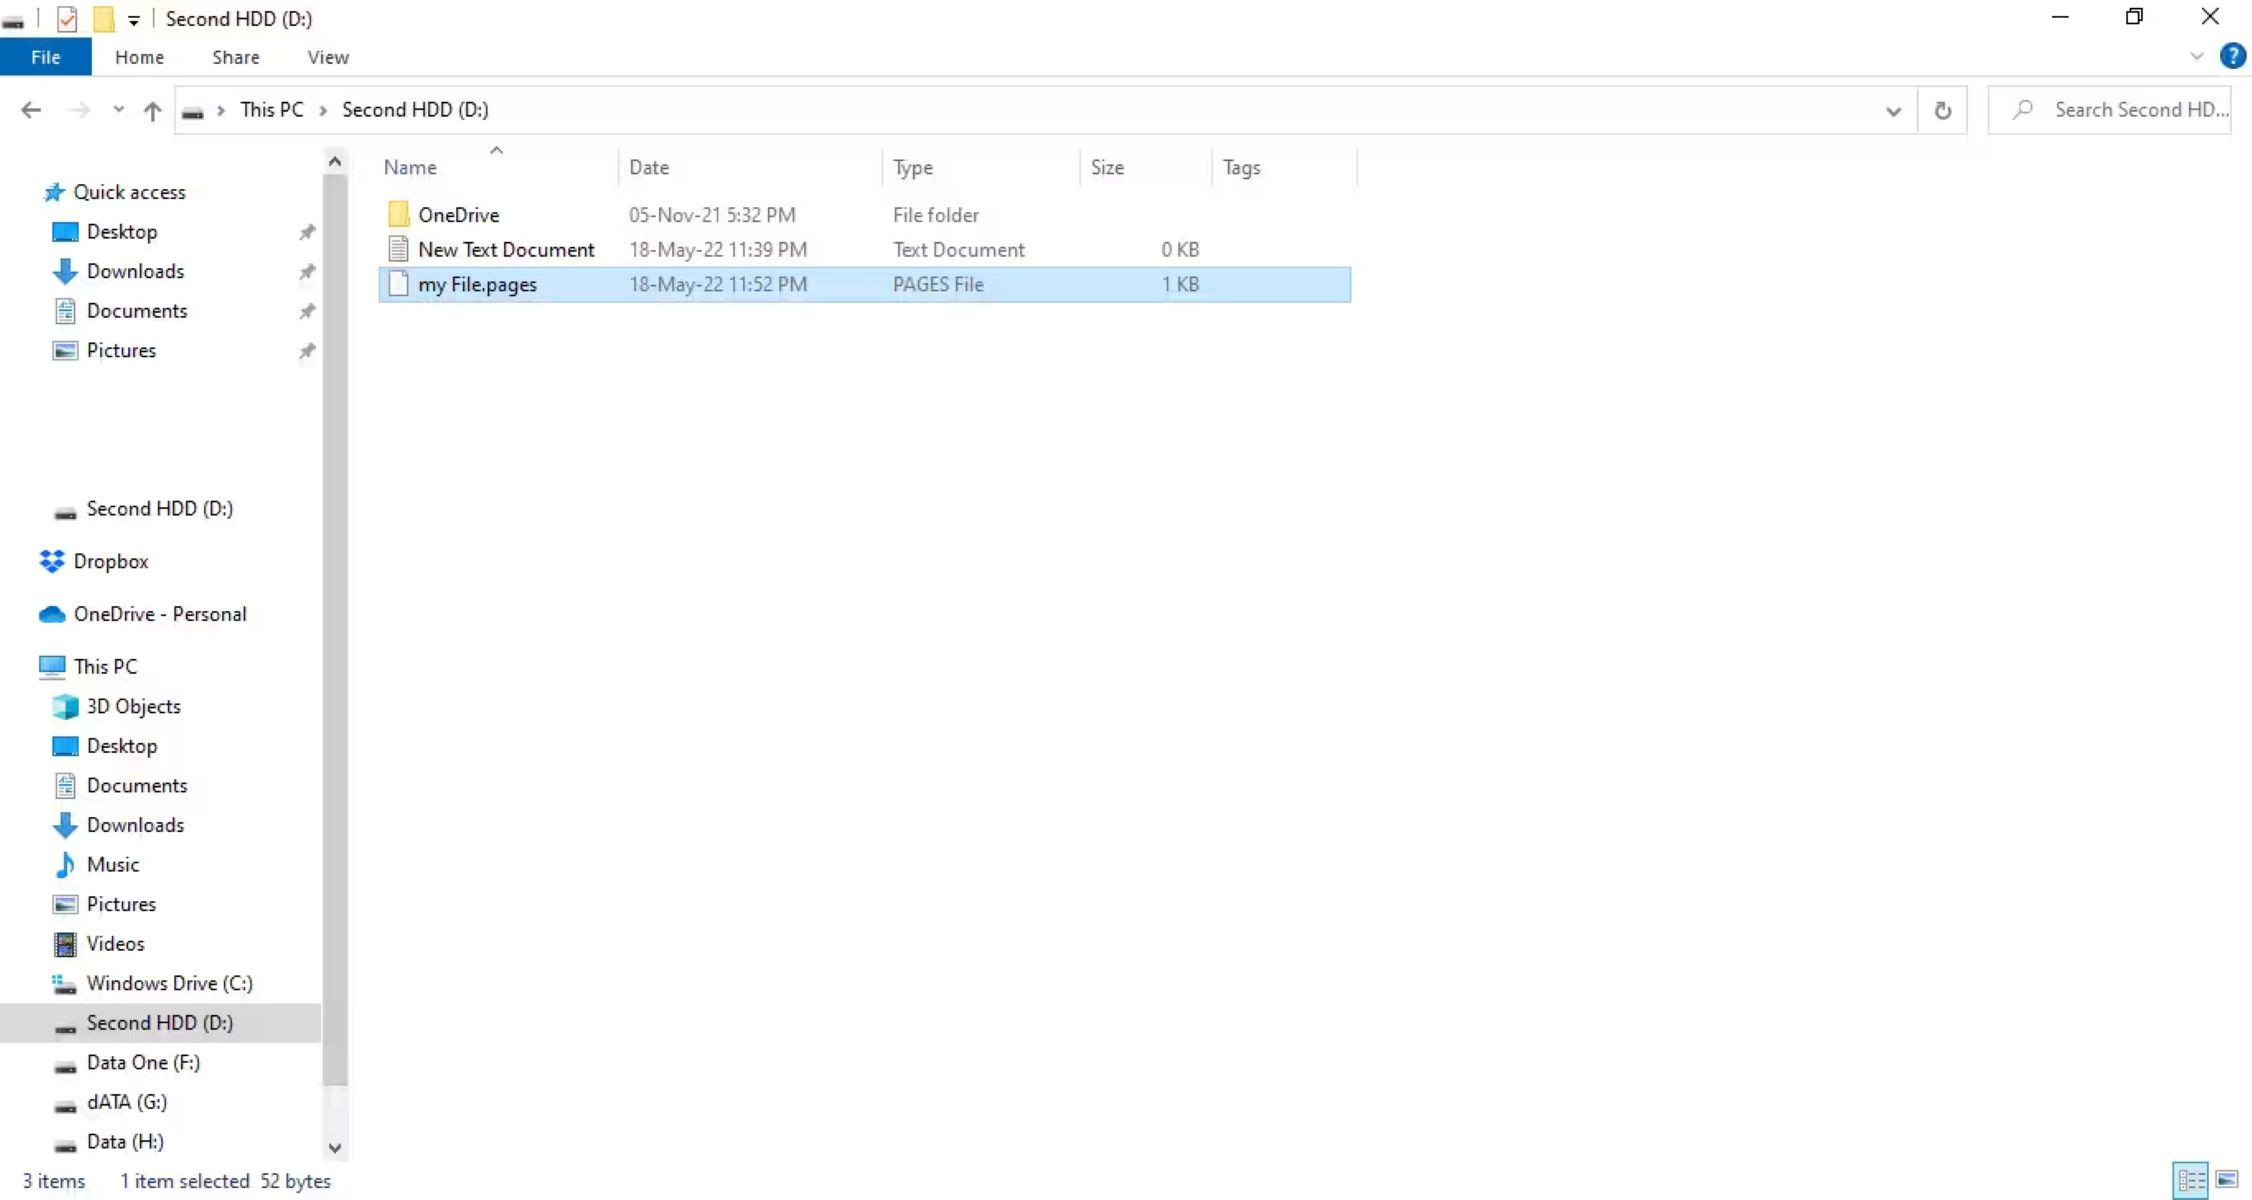
When selecting the destination, you typically have the option to save the PDF file to the Files app on your iPhone. The Files app serves as a centralized location for managing all your files, including documents, images, and videos.
To save the PDF file to the Files app, you may encounter a file picker or browser interface that allows you to navigate through your device’s storage and choose the desired location. You can use this interface to select a specific folder or directory where you want to save the PDF file.
If you have organized your files into folders within the Files app, you can select the appropriate folder for saving the PDF file. Alternatively, you may choose to save it directly to the general “Documents” folder or any other location that you find suitable.
It’s important to remember the chosen destination for future reference. This will make it easier to locate and access the PDF file whenever you need to share or view it on your iPhone.
Keep in mind that the specific steps for selecting the destination may vary slightly depending on the version of the Google Docs app and your device’s file management system. However, with a bit of exploration within the file picker or browser interface, you should be able to locate the Files app and choose the desired location for saving the PDF file.
Now that you have selected the destination for the PDF file, you only need to complete the final step of saving the file to your iPhone. In the next step, we will guide you through this process, after which you will have successfully downloaded the Google Doc as a PDF on your device.
Step 8: Save the PDF file to your iPhone’s Files app
After selecting the destination for the PDF file, the final step is to save it to your iPhone’s Files app. This ensures that you can easily access and manage the downloaded PDF file whenever you need it.
Within the file picker or browser interface, locate the “Save” or “Done” button. This button is typically located at the top or bottom of the interface, indicating that you have finished selecting the destination and are ready to save the PDF file.
Tap on the “Save” or “Done” button to begin the process of saving the PDF file to your iPhone’s Files app. The app will initiate the transfer process and copy the PDF file to the selected destination within the Files app.
Once the transfer is complete, you will receive a confirmation message indicating that the PDF file has been successfully saved. You can now exit the file picker or browser interface and navigate to the Files app on your iPhone.
To locate the saved PDF file, open the Files app from your home screen or app drawer. Within the app, navigate to the location where you chose to save the PDF file. This may involve opening folders or drilling down through the file hierarchy until you find the file.
When you find the PDF file, you can tap on it to view its contents. The Files app provides a built-in PDF viewer, allowing you to read, scroll, and zoom in or out on the document. You can interact with the PDF file just like any other file within the app.
In addition to viewing the PDF file, you can also perform various actions on it, such as sharing it with others, moving it to a different location within the Files app, or organizing it into folders for better file management.
Congratulations! You have successfully downloaded and saved the Google Doc as a PDF file on your iPhone’s Files app. The PDF file is now readily accessible on your device for offline viewing and sharing.
Conclusion
Downloading Google Docs as PDF files on your iPhone is a straightforward process that allows you to conveniently access and share your documents. By following the step-by-step instructions outlined in this guide, you can convert your Google Docs into PDF format and save them directly to your device.
From opening the Google Docs app to selecting the destination for the PDF file in the Files app, each step is designed to ensure a seamless and hassle-free experience. By utilizing the powerful features of the Google Docs app, you can easily convert and download your documents with just a few taps.
Converting your documents to PDF format offers numerous benefits. PDF files are universally compatible, ensuring that your documents appear the same for everyone who opens them. They also retain the formatting and layout of your documents, making them ideal for professional use or sharing important information.
Furthermore, the ability to save your PDF files directly to the Files app on your iPhone provides you with a central hub for managing all your files. This makes it easier to locate, organize, and access your documents whenever you need them, even when you’re offline.
Next time you find yourself needing to download Google Docs as PDF files on your iPhone, simply refer back to this guide. By following the steps outlined here, you’ll be able to convert, save, and access your documents in PDF format effortlessly.
Now that you have gained the knowledge to download Google Docs as PDF files on your iPhone, you can make the most of this feature to enhance your productivity and efficiency. Whether it’s for work, school, or personal use, converting your documents to PDF format will undoubtedly streamline your document management process.
So, why wait? Start converting and downloading your Google Docs as PDF files on your iPhone today, and experience the convenience of having your documents in a universally accessible format.