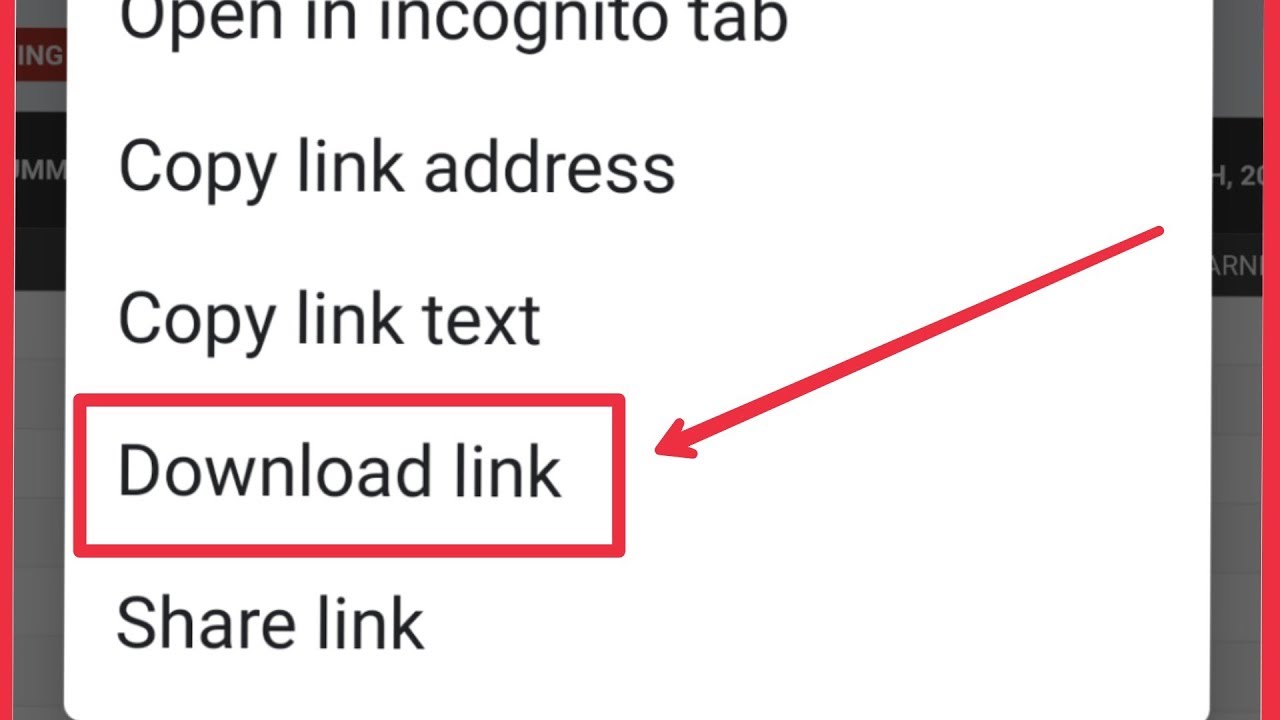
To download Meta Quest Link, the official app that lets you connect your Meta Quest headset to a Windows PC for PC VR gaming, you need to get the installer from the only authorized source. This app, formerly known as Oculus Link, is the essential software for playing high-end PC VR titles on your standalone headset, whether you use a wired USB cable or a wireless Air Link connection. Before running the installer, you may need to trust a download on Windows if a SmartScreen warning blocks it. If you want to share files directly from your own site, you can make a link automatically download a file instead of opening it.
What is the Meta Quest Link app?
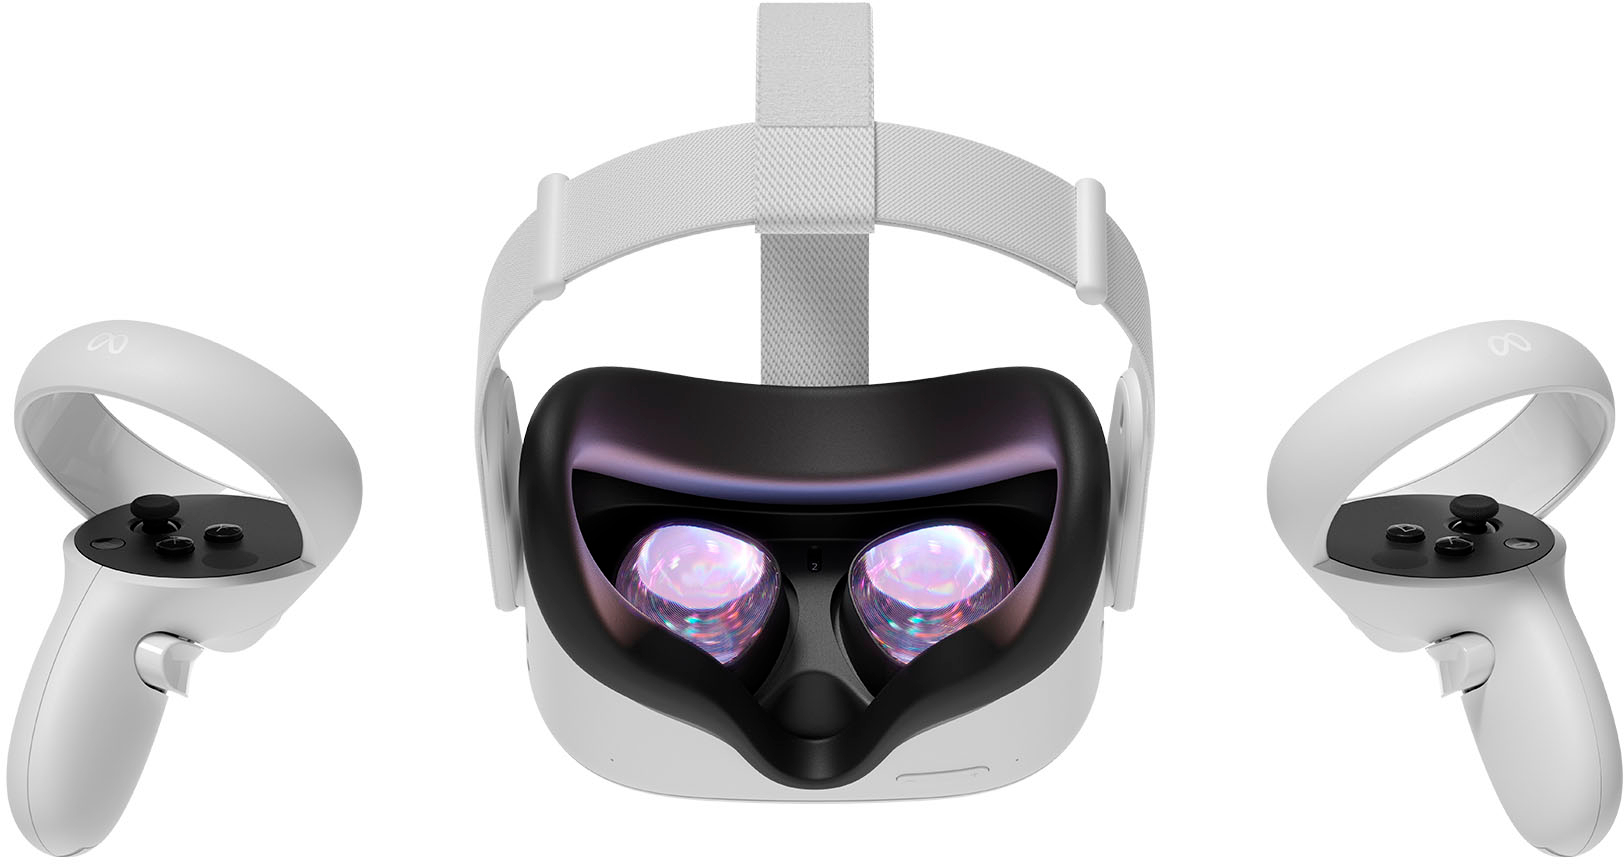
The Meta Quest Link app is a free piece of software that bridges your Meta Quest headset with a compatible Windows computer. It allows you to access the full library of PC VR games and experiences, leveraging your PC's processing power for higher-fidelity graphics and performance. The app handles the connection between your headset and computer, streaming the PC VR content directly to your headset's display, and once installed you can learn to navigate and launch titles entirely via download via keyboard shortcuts instead of the controllers. If you need to install software from a repository instead, you can download app from GitHub for many open-source VR tools.
Before you download Meta Quest Link: system requirements
Before you begin, make sure your computer meets the minimum requirements. The Meta Quest Link app is exclusively available for Windows computers, and you must be running Windows 10 or a newer version; Windows 7 and 8.1 are no longer supported. You need at least 4GB of disk space to install the app, but 9GB is recommended to avoid issues with the app failing to load. Certain graphics cards are currently not supported, including Intel Arc GPUs, the NVIDIA GeForce GTX 1050 Ti, the AMD Radeon RX 560, and workstation GPUs. For a wired connection, you will need a USB-C 3.2 cable that supports a minimum of 5 Gbps and is ideally at least 3 meters (10 feet) long. For a wireless Air Link connection, a 5GHz Wi-Fi network is preferred, with your PC connected to the router via Ethernet and the router supporting Wi-Fi 5 (802.11AC) or Wi-Fi 6/6E (802.11AX).
Step 1: Go to the official download page
On your Windows PC, open your web browser and navigate to meta.com/quest/setup. This is the only official source for the download, ensuring you get a safe and authentic installer. Avoid third-party download sites, as they may offer outdated or modified versions of the app.
Step 2: Run the installer and choose your location
- Once the download is complete, open your computer's downloads folder and locate the Meta Quest Link app installer file.
- Launch the installer and click "Get started" when prompted.
- You will be asked to select the desired installation location on your computer. You can choose the default location or browse to a different folder. After making your selection, click "Install now."
Step 3: Complete the setup and log in
- After the installation finishes, click "Next" to proceed.
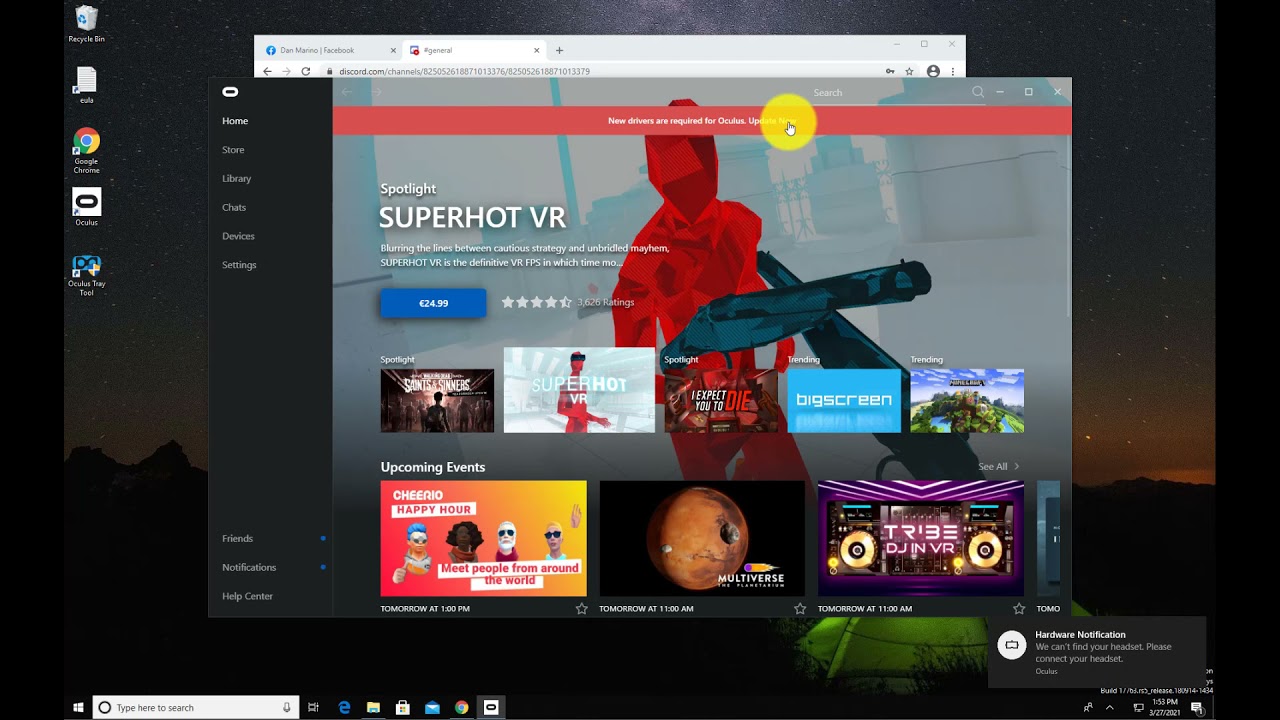
- Open the Meta Quest Link app from your desktop or start menu.
- Log in using your Meta account. This is the same account you use with your Quest headset.
Step 4: Connect your headset and start playing
With the app installed and logged in, you can now connect your headset. For a wired Link connection, connect your Quest headset to your PC using a compatible USB 3 cable. For a wireless Air Link connection, enable Air Link in your headset's Quick Settings menu. Once connected, you will be able to browse and launch your PC VR games from within the headset. After connecting, you can start playing your PC VR library immediately.