Introduction
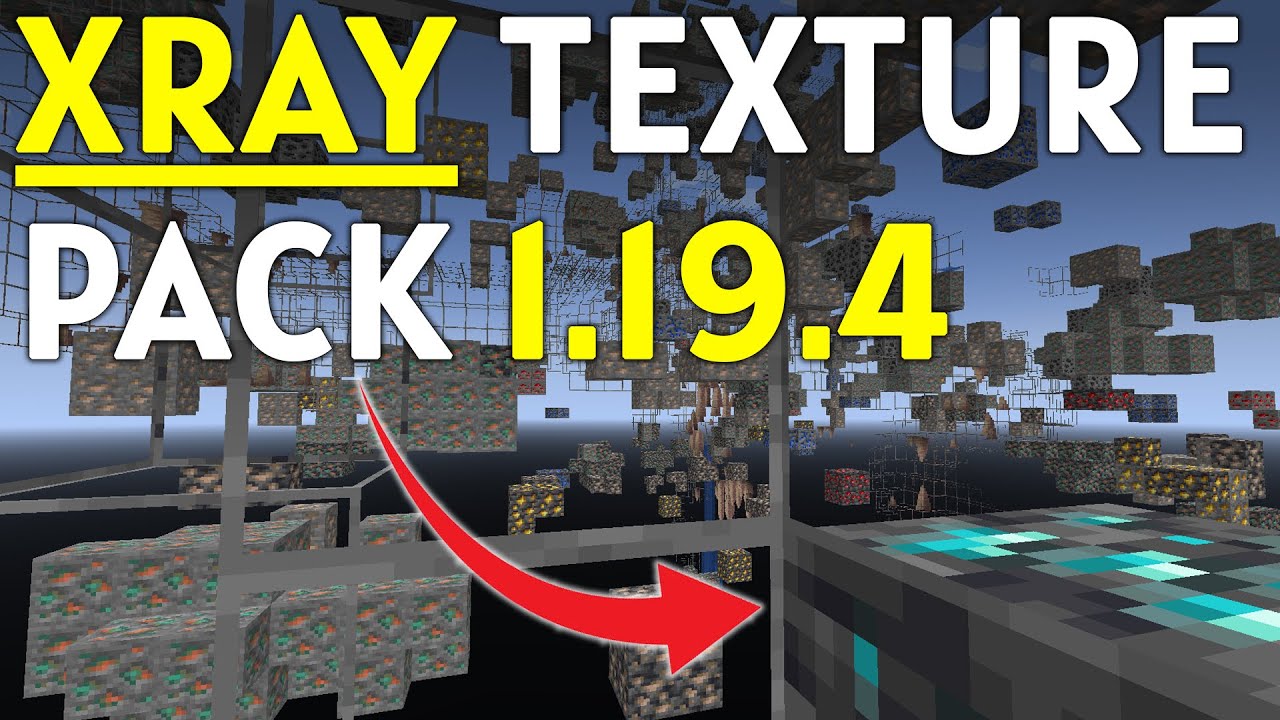
Welcome to the world of Minecraft, where creativity knows no bounds! Whether you are a seasoned player or just starting out, one thing you might be interested in is the ability to download and install the Xray mod. This mod allows you to see through blocks and locate valuable resources such as diamonds, ores, and hidden caves. While the use of mods is not officially supported by Minecraft, it is a popular choice for players looking to enhance their gaming experience.
In this guide, we will walk you through the steps to download and install the Xray mod on Minecraft Java Edition. Please note that this guide is specifically for Java Edition and may not be applicable to other versions of the game.
Before we get started, it is important to note that using mods can affect your gameplay experience and may not be allowed on certain servers or realms. Make sure to check the rules and guidelines of the server or realm you plan to play on before installing any mods.
Now, let’s dive into the step-by-step process of downloading and installing the Xray mod on Minecraft Java Edition.
Step 1: Downloading and Installing Java
Before you can install any mods, you need to ensure that you have Java installed on your computer. Java is a programming language that Minecraft Java Edition relies on to run. Here’s how you can download and install Java:
- Go to the official Java website at www.java.com.
- Click on the “Java Download” button.
- You will be directed to the download page. Make sure to click on the “Agree and Start Free Download” button to proceed.
- The installer file will be downloaded to your computer. Locate the file and double-click on it to run the installer.
- Follow the on-screen instructions to complete the installation. Make sure to leave the default settings unchanged, including the installation directory.
- Once the installation is complete, restart your computer to apply any changes.
After restarting your computer, Java will be installed and ready for use. Now you can move on to the next step of installing Minecraft Forge.
Note: If you already have Java installed, make sure it is up to date by visiting the Java website and downloading the latest version.
Step 2: Downloading Minecraft Forge
Minecraft Forge is a modding platform that allows you to easily install and manage Minecraft mods. To download Minecraft Forge, follow these steps:
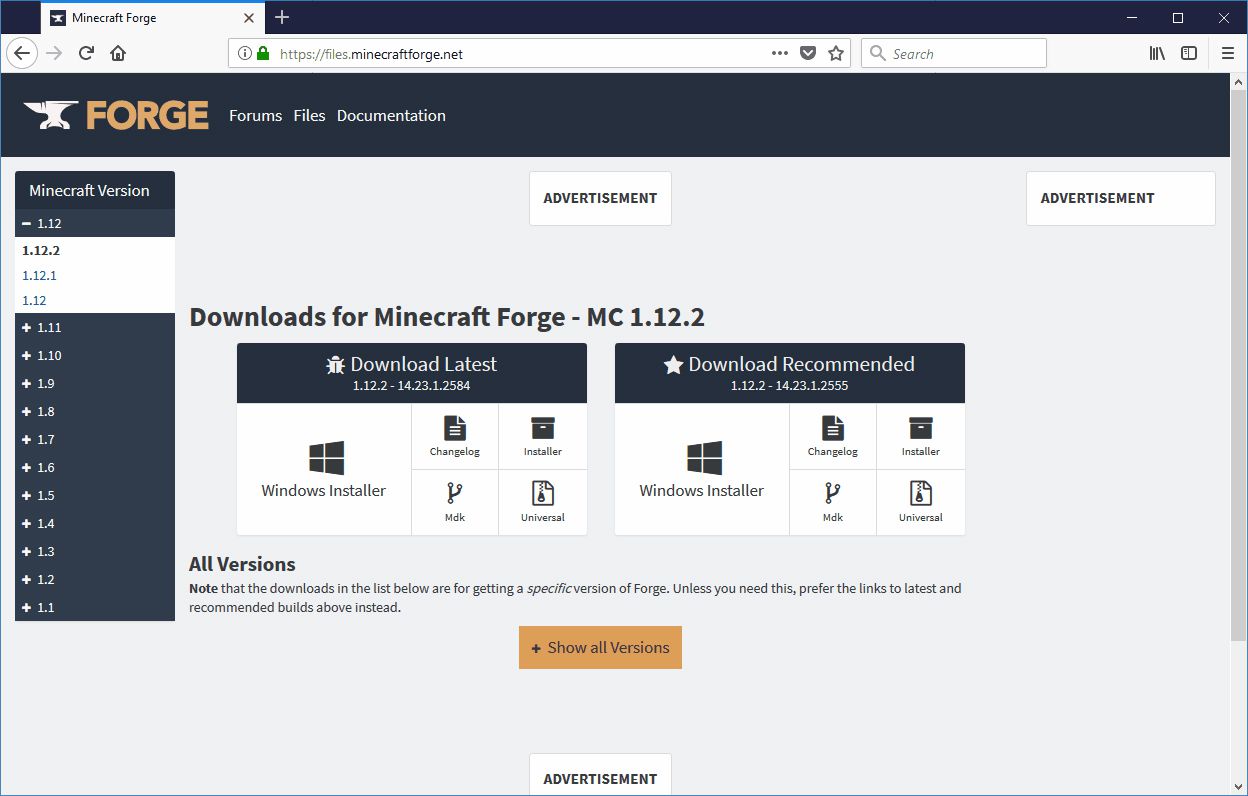
- Open your preferred web browser and go to the official Minecraft Forge website at files.minecraftforge.net.
- On the website, navigate to the “Download” section.
- Make sure to select the Minecraft version that you are using from the available options. It’s important to choose the correct version to ensure compatibility with other mods.
- Once you’ve selected the Minecraft version, you will be presented with a list of Forge versions. Look for the latest recommended version and click on the “Installer” link next to it.
- The download will begin automatically. Please wait for the download to complete before proceeding to the next step.
- After the download is finished, locate the Forge installer file in your computer’s downloads folder or the location where you saved it.
- Double-click on the installer file to run it.
- On the Forge installer window, make sure to select “Install client” and then click on the “OK” button.
- The installation process will start, and it may take a few moments to complete. Once it’s done, a message will appear indicating that the installation was successful.
With Minecraft Forge successfully installed on your computer, you are now ready to move on to the next step of installing the Xray mod.
Step 3: Installing Minecraft Forge
Now that you have downloaded Minecraft Forge, it’s time to install it onto your Minecraft Java Edition. Follow these steps to install Minecraft Forge:
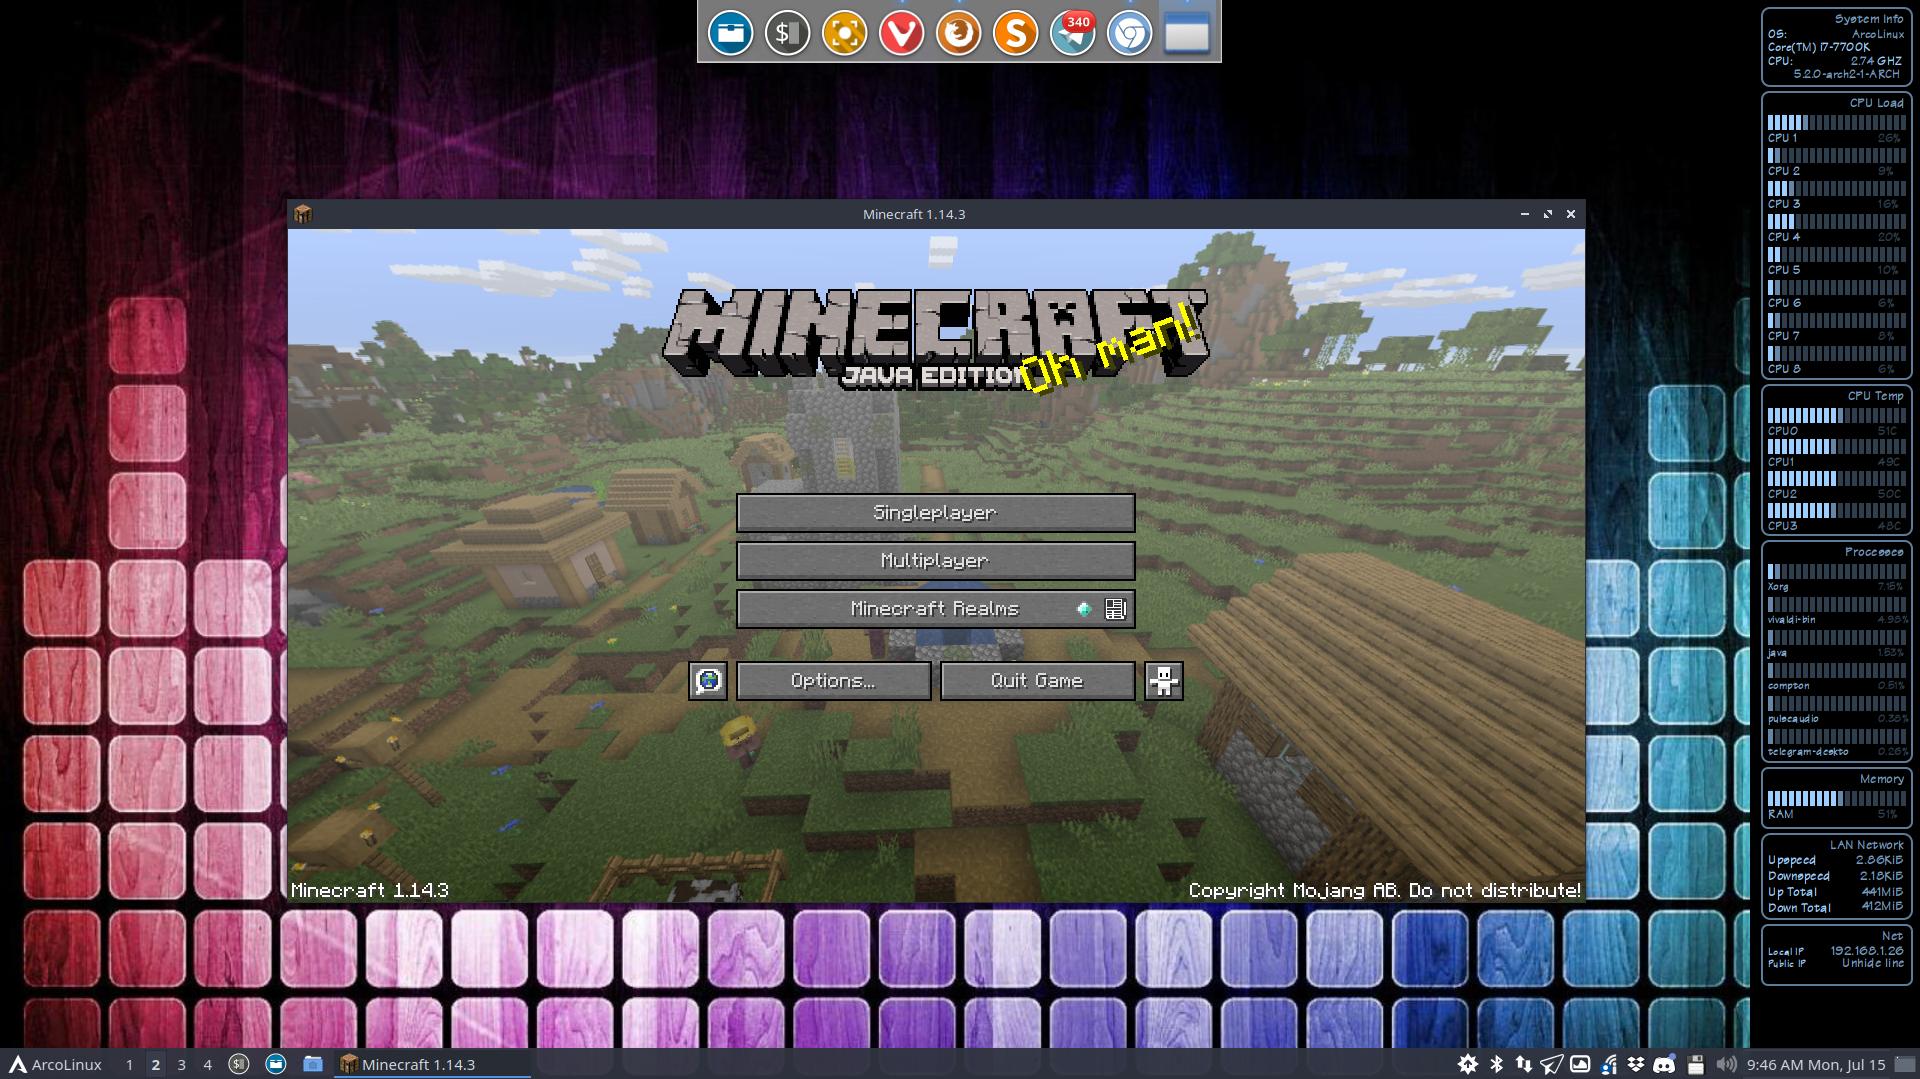
- Open the Minecraft Launcher on your computer.
- In the launcher, click on the drop-down menu next to the “Play” button and select the Forge version that you downloaded.
- Once you’ve selected the Forge version, click on the “Play” button to start Minecraft with the Forge profile.
- Minecraft Forge will now create the necessary files and folders for modding.
- Once the game loads, click on the “Mods” button on the main menu. If you don’t see the “Mods” button, it means that Forge installation was not successful. In this case, you may need to double-check the installation steps and try again.
- In the Mods menu, click on the “Open Mods Folder” button. This will open the Mods folder in your file explorer.
- Keep the Mods folder open, as you will need to place the Xray mod file into this folder in the next step.
Great! Minecraft Forge is now installed and ready to accept mods. In the next step, we will guide you on how to download the Xray mod for Minecraft Java Edition.
Step 4: Downloading Xray Mod
Now that Minecraft Forge is installed, it’s time to download the Xray mod. Follow these steps to download the Xray mod:
- Go to a reputable Minecraft modding website such as CurseForge.
- In the search bar on the website, type in “Xray mod” and hit Enter. You will be presented with a list of Xray mods available for download.
- Choose the version of the Xray mod that corresponds to your Minecraft version and click on its download button.
- The mod file will start downloading. Make sure to save it to a location on your computer where you can easily find it.
It’s important to note that some modding websites may require you to create an account before you can download mods. Make sure to follow the instructions on the website to create an account if necessary.
With the Xray mod file successfully downloaded, you are now ready to proceed to the next step of installing the mod into Minecraft Java Edition.
Step 5: Installing Xray Mod
Now that you have the Xray mod file downloaded, it’s time to install it into Minecraft Java Edition. Follow these steps to install the Xray mod:
- Open the Mods folder that you previously opened in Step 3. If you closed the folder or are unsure of its location, you can find it by going to the Minecraft Launcher, clicking on the drop-down menu next to the “Play” button, and selecting “Mods” > “Open Mods Folder”.
- Once inside the Mods folder, simply drag and drop the Xray mod file from your computer’s download location into the Mods folder.
- Alternatively, you can right-click on the Xray mod file and select “Copy”. Then, navigate to the Mods folder, right-click inside the folder, and select “Paste” to copy the mod file into the folder.
- After pasting the mod file into the Mods folder, close the file explorer window.
That’s it! The Xray mod is now installed in Minecraft. In the next step, we will guide you on how to launch Minecraft with the Xray mod enabled.
Step 6: Launching Minecraft with Xray Mod
Now that the Xray mod is installed, it’s time to launch Minecraft with the mod enabled. Follow these steps to launch Minecraft with the Xray mod:
- Open the Minecraft Launcher on your computer.
- Click on the drop-down menu next to the “Play” button and select the Forge profile that you created earlier.
- Once you’ve selected the Forge profile, click on the “Play” button to start Minecraft with the Xray mod.
- The game will load, and you will now be able to use the Xray mod to see through blocks and locate valuable resources.
- If the Xray mod is not functioning properly or causing any issues, make sure to check if you have the correct version of the mod for your Minecraft version. You may need to update the mod or find an alternative version that is compatible with your Minecraft version.
Congratulations! You have successfully launched Minecraft with the Xray mod enabled. Enjoy exploring and uncovering hidden treasures with ease!
Please note that the use of mods is at your own risk and may void any support or warranty provided by Mojang, the company behind Minecraft. Also, be mindful of the rules and guidelines of the servers or realms you play on, as some may prohibit the use of mods.
Conclusion
Congratulations! You have successfully learned how to download and install the Xray mod for Minecraft Java Edition. By following the steps outlined in this guide, you can now explore the Minecraft world with the ability to see through blocks and find hidden resources.
Remember, mods are not officially supported by Minecraft, so it’s important to exercise caution and make sure you are downloading mods from reputable sources. Always double-check the compatibility of the mod with your Minecraft version to avoid any issues.
Whether you’re a dedicated miner hunting for rare ores or simply curious to see what lies beneath the surface, the Xray mod can greatly enhance your gameplay experience. Just be sure to use it responsibly and in accordance with the rules and guidelines of any servers or realms you play on.
Keep in mind that the Xray mod may not be allowed on all servers or realms. Some may have strict guidelines against using mods, so it’s essential to respect their rules to maintain a fair and enjoyable gaming environment for everyone.
Now that you are equipped with the knowledge of how to install the Xray mod, go ahead and embark on new adventures in Minecraft. Happy mining!