Introduction
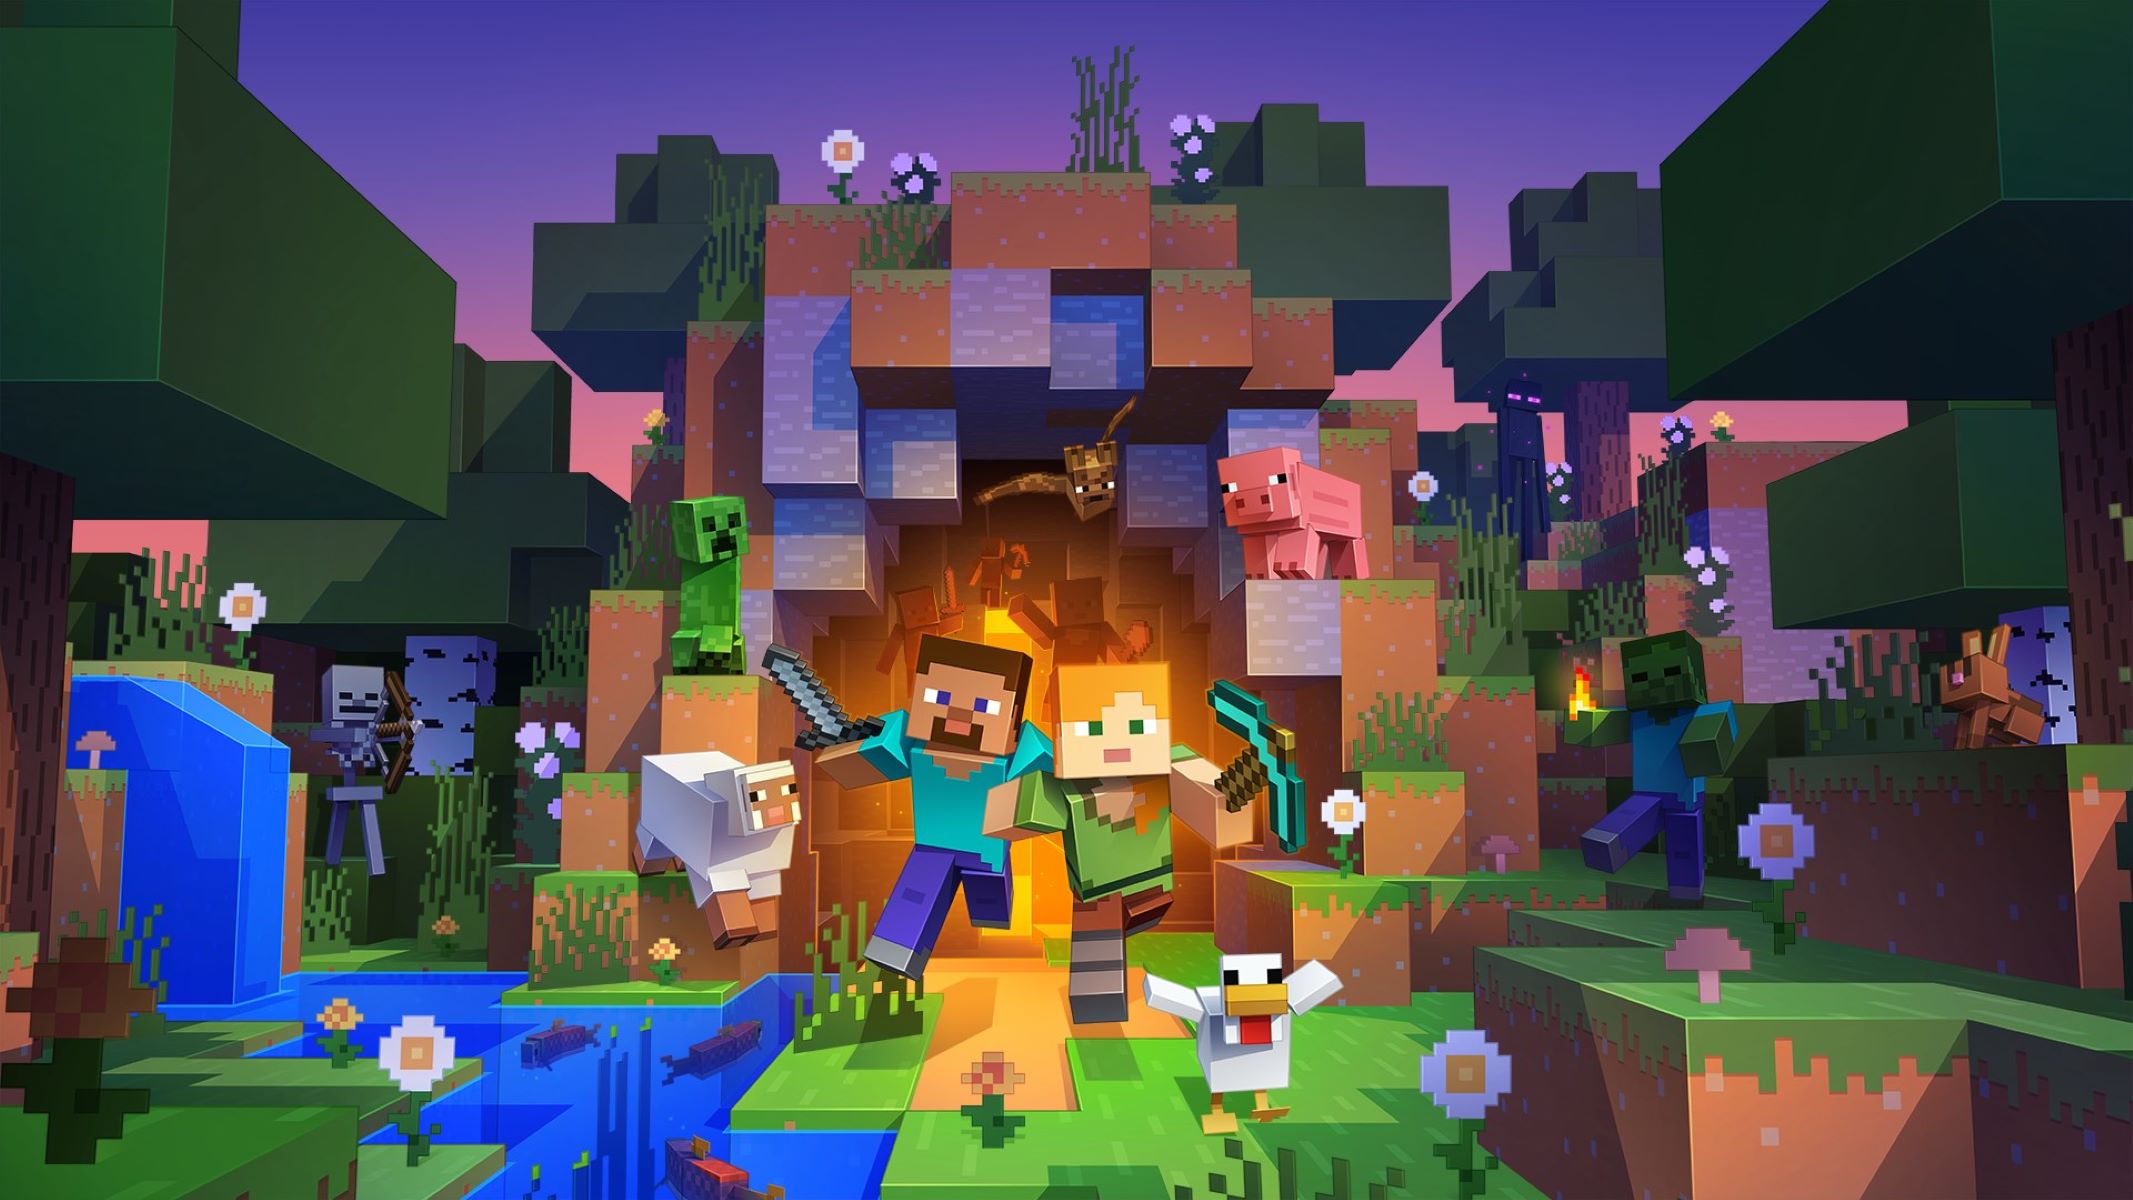
Minecraft is a popular sandbox video game that allows players to create and explore virtual worlds made up of blocks. The game offers different versions, including Java Minecraft, which is the original and most feature-rich edition. If you are looking to download Java Minecraft and embark on your own digital adventures, this guide will walk you through the steps required.
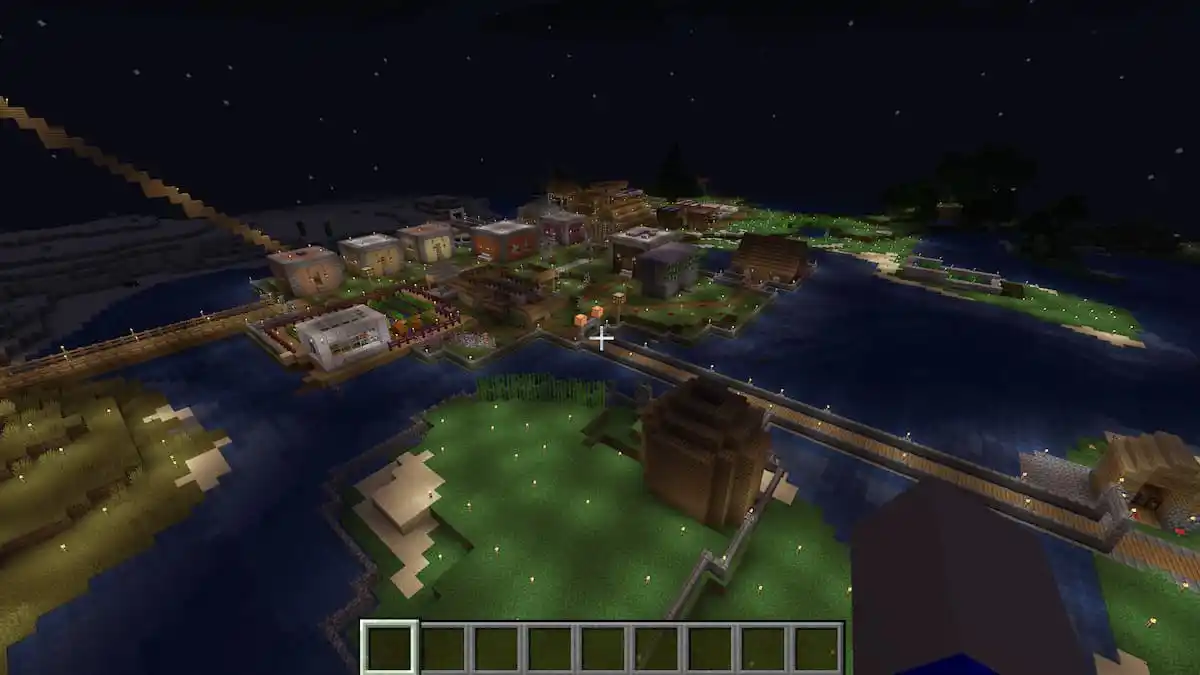
Java Minecraft offers a wide range of gameplay options, from building elaborate structures and exploring vast landscapes to battling enemies and delving into the depths of underground caves. With its vibrant community and endless possibilities, it’s no wonder that millions of players flock to Java Minecraft to unleash their creativity and enjoy the immersive gameplay.
Before we delve into the steps for downloading Java Minecraft, it’s important to note that the game has certain system requirements. These requirements ensure optimal performance and ensure that you can fully enjoy the game without any issues. Make sure your computer meets the following specifications:
- A Windows, macOS, or Linux operating system
- A minimum of 4GB of RAM
- At least 250MB of free storage
- Internet connectivity for downloading the game and updates
Now that we’ve covered the system requirements, let’s get started with the step-by-step process of downloading Java Minecraft.
System Requirements
Before downloading Java Minecraft, it is important to ensure that your computer meets the necessary system requirements. These requirements are essential for the game to run smoothly without any performance issues. Here are the minimum system specifications:
- Operating System: Java Minecraft is compatible with Windows, macOS, and Linux operating systems. Make sure you have a supported operating system.
- RAM: You should have a minimum of 4GB of RAM (random access memory) to run Java Minecraft effectively.
- Storage Space: Ensure that you have at least 250MB of free storage space on your computer to accommodate the game’s installation files and updates.
- Internet Connectivity: A stable internet connection is required to download the game and to connect to the Minecraft servers for multiplayer gameplay.
While these are the minimum requirements, it is recommended to have higher specifications for a better gaming experience. If your system exceeds these requirements, you can expect faster loading times and smoother gameplay.
Additionally, it is also essential to keep your operating system, graphics drivers, and Java software up to date. These updates often provide bug fixes, security patches, and improved performance, ensuring that you can enjoy the best Minecraft experience.
It’s worth noting that Java Minecraft requires the installation of Java on your system. Java is a programming language that the Minecraft game engine is built on, and it is necessary for running the game. If you don’t have Java installed on your computer, don’t worry, we’ll cover how to install it in the later steps.
Now that you are aware of the system requirements for Java Minecraft, let’s move on to the steps required to download and install the game.
Step 1: Visit the Minecraft Website
The first step in downloading Java Minecraft is to visit the official Minecraft website. Open your preferred web browser and enter “minecraft.net” in the address bar. Press Enter, and you will be taken to the Minecraft website’s homepage.
Once you land on the Minecraft website, you will see various sections, including news, game updates, and information about all the different Minecraft editions. Take a moment to explore the website and familiarize yourself with the latest news and announcements from the Minecraft team.
On the Minecraft website, you will also find detailed information about the game, FAQs, and community forums. These resources can be useful for troubleshooting and connecting with other players who share your love for Minecraft.
When you are ready to proceed with downloading Java Minecraft, locate the “Get Minecraft” or “Buy Now” button on the website. This button will redirect you to the Minecraft purchase page, where you can choose the Java edition of the game. Java Minecraft offers the most features and flexibility compared to other editions, making it the ideal choice for many players.
Before clicking the “Buy Now” button, ensure that you have selected the correct edition and checked the pricing details. Once you are ready, click the button to proceed to the next step of creating a Mojang account.
Keep in mind that purchasing Java Minecraft from the official Minecraft website ensures that you are getting a legitimate copy of the game and access to future updates. Avoid downloading the game from unauthorized sources, as this may result in a compromised or pirated version of the game, which can lead to stability issues or even security risks.
With step 1 complete, you are now ready to move on to the next step of the process, which is creating a Mojang account. Let’s continue our journey to download Java Minecraft.
Step 2: Create a Mojang Account
In order to download and play Java Minecraft, you’ll need to create a Mojang account. A Mojang account is your gateway to accessing Minecraft and managing your game preferences and settings. Follow these steps to create your account:
- On the Minecraft website, click on the “Buy Now” button to proceed with the purchase. You will be redirected to the Minecraft purchase page.
- On the purchase page, you will see a login section. Since you don’t have an account yet, click on the “Create one!” or “Sign up now!” option to begin the account creation process.
- You will be directed to the Mojang account creation page. Here, you will need to provide some basic information to set up your account. This includes entering your email address, choosing a secure password, and accepting the terms of service and privacy policy.
- Make sure to use a valid and active email address that you have access to. This email will be used for account verification and receiving important notifications regarding your Minecraft account.
- Once you have entered all the necessary information, click on the “Create Account” or similar button to proceed.
- In some cases, you may need to verify your email address by clicking on a verification link sent to your email. Check your inbox for an email from Mojang and follow the instructions provided for verification.
- After verifying your email address, your Mojang account will be successfully created. You will now have access to the Minecraft game and other features tied to your account.
Creating a Mojang account is a crucial step in the process as it allows you to purchase, download, and play various Minecraft editions, including Java Minecraft.
With your Mojang account ready, we can now move on to the next step, which is purchasing Java Minecraft. Stay tuned!
Step 3: Purchase Java Minecraft
Now that you’ve created a Mojang account, it’s time to purchase Java Minecraft and gain access to the full features and immersive gameplay experience.
- On the Minecraft purchase page, you will see different editions of the game available. Look for the Java edition, as this is the version we are focusing on in this guide.
- Click on the “Buy Java Edition” or similar button to proceed with the purchase.
- You will be directed to the payment page, where you can choose your preferred payment method. Minecraft supports various payment options, including credit/debit cards, PayPal, and gift cards.
- Select your desired payment method and enter the necessary details. Follow the prompts to complete the payment process.
- After a successful purchase, you will receive a confirmation email with the details of your purchase, including the order number. Keep this email in a safe place for future reference.
When purchasing Java Minecraft, you are not only acquiring the game itself, but also gaining access to future updates, new features, and bug fixes. This ensures that you have the latest version and the best gaming experience possible.
It’s important to note that Minecraft is a digital download, meaning that you won’t receive a physical copy of the game. Instead, you’ll receive a license key or a code to activate your Java Minecraft account. This code will allow you to download and install the game on your computer.
With Java Minecraft purchased and ready, let’s move on to the next step, which involves downloading the Minecraft Launcher. Let’s continue our journey toward embarking on exciting adventures in the Minecraft universe.
Step 4: Download the Minecraft Launcher
With Java Minecraft purchased, the next step is to download the Minecraft Launcher. The Minecraft Launcher is a convenient platform that allows you to manage and launch the game on your computer. Follow these steps to download the Minecraft Launcher:
- Visit the official Minecraft website and login to your Mojang account using your email address and password.
- Once logged in, navigate to the “Downloads” or “Get Minecraft” section of the website. Look for the download options specifically for the Java edition.
- Click on the download button for the Minecraft Launcher. The file may be named something like “MinecraftLauncher.exe” for Windows or “MinecraftLauncher.dmg” for macOS.
- Depending on your web browser and system settings, you might be prompted to choose a download location or the file might begin downloading automatically.
- Once the download is complete, locate the Minecraft Launcher file on your computer. It is usually found in your default downloads folder or the location you specified during the download process.
- Double-click on the Minecraft Launcher file to run the installer.
- Follow the on-screen instructions to complete the installation process. This typically involves accepting the license agreement and choosing the installation directory.
After the installation process is complete, you will have the Minecraft Launcher ready to be used. The Minecraft Launcher acts as a hub where you can access various Minecraft versions, including Java Minecraft, as well as install add-ons, mods, and resource packs.
Now that you have successfully downloaded the Minecraft Launcher, let’s move on to the next step and install it on your computer. Stay tuned!
Step 5: Install the Minecraft Launcher
With the Minecraft Launcher downloaded, it’s time to install it on your computer. The installation process is simple and straightforward. Follow these steps to install the Minecraft Launcher:
- Locate the Minecraft Launcher file that you downloaded in the previous step.
- Double-click on the file to begin the installation process. You may be prompted with a security warning, click “Run” or “Allow” to proceed.
- Follow the on-screen instructions provided by the installer. This usually involves accepting the license agreement and choosing the installation directory for the Minecraft Launcher.
- By default, the Minecraft Launcher will install in the recommended location. However, if you prefer to install it in a different location, you can choose a custom installation directory.
- Once you have selected the installation options, click on the “Install” or “Next” button to begin the installation process.
- The installer will copy the necessary files onto your computer. This process may take a few moments, so be patient.
- Once the installation is complete, you will see a confirmation message indicating that the Minecraft Launcher has been successfully installed.
After the installation, you will be able to launch the Minecraft Launcher from your desktop or from the Start menu on Windows. On macOS, you can find the Minecraft Launcher in the Applications folder or launch it from Spotlight search. Simply double-click on the Minecraft Launcher icon to open it.
With the Minecraft Launcher installed, you are just a few steps away from playing Java Minecraft. The next step is to sign in with your Mojang account. Don’t worry if you haven’t done so already; we will cover it in the next step.
So let’s move on to the next step and sign in with your Mojang account. Stay tuned!
Step 6: Open the Minecraft Launcher
Now that you have successfully installed the Minecraft Launcher, it’s time to open it and prepare for launching Java Minecraft. Follow these simple steps to open the Minecraft Launcher:
- Locate the Minecraft Launcher icon on your desktop or in the Start menu (for Windows users). On macOS, you can find the Minecraft Launcher in the Applications folder or use Spotlight search to locate it.
- Double-click on the Minecraft Launcher icon to open it.
- The Minecraft Launcher will load and display the login screen. This is where you will sign in with your Mojang account to access your purchased games.
- Enter your Mojang account email address and password in the respective fields on the login screen.
- If you have forgotten your password, click on the “Forgot password?” link and follow the instructions to reset it. If you haven’t created a Mojang account yet, refer back to Step 2 to create one.
- Once you have entered your login credentials, click on the “Log In” or similar button to sign in to your Mojang account.
- The Minecraft Launcher will authenticate your account and, if successful, open the main launcher window.
Now that the Minecraft Launcher is open and you are logged in with your Mojang account, you are one step closer to playing Java Minecraft. The next step is to ensure that you have Java installed on your computer. We will cover this in Step 8, so stay with us!
With the Minecraft Launcher ready, you can access various Minecraft versions, including Java Minecraft, install updates, and manage your game settings. Take a moment to explore the launcher interface and familiarize yourself with its features.
Stay tuned for the next step, where we will cover installing Java, an essential component for running Java Minecraft.
Step 7: Sign in with Your Mojang Account
Now that you have opened the Minecraft Launcher, the next step is to sign in with your Mojang account. Your Mojang account is linked to your purchased games and allows you to access and manage your Minecraft experience. Follow these steps to sign in:
- In the Minecraft Launcher, you will see a login screen. If you have already signed in during the previous step, you will be automatically logged in and can skip to the next step.
- Enter your Mojang account email address and password in the respective fields on the login screen.
- If you have forgotten your password, click on the “Forgot password?” link and follow the instructions to reset it.
- After entering your login credentials, click on the “Log In” or similar button to sign in to your Mojang account.
- The Minecraft Launcher will authenticate your account, and if successful, you will be logged in.
Signing in with your Mojang account is necessary to access Java Minecraft, as it verifies your purchase and grants you access to the game. Moreover, signing in allows you to access your Minecraft profile, manage your settings, and even join multiplayer servers to play with friends.
If you encounter any issues during the sign-in process, double-check that you have entered your email address and password correctly. Ensure that your keyboard’s caps lock is not enabled, as passwords are case-sensitive. If you continue to have trouble signing in, you can visit the Mojang account support page for further assistance.
Now that you are signed in with your Mojang account, you are almost ready to start playing Java Minecraft. But before diving into the game, you need to ensure that Java is installed on your computer. We will cover this in the next step, so let’s move on!
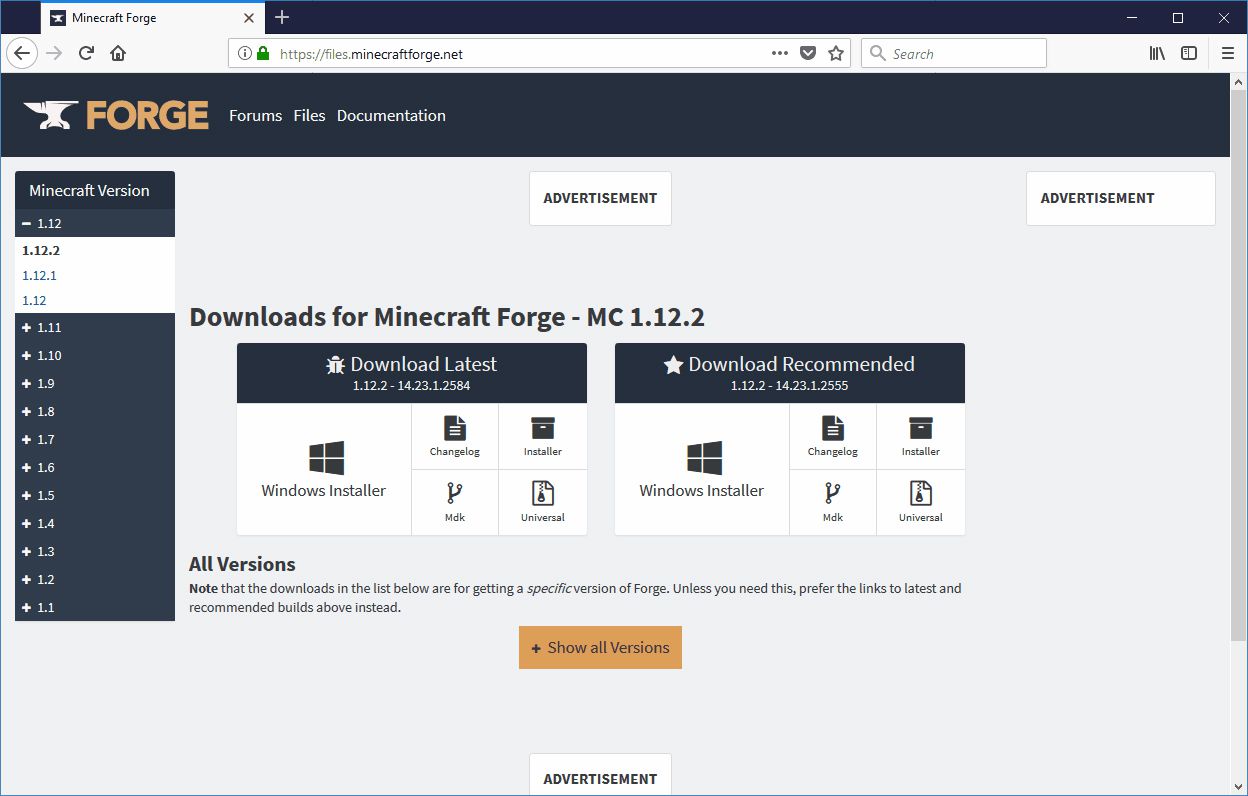
Step 8: Install Java if Necessary
Before launching Java Minecraft, it is important to ensure that you have Java installed on your computer. Java is a programming language that Minecraft relies on to run its game engine. Follow these steps to install Java if it is not already installed:
- Note: If you are unsure whether Java is already installed on your computer, you can skip to the next step and attempt to launch Java Minecraft. The Minecraft Launcher will prompt you to install Java if it is missing.
- Visit the official Java website by typing “java.com” in your web browser’s address bar and pressing Enter.
- On the Java website homepage, click on the “Java Download” or similar button. The website will automatically detect your operating system and provide the appropriate version for download.
- Read the license agreement carefully and ensure that you understand and agree to the terms. Click on the “Agree and Start Free Download” button to begin the Java installation process.
- Once the Java installer is downloaded, locate the file on your computer and double-click on it to run the installer.
- Follow the on-screen instructions provided by the installer. This may involve accepting the license agreement, choosing the installation directory, and customizing various installation settings.
- Once the installation is complete, verify that Java is installed on your computer by opening the Java Control Panel. You can access this by searching for “Configure Java” in the Start menu (Windows) or the Applications folder (macOS).
- In the Java Control Panel, go to the “General” tab and click on the “About” button. This will display information about the installed version of Java on your computer.
If Java was already installed on your computer or you have successfully installed it now, you are ready to proceed to the next step of launching Java Minecraft. If you encountered any issues during the installation process, refer to Java’s documentation or seek assistance from their support resources.
With Java installed, you are now one step closer to embarking on your Minecraft adventures in the Java edition. Let’s move on to the final step: launching Java Minecraft!
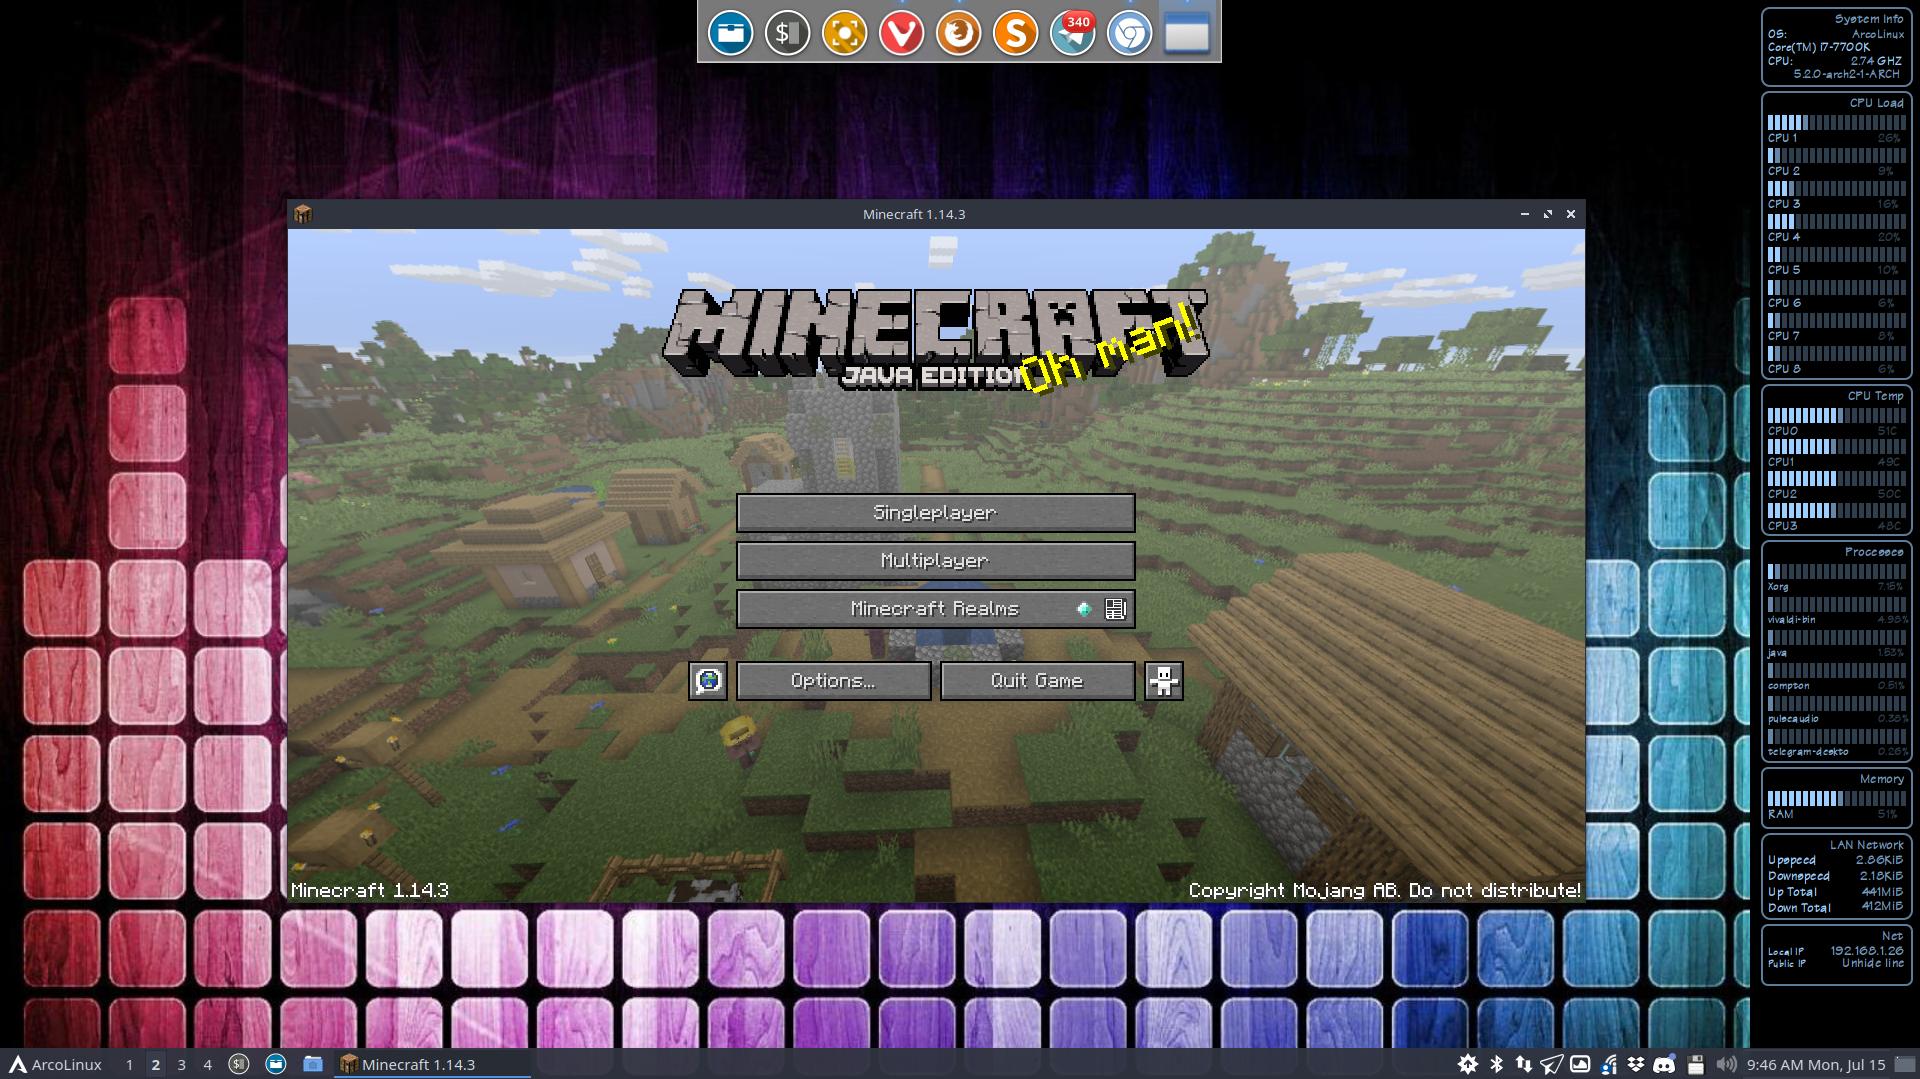
Step 9: Launch Java Minecraft
Now that you have the Minecraft Launcher installed and Java properly set up on your computer, it’s time to launch Java Minecraft and start your gaming experience. Follow these steps to launch Java Minecraft:
- Open the Minecraft Launcher by double-clicking on its icon on your desktop or in your Applications folder.
- If you are not already logged in, you will be prompted to sign in with your Mojang account. Enter your email address and password in the respective fields and click on the “Log In” button.
- After logging in, you will be redirected to the main Minecraft Launcher screen. Here, you will see different versions of Minecraft listed, including the Java edition.
- Ensure that the Java edition is selected, either by default or by clicking on its respective tab or dropdown menu. This ensures that you are launching Java Minecraft specifically.
- Click on the “Play” or similar button to start launching Java Minecraft. The Minecraft Launcher will initiate the necessary processes and components to load the game.
- Wait for the game to load, which may take a few moments. You will see the Minecraft loading screen, and once it finishes, the game will be up and running.
- Congratulations! You have successfully launched Java Minecraft and can now explore its vast worlds, build incredible structures, and embark on exciting adventures.
Once you have launched Java Minecraft, you will have the option to start a new game, access your existing worlds, or join multiplayer servers. The Minecraft Launcher allows you to easily navigate through different versions of the game and manage your installation, settings, and additional content such as mods and resource packs.
Remember to keep your Minecraft Launcher updated to benefit from the latest features and improvements. The launcher will automatically check for updates and prompt you to install them when available.
Now that Java Minecraft is launched, it’s time to unleash your creativity and enjoy the limitless possibilities that await you. Have fun and happy mining!
Conclusion
Congratulations! You have successfully completed all the steps to download and launch Java Minecraft. By following this guide, you have gained access to the original edition of Minecraft, allowing you to immerse yourself in a world of endless creativity, exploration, and adventure.
Throughout this process, you learned the importance of meeting the system requirements and creating a Mojang account to access your purchased games. You also installed the Minecraft Launcher, signed in with your Mojang account, and ensured that Java is installed on your computer.
With Java Minecraft launched, you can start designing and constructing magnificent structures, explore vast and diverse landscapes, battle enemies, and engage in multiplayer gameplay with friends. Remember to keep the Minecraft Launcher updated and take advantage of the community’s vast array of mods, resource packs, and customizations to further enhance your gaming experience.
Don’t forget to stay connected with the Minecraft community. Visit the Minecraft website regularly for updates, news, and other insightful information about the game. Participate in forums, join multiplayer servers, and interact with fellow Minecraft enthusiasts to share tips, tricks, and amazing creations.
Whether you’re a beginner or a seasoned player, Java Minecraft offers endless possibilities for you to enjoy and express your creativity. So, grab your pickaxe and let your imagination soar as you explore the incredible world of Java Minecraft!