Introduction
Welcome to the world of Minecraft! Whether you’re a seasoned gamer or new to the world of video games, Minecraft has captivated audiences with its endless possibilities and creative gameplay. With its blocky graphics and open-ended sandbox environment, Minecraft allows players to build, explore, and survive in a virtual world of their own creation.
In this guide, we will walk you through the steps to download Minecraft for PC, so you can embark on your own Minecraft adventure. Follow these simple steps to get started and unleash your creativity in the world of Minecraft.
Before we dive into the download process, it’s important to note that Minecraft is a paid game. However, there is a free trial version available if you want to test it out before making a purchase. So, let’s get started on your Minecraft journey!
Note: This guide is specifically for downloading Minecraft on PC. The process may vary slightly depending on your operating system, but the overall steps should remain the same.
Step 1: System Requirements
Before you dive into the world of Minecraft, it’s important to ensure that your PC meets the system requirements to run the game smoothly. Here are the recommended system requirements:
- Operating System: Windows 10
- Processor: Intel Core i5-4690 or AMD A10-7800 or equivalent
- Memory: 8GB RAM
- Graphics: NVIDIA GeForce 700 Series or AMD Radeon Rx 200 Series or equivalent with OpenGL 4.5 support
- Storage: SSD with at least 4GB of available space
These requirements ensure that your PC can handle the game’s graphics and processing demands, allowing for a smooth and enjoyable gameplay experience. While Minecraft may run on lower-end systems, these recommended specifications will provide optimal performance.
If your PC meets or exceeds these requirements, you’re ready to move on to the next steps. However, if your PC falls short in any of these areas, you may experience lag or performance issues while playing Minecraft. Consider upgrading your hardware if necessary, or adjust the game’s settings to optimize performance on your current system.
Note: Minecraft also offers a Java Edition, which has different system requirements. Make sure you download the correct edition based on your preferences and hardware setup.
Step 2: Creating a Minecraft Account
In order to download and play Minecraft, you need to create a Minecraft account. This account will be your gateway to accessing the game and its various features. Follow these steps to create a Minecraft account:
- Visit the official Minecraft website at www.minecraft.net.
- Click on the “Sign up” button, usually located in the top right corner of the website.
- Fill in the required information, including your email address, desired username, and password. Make sure to choose a unique username that has not been taken by another player.
- Read and accept the Terms of Service and Privacy Policy by checking the respective boxes.
- Complete the reCAPTCHA to verify that you are not a robot.
- Click on the “Create Account” button to proceed.
Once you have successfully created your Minecraft account, you will be able to access additional features such as multiplayer gameplay, access to the Minecraft Marketplace, and the ability to save and share your creations.
Note: If you already have a Mojang account, you can use that account to sign in to Minecraft as well.
You’re now one step closer to downloading and playing Minecraft on your PC. The next step is to purchase the game and download the Minecraft Launcher, which will allow you to access and install the game on your computer.
Step 3: Purchasing Minecraft
Now that you have created your Minecraft account, it’s time to purchase the game. Minecraft offers two main editions: Minecraft Java Edition and Minecraft Bedrock Edition. Here’s how you can make your purchase:
- Visit the official Minecraft website at www.minecraft.net.
- Click on the “Store” tab on the top navigation bar.
- Browse through the available editions and select the one that suits your preferences. The Java Edition is recommended for those who want access to more customization options and mods, while the Bedrock Edition is ideal for cross-platform play.
- Add the chosen edition to your cart by clicking on the “Add to Cart” button.
- Review your cart to ensure you have selected the correct edition, and proceed to checkout.
- Follow the prompts to enter your payment information and complete the purchase.
Once you have successfully purchased Minecraft, you will receive a confirmation email with instructions on how to proceed. Keep this email safe, as you will need the information to download and install the game.
Note: Minecraft is a one-time purchase with no recurring fees. However, additional content, such as skin packs and worlds, may have separate costs.
Now that you have obtained the license for Minecraft, it’s time to move on to the next step: downloading the Minecraft Launcher, which will allow you to install and launch the game on your PC.
Step 4: Downloading Minecraft Launcher
With your Minecraft purchase complete, it’s time to download the Minecraft Launcher. The Minecraft Launcher is a necessary tool that allows you to access and manage your Minecraft account, as well as download and install the game on your PC. Follow these steps to download the Minecraft Launcher:
- Visit the official Minecraft website at www.minecraft.net.
- Click on the “Download” tab on the top navigation bar.
- Scroll down and find the section titled “Minecraft Launcher.” Click on the download button that corresponds to your operating system (e.g., Windows, macOS, or Linux).
- The download should start automatically. If it doesn’t, click on the provided link to initiate the download.
- Once the download is complete, locate the downloaded file on your computer. It is typically found in your “Downloads” folder or the location you specified for downloaded files.
- Double-click on the executable file to run the installer.
- Follow the prompts to install the Minecraft Launcher on your computer. Make sure to read and accept the terms and conditions.
After the installation is complete, you will have the Minecraft Launcher icon on your desktop or in your applications folder. Double-click on the icon to launch the Minecraft Launcher and proceed to the next step: logging in to your Minecraft account.
Note: If you already have the Minecraft Launcher installed on your computer, make sure to update it to the latest version to ensure compatibility with the game.
Now that you have downloaded and installed the Minecraft Launcher, it’s time to log in to your Minecraft account and start the process of downloading the actual game files. Stay tuned for the next step in our guide!
Step 5: Installing Minecraft Launcher
Now that you have downloaded the Minecraft Launcher, it’s time to proceed with the installation process. The Minecraft Launcher is a crucial tool that allows you to access and manage your Minecraft account, as well as download and install the game on your PC. Follow these steps to install the Minecraft Launcher:
- Locate the downloaded installer file for the Minecraft Launcher. This file is typically found in your “Downloads” folder or the location you specified for downloaded files.
- Double-click on the installer file to run it. This will launch the installation wizard.
- Follow the prompts provided by the installation wizard. Make sure to read and understand the terms and conditions, and then click on the “Agree” or “Accept” button to proceed.
- Choose the installation location for the Minecraft Launcher. You can either accept the default location or specify a different directory.
- Click on the “Install” or “Next” button to start the installation process. The installer will then copy the necessary files to your specified installation location.
- Wait for the installation to complete. This may take a few moments depending on your system’s performance.
- Once the installation is finished, you will see a confirmation message indicating that the Minecraft Launcher has been successfully installed.
With the Minecraft Launcher installed on your PC, you are now one step closer to playing Minecraft. The next step is to log in to the Minecraft Launcher using your Minecraft account. This will allow you to access and download the necessary game files.
Note: If you already have the Minecraft Launcher installed on your computer, make sure to keep it up to date by downloading and installing any available updates. This ensures that you have the latest features and fixes for a smooth gaming experience.
Now that you have successfully installed the Minecraft Launcher, it’s time to log in and continue the process of downloading Minecraft. Keep following our guide to unlock the full Minecraft experience!
Step 6: Logging In to Minecraft Launcher
Now that you have installed the Minecraft Launcher, it’s time to log in to your Minecraft account within the launcher. This will grant you access to your purchased Minecraft edition and enable you to proceed with downloading the necessary game files. Follow these steps to log in to the Minecraft Launcher:
- Launch the Minecraft Launcher by double-clicking on its icon on your desktop or in your applications folder.
- You will be presented with the Minecraft Launcher login screen. Enter your Minecraft account credentials, including your email address and password, in the provided fields.
- Click on the “Log In” or “Sign In” button to proceed. The launcher will then connect to your Minecraft account.
- If you have entered correct login credentials, you will be successfully logged in, and your Minecraft account information will be displayed on the launcher interface.
Once you are logged in to the Minecraft Launcher, you are ready to proceed with the next step: downloading the Minecraft game files. This is a crucial step as it allows you to install and play the game on your PC.
Note: If you are having trouble logging in to your Minecraft account, double-check that you have entered the correct email address and password. If you have forgotten your password, use the “Forgot Password” option to reset it.
Now that you are logged in to the Minecraft Launcher, you can move on to the next step of the process: downloading the Minecraft game files. Stay with us as we guide you through the remaining steps to unleash the full potential of Minecraft on your PC!
Step 7: Downloading Minecraft Game Files
With the Minecraft Launcher open and logged in to your account, it’s time to download the game files. The Minecraft Launcher will handle the download and installation process for you. Follow these steps to download Minecraft:
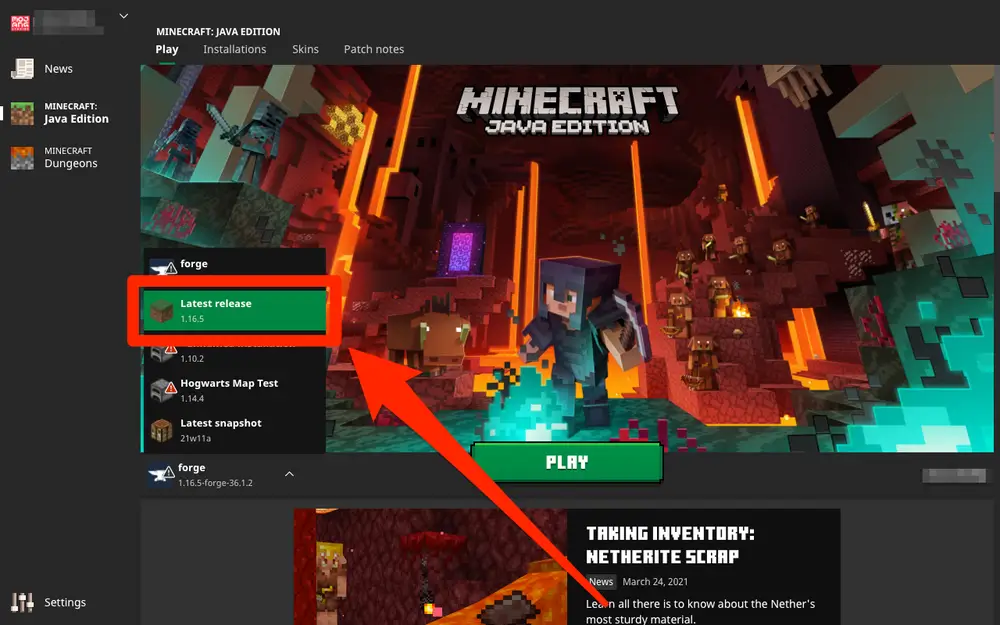
- In the Minecraft Launcher interface, click on the “Play” or “Install” button. This will initiate the download of the necessary game files.
- The launcher will start downloading the game files, which may take some time depending on your internet connection speed.
- During the download process, you will see a progress bar indicating the status of the download. You can also track the download speed and estimated time remaining.
- Once the download is complete, the launcher will automatically proceed with the installation of Minecraft.
- Be patient as the installation process takes place. The launcher will configure the game files and set up the necessary components.
The download and installation time can vary depending on the speed of your internet connection and the specifications of your computer. It is important to ensure that you have a stable and reliable internet connection throughout the process to avoid any interruptions.
Note: The size of the Minecraft game files can be quite large, so ensure that you have enough disk space available on your computer before initiating the download process.
Once the installation is complete, you are ready to launch Minecraft and start exploring the exciting world that awaits you. Proceed to the next step to learn how to launch Minecraft and set up your profile.
Now that you have successfully downloaded the Minecraft game files, the next step is to install Minecraft on your PC. Stay tuned for the next step in our guide!
Step 8: Installing Minecraft
Now that you have downloaded the game files through the Minecraft Launcher, it’s time to proceed with the installation process. Follow these steps to install Minecraft on your PC:
- In the Minecraft Launcher interface, click on the “Play” button or the “Install” button if the game is not installed yet.
- The launcher will begin installing Minecraft, configuring the game files to ensure proper functionality.
- During the installation process, you will see a progress bar indicating the status of the installation. Depending on the speed of your computer, this may take a few moments.
- Once the installation is complete, you will see a notification stating that Minecraft has been successfully installed.
- The launcher will provide an option to create a desktop shortcut for easy access to Minecraft. You can choose to create the shortcut or skip this step if you prefer.
Now that Minecraft is installed on your PC, you are ready to launch the game and begin your adventure. Before doing so, it’s recommended to configure your Minecraft profile to suit your preferences.
Note: It is important to keep your Minecraft game updated to ensure optimal performance and access to the latest features. The launcher will prompt you to update the game whenever a new update is available.
Congratulations! You have successfully installed Minecraft on your PC. In the next step, we will guide you on how to launch the game and set up your profile. Stay tuned!
Step 9: Launching Minecraft
Now that Minecraft is installed on your PC, it’s time to launch the game and embark on your Minecraft adventure. Follow these steps to launch Minecraft:
- Locate the Minecraft shortcut on your desktop, if you chose to create one during the installation process. Alternatively, you can open the Minecraft Launcher directly.
- Double-click on the Minecraft shortcut or click on the Minecraft Launcher icon to open the launcher.
- In the Minecraft Launcher interface, enter your Minecraft account credentials (email address and password) if you haven’t already done so. This will ensure that you are logged in to your Minecraft account.
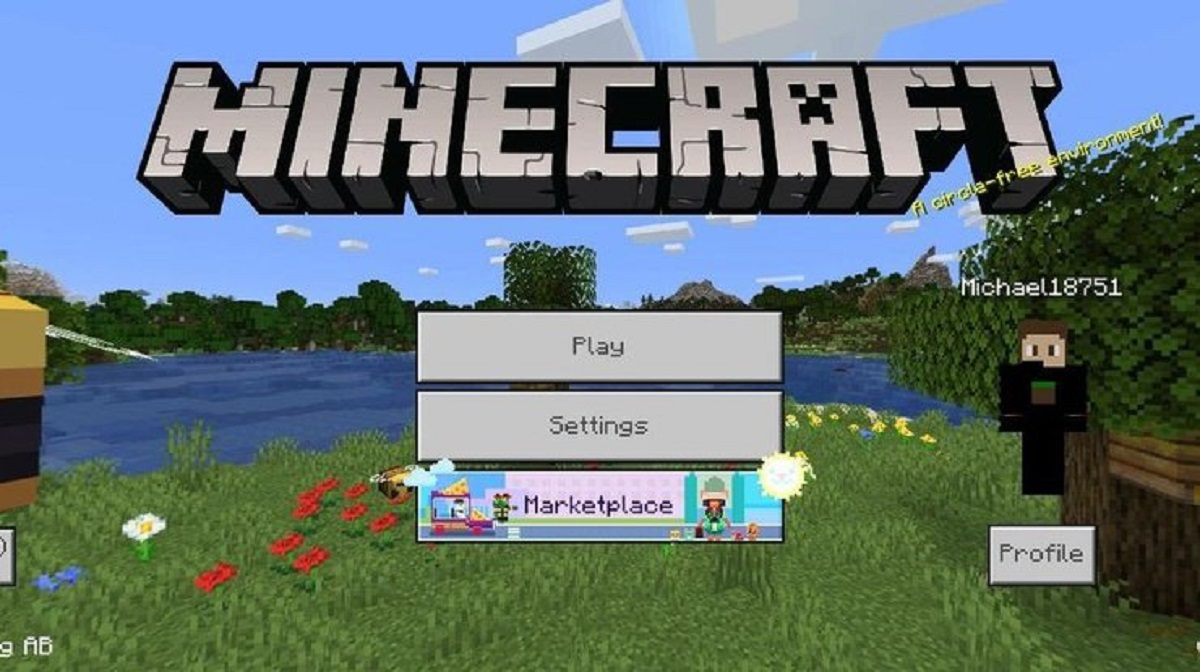
- After logging in, click on the “Play” button in the Minecraft Launcher. This will launch the game and take you to the Minecraft main menu.
- Once you are in the Minecraft main menu, you have the option to start a new game, join a multiplayer server, or access other game settings and features.
- Select your desired game mode and world, and click on the “Play” button to begin your Minecraft adventure.
As the game loads, you will be transported into the immersive world of Minecraft, where you can build, explore, and survive in a vast and dynamic environment.
Note: If you encounter any issues during the launching process or while playing the game, make sure to check for any available updates and install them. Updates often include bug fixes and performance improvements.
Congratulations! You have successfully launched Minecraft on your PC. Customize your gameplay settings, explore different worlds, and unleash your creativity to create extraordinary structures. Enjoy your Minecraft journey!
Step 10: Setting Up a Profile
After launching Minecraft, it’s recommended to set up a profile that suits your preferences. A profile allows you to customize various aspects of the game, such as graphics settings, control options, and resource packs. Follow these steps to set up a profile:
- In the Minecraft main menu, click on the “Options” button.
- Navigate to the “Profile” section in the options menu.
- Click on the “New Profile” button to create a new profile.
- Enter a name for your profile. This can be anything you prefer, such as your username or a specific theme for the profile.
- Configure the settings available in the profile menu according to your preferences. This includes graphics settings, sound settings, control options, and more.
- If desired, you can also add resource packs, which are customizations that change the appearance of in-game assets. Resource packs can be downloaded from various websites and installed in the “Resource Packs” section of the profile menu.
- Once you have adjusted all the desired settings, click on the “Save Profile” button to save your profile.
With your profile saved, you can now easily switch between different profiles in the Minecraft Launcher and have multiple customized setups for various gaming experiences. Simply select the desired profile from the drop-down menu in the Minecraft Launcher before launching the game.
Note: If you ever want to make changes to your profile settings, you can navigate back to the “Profile” section in the options menu and edit the desired profile.
Setting up a profile allows you to tailor your Minecraft experience to your liking and ensures that you have a personalized and enjoyable gameplay environment. Take the time to experiment with different settings and resource packs to make Minecraft truly your own.
Step 11: Starting Your Minecraft Adventure
Now that you have set up your profile and customized your Minecraft experience, it’s time to dive into the world of Minecraft and begin your adventure. Follow these steps to start your Minecraft journey:
- Launch Minecraft by following the steps outlined in the previous section.
- In the Minecraft main menu, click on the “Singleplayer” button to start a new solo game or the “Multiplayer” button to join a server and play with others.
- If starting a new solo game, you can either create a new world or select an existing world from your saved game files. Click on the “Create New World” button and proceed with customizing the world settings, such as the world name, game mode, difficulty level, and more.
- Once you have configured the world settings, click on the “Create New World” button to generate the world.
- You will then be transported into the world you just created. From here, you can explore the environment, gather resources, build structures, and interact with the diverse creatures and landscapes Minecraft has to offer.
- If joining a multiplayer server, you can enter the server IP address or select from a list of available servers. Follow the prompts and enter the necessary information to connect to the desired server.
- Once connected, you can interact with other players, participate in collaborative builds or competitive gameplay, and experience the vast possibilities of Minecraft in a shared world.
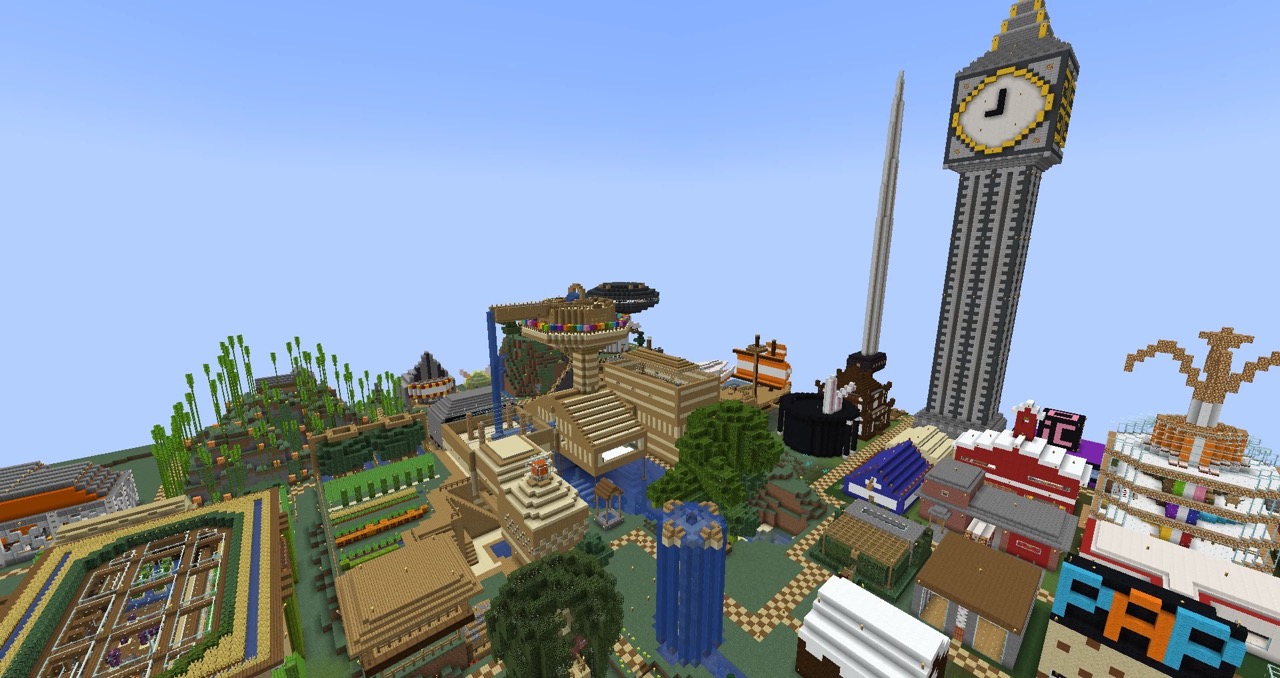
As you play Minecraft, remember to immerse yourself in the game’s sandbox nature and unleash your creativity. Build magnificent structures, embark on daring quests, and dig deep into the earth to uncover hidden treasures. The possibilities are endless in the world of Minecraft.
Note: Minecraft offers various game modes, including Survival, Creative, Adventure, and more. Each mode provides a unique gameplay experience, so feel free to explore and try out different modes to find the one that suits your style of play.
Now that you have started your Minecraft adventure, enjoy your time exploring, crafting, and constructing in this captivating virtual world. Unleash your imagination and make your mark on the ever-evolving landscape of Minecraft!
Conclusion
Congratulations! You have successfully downloaded, installed, and launched Minecraft on your PC. You are now ready to embark on your own Minecraft adventure in the vast and immersive world of blocks. From exploring breathtaking landscapes to crafting intricate structures, Minecraft offers endless possibilities for creativity and exploration.
In this guide, we walked you through the step-by-step process of downloading Minecraft, creating a Minecraft account, purchasing the game, installing the Minecraft Launcher, and launching the game. We also covered setting up a profile and starting your Minecraft adventure.
Remember, Minecraft is a game that encourages exploration, creativity, and collaboration. Whether you choose to play solo or join multiplayer servers, you can immerse yourself in a world where the only limit is your imagination. Enjoy building towering castles, mining deep into the earth, taming animals, battling mobs, and creating your own unique storyline within the game.
Keep in mind that Minecraft is continuously evolving, with updates and new features being released regularly. Stay connected with the Minecraft community, explore mods, resource packs, and custom maps, and expand your Minecraft experience even further.
So, grab your pickaxe, gather your resources, and let your imagination run wild as you embark on your Minecraft adventure. Get ready to build, explore, and create memories that will last a lifetime in the one-of-a-kind world of Minecraft!