Introduction
In the world of gaming, Minecraft has achieved immense popularity since its release in 2011. With its limitless creativity and expansive open-world environment, this sandbox game has captivated millions of players worldwide. As the game continues to evolve and new features are added, it’s important to keep your Minecraft for PC up to date.
Updating Minecraft not only ensures that you have access to the latest features and bug fixes but also allows you to fully enjoy the multiplayer experience with friends and join in on the ever-expanding Minecraft community. With a few simple steps, you can easily update your Minecraft for PC and dive back into the captivating block-building adventure.
In this guide, we will walk you through the steps to update Minecraft on your PC. Whether you’re a seasoned Minecraft player or new to the game, our step-by-step instructions will help you navigate the process smoothly.
So, grab your diamond pickaxe, put on your netherite armor, and let’s dive into the world of updating Minecraft for PC!
Step 1: Checking for Updates
Before you can update Minecraft for PC, it’s essential to ensure that you are running the latest version of the game. Here’s how you can check for updates:
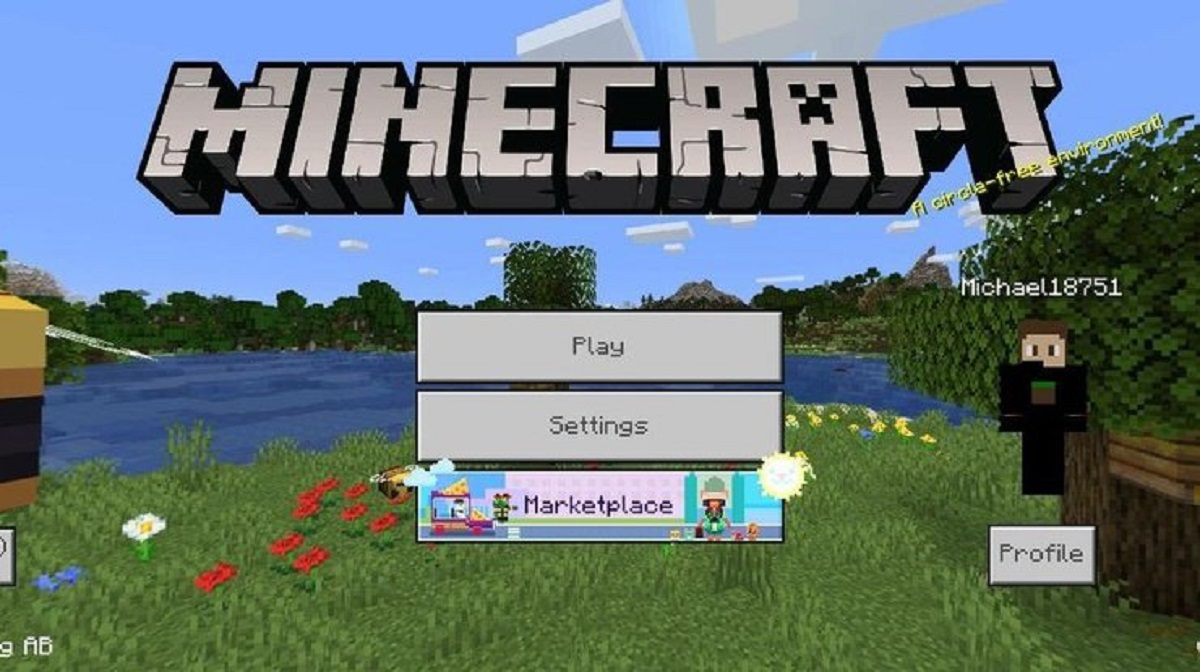
- Launch Minecraft on your PC. You will be taken to the main menu.
- In the main menu, look for the “Options” button. It is usually represented by a gear or a settings icon. Click on it to access the settings menu.
- Within the settings menu, locate the “Resource Packs” option. Click on it.
- Under the resource packs section, you will find an option called “Available Updates.” Click on it to check for any available updates for your Minecraft version.
- If there are updates available, you will see a list of available updates. Review the updates and ensure that you have the necessary resources and requirements for the update.
- If there are no available updates, you might already have the latest version installed on your PC. In that case, you can proceed to play the game or explore additional features within the settings menu.
It is recommended to regularly check for updates to ensure that you have the most recent version of Minecraft installed. Updates often include bug fixes, performance improvements, and exciting new features that enhance your gameplay experience.
Step 2: Downloading the Latest Version
Once you have checked for updates and confirmed that there is a new version available, it’s time to download the latest version of Minecraft for PC. Follow these steps:
- Visit the official Minecraft website (www.minecraft.net) using your preferred web browser.
- On the website’s main page, locate the “Get Minecraft” or “Download” button. Click on it to proceed.
- You will be presented with several purchasing options, as Minecraft offers different editions and versions. Choose the edition that is compatible with your PC and suits your preferences.
- Click on the selected edition to proceed with the download process.
- You may be prompted to sign in with your Mojang account, which is required to purchase and download Minecraft. If you don’t have an account, you can create one easily on the website.
- Once you have signed in, follow the on-screen instructions to complete the purchase and initiate the download of the latest version of Minecraft for PC.
- Depending on your internet connection speed, the download time may vary. Be patient and allow the download to complete.
- After the download is complete, locate the downloaded file on your computer and double-click on it to start the installation process.
- Follow the installation wizard’s instructions to install the latest version of Minecraft on your PC.
- Once the installation is complete, you are now ready to launch the updated version of Minecraft and explore all the new features and improvements.
Downloading the latest version of Minecraft ensures that you have access to the most recent updates, optimizations, and exciting new content. It’s essential to download from the official Minecraft website to guarantee a secure and reliable download.
Step 3: Backing Up Your Game Data
Prior to updating Minecraft on your PC, it is highly recommended to back up your game data. This ensures that you don’t lose any progress or important files during the update process. Follow these steps to back up your Minecraft game data:
- Locate the Minecraft game installation folder on your computer. By default, it is usually found in the “AppData” directory on Windows.
- Navigate to the following directory path:
C:\Users\YourUsername\AppData\Roaming\.minecraft. Replace “YourUsername” with your actual Windows username. - Within the Minecraft folder, locate the “Saves” folder. This folder contains all your saved worlds and game progress.
- Copy the entire “Saves” folder and paste it into a separate location on your computer, such as a backup drive or another folder.
- It is also advisable to make a backup of your Minecraft launcher and any other important files or mods you have installed.
- By creating a backup of your game data, you can restore your progress and worlds in case anything goes wrong during the update process.
Backing up your Minecraft game data provides an extra layer of security and ensures that you can resume your gaming experience without any setbacks. It is always better to be safe and cautious when updating any software or game.
Step 4: Installing the Update
Now that you have downloaded the latest version of Minecraft and backed up your game data, it’s time to install the update. Follow these steps to install the update on your PC:
- Locate the downloaded Minecraft installation file on your computer, which you previously downloaded in Step 2.
- Double-click on the installation file to launch the installation wizard.
- Follow the on-screen instructions provided by the installation wizard to proceed with the installation process.
- During the installation, you may be prompted to choose a destination folder for the updated Minecraft files. By default, the installation will be done in the same location as your previous Minecraft installation.
- Review and accept the End User License Agreement (EULA) if prompted.
- The installation process may take a few minutes, depending on the size of the update and your computer’s performance.
- Once the installation is complete, you will receive a notification or confirmation message indicating the successful installation of the update.
- At this point, you can delete the previously downloaded installation file if you no longer need it.
After completing these steps, the update should be successfully installed on your PC. You are now ready to launch and play the updated version of Minecraft.
Note: It is important to ensure that you have sufficient disk space and meet the system requirements for the latest version of Minecraft to guarantee a smooth installation process.
Step 5: Launching the Updated Game
After successfully installing the update, it’s time to launch the updated version of Minecraft and start enjoying all the new features and improvements. Follow these steps to launch the game:
- Locate the Minecraft shortcut icon on your desktop or navigate to the Minecraft installation directory.
- Double-click on the Minecraft shortcut or the Minecraft executable file to launch the game.
- You will be taken to the Minecraft launcher, where you can log in using your Mojang account credentials. Enter your email or username and password, then click “Login” to proceed.
- Once logged in, you will see the Minecraft launcher menu, which displays different versions and profiles.
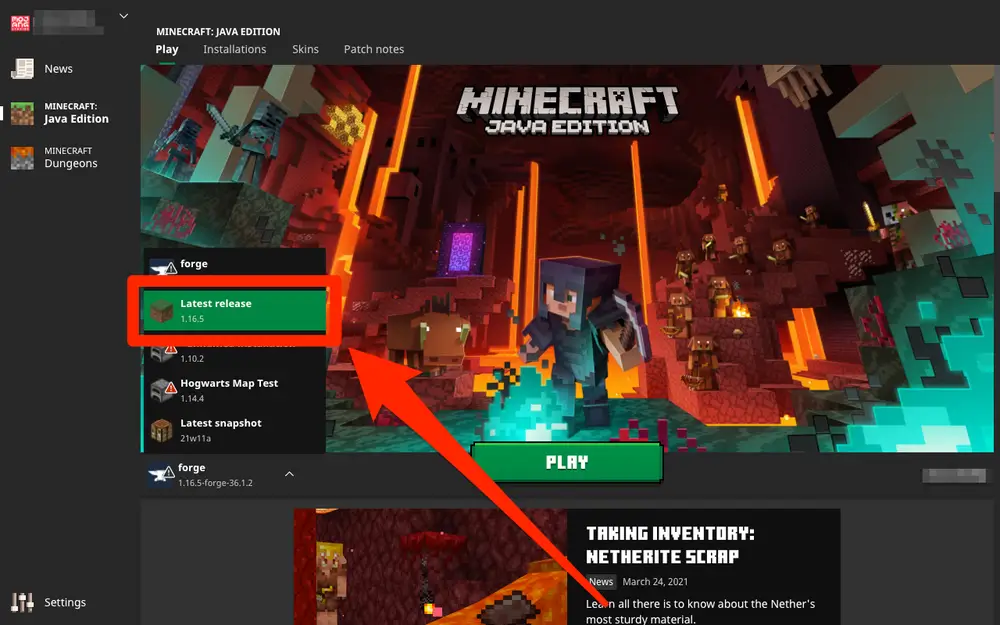
- Click on the profile that corresponds to the newly updated version of Minecraft.
- After selecting the desired version, click on the “Play” button to launch the game.
- The updated version of Minecraft will start loading, and you will be taken to the main menu.
- From the main menu, you can start a new game, join a multiplayer server, or continue playing your existing worlds.
- Explore the updated features, discover new biomes, build impressive structures, and engage in exciting adventures within the vast Minecraft world.
Enjoy the new version of Minecraft and make the most out of the updates by unleashing your creativity and embarking on thrilling quests in the pixelated universe.
By following these steps, you have successfully updated and launched the latest version of Minecraft on your PC.
Conclusion
Updating Minecraft for PC is an essential step to ensure you have access to the latest features, bug fixes, and improvements. By following the steps outlined in this guide, you can easily update and launch the updated version of Minecraft.
We began by checking for updates within the game settings, ensuring that you have the most recent version available. Then, we moved on to downloading the latest version from the official Minecraft website, guaranteeing a secure and reliable download.
Backing up your game data is crucial to avoid any potential loss of progress or files during the update process. By following the steps to back up your Minecraft game data, you can restore your progress if needed.
Next, we explored the installation process, where we walked through the steps to install the update on your PC. Following the installation, we discussed how to launch the updated game and start enjoying all the new features and improvements that the latest version of Minecraft has to offer.
Remember, regularly updating Minecraft not only provides you with the best gaming experience but also allows you to join in on the ever-expanding Minecraft community and participate in multiplayer adventures.
So, grab your tools, venture into the blocky world, and let your creativity run wild in the updated version of Minecraft! Happy gaming!