Introduction
Welcome to the exciting world of Minecraft! Building, exploring, and surviving in this virtual sandbox game has captured the hearts of millions of players worldwide. If you’ve ever wanted to take your Minecraft experience to the next level by hosting your own server, you’ve come to the right place.
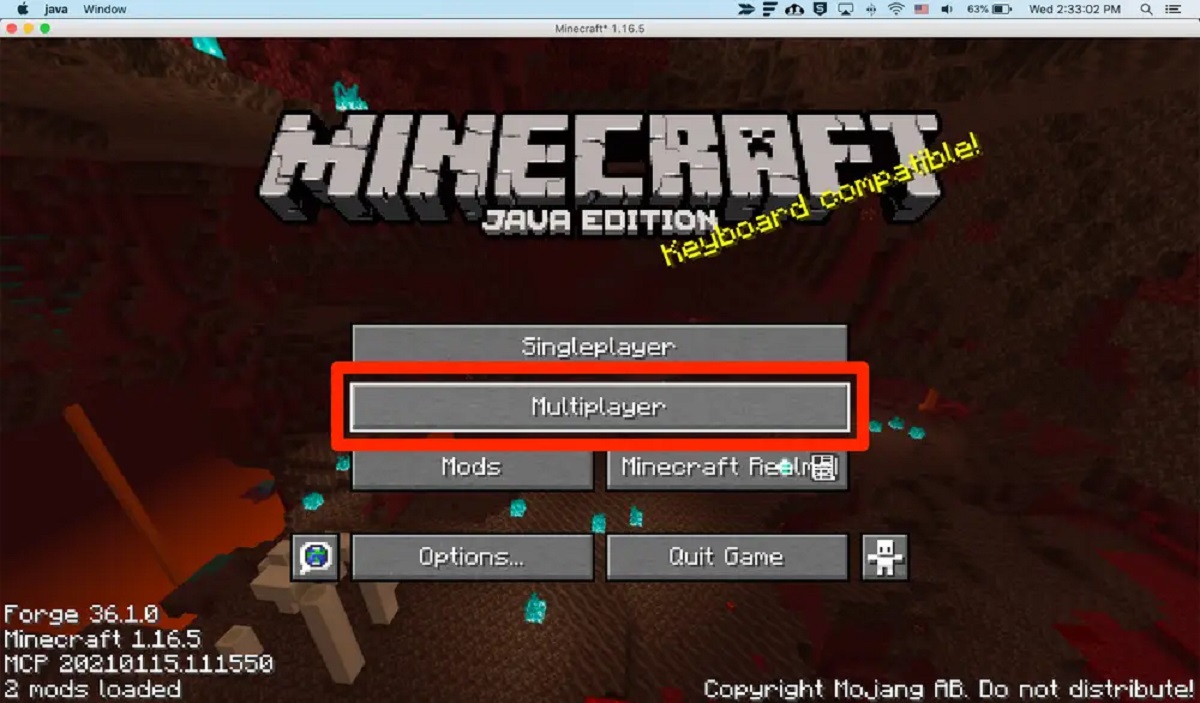
Setting up a Minecraft server on your PC allows you to create a multiplayer environment where you can play with your friends or even create a community of like-minded players. It gives you full control over the game, from customizing game modes to installing plugins that enhance the gameplay.
In this step-by-step guide, we will walk you through the process of hosting a Minecraft server on your PC. Whether you’re a seasoned player or just starting your Minecraft journey, our easy-to-follow instructions will have you up and running in no time.
Please note that hosting a Minecraft server requires a moderate level of technical knowledge. However, don’t be discouraged if you’re not very tech-savvy. We will break down each step and provide clear instructions to help you along the way.
Ready to dive in? Let’s get started with the prerequisites you’ll need before setting up your Minecraft server.
Prerequisites
Before you begin setting up your Minecraft server, there are a few things you’ll need to have in place:
- A stable internet connection: Hosting a Minecraft server requires a reliable internet connection with sufficient upload and download speeds. Make sure you can maintain a stable connection throughout the server setup and gameplay.
- A powerful computer: Running a Minecraft server can be resource-intensive, especially if you plan to have multiple players or use plugins. Ensure that your computer meets the system requirements for hosting a server with smooth performance.
- Java installed: Minecraft server software runs on Java, so you’ll need to have Java installed on your PC. Make sure you have the latest version of Java installed before proceeding.
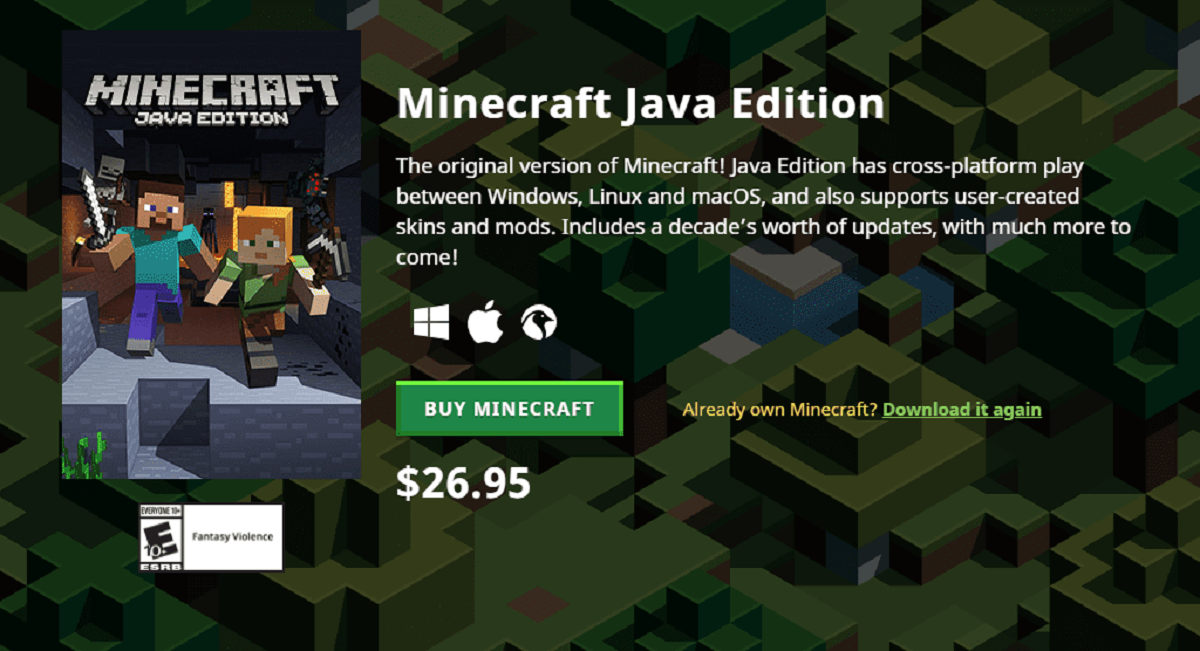
- A legal copy of Minecraft: In order to host a Minecraft server, you must have a legitimate copy of the game. This can be purchased from the official Minecraft website or through authorized retailers.
Additionally, it’s important to note that hosting a server means your PC will be dedicated to running the server. This means you may experience decreased performance in other applications while the server is active. If you have a separate computer or dedicated server, it’s recommended to use that for hosting your Minecraft server for optimal performance.
Now that you have the necessary prerequisites in place, let’s move on to the first step of installing Java on your PC.
Step 1: Install Java
Java is a programming language that is required to run the Minecraft server software. Before proceeding any further, make sure you have Java installed on your PC. Follow these steps to install Java:
- Visit the official Java website (www.java.com) and click on the “Java Download” button.
- On the next page, you’ll see the option to download Java for your operating system. Choose the appropriate version for your PC (Windows, Mac, or Linux).
- Once the download is complete, locate the downloaded file and run the installer.
- Follow the on-screen prompts to complete the installation. Make sure to read and accept the terms and conditions.
After the installation is finished, Java will be ready to use on your computer. You can verify the installation by opening the command prompt (Windows) or terminal (Mac/Linux) and typing “java -version”. If Java is installed correctly, it will display the installed version of Java.
With Java installed, you are now ready to proceed to the next step, which is downloading the Minecraft server software.
Step 2: Download the Minecraft Server software
Now that you have Java installed, it’s time to download the Minecraft Server software. This software is what will allow you to host your own Minecraft server. Follow these steps to download it:
- Open your web browser and go to the official Minecraft website (www.minecraft.net).
- In the top navigation menu, hover over the “Download” tab and click on “Minecraft Server”.
- On the server download page, you will see the latest version of the Minecraft Server software available for download. Click on the download link for the version that is compatible with your operating system.
- Once the download is complete, locate the downloaded file on your computer.
It’s important to note that the Minecraft Server software is a JAR file (Java Archive) that requires Java to run. This is why we installed Java in the previous step.
With the Minecraft Server software downloaded, you are now ready to move on to the next step, which involves creating a new folder to store your server files.
Step 3: Create a new folder for your server files
In order to organize and manage your Minecraft server files, it’s important to create a dedicated folder. This folder will hold all the necessary files for your server to run smoothly. Follow these steps to create a new folder:
- Decide on the location on your computer where you want to store your Minecraft server files. This can be anywhere you prefer, such as on your desktop or in a specific folder.
- Right-click on the desired location and select “New Folder” from the context menu.
- Give the new folder a suitable name, such as “Minecraft Server” or anything that will help you easily identify it.
Now, you have a dedicated folder where you will store your Minecraft server files. This folder will be used to store configuration files, player data, and other server-related files.
With the folder created, you are now ready to move on to the next step, which involves configuring the server properties.
Step 4: Configure the server properties
Configuring the server properties is an important step in customizing your Minecraft server. These properties allow you to modify various settings, such as the server name, game mode, difficulty level, and more. Follow these steps to configure the server properties:
- Open the folder where you downloaded the Minecraft Server software in the previous step.
- Locate the “server.properties” file and open it with a text editor, such as Notepad or TextEdit.
- Here, you will find a list of properties that you can modify to suit your preferences. Some common server properties include:
- server-ip: Enter the IP address of your computer if you want to allow access only from specific devices.
- server-port: Specify the port number that the server will listen on. The default port is 25565.
- gamemode: Set the default game mode for players joining the server (e.g., survival, creative, adventure).
- difficulty: Choose the difficulty level of the game (e.g., peaceful, easy, normal, hard).
- Modify the desired properties based on your preferences. Make sure to save the changes after making any modifications.
Configuring the server properties allows you to tailor the gameplay experience to your liking. Once you are satisfied with the changes, you are ready to move on to the next step, which involves forwarding a port on your router.
Step 5: Forward a port on your router
In order for your Minecraft server to be accessible to players outside of your local network, you will need to forward a port on your router. Port forwarding allows incoming traffic on a specific port to be directed to your computer running the Minecraft server. Follow these steps to forward a port on your router:
- Access your router’s configuration page by typing your router’s IP address into your web browser’s address bar. The IP address is typically something like 192.168.0.1 or 192.168.1.1. You can find the specific IP address for your router in the router’s manual or by searching online.
- Log in to the router’s configuration page using the administrator credentials. If you are unsure of the login details, consult the router’s manual or contact your internet service provider.
- Once logged in, look for the “Port Forwarding” or “Virtual Server” section in the router’s settings. The location of this section may vary depending on the router brand and model.
- Add a new port forwarding rule by clicking on the “Add New” or “Create” button.
- Enter a name for the port forwarding rule (e.g., Minecraft Server) to help you identify it later.
- Specify the port range for the rule. For Minecraft servers, the default port is 25565. Enter this port number in both the “Start Port” and “End Port” fields.
- Enter the IP address of the computer running the Minecraft server in the “Local IP Address” or “Server IP” field.
- Choose the protocol type (TCP, UDP, or both) for the port forwarding rule. In the case of Minecraft servers, select both TCP and UDP.
- Save the changes and exit the router’s configuration page. The port forwarding rule should now be active and traffic on port 25565 will be directed to your Minecraft server.
By forwarding a port on your router, players from outside your local network will be able to connect to your Minecraft server using your public IP address and the specified port number. With the port forwarding set up, you can now proceed to the next step and start the server.
Step 6: Start the server
Now that you have completed the necessary configurations, it’s time to start your Minecraft server. Follow these steps to get your server up and running:
- Open the folder where you downloaded the Minecraft Server software.
- Double-click on the server JAR file to run it. A console window will open, indicating that the server is starting up.
- The first time you run the server, it may generate additional files and folders. Wait until you see the message “Done” in the console window, indicating that the server has finished starting up.
- By default, the server will utilize the allocated RAM automatically. However, if you want to allocate more or less RAM to the server, you can edit the start-up command in the server’s launch script or batch file.
- Once the server is running, players can connect to it using your public IP address. You can find your public IP address by searching “what is my IP address” in a search engine.
It’s important to keep the server console window open while the server is running. This allows you to monitor the server’s status, view player connections, and access various commands. If you want to run the server as a background process, consider using a server management tool or setting up the server as a service on your PC.
With the server successfully started, you can now invite your friends or other players to join your Minecraft server and embark on new adventures together.
Step 7: Enable and configure server plugins (optional)
If you want to enhance your Minecraft server with additional features and functionality, you can install and configure server plugins. Plugins are third-party extensions that allow you to customize your server according to your preferences. Follow these steps to enable and configure server plugins:
- Research and choose the plugins you want to install. There are numerous plugins available, offering various features such as economy systems, minigames, world generators, and more. Make sure to select plugins that are compatible with your server version.
- Download the plugin files from reputable sources. Most plugins can be found on websites like Bukkit, Spigot, or the official Minecraft forums. Ensure that the downloaded files are in JAR format.
- Open the folder where your Minecraft server files are stored.
- Locate the “plugins” folder within the server folder. If the folder does not exist, create it.
- Move the downloaded plugin JAR files into the “plugins” folder.
- Restart your Minecraft server for the changes to take effect. This can be done by stopping the server and starting it again.
- Once the server is running, you can configure the plugins by editing their respective configuration files or using in-game commands. Each plugin will have its own set of instructions for configuration.
- Refer to the documentation and guides provided by the plugin developers for more detailed instructions on how to use and configure the specific plugins you’ve installed.
Enabling and configuring server plugins can greatly enhance the gameplay experience for you and your players. It allows you to add new features, customize game mechanics, and create unique player interactions on your Minecraft server.
Remember to regularly update your plugins to the latest versions and ensure their compatibility with your server version. Additionally, exercise caution when downloading and installing plugins from untrusted sources, as they may pose security risks to your server.
With the plugins enabled and configured to your liking, your Minecraft server is now ready to provide an immersive and customized experience for all players.
Conclusion
Congratulations! You have successfully learned how to host a Minecraft server on your PC. By following the step-by-step guide provided, you are now able to create a multiplayer environment where you can enjoy endless adventures with your friends or create a community of fellow Minecraft enthusiasts.
Throughout the process, you have acquired the necessary knowledge to install Java, download the Minecraft Server software, configure server properties, forward a port on your router, start the server, and even enable and configure server plugins for additional customization.
Remember, hosting a Minecraft server requires some technical knowledge, but don’t be discouraged if you are new to these concepts. Take your time, follow the instructions carefully, and don’t hesitate to seek help from online communities or forums if you encounter any difficulties.
Keep in mind that hosting a server on your personal computer may impact its performance, so it’s advisable to consider using a separate computer or a dedicated server for better optimization.
Now that you have taken the plunge into hosting your own Minecraft server, get ready to embark on exciting new adventures, build magnificent structures, and create memories with your fellow players.
So gather your friends, unleash your creativity, and enjoy the boundless world of Minecraft in your very own server!