Introduction
Welcome to this step-by-step guide on how to download and install Minecraft Forge 1.14.2! Minecraft Forge is a modding API (Application Programming Interface) that allows you to add custom modifications, or mods, to your Minecraft game. With Minecraft Forge, you can enhance your gameplay experience by adding new features, items, and functionalities created by the Minecraft modding community.
If you’re an avid Minecraft player looking to explore the wide world of mods, you’ve come to the right place. Whether you want to enhance the game’s graphics, introduce new gameplay mechanics, or even create your own mods, Minecraft Forge is the essential tool you need.
In this guide, we will walk you through each step of the process, from visiting the official Minecraft Forge website to verifying a successful installation. Before we dive into the steps, let’s make sure you have everything you need:
- A working computer or laptop
- An internet connection
- A legal copy of Minecraft Java Edition
If you have all of these requirements covered, let’s get started!
Step 1: Visit the Minecraft Forge Website
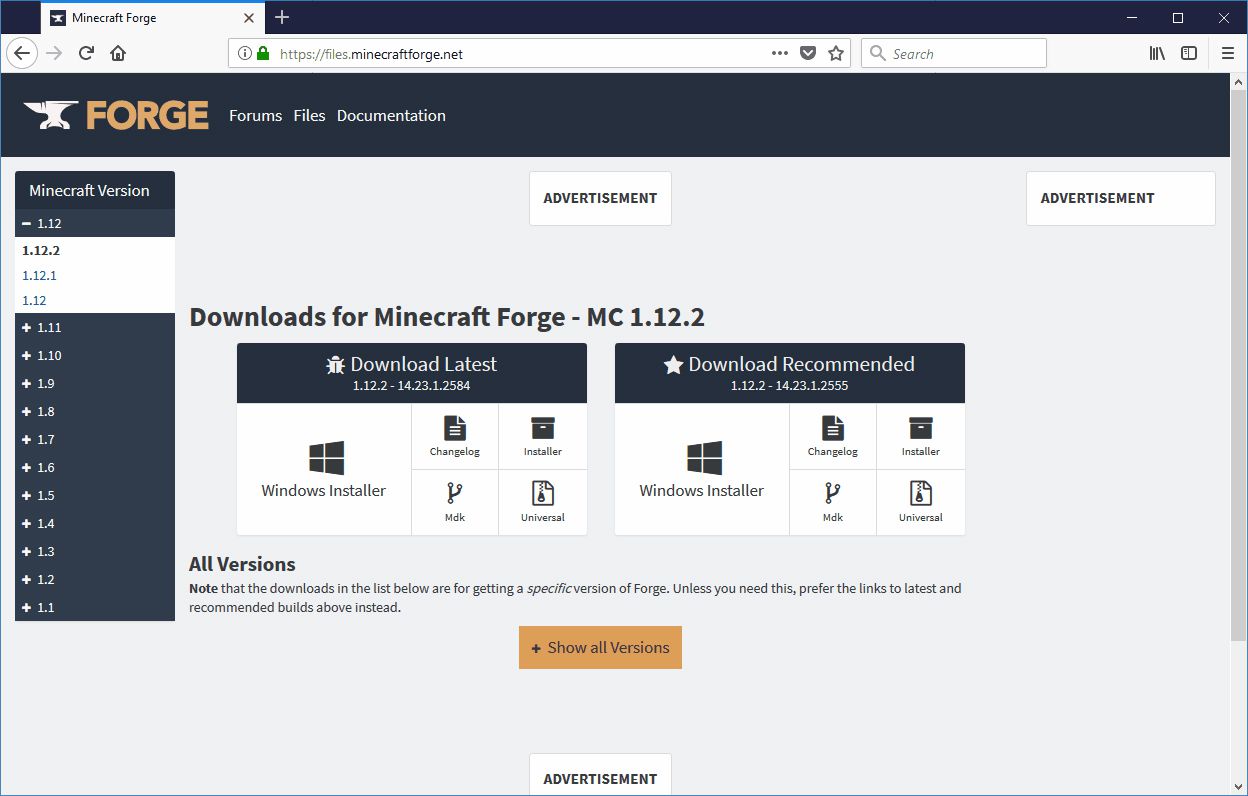
The first step in downloading Minecraft Forge 1.14.2 is to visit the official website. Open your preferred web browser and search for “Minecraft Forge.” The official website should be one of the top results. Click on the link to access the Minecraft Forge website.
Once you’re on the Minecraft Forge website, you’ll find information about the latest version of Minecraft Forge, as well as download links and additional resources. Take a moment to navigate through the website and familiarize yourself with the available options.
It’s important to note that Minecraft Forge is regularly updated to support the latest versions of Minecraft. Make sure you select the version that matches your current version of Minecraft. In this guide, we are focusing on Minecraft Forge 1.14.2, so ensure that you choose the correct version before proceeding.
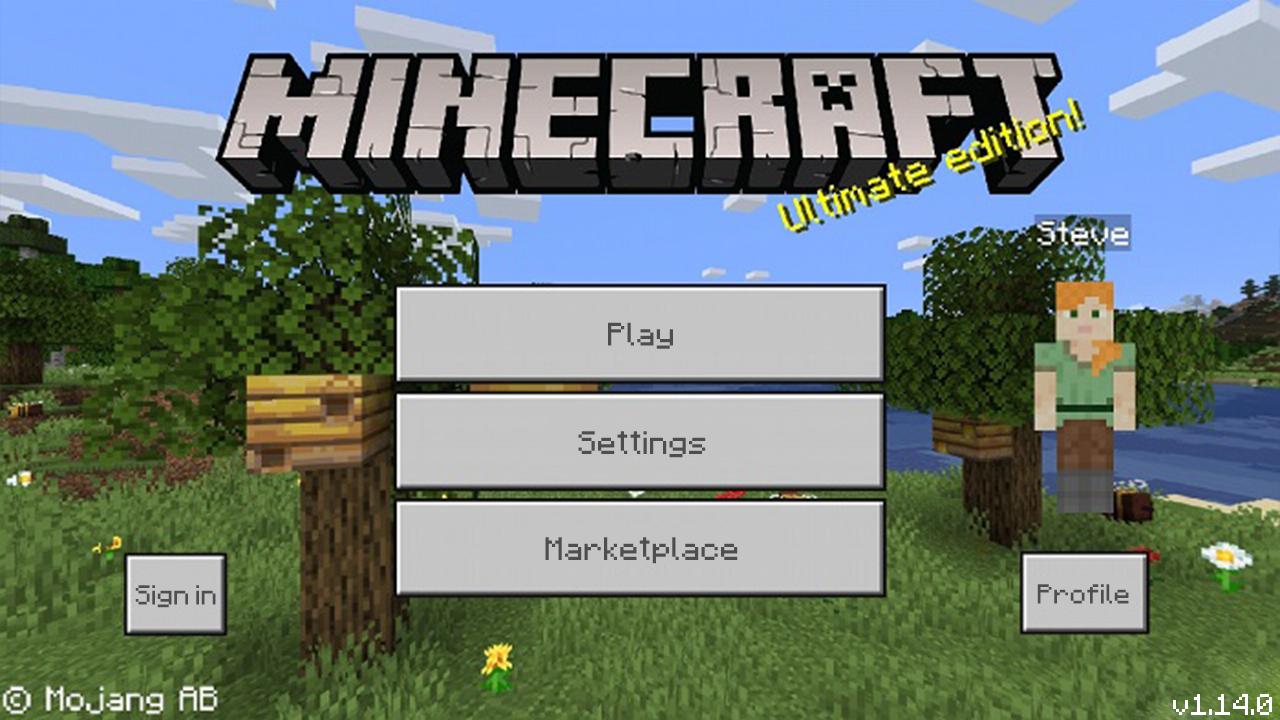
If you’re unsure about which version of Minecraft Forge to download, you can always check the Minecraft version number on the bottom-left corner of the Minecraft Launcher. This number indicates the version of Minecraft you have installed.
Now that you’re on the Minecraft Forge website and have selected the appropriate version, it’s time to move on to the next step.
Step 2: Select the Appropriate Version
After visiting the Minecraft Forge website, it’s time to choose the appropriate version of Minecraft Forge to download. The version you select must be compatible with both your current version of Minecraft and the specific mods you plan to use.
On the Minecraft Forge website, you will typically find a list of available versions. Look for the version number that matches your current version of Minecraft. For example, if you’re playing Minecraft 1.14.2, you’ll want to choose Minecraft Forge 1.14.2.
It’s important to select the correct version to ensure that your mods will work seamlessly with your Minecraft installation. Using an incompatible version may result in errors or crashes when loading mods or launching the game.
If you’re unsure which version to choose, you can also check the Minecraft modding community for recommendations. Oftentimes, mod creators will specify which version of Minecraft Forge their mod is compatible with. This information can help you make an informed decision.
Once you have identified the appropriate version of Minecraft Forge, click on the download link provided. This will begin the downloading process and save the Forge installer file onto your computer.
Great! Now that you have selected the correct version of Minecraft Forge, let’s move on to the next step in the installation process.
Step 3: Download Minecraft Forge Installer
With the appropriate version of Minecraft Forge selected, it’s time to download the Forge installer. The Forge installer is the program that will facilitate the installation of Minecraft Forge onto your computer.
On the Minecraft Forge website, look for the download button associated with the version you have chosen. Clicking on this button will initiate the download process and prompt your browser to save the Forge installer file.
Choose a suitable location on your computer to save the Forge installer file. It’s recommended to save it somewhere easily accessible, such as your desktop or Downloads folder, for convenience.
The download process may take a few moments, depending on your internet speed. Once the download is complete, you will have the Forge installer file ready to be executed in the next step.
Before moving on, ensure that the Forge installer file has been downloaded successfully and is intact. You can verify this by checking the file size, usually indicated in megabytes (MB) or kilobytes (KB), to make sure it matches the expected size.
Now that you have successfully downloaded the Minecraft Forge installer, you’re one step closer to enjoying the world of Minecraft modding! In the next step, we will run the installer to begin the installation process. Let’s proceed!
Step 4: Run the Installer
Now that you have downloaded the Minecraft Forge installer, it’s time to run the installer and begin the installation process. The Forge installer will guide you through the necessary steps to install Minecraft Forge onto your computer.
Navigate to the location where you saved the Forge installer file. It is typically a .jar file, which stands for Java Archive. Double-click on the Forge installer file to run it. This will launch the installer program.
When the installer program opens, you will be presented with the Forge installation window. This window contains various options and settings to customize your installation. By default, the Forge installer should detect your Minecraft installation and automatically set the correct path.
It’s important to make sure that the installation path matches your Minecraft installation. If the installer does not automatically detect the correct path, you can browse and manually select your Minecraft installation folder.
Take a moment to review the installation options and settings. You can make any necessary adjustments or leave them at their default values. Note that the installer may offer additional optional components or modifications to install alongside Minecraft Forge. It’s up to you to decide whether you want to include these extras or stick with the core Forge installation.
Once you have reviewed and set the installation options to your preference, click on the “Install” or “Install Client” button to start the installation process. The Forge installer will then proceed to install Minecraft Forge onto your computer.
The installation process may take a few moments. You may see a progress bar indicating the status of the installation. Avoid interrupting the installation or closing the installer window until it has completed successfully.
That’s it! You have successfully run the Minecraft Forge installer and initiated the installation process. In the next step, we will choose the “Install Client” option to ensure Minecraft Forge is installed for single-player use. Let’s proceed to the next step!
Step 5: Choose Install Client
After running the Minecraft Forge installer, you will be prompted to choose the type of installation you want. In this step, we will select the “Install Client” option to ensure that Minecraft Forge is installed for single-player use.
The “Install Client” option is specifically designed for players who want to use Minecraft Forge with their own single-player worlds. By choosing this option, you enable the Forge mod loader for your Minecraft client without affecting any multiplayer functionality.
To select the “Install Client” option, simply click on the corresponding button or checkbox in the installer window. The option should be labeled clearly, making it easy to identify. By default, this option is usually selected, but it’s always a good idea to double-check before proceeding.
Once you have chosen the “Install Client” option, you can proceed with the installation process by clicking on the “OK” or “Continue” button. The Forge installer will then proceed to install Minecraft Forge with the selected configuration.
It’s important to note that the “Install Client” option is specifically for single-player use. If you intend to use Minecraft Forge for multiplayer servers or to join modded servers, you may need to choose a different installation option. However, for the purposes of this guide, we will focus on installing Minecraft Forge for single-player gameplay.
Now that you have chosen the “Install Client” option, the Forge installer will finish the installation process, making Minecraft Forge ready for use in your single-player worlds. In the next step, we will locate and open the Minecraft Launcher to continue the setup. Let’s proceed!
Step 6: Locate and Open Minecraft Launcher
After completing the installation of Minecraft Forge, the next step is to locate and open the Minecraft Launcher. The Minecraft Launcher is the application that allows you to launch and manage your Minecraft game.
The Minecraft Launcher is typically located in a default installation directory, depending on the operating system you are using. Here are the default installation directories for common operating systems:
- Windows: Look for the Minecraft Launcher shortcut on your desktop or navigate to “C:\Program Files (x86)\Minecraft” to find the launcher executable.
- MacOS: Open the Applications folder, then locate and open the Minecraft Launcher application.
- Linux: The Minecraft Launcher is commonly installed in the user’s home directory under the “$HOME/.minecraft” folder. You can navigate to this directory using a file manager or the terminal.
Once you have located the Minecraft Launcher, double-click on the launcher icon or executable to open it. The launcher window should appear on your screen shortly after.
If you have not already logged in to your Minecraft account, you will need to do so at this point. Enter your Minecraft account credentials in the appropriate fields and click on the “Log In” or “Play” button to proceed.
Upon successful login, the Minecraft Launcher will display the launch options available to you. In the coming steps, we will create a new profile specifically for Minecraft Forge. This profile will allow you to launch the game with Minecraft Forge installed.
Great! You have located and opened the Minecraft Launcher. In the next step, we will create a new profile specifically for Minecraft Forge. Let’s continue with the setup process!
Step 7: Select Forge Profile
Now that you have the Minecraft Launcher open, it’s time to select the Forge profile that will allow you to launch Minecraft with Forge installed. By creating a separate profile, you can easily switch between playing Minecraft with or without mods.
To select the Forge profile, follow these steps:
- Click on the “Installations” tab at the top of the Minecraft Launcher. This will display a list of all available profiles.
- Look for the profile labeled “forge” or something similar. This is the profile that was automatically created during the Forge installation process.
- If you don’t see the Forge profile, click on the “New” or “Add New” button to create a new profile. Give the profile a name, such as “Minecraft Forge,” and select the version of Minecraft Forge you installed.
- Once you have located the Forge profile, click on it to select it. The selected profile will be highlighted.
With the Forge profile selected, you can make additional modifications to the profile settings if desired. For example, you can allocate more memory to the game or specify additional Java arguments. However, these modifications are optional and not necessary for the basic functionality of Minecraft Forge.
Once you have selected the Forge profile and made any desired modifications, click on the “Play” or “Launch” button to start Minecraft with Forge. The game will take a moment to load, and you will see the Minecraft start screen with the Forge logo indicating that Minecraft Forge is being utilized.
Congratulations! You have successfully selected the Forge profile in the Minecraft Launcher. In the next step, we will launch Minecraft with Forge and verify the successful installation. Let’s proceed!
Step 8: Launch Minecraft
With the Forge profile selected in the Minecraft Launcher, it’s time to launch Minecraft with Forge installed. By doing so, you can start playing Minecraft with the added functionality and features provided by the mods installed through Minecraft Forge.
To launch Minecraft with Forge, follow these steps:
- Ensure that you have selected the Forge profile in the Minecraft Launcher.
- Click on the “Play” or “Launch” button to start Minecraft.
- The game will begin to load. You may see a loading screen or a progress bar indicating the status of the loading process.
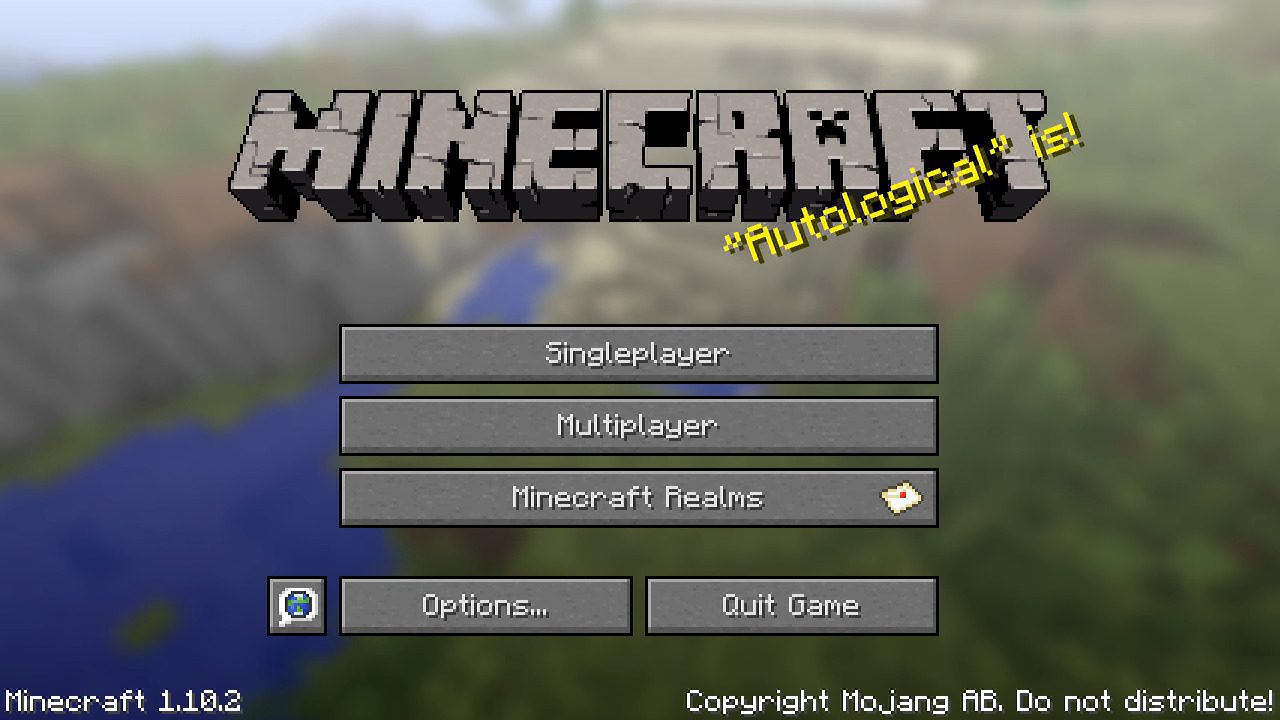
- Once Minecraft has finished loading, you will be greeted with the Minecraft main menu, indicating that the game has successfully launched with Forge.
From the main menu, you can now access your single-player worlds or join multiplayer servers, knowing that the Forge mods you have installed are active and ready to enhance your gameplay experience.
It’s worth mentioning that some mods may add new options or menus to the main menu or in-game settings. These additional features can be accessed within the Minecraft user interface.
Now that you have successfully launched Minecraft with Forge installed, it’s time for the final step: verifying the successful installation. This will ensure that Minecraft Forge is working correctly and that any mods you install are compatible. Let’s move on to the next step!
Step 9: Verify Successful Installation
After launching Minecraft with Forge installed, it’s important to verify that the installation was successful and that Minecraft Forge is working correctly. By doing so, you can ensure that any mods you install will function as intended.
To verify the successful installation of Minecraft Forge, follow these steps:
- From the Minecraft main menu, click on the “Mods” or “Mod Options” button. This will open the mods menu, which shows a list of installed mods.
- If you see the mods you have installed listed in the mods menu, it means that Minecraft Forge has successfully recognized and loaded the mods. This is a strong indication that the installation was successful.
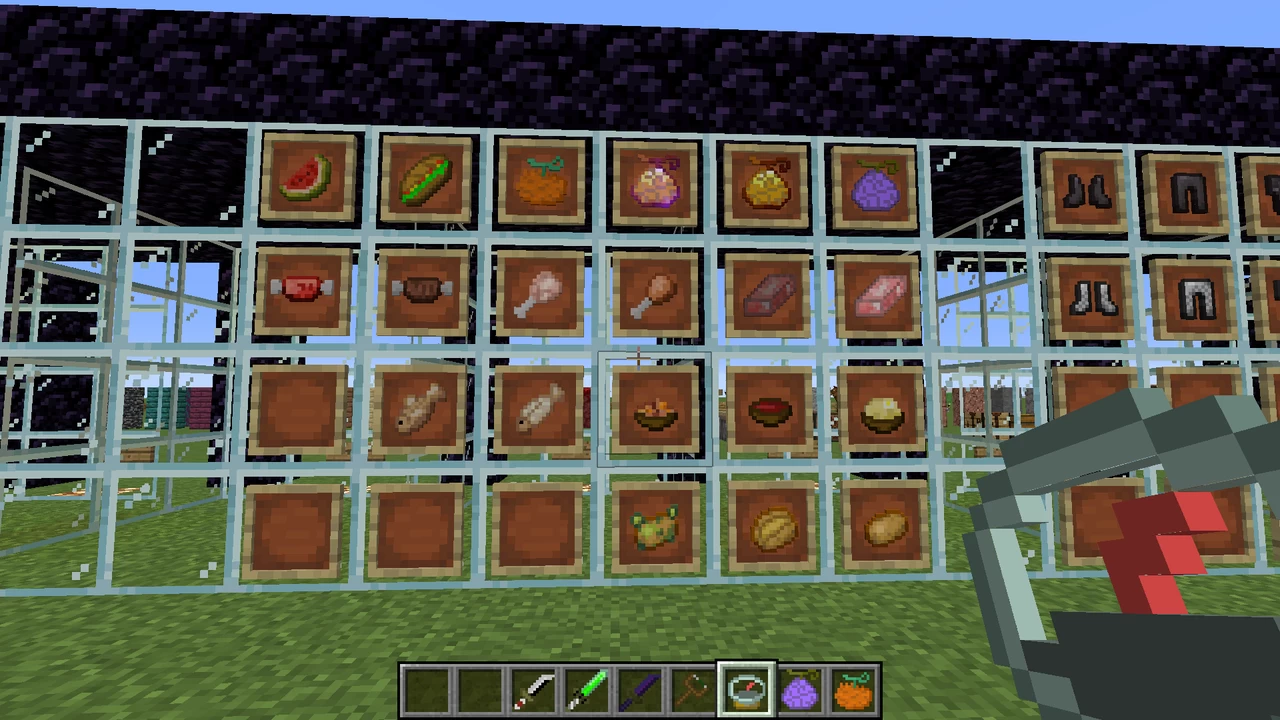
- To further validate the installation, you can create a new world in Minecraft and see if the mods are functioning as expected. Depending on the mods you have installed, you may notice new items, blocks, or gameplay mechanics in your newly created world.
- It’s a good idea to test each mod individually to ensure that there are no conflicts or issues. This way, you can identify any problematic mods and troubleshoot them accordingly.
If you encounter any errors or difficulties during the verification process, it may indicate a problem with the Minecraft Forge installation or compatibility issues with the mods. In such cases, you can refer to the official documentation or support forums for Minecraft Forge for troubleshooting assistance.
Once you have confirmed that the mods are functioning correctly, it’s time to get creative and explore the vast possibilities that Minecraft Forge and the modding community have to offer.
Congratulations! You have successfully verified the installation of Minecraft Forge. Now you can enjoy the added features and enhancements provided by the mods in your Minecraft gameplay. Have fun exploring new adventures and experiences within the world of modded Minecraft!
Conclusion
Congratulations on successfully downloading and installing Minecraft Forge 1.14.2! You’ve taken an important step towards enhancing your Minecraft gameplay experience through the use of mods.
In this guide, we walked through each step of the process, starting with visiting the Minecraft Forge website and selecting the appropriate version. We then downloaded the Minecraft Forge installer and ran it to begin the installation process. After choosing the “Install Client” option, we located and opened the Minecraft Launcher. We selected the Forge profile, launched the game, and verified the successful installation by checking the mods menu and testing the mods in-game.
Minecraft Forge opens up a whole new world of possibilities by allowing you to customize and enhance your Minecraft experience with a wide range of mods created by the Minecraft modding community. Whether it’s adding new gameplay features, improving graphics, or creating your own mods, Minecraft Forge provides the foundation for it all.
However, keep in mind that installing and using mods can sometimes have its challenges. It’s important to ensure that the mods you install are compatible with both your version of Minecraft and Minecraft Forge. Additionally, always download mods from reputable sources to avoid any potential security risks.
Now that you have Minecraft Forge installed, take some time to explore the vast variety of mods available for download. Experiment with different mods to create a custom Minecraft experience that suits your preferences and interests. Immerse yourself in new adventures, discover unique features, and unleash your creativity in the enchanting world of Minecraft.
Thank you for following this guide, and we hope that Minecraft Forge brings you endless hours of enjoyment and excitement in your Minecraft journey. Happy modding!