Introduction
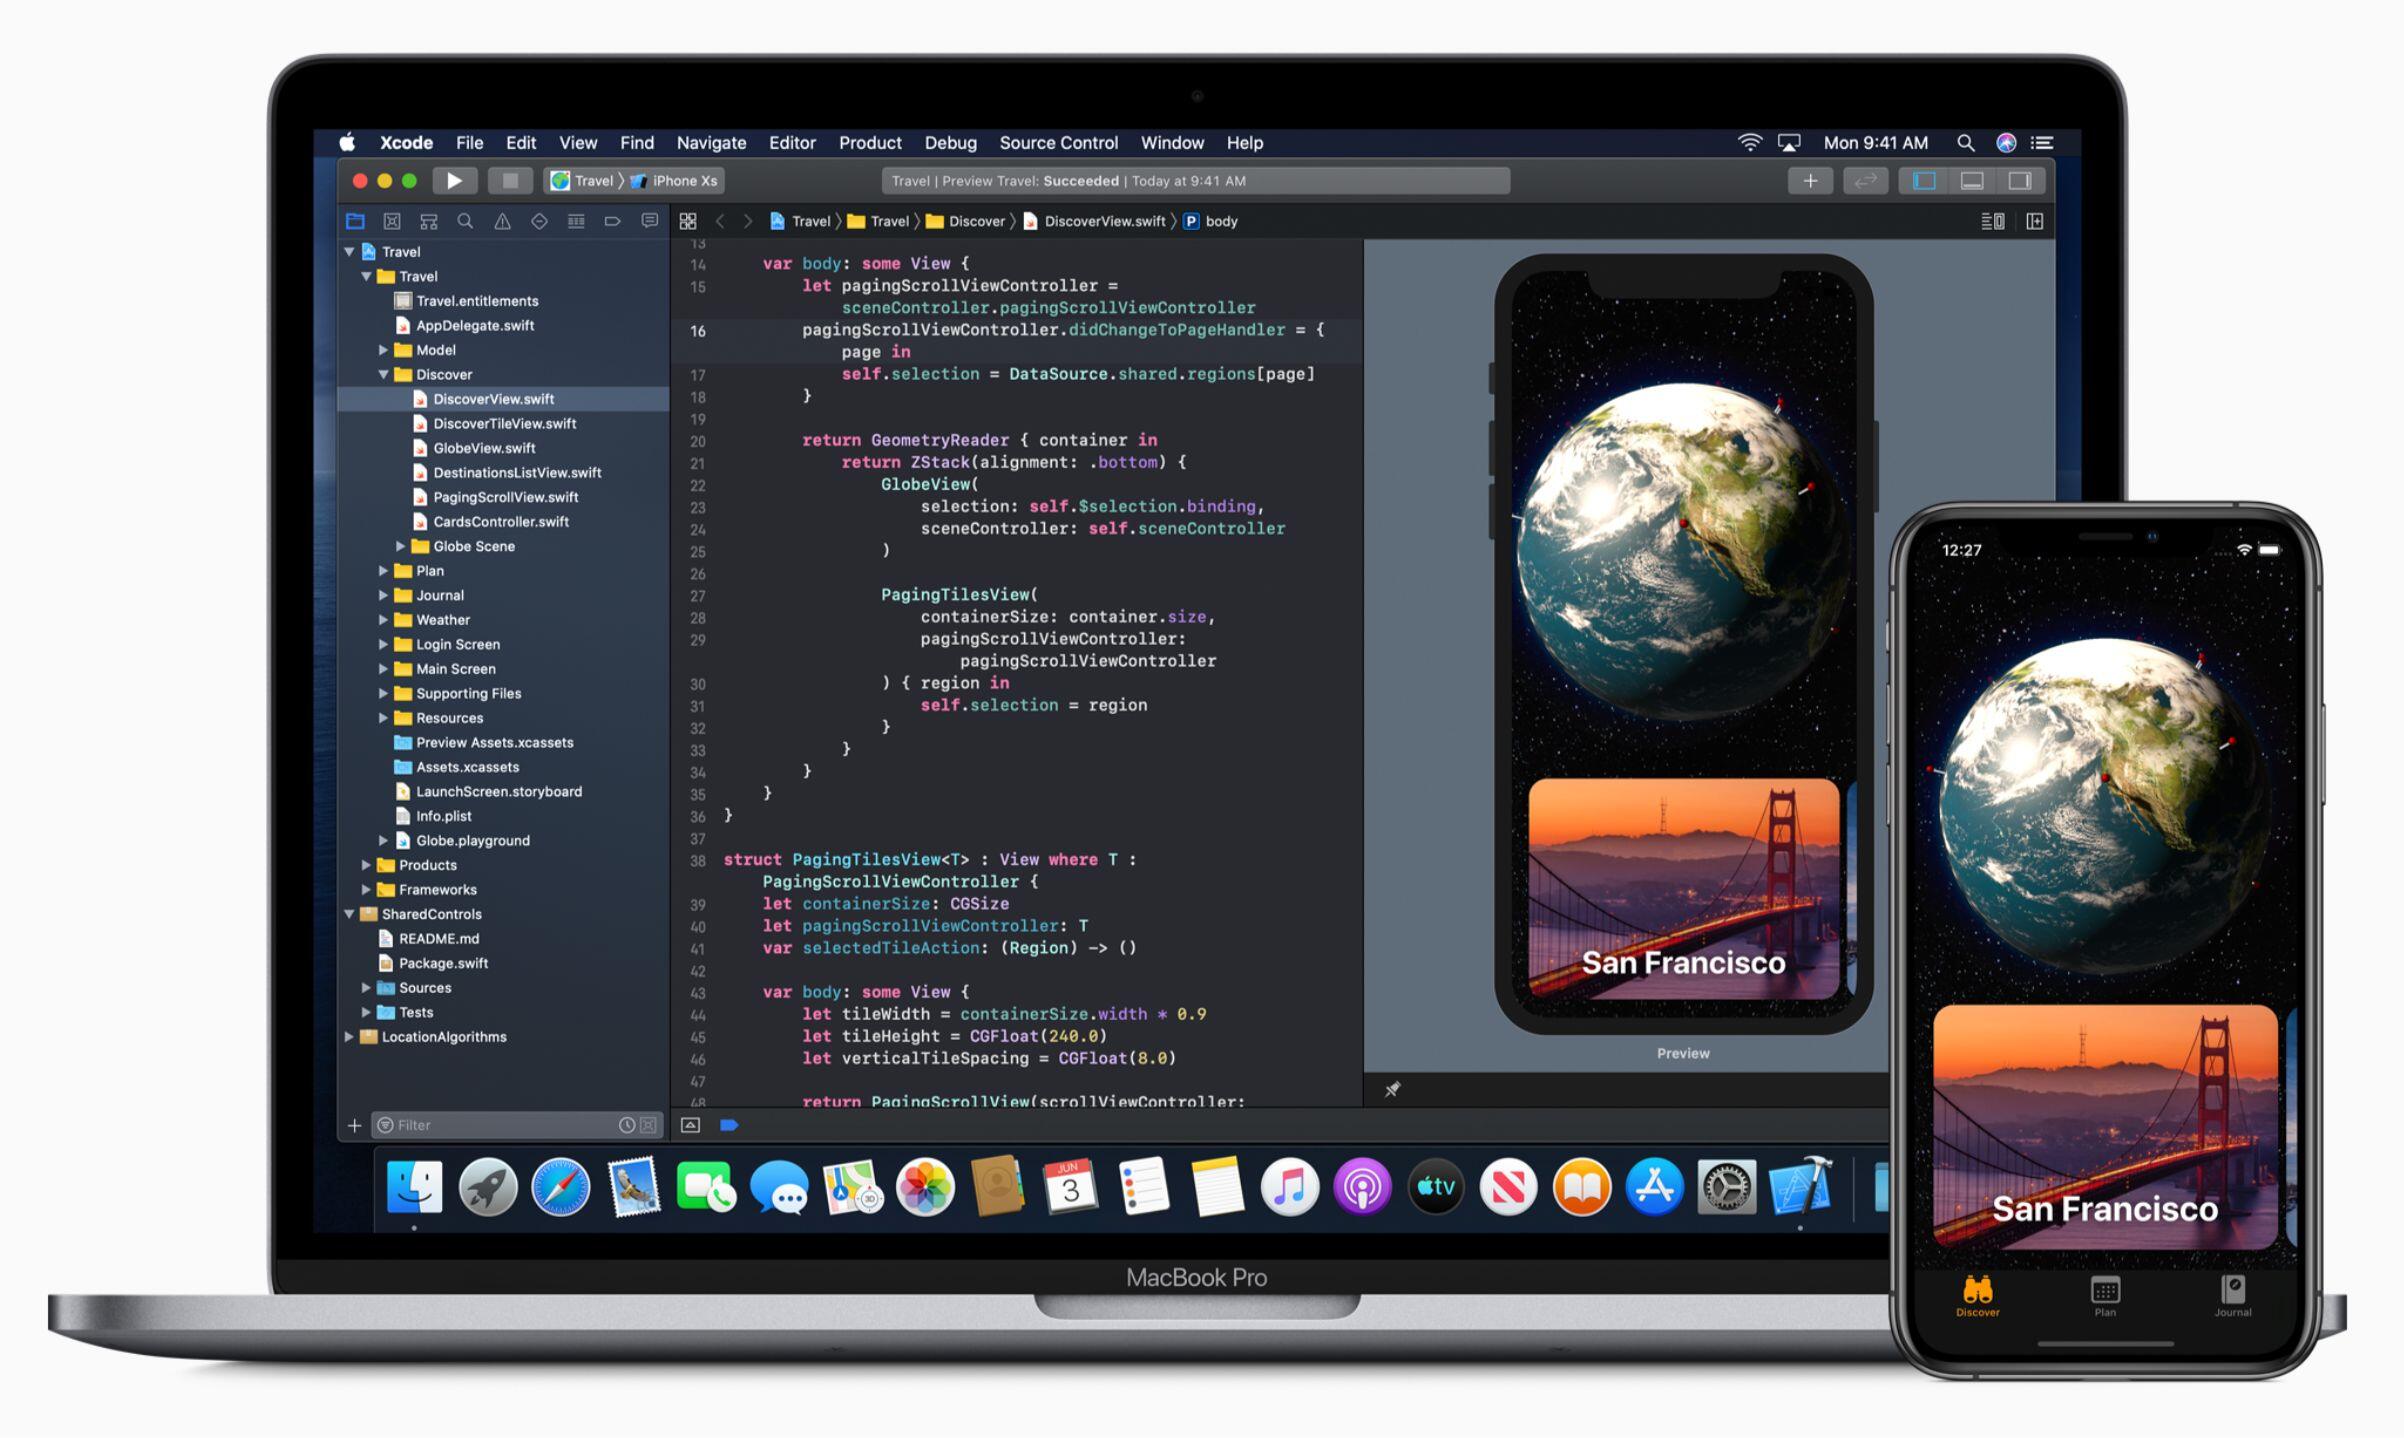
Welcome to the world of app development! If you’re interested in creating iOS or macOS applications, you’ve probably heard of Xcode. Xcode is Apple’s integrated development environment (IDE) used to build apps for its platforms. However, it’s important to note that Xcode is exclusively designed for Mac operating systems. This can be frustrating for developers who are using Windows.
In this article, we will explore various methods that you can use to download Xcode for Windows. While it is not officially supported, there are workarounds that allow you to run Xcode on a Windows machine using virtualization software, setting up a Hackintosh, utilizing a cloud-based Mac, or using Xcode alternatives for Windows.
Before we dive into these methods, it’s essential to understand that these approaches might not provide the same seamless experience as using Xcode directly on a Mac. The performance might be compromised, and you may encounter limitations or compatibility issues. However, they can be viable alternatives to gain access to Xcode functionalities on a Windows operating system.
Now, let’s explore the various methods in detail to help you download Xcode for Windows.
Method 1: Using Virtualization Software
If you want to run Xcode on Windows, one option is to make use of virtualization software. Virtualization software allows you to create a virtual machine (VM) on your Windows computer that emulates the macOS environment. This enables you to install and run Xcode as if you were using a Mac.
The first step is to choose a virtualization software that supports macOS virtual machines. Two popular options are VMware and VirtualBox. These software tools provide the necessary infrastructure to create and manage virtual machines.
Once you have installed the virtualization software, you need to obtain a macOS installation image. Apple’s licensing policies restrict the usage of macOS to Apple hardware only. However, there are legal options available to obtain a macOS image for virtualization purposes, such as the macOS Recovery Tool, which allows you to download the macOS installation files directly from Apple’s servers.
After acquiring the macOS installation image, you can create a new virtual machine in the virtualization software by following the provided instructions. Make sure to allocate enough resources to the virtual machine, such as CPU cores, RAM, and storage, to ensure smooth performance.
Once the virtual machine is set up, you can start the installation process by booting the virtual machine from the macOS installation image. Just like installing macOS on a physical Mac, you will go through the installation steps and set up your macOS environment within the virtual machine.
After successfully installing macOS, you can proceed to download and install Xcode from the Mac App Store within the virtual machine. This will provide you with the complete Xcode development environment, allowing you to create and test your iOS or macOS applications.
While using virtualization software to run Xcode on Windows is a viable option, it does require a significant amount of system resources, and the performance might not be as optimal as using Xcode on a dedicated Mac. Additionally, it’s crucial to ensure that you are in compliance with Apple’s licensing agreements when using macOS virtual machines.
Method 2: Using a Hackintosh
If you’re a more adventurous Windows user, you may consider setting up a Hackintosh to run Xcode. A Hackintosh is a non-Apple computer that is modified to run macOS. While this method requires more technical expertise and may not be suitable for everyone, it can provide a more native macOS experience compared to virtualization software.
Before attempting to create a Hackintosh, it’s important to note that the process can be complex and may not work perfectly on all hardware configurations. It typically involves finding compatible hardware components and modifying the BIOS settings to enable macOS installation.
The first step in creating a Hackintosh is to research and select the compatible hardware components. Websites and forums dedicated to Hackintosh enthusiasts often provide detailed information on which hardware combinations are known to work well with macOS. This is crucial to ensure the best chances of success.
Once you have assembled the compatible hardware, the next step is to obtain a macOS installation image. As mentioned earlier, Apple’s licensing agreement restricts the usage of macOS to its own hardware. However, there are ways to download macOS installation files from third-party sources that are tailored for Hackintosh installations.
After acquiring the macOS installation image, you will need to create a bootable USB drive with the macOS installer. This involves using tools like UniBeast or Clover to prepare the USB drive and make it compatible with your Hackintosh hardware.
Once the bootable USB drive is ready, you can proceed with the installation of macOS on your Hackintosh. This typically involves tweaking the BIOS settings of your computer and booting from the USB drive to start the macOS installation process. Follow the on-screen instructions to set up macOS on your Hackintosh.
Once the installation is complete, you can download and install Xcode from the Mac App Store. With Xcode installed, you will have access to the full suite of tools and frameworks necessary for iOS and macOS application development. Remember to keep your Hackintosh system updated with the latest macOS and Xcode versions.
Using a Hackintosh to run Xcode on Windows can be a satisfying experience for those who enjoy tinkering with their hardware. However, it’s worth noting that setting up and maintaining a Hackintosh requires technical knowledge and there may be compatibility issues or limitations compared to using a genuine Mac.
Method 3: Using MacinCloud
If you don’t wish to invest in a Mac or go through the complexities of virtualization or Hackintosh methods, another viable option is to use MacinCloud. MacinCloud is a cloud-based service that provides remote access to Macs over the internet, allowing you to use Xcode on a Windows machine without the need for physical hardware.
To use MacinCloud, you first need to sign up for an account on their website. They offer various subscription plans with different resources and durations to suit your needs. Once you’ve selected a plan and completed the sign-up process, you will gain access to a remote Mac server through a remote desktop connection.
Once you’re connected to the remote Mac server, you can launch Xcode and start developing your iOS or macOS applications as if you were using a physical Mac. MacinCloud provides high-speed internet connections and powerful hardware to ensure smooth performance while running Xcode and other development tools.
Since MacinCloud provides Macs as a service, you have the advantage of accessing the latest and greatest hardware and software versions without the need for constant upgrades. They also take care of regular system maintenance and software updates, ensuring that you can focus on your development tasks without the hassle of maintaining a physical Mac.
MacinCloud offers additional features such as the ability to transfer files between your local Windows machine and the remote Mac server, and a dedicated support team to assist you with any issues or inquiries you may have.
It’s important to note that MacinCloud is a subscription-based service, and the costs can add up over time. However, it provides a convenient and hassle-free solution for Windows users who require access to Xcode and the macOS environment for development purposes.
MacinCloud is a good option for those who prefer flexibility and convenience, as it eliminates the need for purchasing and maintaining Mac hardware. However, you should consider your budget and usage requirements before committing to a subscription plan.
Method 4: Using Xcode for Windows Alternatives
If you’re unable to use Xcode directly on Windows using the previous methods, there are alternatives available that offer similar functionalities for Windows users. While these alternatives may not provide the exact Xcode experience, they can serve as viable options for developing iOS or macOS applications on a Windows machine.
One popular alternative is Visual Studio with Xamarin. Xamarin is a cross-platform development framework that allows you to write iOS and Android applications using the C# programming language. Visual Studio provides a rich development environment with powerful tools and features, making it a suitable choice for Windows-based developers.
Another option is Flutter, a framework developed by Google for building native applications for multiple platforms including iOS and Android. Flutter uses the Dart programming language and provides a comprehensive set of libraries and tools for cross-platform development. With Flutter, you can create visually appealing and performant applications that can be deployed on both iOS and Android devices.
React Native is yet another alternative for developing iOS and Android applications. It uses JavaScript and allows you to write code once and deploy it on multiple platforms. React Native has gained popularity due to its flexibility and a large community of developers, making it a practical choice for Windows users seeking to develop iOS applications.
While these alternative frameworks provide cross-platform capabilities, it’s important to note that they may have differences in terms of APIs and native functionality compared to Xcode. This means you may need to make adjustments to your codebase or use platform-specific code when needed.
When using these alternatives, keep in mind that testing and debugging your applications on actual iOS devices or the macOS environment may require access to a Mac. There are cloud-based services that offer remote access to Macs for testing purposes, which can be utilized in combination with these alternatives.
Ultimately, the choice between using Xcode alternatives or finding workarounds to run Xcode on Windows depends on your specific needs and preferences. Consider factors such as the complexity of your project, your familiarity with the tools and languages involved, and the available resources at your disposal.
Remember that while these alternatives offer the ability to develop applications for iOS or macOS on a Windows machine, they may not provide the complete range of features and seamless integration that Xcode offers on Mac. Therefore, thoroughly evaluate the pros and cons of each alternative before making a decision.
Conclusion
In conclusion, while Xcode is not officially supported on Windows, there are several methods available for downloading and using Xcode on a Windows machine. Each method comes with its own advantages and considerations, so it’s important to choose the one that best suits your needs and technical expertise.
If you have the necessary hardware and technical skills, using virtualization software or setting up a Hackintosh can provide a more native macOS experience, allowing you to run Xcode on your Windows computer. However, these methods may require significant system resources, and there might be compatibility issues or limitations compared to using a genuine Mac.
For those who prefer convenience and flexibility, utilizing a service like MacinCloud can provide remote access to a Mac environment without the need for physical hardware. This option allows you to use Xcode on a Windows machine without the hassle of maintenance and upgrades, although it does come at a cost with subscription-based pricing.
Alternatively, using Xcode alternatives like Visual Studio with Xamarin, Flutter, or React Native can enable you to develop iOS or macOS applications on a Windows machine. While these alternatives may not offer the exact same experience as Xcode, they provide cross-platform capabilities and a range of tools for developing high-quality applications.
Ultimately, the method you choose will depend on your specific requirements, technical skills, budget, and preferences. It’s important to weigh the pros and cons of each option and consider factors such as performance, compatibility, and the availability of resources to ensure a smooth and efficient development experience.
Regardless of the method you choose, remember that developing iOS or macOS applications requires a good understanding of the Apple ecosystem and its guidelines. Stay updated with the latest Xcode and macOS versions, follow best practices, and leverage the resources available through Apple’s developer documentation and community forums to ensure successful app development.
With determination and the right tools, you can overcome the limitation of Xcode’s exclusivity to Mac and embark on your journey to create compelling applications for iOS and macOS, right from your Windows machine. Happy coding!


