Introduction
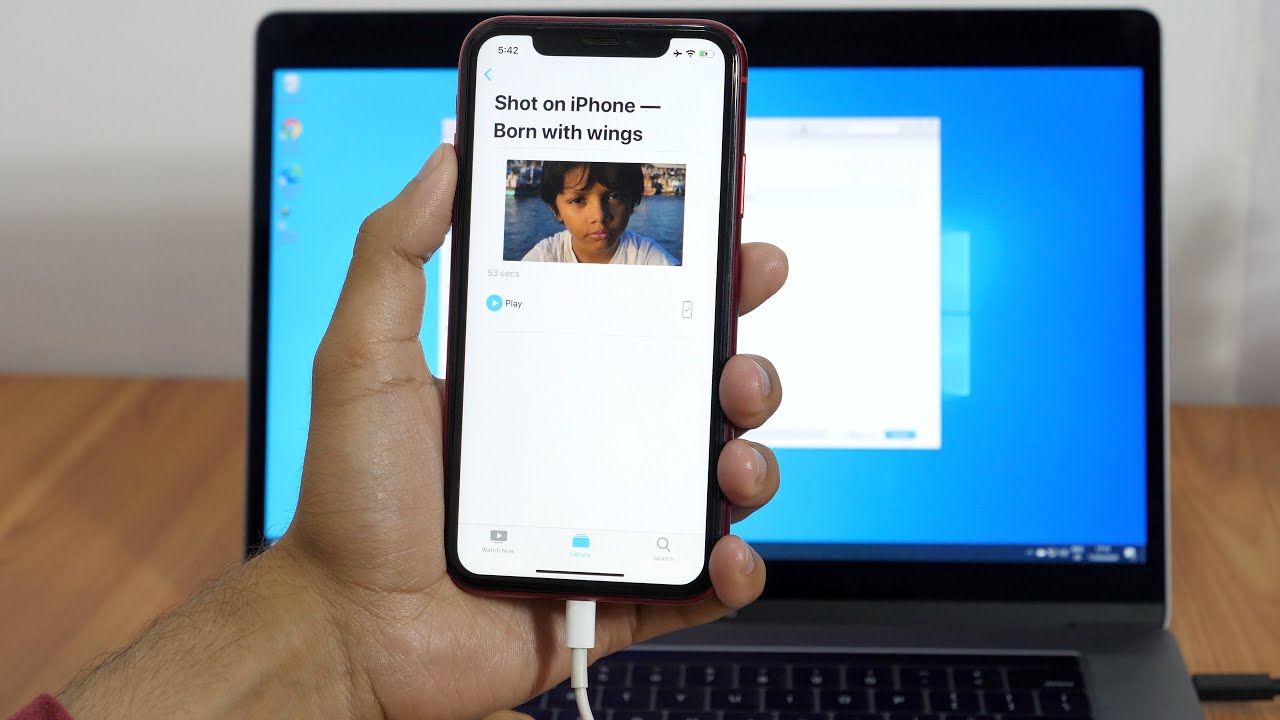
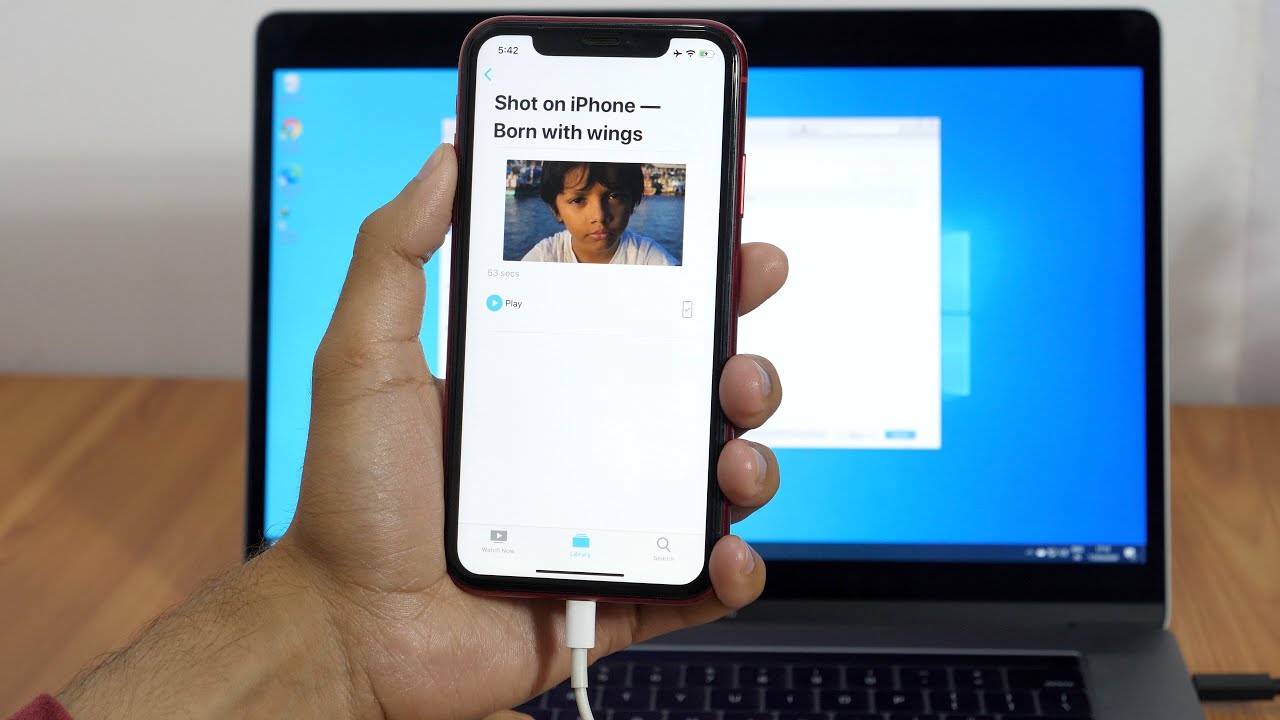
Welcome to the world of technology, where our smartphones are not only communication devices but also powerful multimedia hubs. If you own an iPhone and want to download videos from your device to your computer, you’ve come to the right place. Whether you want to transfer home videos, memorable moments captured during vacations, or any other videos, we’ll guide you through the process.
Downloading videos from your iPhone to your computer allows you to free up space on your device, create backups, or simply enjoy your videos on a larger screen. While there are several methods to transfer videos, we will focus on a simple and convenient approach that utilizes the Files app, which comes pre-installed on your iPhone. So, let’s get started!
In this step-by-step guide, we’ll walk you through the process of connecting your iPhone to your computer, locating and selecting the video you want to download, exporting it to your computer, and accessing the downloaded video. Whether you’re a tech-savvy individual or a novice, our instructions will make the process seamless and hassle-free.
Before we dive into the details, it’s important to note that this method works for videos stored in the Files app on your iPhone. If the video you want to download is located in a different app or platform, you may need to explore alternative methods or use third-party software.
Now that we’ve set the stage, grab your iPhone, connect it to your computer, and get ready to unleash the power of seamless video downloads!
Step 1: Connect your iPhone to your computer
The first step in downloading videos from your iPhone to your computer is to establish a connection between the two devices. Follow these simple instructions:
- Using the USB cable provided with your iPhone, connect one end of the cable to your iPhone’s charging port.
- Connect the other end of the cable to an available USB port on your computer.
- Ensure that your iPhone is unlocked and on the home screen.
Once the connection is established, your computer should recognize your iPhone as an external device. You may see a prompt on your iPhone asking for your permission to trust the connected computer. Simply tap “Trust” to proceed.
It’s important to ensure that your computer has the necessary drivers installed to recognize your iPhone. In most cases, the drivers are automatically installed when you connect your iPhone for the first time. However, if you encounter any issues during the connection process, you may need to install the latest version of iTunes or update your existing iPhone drivers. You can download iTunes from Apple’s official website.
With your iPhone successfully connected to your computer, you’re now ready to move on to the next step and open the Files app on your iPhone.
Step 2: Open the Files app on your iPhone
Now that your iPhone is connected to your computer, it’s time to open the Files app, which will allow you to browse and manage the files stored on your device.
Follow these steps to open the Files app on your iPhone:
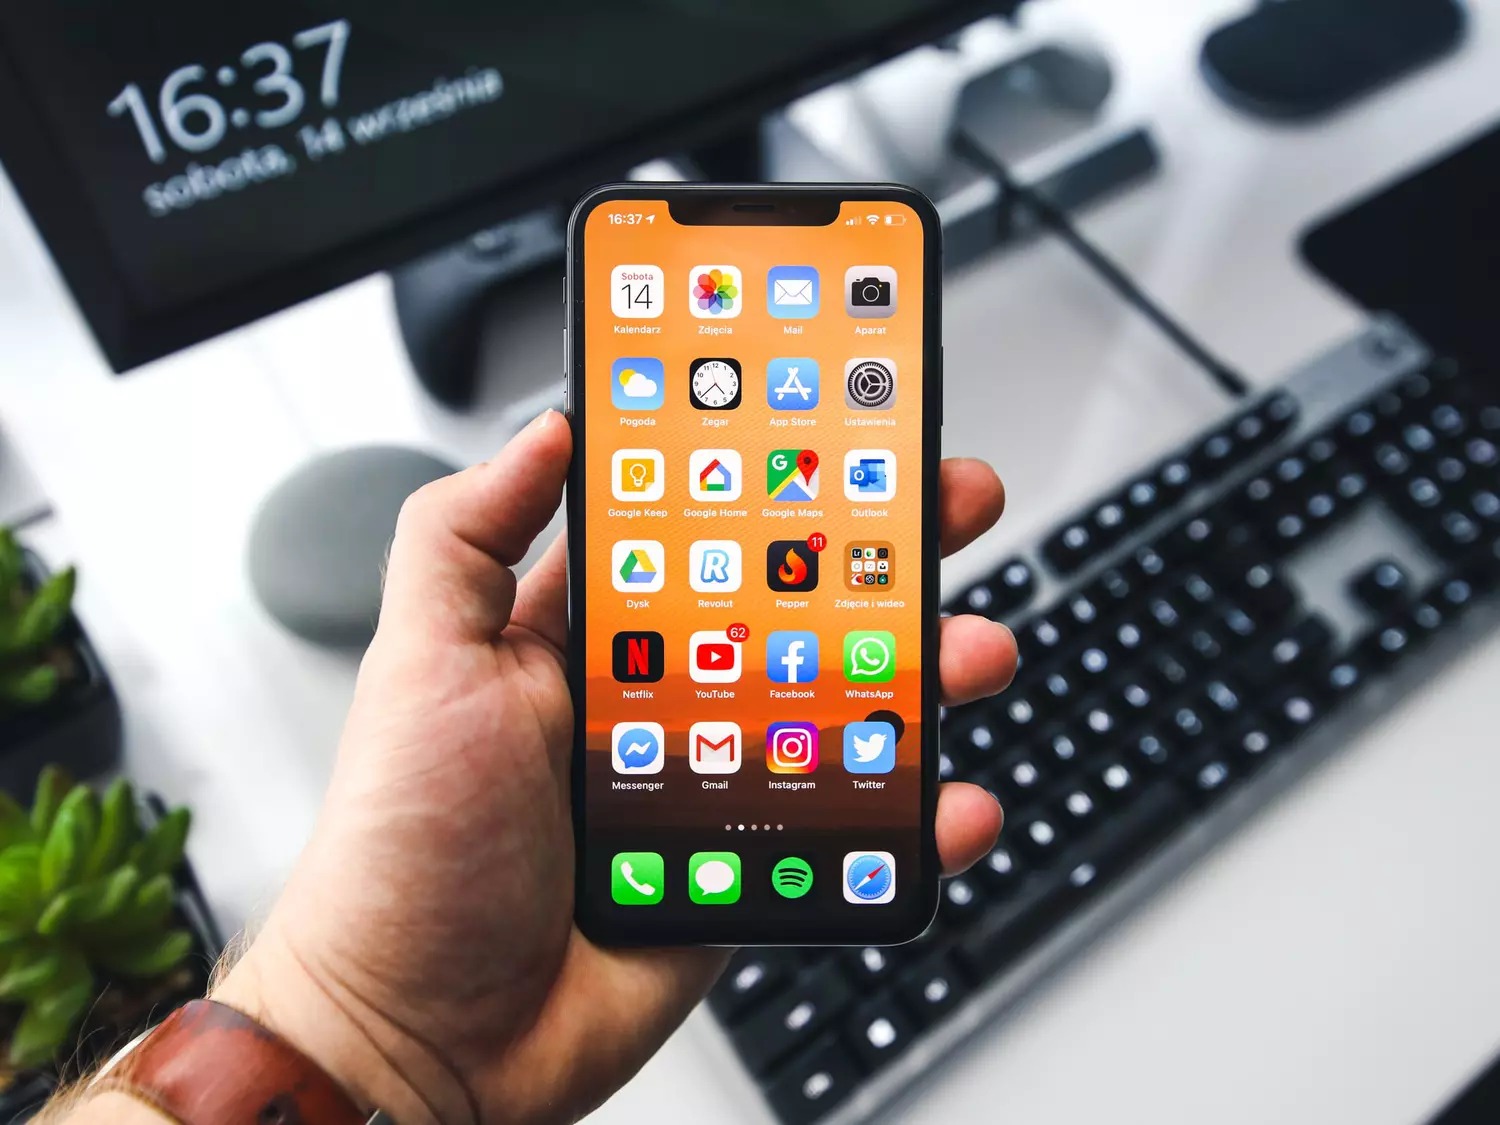
- Locate the Files app on your iPhone’s home screen. It is represented by a blue folder icon with a white document inside.
- Tap on the Files app icon to launch it.
Upon opening the Files app, you will be presented with various options and locations to browse your files. The interface can differ slightly depending on the version of iOS you are using, but the general functionality remains the same.
The Files app allows you to navigate through folders, access cloud storage platforms like iCloud Drive, and view files from third-party apps that support file management.
Take a moment to familiarize yourself with the different sections of the Files app. You may see options such as “Recent” to view the most recently accessed files, “Browse” to explore different locations, and “Tags” to organize files using tags. You can also create your own custom folders to keep your files organized.
Now that you have successfully opened the Files app on your iPhone, it’s time to proceed to the next step and locate the video you wish to download.
Step 3: Locate the video you want to download
With the Files app open on your iPhone, it’s time to locate the video you want to download to your computer. Whether the video is stored locally on your device or in a cloud storage platform, the Files app provides a convenient way to access and manage your files.
Follow these steps to locate the video you want to download:
- Within the Files app, navigate to the appropriate location where your video is stored. This could be in the “Recents” section, a specific folder, or a connected cloud storage service such as iCloud Drive or Google Drive.
- Tap on the folder or storage location where your video is located.
- Browse through the folders and files until you find the video you want to download.
If you are unsure about the exact location of the video, you can use the search bar at the top of the Files app to search for the video by its name or file type.
Once you have found the video you want to download, you can preview it by tapping on it. The Files app allows you to play most common video file formats directly within the app, ensuring that you have selected the correct video before proceeding with the download.
It’s important to note that if your video is stored in a cloud storage platform, it may require an internet connection to access and download. Make sure you are connected to a reliable Wi-Fi or cellular network if necessary.
Now that you have located the video you want to download, it’s time to move on to the next step and select the video file.
Step 4: Select the video file
After locating the video you want to download in the previous step, it’s time to select the video file within the Files app on your iPhone. This will allow you to initiate the process of transferring the video to your computer.
Follow these steps to select the video file:
- Within the Files app, navigate to the folder or location where the video file is located.
- Tap on the video file to select it. You can identify the video file by its name, file extension, or thumbnail image.
When you select the video file, it may open in a preview mode, allowing you to verify that it is indeed the correct video you want to download. You can play the video within the Files app to ensure its content and quality.
If the video you want to download is stored in a cloud storage platform, such as iCloud Drive or Google Drive, you may also have the option to download a copy of the video to your iPhone before proceeding to the next step. This can be useful if you want to have a local copy of the video on your device as well.
Now that you have successfully selected the video file, it’s time to move on to the next step and export the video to your computer.
Step 5: Export the video to your computer
After selecting the video file in the previous step, it’s time to export and transfer the video from your iPhone to your computer. This process will allow you to download a copy of the video file to your computer’s storage.
Follow these steps to export the video to your computer:
- With the selected video file open in the Files app, tap on the share icon usually located at the bottom left or top right corner of the screen. It resembles a square box with an upwards arrow.
- From the share menu that appears, look for the option to “Save to Files” or “Save Video.” Tap on this option.
- A file explorer window will appear, displaying various destinations and save locations. Select your computer from the list of available options. If necessary, choose the specific folder or destination on your computer where you want to save the video.
- Once you have selected the destination, tap on “Save” or “Export” to initiate the transfer process. The Files app will begin exporting the video to your computer.
- Depending on the size of the video file and your internet connection speed, the transfer process may take a few moments or longer. The progress of the transfer will be displayed, allowing you to monitor the status.
It’s important to keep your iPhone connected to your computer throughout the export process to ensure the successful completion of the transfer.
Now that you have exported the video from your iPhone to your computer, it’s time to move on to the next step and choose the destination folder on your computer to save the video.
{” “}
Step 6: Choose the destination folder on your computer
After exporting the video from your iPhone to your computer, it’s time to choose the destination folder where you want to save the video file. This step allows you to organize and store the downloaded video in a location of your preference on your computer’s storage.
Follow these steps to choose the destination folder:
- When the transfer process is complete, a file explorer window will appear on your computer, displaying the exported video file.
- Navigate through your computer’s directories and folders to find the desired destination folder where you want to save the video.
- If you want to create a new folder specifically for the downloaded video, right-click in the desired location and select “New Folder.” Give the folder an appropriate name.
- Once you have located the destination folder or created a new folder, click and drag the video file from the file explorer window into the destination folder. Alternatively, you can right-click on the video file and select “Cut” or “Copy,” then navigate to the destination folder and paste the video file.
The video file will now be saved in the chosen destination folder on your computer’s storage. You can verify the file’s presence by navigating to the folder and checking for the video file’s presence.
It’s essential to choose a location that is easily accessible and organized for future reference. Consider creating a dedicated folder specifically for downloaded videos to keep them organized and readily available.
Now that you have chosen the destination folder for the video file, it’s time to move on to the next step and wait for the video to transfer completely.
Step 7: Wait for the video to transfer
After selecting the destination folder for the video file, it’s time to wait patiently for the transfer process to complete. The duration of the transfer will depend on the size of the video file and the speed of your computer’s hardware and storage, as well as the speed of your connection.
Follow these steps to ensure a successful transfer:
- Ensure that your iPhone remains connected to your computer throughout the transfer process.
- Monitor the progress of the transfer if available. Some file explorer windows display a progress bar or a percentage indicator to show the status of the transfer.
- Avoid interrupting the transfer process by disconnecting your iPhone or shutting down your computer. Doing so may result in an incomplete or corrupt transfer of the video file.
- Be patient. The transfer duration can vary depending on the file size and the speed of your devices and network. Larger files may take longer to transfer, so it’s important to allow sufficient time for the process to complete.
During the transfer, you can engage in other activities on your computer or iPhone, but it is advisable to avoid any large file transfers or intensive tasks that may affect the transfer process or slow down your devices.
Once the transfer is complete, you will have the video file saved in the designated destination folder on your computer. You can now proceed to access and enjoy the downloaded video.
Now that you have waited patiently for the video transfer to complete, it’s time to move on to the final step and access the downloaded video on your computer.
Step 8: Access the downloaded video on your computer
After patiently waiting for the video transfer to complete, it’s time to access the downloaded video on your computer. You can now enjoy the video on a larger screen or use it for further editing and sharing purposes.
Follow these steps to access the downloaded video:
- Navigate to the destination folder where you saved the video file on your computer. This is the folder you selected in Step 6.
- Double-click on the folder to open it and reveal its contents.
- Locate the video file within the folder. It will typically have the same name and file format as the original video from your iPhone.
- To play the video, double-click on the video file. Your default media player should open and start playing the video.
Depending on your computer’s settings and installed software, you may have different media players available, such as Windows Media Player, QuickTime, or VLC Media Player. If the video does not open in your default media player, you can right-click on the video file, select “Open with,” and choose your preferred media player.
If you plan to edit the video, import it into video editing software such as iMovie (for Mac users) or Windows Movie Maker (for Windows users). This will allow you to trim, add effects, and enhance the video according to your preferences.
Additionally, you can share the downloaded video with others by uploading it to video-sharing platforms like YouTube or Vimeo, or simply copy it to a portable storage device such as a USB drive or external hard drive for easy transfer to other devices.
With the downloaded video now accessible on your computer, you have successfully completed the process of transferring videos from your iPhone to your computer.
Congratulations! You can now enjoy, edit, or share your favorite videos from your iPhone on a larger screen!
Conclusion
Transferring videos from your iPhone to your computer is a convenient way to free up storage space on your device, create backups, and enjoy your videos on a larger screen. By following the simple steps outlined in this guide, you can easily download videos from your iPhone to your computer using the Files app.
In this guide, we covered the following steps:
- Connecting your iPhone to your computer
- Opening the Files app on your iPhone
- Locating the video you want to download
- Selecting the video file
- Exporting the video to your computer
- Choosing the destination folder on your computer
- Waiting for the video to transfer
- Accessing the downloaded video on your computer
By following these steps, you can ensure a seamless and efficient process of transferring videos from your iPhone to your computer. Remember, it’s important to keep your iPhone connected to your computer throughout the transfer process and to be patient as larger file transfers may take some time to complete.
Once the video transfer is finished, you can access the downloaded video on your computer, play it using your preferred media player, edit it, or share it with others. Enjoy the freedom of having your favorite videos readily available on your computer.
Technology continues to make our lives easier, and with the ability to transfer videos from your iPhone to your computer, you can ensure your treasured memories and entertaining content are easily accessible and safely stored.
Now that you’re equipped with the knowledge to download videos from your iPhone to your computer, go ahead and explore the possibilities this opens up for you. Whether it’s archiving special moments, editing videos, or simply watching your favorite content on a larger screen, you can now do it all hassle-free.


