Introduction
Welcome to our guide on how to download videos from your computer to your iPhone! In this digital age, videos have become an integral part of our lives. Whether it’s a funny clip, a tutorial, or a personal video, being able to transfer and enjoy these videos on your iPhone allows you to take your favorite content with you wherever you go. Fortunately, the process of downloading videos from your computer to your iPhone is easier than you might think.
By following the simple steps outlined in this guide, you’ll be able to move videos from your computer to your iPhone in no time. Whether you have a funny video you want to share with friends, a training video you need to watch on the go, or simply want to have your favorite TV series available offline, we have you covered.
Before we dive into the step-by-step process, it’s important to note that there are several methods you can use to transfer videos to your iPhone. In this guide, we will focus on using iTunes, Apple’s popular media management software, as it provides a seamless and reliable way to sync videos to your iPhone.
Without further ado, let’s get started and learn how to download videos from your computer to your iPhone using iTunes!
Step 1: Connect your iPhone to your computer
The first step in downloading videos from your computer to your iPhone is to establish a connection between the two devices. To do this, you will need your iPhone’s USB cable and a computer with iTunes installed.
First, locate the USB port on your computer and plug one end of the iPhone’s USB cable into it. The other end of the cable has a Lightning connector, which you will need to insert into the charging port of your iPhone. Make sure both ends are securely connected.
Once the physical connection is established, your iPhone will prompt you with a message asking for permission to trust the computer. Tap “Trust” on your iPhone’s screen to proceed.
Now, launch iTunes on your computer. It should automatically detect and recognize your iPhone. You will see an iPhone icon appear in the top-left corner of the iTunes window, indicating that your device is connected and ready to be synced.
If iTunes does not automatically open when you connect your iPhone, manually launch the application. Look for your device’s icon in the upper-left corner of the iTunes window. If you don’t see the icon, disconnect and reconnect the USB cable, ensuring it is properly inserted into both the computer and the iPhone.
Once your iPhone is successfully connected to your computer and recognized by iTunes, you’re ready to move on to the next step.
Step 2: Open iTunes
With your iPhone connected to your computer, the next step is to open iTunes. iTunes is a multimedia software application developed by Apple that allows you to manage and sync your media files, including videos, music, and more.
If you’re using a Windows computer, you can open iTunes by clicking on the Start menu, searching for “iTunes,” and selecting the application from the search results. On a Mac, you can find iTunes in the Applications folder or by using Spotlight search.
Once you’ve located and opened iTunes, you will see a familiar interface with various options and tabs. The main window consists of a sidebar on the left-hand side and a larger content display area on the right.
In the sidebar, you will find different categories, including Music, Movies, TV Shows, and more. These categories represent the various types of media you can sync to your iPhone.
Take a moment to familiarize yourself with the iTunes interface. This will help you navigate through the application and locate the necessary settings and options to transfer videos to your iPhone.
If you’re new to iTunes, don’t worry – it’s designed to be user-friendly and intuitive. As we progress through the next steps, you’ll become more comfortable with using iTunes to download videos to your iPhone.
Now that you have iTunes open and ready, let’s move on to the next step, which involves adding the video file to iTunes.
Step 3: Add the video file to iTunes
Now that iTunes is open and ready, it’s time to add the video file you want to transfer to your iPhone. Adding the video to iTunes allows you to organize and synchronize it with your iPhone seamlessly.
To add a video file to iTunes, follow these steps:
- Click on the “File” tab in the top-left corner of the iTunes window. A drop-down menu will appear.
- From the drop-down menu, select “Add File to Library” if you want to add a specific video file, or choose “Add Folder to Library” if you want to add an entire folder containing multiple videos.
- A file browser window will open. Navigate to the location where your video file is stored. Select the file you want to add and click “Open.” If you’re adding a folder, select the folder and click “Open.”
Once you’ve added the video file or folder, it will appear in the “Movies” or “TV Shows” section of your iTunes library, depending on the type of video file it is.
Take a moment to verify that the video file has been successfully added to iTunes. You can do this by navigating to the “Movies” or “TV Shows” tab in the sidebar and looking for the title of the video.
If you’re unable to locate the video file, double-check that you selected the correct file or folder during the adding process. You can repeat the steps to add the video file again if necessary.
Now that the video file is in your iTunes library, you’re ready to proceed to the next step: syncing your iPhone with iTunes to transfer the video.
Step 4: Sync your iPhone with iTunes
Now that you have added the video file to your iTunes library, it’s time to sync your iPhone with iTunes to transfer the video. Syncing allows you to transfer media files, including videos, from your computer to your iPhone.
To sync your iPhone with iTunes, follow these steps:
- Select your iPhone icon from the top-left corner of the iTunes window. This opens the Summary page for your device.
- In the main content area, you will find various tabs, including “Summary,” “Music,” “Movies,” and more. Click on the tab that corresponds to the type of media you want to sync. In this case, click on the “Movies” or “TV Shows” tab.
- Check the box next to “Sync Movies” or “Sync TV Shows” if it is not already checked. This enables the syncing of videos to your iPhone.
- Under the selected tab, you will find options to choose which videos to sync to your iPhone. You can select specific videos, entire seasons of TV shows, or even all videos in your iTunes library.
- Once you have made your selections, click on the “Apply” or “Sync” button in the bottom-right corner of the iTunes window. This initiates the syncing process.
During the syncing process, iTunes will transfer the selected video or videos from your computer to your iPhone. The time it takes to complete the sync depends on the size of the video files and the speed of your computer.
While the sync is in progress, make sure not to disconnect your iPhone from the computer. Doing so may interrupt the syncing process and prevent the video from being transferred successfully.
Once the sync is complete, you can verify that the video has been successfully transferred by unplugging your iPhone from the computer and checking the “Movies” or “TV Shows” app on your iPhone.
Now that you have successfully synced your iPhone with iTunes, it’s time to move on to the final step: finding and playing the video on your iPhone.
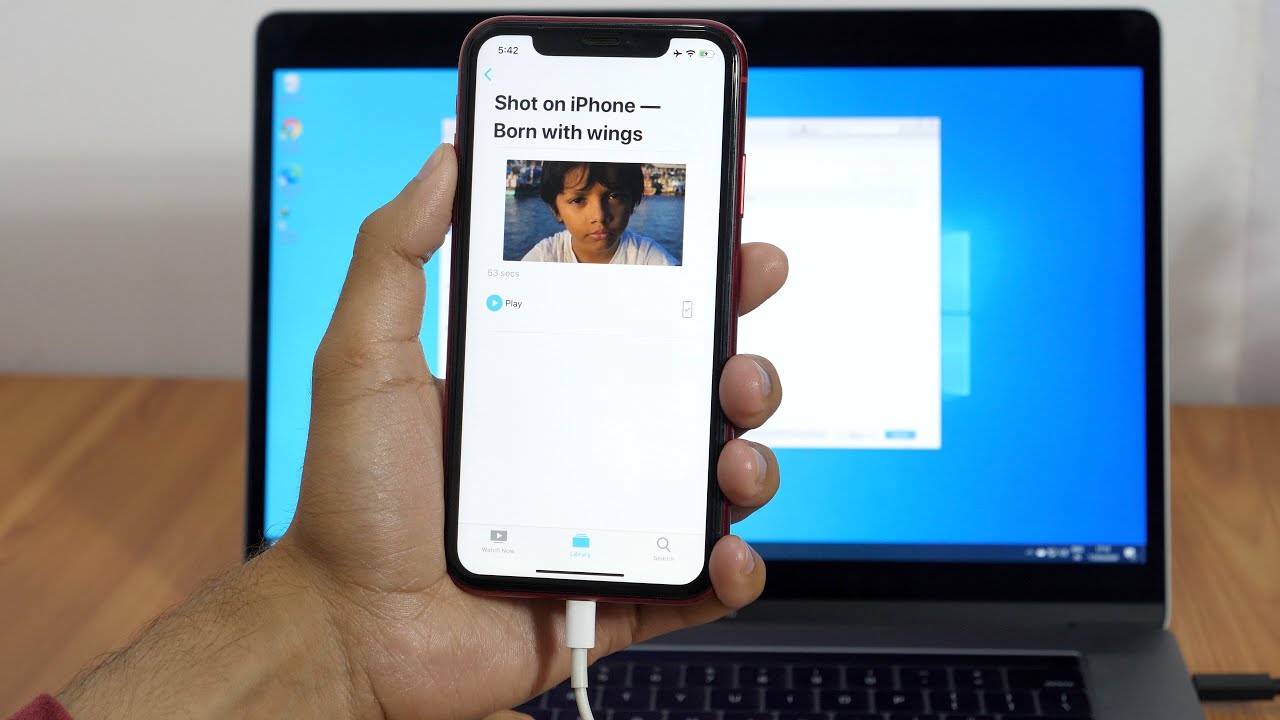
Step 5: Find and play the video on your iPhone
Now that the video has been successfully transferred to your iPhone, it’s time to find and play it on your device. With a few simple taps, you’ll be able to enjoy your favorite videos wherever you are.
To find and play the video on your iPhone, follow these steps:
- Unlock your iPhone and go to the home screen. Swipe left or right to find the “Movies” or “TV Shows” app icon. Tap on it to open the app.
- In the “Movies” or “TV Shows” app, you will see a list of all the videos that have been synced to your iPhone. Scroll through the list to find the video you want to play.
- Once you’ve located the video, tap on its thumbnail to start playing it. You will be able to control the playback using the on-screen controls, such as play, pause, rewind, and fast forward.
- If you have transferred multiple videos to your iPhone, you can use the search bar or the filter options to quickly find the video you’re looking for.
While watching the video, you can adjust the volume, enable subtitles (if available), and even AirPlay the video to a compatible device, such as an Apple TV.
Remember, the video you transferred will remain on your iPhone until you decide to remove it manually. You can easily delete videos from your iPhone by using the “Edit” option within the “Movies” or “TV Shows” app.
Now that you know how to find and play the video on your iPhone, you can enjoy your favorite videos anytime and anywhere.
Conclusion
Congratulations! You have successfully learned how to download videos from your computer to your iPhone using iTunes. By following the simple steps outlined in this guide, you can now take your favorite videos with you wherever you go.
Through the process of connecting your iPhone to your computer, opening iTunes, adding the video file to iTunes, syncing your iPhone, and finding and playing the video on your device, you have gained the knowledge and skills necessary to transfer videos seamlessly.
Remember, iTunes provides a reliable and convenient method for managing your media files. Whether you want to sync movies, TV shows, music, or more, iTunes allows you to organize and enjoy your content on your iPhone effortlessly.
Now that you know how to download videos to your iPhone, explore the possibilities. Download and enjoy your favorite movies, TV shows, training videos, or any other videos that you love.
Keep in mind that iTunes is just one method of transferring videos to your iPhone. There are also other options available, such as third-party apps and cloud storage services, that offer alternative ways to download videos.
Thank you for following this guide. We hope it has been informative and helpful. Enjoy your video-watching experience on your iPhone!