Introduction
Welcome to this step-by-step guide on how to download files and folders to your external hard drive. If you have limited storage space on your computer or want to create a separate backup of your important files, transferring them to an external hard drive is an ideal solution. Not only does it provide you with extra storage space, but it also ensures that your files remain safe and easily accessible.
Downloading files to an external hard drive is a straightforward process that requires just a few simple steps. In this guide, we will walk you through the process, providing clear instructions to help you successfully transfer your files with ease.
Before we dive into the steps, make sure you have your external hard drive connected to your computer. Additionally, ensure that your external hard drive has sufficient storage capacity to accommodate the files you want to download.
Now, let’s get started with the first step in this guide: connecting your external hard drive to your computer.
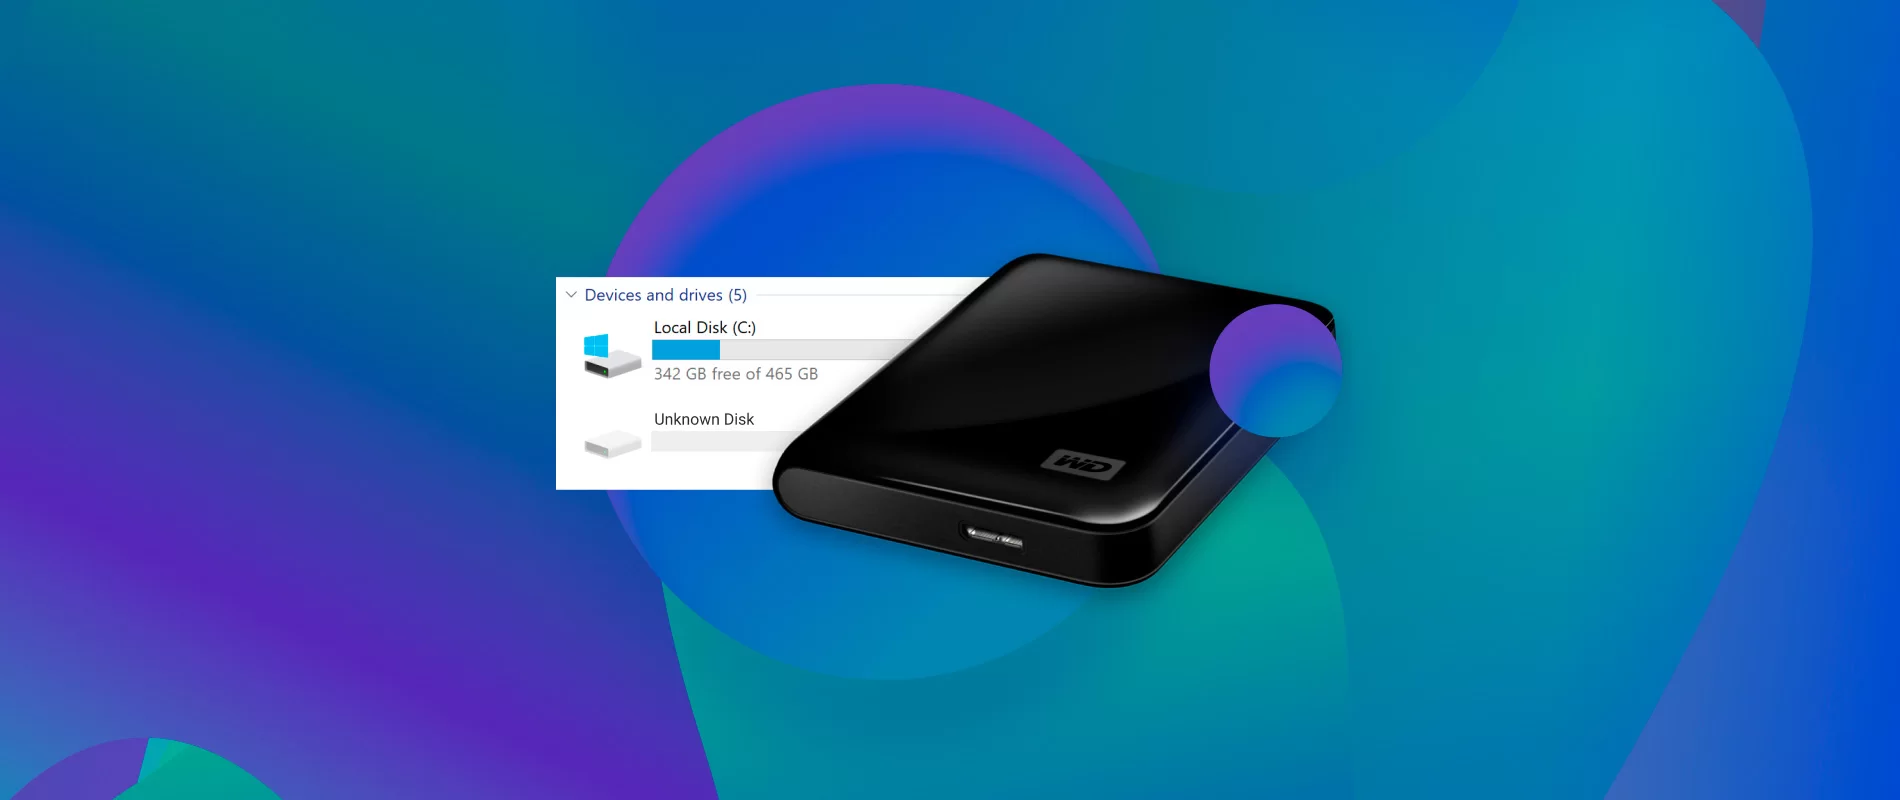
Step 1: Connect your external hard drive to your computer
The first step in downloading files to your external hard drive is to ensure it is properly connected to your computer. Here’s how you can do it:
- Locate the USB port on your computer where you will connect your external hard drive.
- Take the USB cable provided with your external hard drive and plug it into the USB port on your computer.
- Now, take the other end of the USB cable and connect it to the appropriate port on your external hard drive.
- Once connected, you should see a notification or a new drive appearing on your computer, indicating that your external hard drive has been successfully connected.
It is important to ensure that the connection between your computer and external hard drive is secure. If the connection is loose or unstable, you may encounter issues during the file transfer process.
Once you have successfully connected your external hard drive to your computer, you are now ready to move on to the next step: opening the download location on your computer.
Step 2: Open the download location on your computer
After connecting your external hard drive, you need to navigate to the location where the files or folders you want to download are stored on your computer. Follow these steps to open the download location:
- Open the file explorer on your computer. You can do this by clicking on the folder icon in your taskbar or by pressing the “Windows key + E” on your keyboard.
- In the file explorer window, you will see a navigation pane on the left-hand side. Locate and click on the folder or drive where your files or folders are saved.
- Once you have selected the correct folder or drive, the contents of that location will be displayed in the main window of the file explorer.
If you are unsure about the specific location of your files, you can utilize the search function within the file explorer to locate them. Simply type in the name of the file or folder in the search bar located in the top-right corner of the file explorer window.
By opening the download location on your computer, you can easily access the files or folders you want to transfer to your external hard drive. In the next step, we will discuss how to select the files or folders for downloading.
Step 3: Select the files or folders you want to download
Now that you have opened the download location on your computer, it’s time to select the specific files or folders that you want to transfer to your external hard drive. Follow these steps to make your selections:
- Take a look at the contents displayed in the main window of the file explorer. Navigate through the folders if needed to locate the desired files or folders.
- To select a single file, simply click on it once. To select multiple files, hold down the Ctrl key on your keyboard while clicking each file that you want to download.
- If you want to select an entire folder along with its contents, simply click on the folder once. This will highlight the folder and everything inside it for downloading.
As you make your selections, you may find it helpful to use the various view options available in the file explorer. You can choose to view files as detailed lists, large icons, or small icons, depending on your preference.
Remember to consider the storage capacity of your external hard drive while selecting files or folders. If you have limited space available, prioritize the most important or frequently used files for downloading.
Once you have made your selections, you are ready to proceed to the next step: right-clicking on the selected files or folders to initiate the download process.
Step 4: Right-click on the selected files or folders
After selecting the specific files or folders that you want to download to your external hard drive, the next step is to initiate the download process. Follow these instructions to proceed:
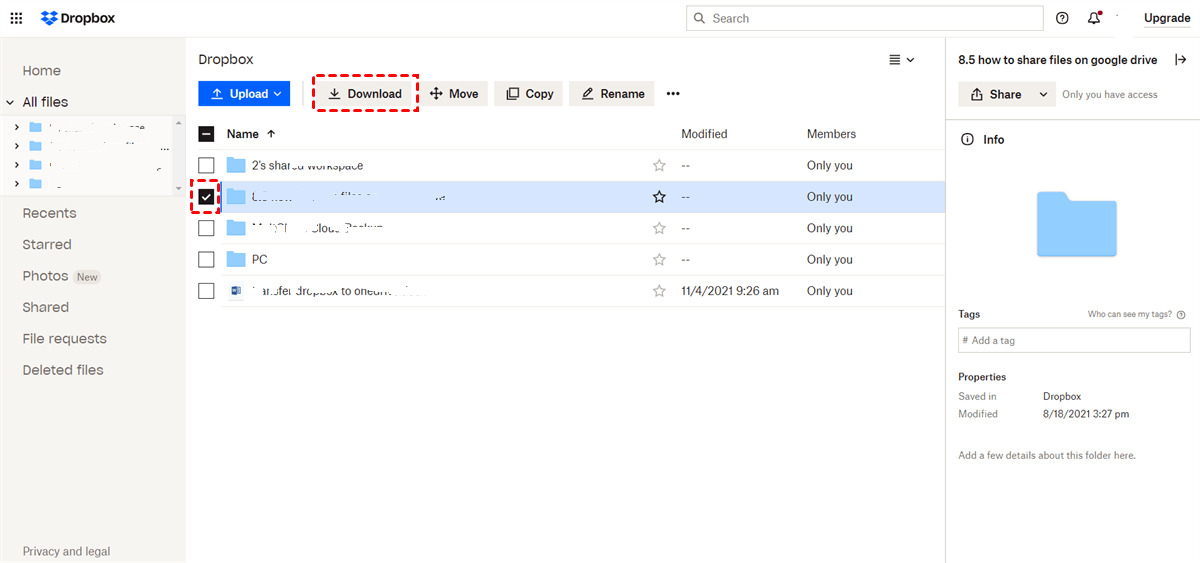
- With the files or folders still selected, right-click on any one of them to open a dropdown menu.
- In the dropdown menu, you will see various options. Look for the option that says “Copy”. This option will copy the selected files or folders to your clipboard.
- Click on the “Copy” option to trigger the copying process. You can also use the shortcut “Ctrl + C” on your keyboard as an alternative method to copy the files or folders.
Once you have copied the selected files or folders, they will be temporarily stored in your computer’s clipboard, ready to be pasted onto your external hard drive in the next step.
It’s important to note that the “Copy” option only duplicates the files or folders, ensuring that the original files remain intact on your computer. This way, you can have a backup of your files on both your computer and external hard drive.
With the files or folders successfully copied to your clipboard, it’s time to navigate to your external hard drive in order to paste them. In the next step, we will explore how to open your external hard drive and complete the transfer process.
Step 5: Choose “Copy” from the dropdown menu
Once you have selected the desired files or folders that you want to download to your external hard drive, the next step is to choose the “Copy” option from the dropdown menu. By doing so, you will initiate the process of duplicating the selected files or folders to your computer’s clipboard. Follow these steps to proceed:
- With the files or folders still selected, right-click on any one of them to open a dropdown menu.
- In the dropdown menu, you will see various options. Look for the option that says “Copy”. This option is typically located near the top or middle section of the menu.
- Click on the “Copy” option to trigger the copying process. Alternatively, you can also use the keyboard shortcut “Ctrl + C” to copy the files or folders.
Once you have chosen the “Copy” option, the selected files or folders will be temporarily stored in your computer’s clipboard. This allows you to move and paste them onto your external hard drive in the subsequent steps.
It’s important to mention that selecting the “Copy” option duplicates the files or folders, ensuring that the original files remain unchanged on your computer. This provides an additional layer of protection in case of any unexpected issues during the file transfer process.
With the files or folders successfully copied to your clipboard, you are now ready to proceed to the next step: opening your external hard drive to paste the duplicated files or folders onto it.
Step 6: Open your external hard drive
After copying the desired files or folders to your computer’s clipboard, the next step is to open your external hard drive. By doing so, you can create a destination for your copied files on your external storage device. Follow these steps to proceed:
- Locate the icon representing your external hard drive. This icon may appear on your desktop, in the file explorer, or in the taskbar, depending on your computer’s settings.
- If you don’t see the icon, you can open the file explorer by clicking on the folder icon in your taskbar or pressing the “Windows key + E” on your keyboard. On the left-hand side of the file explorer window, you should see a list of drives. Look for the one that represents your external hard drive.
- Click on the icon or drive name to open your external hard drive. This action will display the contents of your external hard drive in the file explorer window.
Once your external hard drive is opened, you will have access to its available storage space, which will be ready to receive your copied files or folders.
It’s worth mentioning that if your external hard drive has multiple partitions, you need to make sure you open the correct one where you want to save your files. Each partition will have a different drive letter assigned to it, such as “D:”, “E:”, etc. Choose the one that corresponds to your external hard drive.
With your external hard drive successfully opened, you are ready to proceed to the next step: right-clicking on an empty space in your external hard drive to prepare for pasting.
Step 7: Right-click on an empty space in your external hard drive
Once you have opened your external hard drive, the next step is to right-click on an empty space within it. This action will bring up a dropdown menu with various options, allowing you to paste the copied files or folders onto your external hard drive. Follow these steps to proceed:
- Position your mouse cursor over an empty space within the file explorer window that represents your external hard drive.
- With the mouse cursor positioned correctly, right-click on the empty space to open a dropdown menu with several options.
- In the dropdown menu, look for the option that says “Paste”. This option is typically located near the top or middle section of the menu.
- Click on the “Paste” option to initiate the process of pasting the copied files or folders from your computer’s clipboard onto your external hard drive.
By choosing the “Paste” option, the files or folders that you previously copied will be transferred from your computer’s clipboard to the selected location within your external hard drive.
It’s important to note that the time it takes to complete the paste operation will depend on the size and quantity of the files or folders. Larger files or a larger number of files may require more time to transfer to your external hard drive. Be patient as the files are being pasted to avoid interrupting the process.
With the files or folders successfully pasted onto your external hard drive, you are one step closer to completing the transfer process. In the next step, we will discuss the importance of waiting for the files or folders to finish copying before proceeding.
Step 8: Choose “Paste” from the dropdown menu
After right-clicking on an empty space in your external hard drive, the next step is to choose the “Paste” option from the dropdown menu. By doing so, you will initiate the process of transferring the copied files or folders from your computer’s clipboard to your external hard drive. Follow these steps to proceed:
- Position your mouse cursor over an empty space within the file explorer window that represents your external hard drive.
- With the mouse cursor positioned correctly, right-click on the empty space to open a dropdown menu with several options.
- In the dropdown menu, look for the option that says “Paste”. This option is typically located near the top or middle section of the menu.
- Click on the “Paste” option to initiate the process of pasting the copied files or folders from your computer’s clipboard onto your external hard drive.
By choosing the “Paste” option, the files or folders that you previously copied will be transferred from your computer’s clipboard to the selected location within your external hard drive. The time it takes to complete the paste operation will vary depending on the size and quantity of the files or folders being transferred. Larger files or a larger number of files may take more time to transfer, so it’s important to be patient and allow the process to complete.
During the transfer process, it’s recommended to avoid interrupting or disconnecting your external hard drive to ensure the successful completion of the file transfer. If you encounter any errors or issues during the transfer, double-check the available storage space on your external hard drive and ensure that it is functioning properly.
Once the files or folders have finished copying to your external hard drive, you are one step closer to successfully downloading them. In the next step, we will discuss the importance of safely ejecting your external hard drive.
Step 9: Wait for the files or folders to finish copying
Once you have chosen the “Paste” option to initiate the transfer process, it’s crucial to be patient and allow the files or folders to finish copying to your external hard drive. The time it takes to complete the copy operation will depend on the size and quantity of the files being transferred. Larger files or a larger number of files may require more time to copy. Here’s what you should do:
- Monitor the progress of the file transfer in the file explorer window. You may see a progress bar or a file count that indicates the status of the copy operation.
- Avoid interrupting the copy process by refraining from performing any actions that may impact the transfer, such as disconnecting the external hard drive or closing the file explorer window.
- Depending on the size of the files or folders being copied, the transfer process may take a few moments or several minutes. Be patient and let the copy operation complete without any interruptions.
It’s crucial to ensure that the files or folders have finished copying before proceeding to the next step. Prematurely disconnecting your external hard drive or interrupting the copy process may result in incomplete or corrupted file transfers. To prevent data loss and ensure the integrity of your files, it’s essential to wait for the copy operation to finish.
Once the files or folders have successfully copied to your external hard drive, you are almost finished with the downloading process. In the next step, we will discuss the importance of safely ejecting your external hard drive to prevent data loss and ensure proper removal.
Step 10: Safely eject your external hard drive
After the files or folders have finished copying to your external hard drive, it’s crucial to follow the proper procedure to safely eject your external hard drive from your computer. This step ensures that all data has been written and saved correctly, minimizing the risk of data loss or corruption. Here’s how you can safely eject your external hard drive:
- Locate the icon representing your external hard drive on your computer.
- If you’re using Windows, you can typically find the external hard drive icon in the system tray, which is located in the lower-right corner of your screen. Mac users can find it on the desktop or in the Finder sidebar.
- Once you’ve located the icon, right-click on it to open a dropdown menu with multiple options.
- In the dropdown menu, look for the option that says “Eject,” “Safe Remove,” or something similar that indicates the safe removal of your external hard drive.
- Click on the “Eject” or “Safe Remove” option to initiate the ejection process. Alternatively, you can also drag and drop the external hard drive icon into the trash or use the keyboard shortcut provided in the operating system to eject the device.
- Wait for the system to complete the ejection process. You may see a notification or message indicating that it’s safe to disconnect the external hard drive.
- Once you receive the confirmation that it’s safe to do so, physically disconnect the USB cable from your computer and the external hard drive.
Ejecting your external hard drive safely ensures that all data has been written and saved, preventing potential data loss or corruption. It also prevents any damage to the device caused by abrupt disconnection.
By following these steps, you have successfully completed the process of downloading files or folders to your external hard drive. Your files are now securely stored on the external storage device, providing you with additional space and a backup solution for your valuable data. Remember to keep your external hard drive in a safe place away from potential physical damage or theft.
Conclusion
Congratulations! You have successfully learned how to download files and folders to your external hard drive. By following the step-by-step guide outlined in this article, you can easily transfer your important data to a separate storage device, ensuring easy access and backup. Let’s recap the steps:
- Connect your external hard drive to your computer.
- Open the download location on your computer.
- Select the files or folders you want to download.
- Right-click on the selected files or folders and choose “Copy”.
- Open your external hard drive and right-click on an empty space.
- Choose “Paste” from the dropdown menu to initiate the transfer.
- Wait for the files or folders to finish copying.
- Safely eject your external hard drive from your computer.
Remember, it’s essential to be patient throughout the process, as file transfers may take some time, especially for larger files or a greater number of files. Always ensure that the copying process is complete before disconnecting your external hard drive to avoid data loss or corruption.
Downloading files to an external hard drive provides you with additional storage space on a separate device, allowing you to free up space on your computer and have an extra copy of your files for added security. Whether you’re backing up important work documents, storing multimedia files, or transferring large folders, using an external hard drive is a convenient and reliable solution.
Now that you have the knowledge and skills to download files and folders to an external hard drive, you can confidently organize and secure your data. Remember to make it a habit to regularly back up your important files to ensure they are safe from any potential computer issues.
Happy downloading and enjoy the convenience and peace of mind that an external hard drive brings!