Introduction
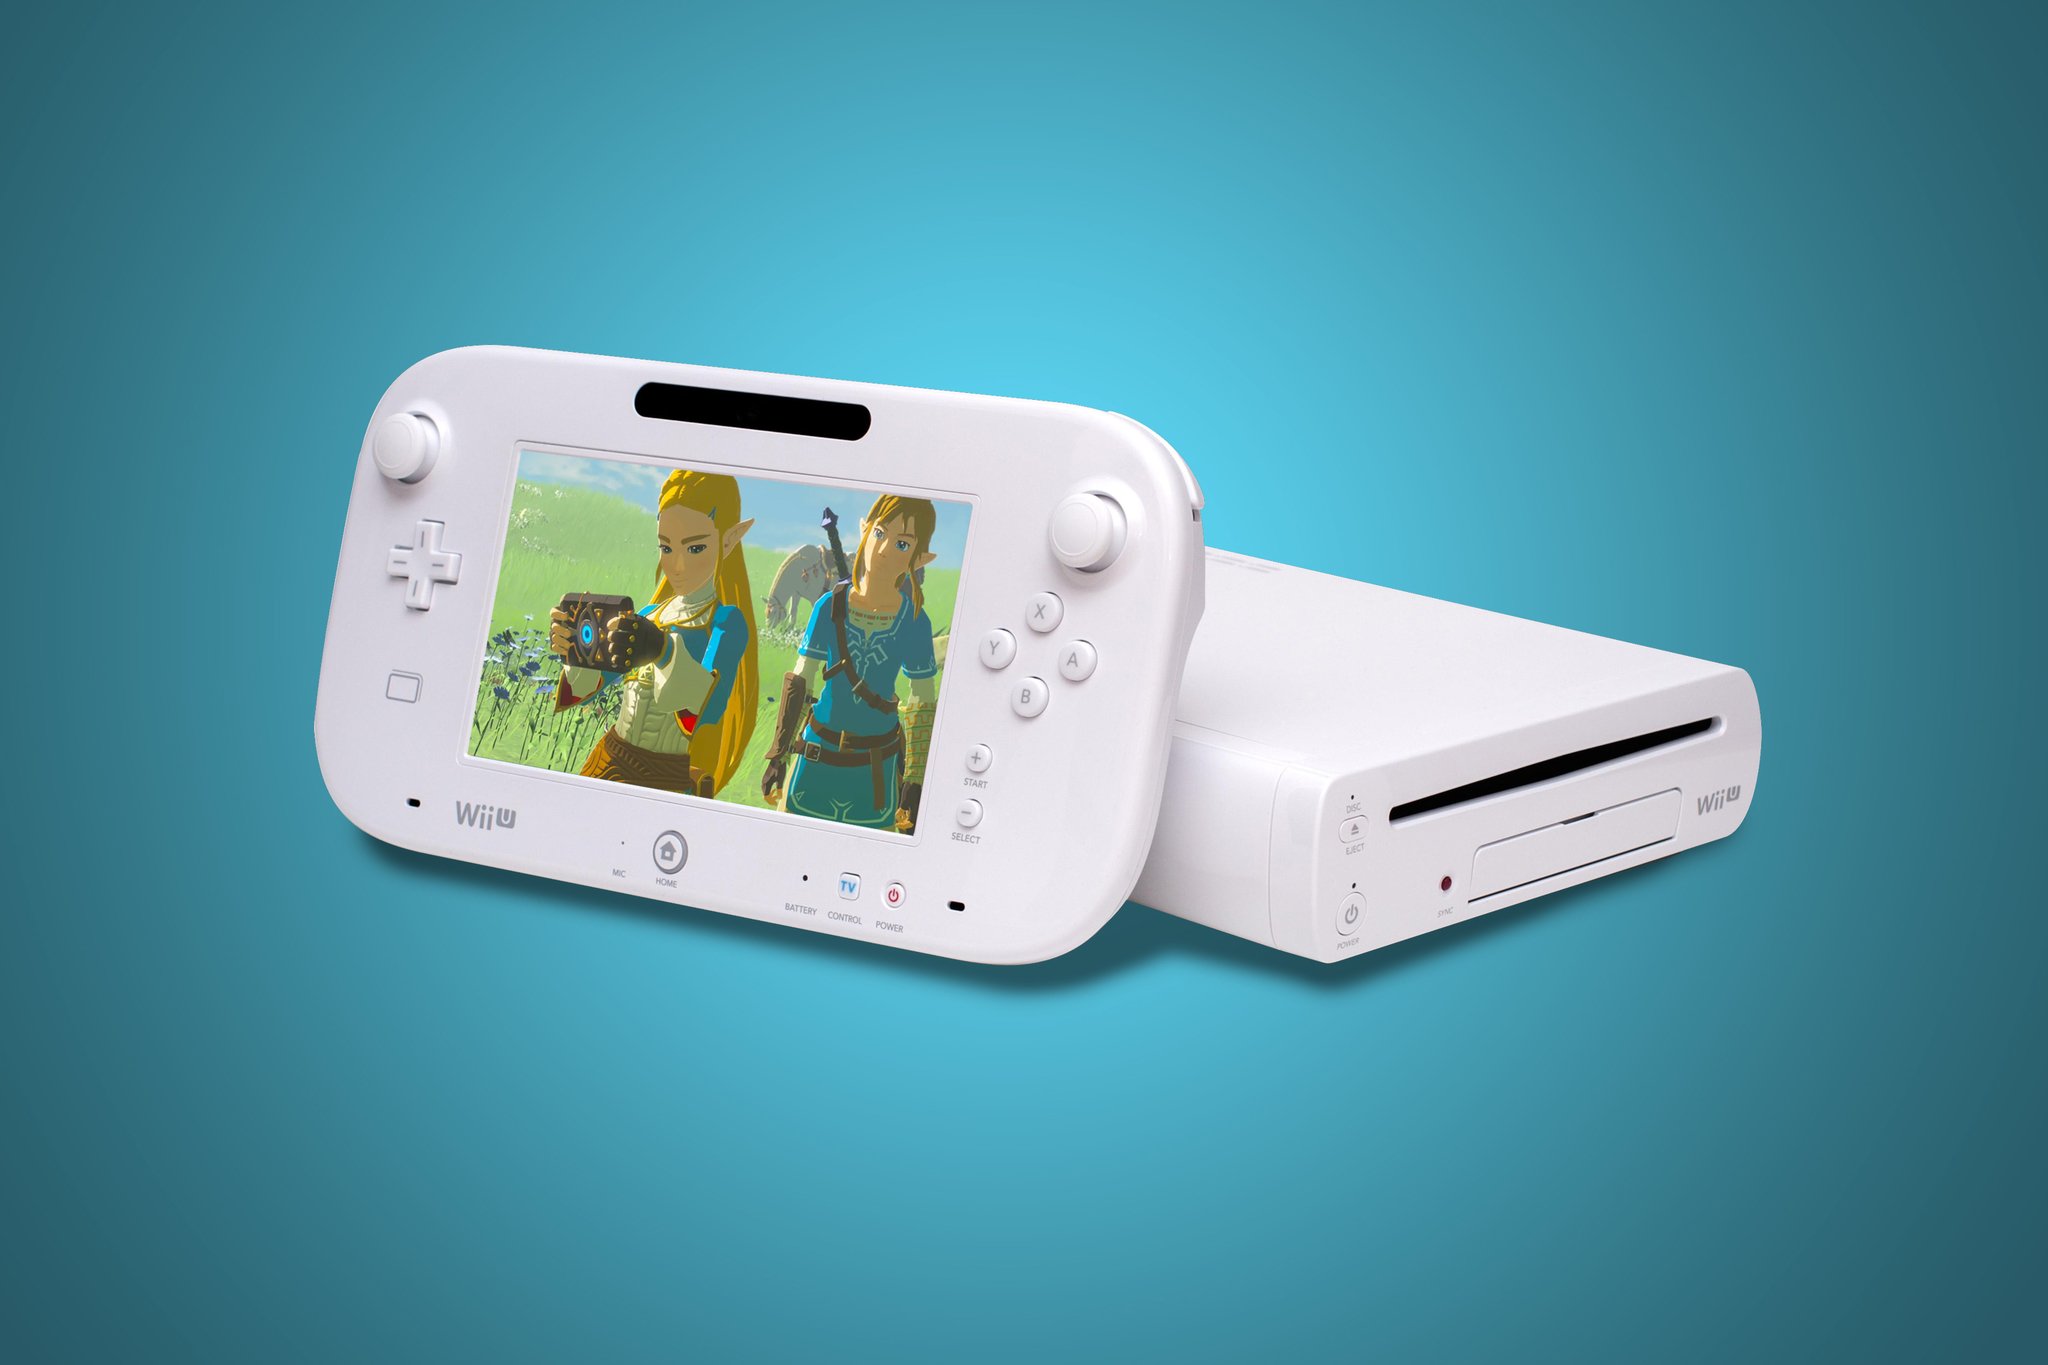
Welcome to our guide on how to format an external hard drive for Wii U. The Wii U is a popular gaming console that offers a wide range of games to enjoy. However, the console’s limited internal storage can quickly fill up, especially if you are someone who loves to download and play multiple games. By formatting an external hard drive for Wii U, you can expand your storage capacity and have more room to store your favorite games, downloadable content, and other media.
Formatting an external hard drive may sound like a complicated task, but don’t worry, we’ve got you covered. In this guide, we will walk you through the step-by-step process of preparing and formatting an external hard drive for use with your Wii U console. From checking compatibility to transferring files, we will cover everything you need to know to get your external hard drive up and running.
Before we dive into the steps, let’s clarify why formatting an external hard drive is necessary. When you connect an external hard drive to your Wii U, it needs to be formatted in a specific way so that the console can recognize it and use it for storage. The Wii U requires the hard drive to be formatted in a specific file system called “Wii U File System” or “WiiUFS”. This unique file system ensures optimal performance and compatibility with the console.
Now that you have a general understanding of the importance of formatting an external hard drive for Wii U, let’s move on to the first step: checking compatibility.
Step 1: Checking Compatibility
Before you begin the process of formatting an external hard drive for your Wii U, it’s essential to ensure that your hard drive is compatible with the console. Not all external hard drives are compatible, so it’s important to check for compatibility to avoid any issues down the line.
The Wii U has specific requirements for external hard drives, so here’s what you need to check:
- USB Compatibility: The Wii U only supports USB 2.0 external hard drives. Ensure that your hard drive is USB 2.0 compatible. USB 3.0 drives may work, but they will operate at USB 2.0 speeds.
- Storage Capacity: The Wii U supports external hard drives with a capacity of up to 2TB (terabytes). If your hard drive exceeds this limit, it may not be recognized by the console.
- Power Supply: In most cases, the Wii U provides sufficient power to external hard drives via its USB ports. However, some hard drives require additional power and come with separate power adapters. Make sure your hard drive is self-powered or has a compatible power adapter.
To check compatibility, you can refer to the documentation provided by the manufacturer or visit their website for specifications. Additionally, you can search online forums or communities where users discuss compatible hard drives for the Wii U.
It’s important to note that once you format your hard drive for Wii U, it will be dedicated solely to the console. This means you won’t be able to use it for other purposes like storing files or connecting it to other devices without reformatting it. Therefore, it’s recommended to use a dedicated hard drive for your Wii U to avoid any data loss or complications.
Now that you have confirmed compatibility, you can move on to the next step: choosing the right external hard drive for your Wii U.
Step 2: Choosing the Right External Hard Drive
Now that you have checked the compatibility requirements for your Wii U, it’s time to choose the right external hard drive. With so many options available in the market, it’s crucial to consider a few factors that will ensure a smooth and reliable gaming experience.
Here are some things to consider when selecting an external hard drive for your Wii U:
- Storage Capacity: Determine the amount of storage space you need. This will depend on your gaming preferences and the number of games and downloadable content you plan to store. Keep in mind that the Wii U supports external hard drives with a maximum capacity of 2TB.
- Reliability: Look for a reputable brand known for producing reliable and durable hard drives. You want a hard drive that will withstand continuous use and provide a stable storage solution.
- Speed: Consider the speed at which the hard drive can transfer data. Opt for a drive with a higher RPM (revolutions per minute) or solid-state drive (SSD) technology for faster loading times.
- Portability: If you plan to take your Wii U and external hard drive with you on the go, choose a compact and portable drive that is easy to carry and doesn’t require an additional power source.
- Price: Set a budget for your external hard drive and look for options that fit within your price range. However, keep in mind that investing in a reliable and high-quality hard drive is worth the long-term benefits.
Reading customer reviews and researching different models will help you make an informed decision. Additionally, you can seek recommendations from fellow gamers or consult dedicated gaming forums for suggestions on the best external hard drives for Wii U.
Once you have chosen the perfect external hard drive for your Wii U, you are now ready to move on to the next step: preparing the hard drive for formatting.
Step 3: Preparing the Hard Drive
Now that you have chosen the right external hard drive for your Wii U, it’s time to prepare it for formatting. This step involves a few essential tasks to ensure that the hard drive is ready to be formatted and used with your console.
Here’s what you need to do to prepare the hard drive:
- Backup Your Data: Before proceeding with the preparation, it’s crucial to back up any important data that you have on the external hard drive. This is necessary because the formatting process will erase all existing data on the drive. Transfer your files to another storage device or computer to keep them safe.
- Remove any unnecessary files: Go through your hard drive and delete any unnecessary files or folders. This will help ensure that only the relevant data is transferred to the Wii U and optimize the storage space on the hard drive.
- Disconnect from other devices: If your hard drive is connected to any other devices, such as a computer, make sure to safely eject or disconnect it before proceeding. This will prevent any potential conflicts or data corruption during the preparation process.
- Prepare the Power Supply (if required): If your external hard drive requires a separate power supply, ensure that it is connected and functioning properly. Follow the manufacturer’s instructions on how to set up and connect the power supply to the hard drive.
By following these preparation steps, you are ensuring that your external hard drive is ready for the formatting process. Remember, formatting will erase all data on the drive, so it is crucial to back up any important files before proceeding.
Once you have completed the preparation, it’s time to move on to the next step: formatting the hard drive for Wii U.
Step 4: Formatting the Hard Drive
With the hard drive prepared, it’s time to format it specifically for your Wii U. The formatting process will ensure that the hard drive is recognized by the console and can be used for storage without any issues.
Follow these steps to format the hard drive for Wii U:
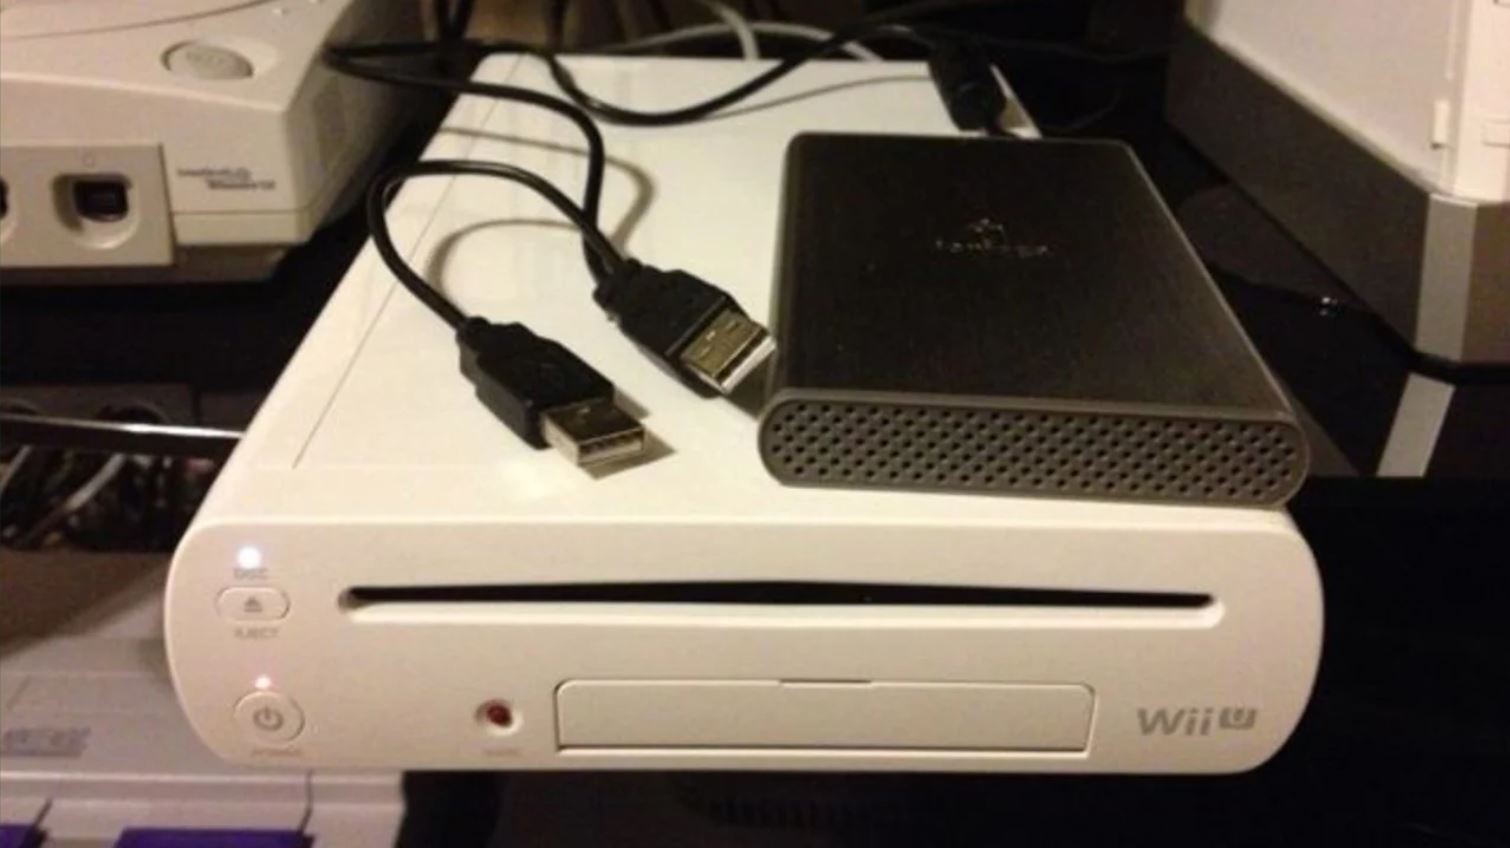
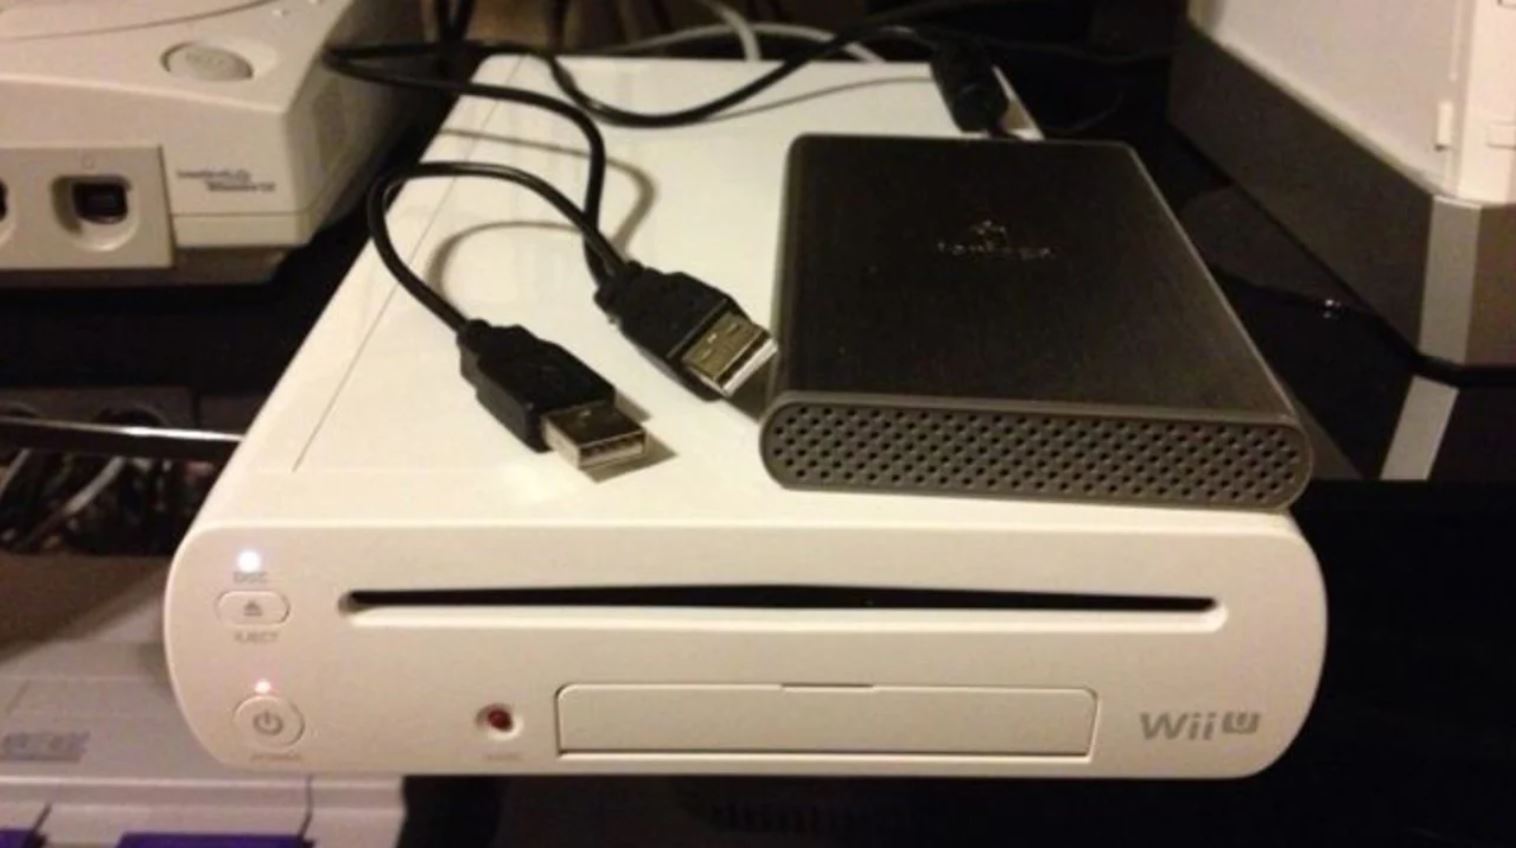
- Connect the Hard Drive to the Wii U: Plug the external hard drive into one of the available USB ports on your Wii U console. Make sure the connection is secure.
- Access the System Settings: Turn on your Wii U console and navigate to the main menu. From there, select the “System Settings” option.
- Select “Data Management” and “Format USB Storage Device”: In the System Settings menu, scroll down and choose the “Data Management” option. Then, select “Format USB Storage Device.”
- Confirm Formatting: A warning message will appear informing you that formatting will erase all data on the device. Carefully read the message and ensure that you have backed up your data. If you are ready to proceed, confirm the formatting process.
- Wait for Formatting to Complete: The Wii U console will begin formatting the hard drive for use. Wait patiently for the process to complete. The time it takes will depend on the size and speed of your hard drive.
- Formatting Complete: Once the formatting is finished, you will receive a confirmation message. Your external hard drive is now formatted and ready to be configured for use with your Wii U.
It’s important to note that once the hard drive is formatted for Wii U, it cannot be used with other devices without reformatting it. Keep this in mind when using the external hard drive in the future.
You have successfully formatted your hard drive for Wii U. The next step is to connect the hard drive to your Wii U console.
Step 5: Connecting the Hard Drive to Wii U
Now that your external hard drive is formatted and ready, it’s time to connect it to your Wii U console. This step will establish the connection between the console and the hard drive, allowing you to access and use the additional storage space.
Follow these steps to connect the hard drive to your Wii U:
- Ensure the Wii U is Powered Off: Before connecting the hard drive, make sure your Wii U console is completely powered off. This will prevent any potential issues during the connection process.
- Locate the USB Ports: Locate the USB ports on your Wii U console. These ports are usually located at the front or back of the console, depending on the model. Plug the USB cable from your external hard drive into one of the available ports.
- Secure the Connection: Ensure that the USB connection is secure by gently pushing the plug into the port. It should fit snugly without any loose connections.
- Power on the Wii U: Turn on your Wii U console by pressing the power button. The console will detect the connected external hard drive and automatically configure it for use.
Once the connection is established, your Wii U console will recognize the external hard drive as an available storage option. You can now proceed to the next step, which involves configuring the hard drive for use with your Wii U.
Step 6: Configuring the Hard Drive for Wii U
Having connected the external hard drive to your Wii U, it’s time to configure it to optimize its usage with the console. By configuring the hard drive, you can specify settings and options that enhance your gaming experience and ensure smooth performance.
Follow the steps below to configure the hard drive for your Wii U:
- Access the System Settings: From the Wii U main menu, navigate to the “System Settings” option.
- Select “Data Management”: Within the System Settings menu, choose the “Data Management” option.
- Select “USB Storage Device”: From the Data Management menu, select the “USB Storage Device” option. This will provide you with various configuration options for the connected hard drive.
- Choose Configuration Options: Within the USB Storage Device settings, you can choose various options such as “Copy/Move/Delete Data”, “USB Storage Settings”, and “Format USB Storage”. Explore these options to customize the storage device according to your preferences.
- Set Default Save Location: One important configuration option is to set the default save location for your games and data. You can choose to save data either on the internal storage or the external hard drive. Select your preferred option to ensure that all future downloads and game saves are stored on the external hard drive.
- Adjust Other Settings: Depending on your preferences, you can further adjust settings such as automatic downloads, background downloads, and sleep mode behavior for the external hard drive. Customize these options according to your gaming and storage needs.
By configuring the hard drive according to your preferences, you can optimize its usage with the Wii U console and ensure seamless performance. Once you have completed the configuration process, you are now ready to transfer files to the hard drive, which will be discussed in the next step.
Step 7: Transferring Files to the Hard Drive
With the external hard drive connected and configured for use with your Wii U, it’s time to transfer files and start enjoying expanded storage space for your games, downloadable content, and media.
Follow these steps to transfer files to your hard drive:
- Access the Wii U Menu: From the Wii U main menu, select the “Data Management” icon.
- Choose the Files to Transfer: Within the Data Management menu, you can choose which files you want to transfer to the external hard drive. You can select individual games, saved data, or downloadable content.
- Select “Copy” or “Move”: After selecting the files, choose whether you want to “Copy” or “Move” them to the external hard drive. “Copy” will create a duplicate of the file on the hard drive while keeping the original on the Wii U’s internal storage. “Move” will transfer the file to the hard drive, removing it from the internal storage.
- Follow the On-Screen Prompts: The Wii U will guide you through the process of transferring the selected files. Simply follow the on-screen prompts to complete the transfer.
- Monitor the Transfer Progress: Depending on the size and number of files being transferred, the process may take some time. Monitor the progress bar to ensure that the transfer completes successfully.
- Confirm Successful Transfer: Once the transfer is complete, you will receive a confirmation message. You can now access and play the transferred games and content directly from the external hard drive.
- Enjoy the Expanded Storage: With the files successfully transferred to the hard drive, you now have more space on your internal storage for new downloads and game saves. Enjoy the convenience of having ample storage for your Wii U console.
Remember to regularly organize and manage your files on the external hard drive to optimize the available space and ensure easy access to your games and content.
By following these steps, you have successfully transferred files to your external hard drive. Now you can enjoy the expanded storage capacity of your Wii U and have all your favorite games and content readily accessible.
Conclusion
Congratulations! You have successfully completed the process of formatting and preparing an external hard drive for your Wii U console. By following the steps outlined in this guide, you now have the ability to expand your storage capacity and enjoy a more extensive library of games and media.
We started with checking compatibility, ensuring that the external hard drive meets the specific requirements of the Wii U console. We then moved on to choosing the right external hard drive based on factors such as storage capacity, reliability, and speed.
After preparing the hard drive by backing up data and removing unnecessary files, we proceeded to format the drive specifically for the Wii U using the console’s system settings. This step ensured compatibility and optimal performance.
Once the hard drive was formatted, we connected it to the Wii U console and configured it based on our preferences, setting the default save location and adjusting other relevant settings. This allowed for a personalized and efficient storage solution.
Finally, we explored the process of transferring files to the external hard drive, enabling us to make the most of the expanded storage space and conveniently access our games, saved data, and downloadable content.
By following these steps, you can now enjoy a seamless gaming experience on your Wii U console without worrying about limited storage capacity.
Remember to regularly manage and organize the files on your external hard drive to optimize the available space and keep your games and content easily accessible. If you ever need to add more storage in the future, simply repeat the process outlined in this guide with another compatible external hard drive.
We hope this guide has been informative and helpful in guiding you through the process of formatting an external hard drive for your Wii U. Now go ahead, connect your hard drive, and dive into an exciting world of gaming!