Introduction
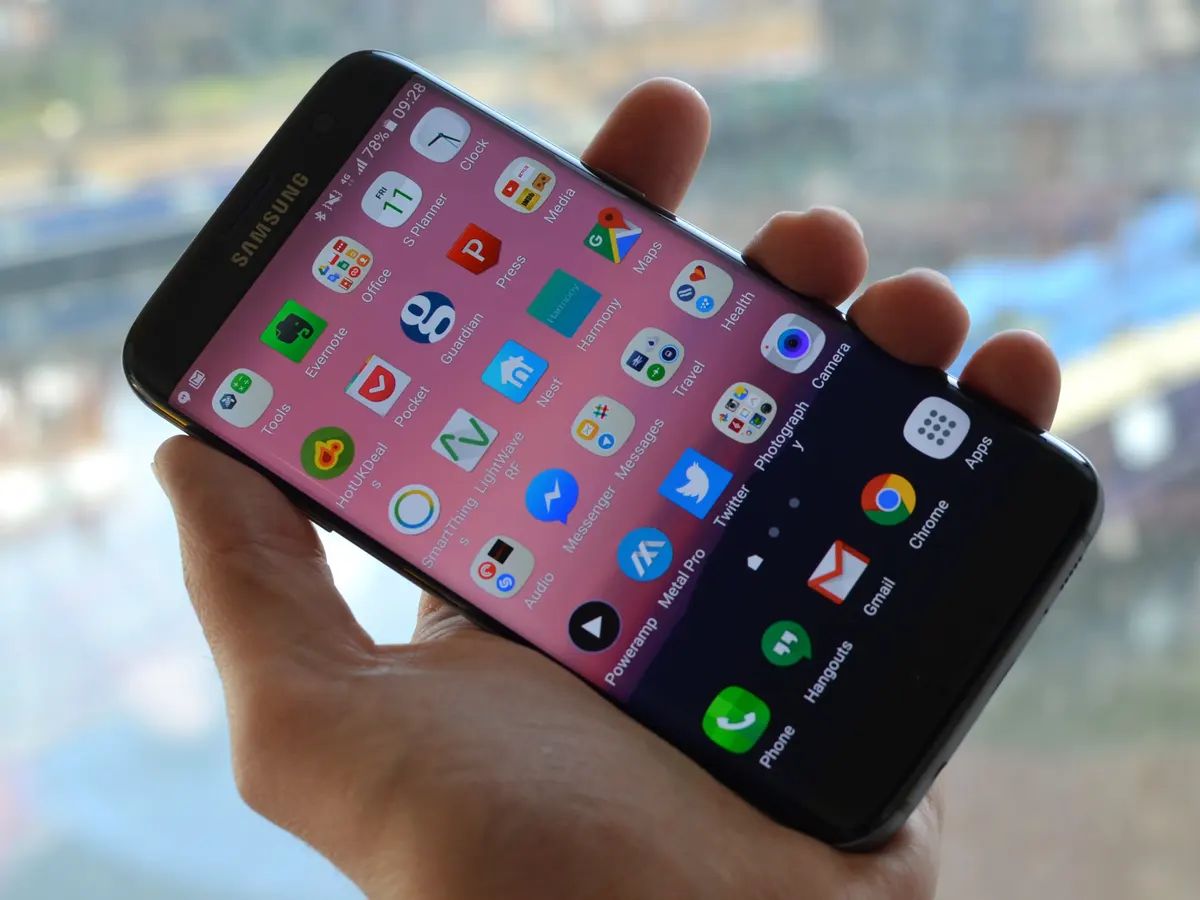
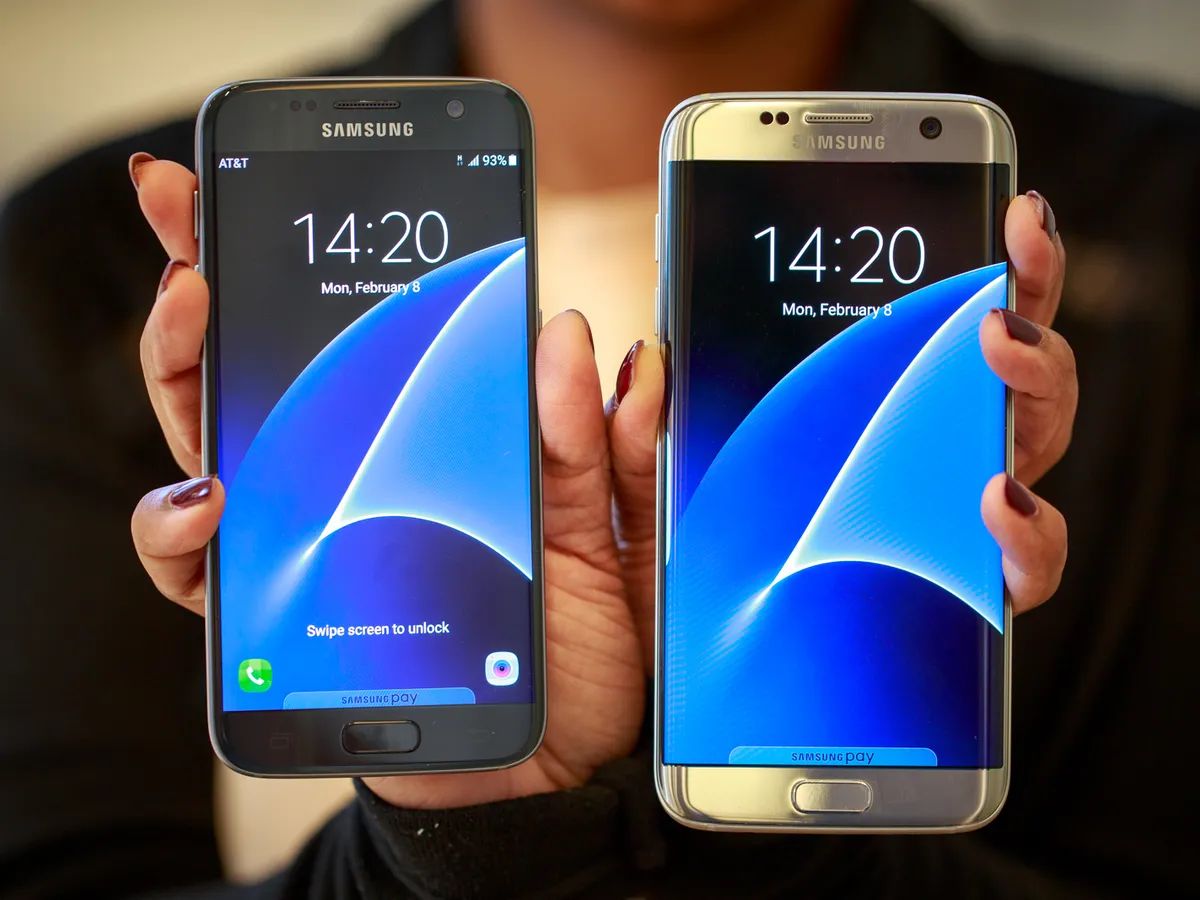
If you’re a proud owner of a Samsung S7 smartphone, you likely have a treasure trove of precious memories captured in the form of photos. Whether it’s breathtaking landscapes, candid snapshots of loved ones, or fun-filled moments with friends, these pictures are irreplaceable and deserve to be cherished.
But what if you want to transfer these photos from your Samsung S7 to your computer? Maybe you want to create a backup, upload them to social media, or simply have a larger screen to view and edit them. Whatever your reason may be, rest assured that transferring pictures from your Samsung S7 to your computer is a relatively simple process.
In this article, we will explore different methods to download pictures from your Samsung S7 to your computer. We will discuss the traditional approach of using a USB cable, as well as modern wireless methods such as Samsung Smart Switch and Samsung Cloud. Additionally, we will explore how Google Photos can be utilized to seamlessly transfer your pictures.
So, if you’re ready to take control of your precious memories and transfer them from your Samsung S7 to your computer, let’s dive in and explore the various techniques at your disposal!
Connecting your Samsung S7 to the computer
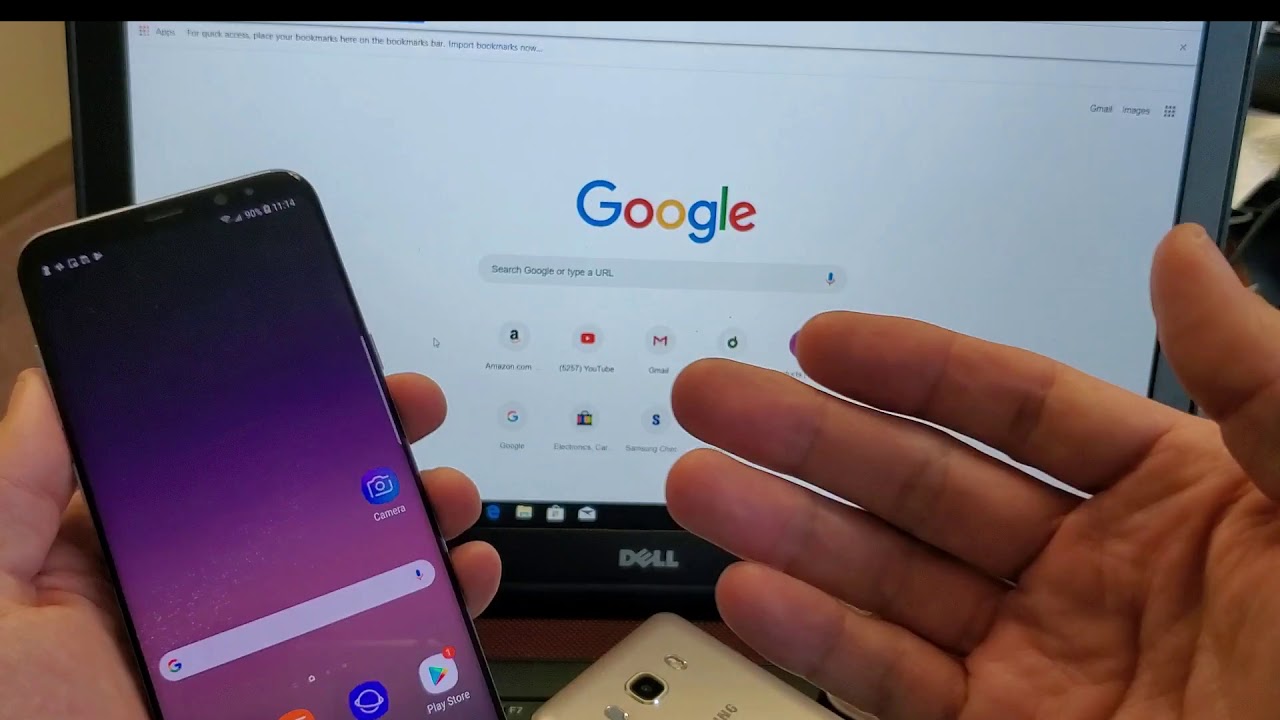
In order to transfer pictures from your Samsung S7 to your computer, the first step is to establish a physical connection between the two devices. There are different methods you can employ to connect your Samsung S7 to your computer.
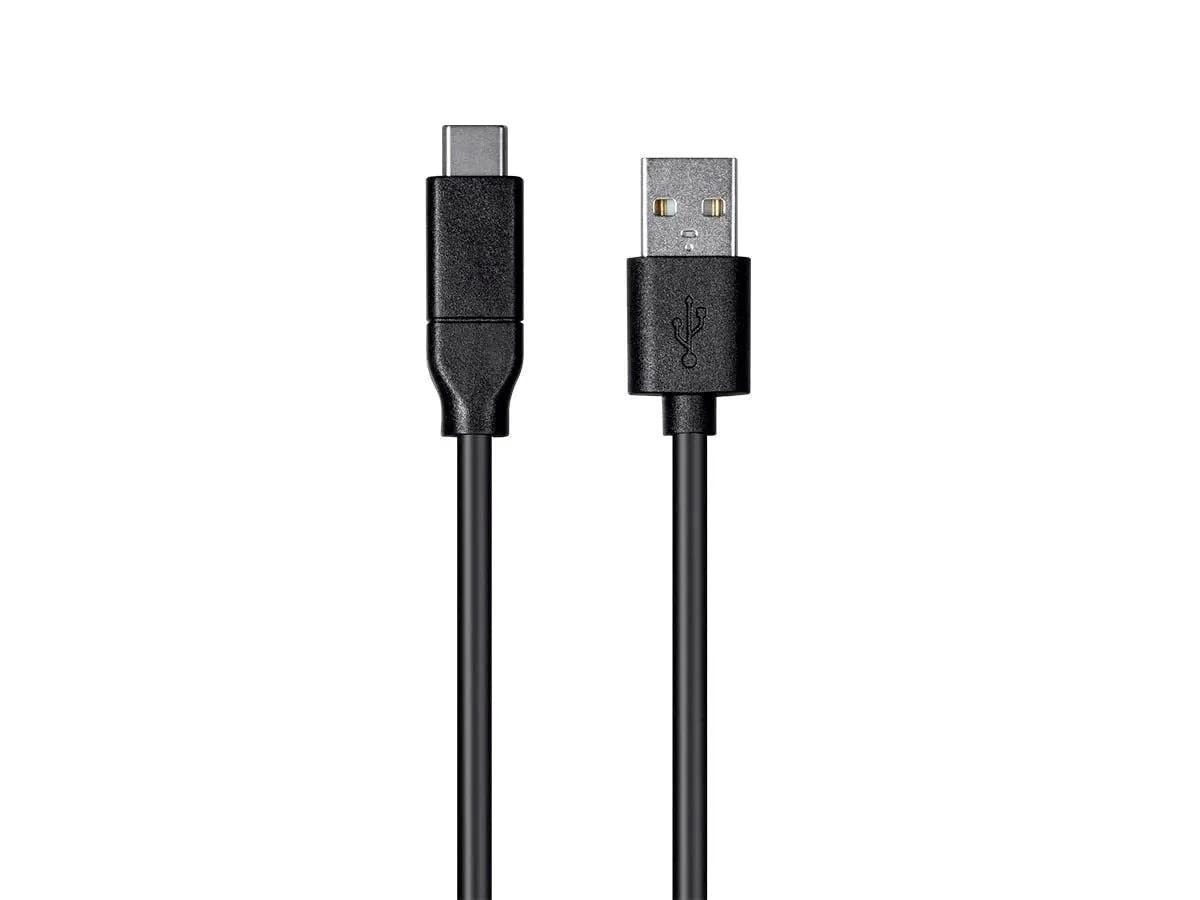
The most common and straightforward method is to use a USB cable. Your Samsung S7 should have come with a USB cable in the box. Connect one end of the USB cable to the charging port of your phone, and the other end to an available USB port on your computer. Once the connection is established, your computer should recognize your Samsung S7 as an external storage device.
Another option is to use a wireless connection, such as Wi-Fi or Bluetooth. This allows you to transfer pictures without the need for a physical cable. However, note that the availability of wireless connection methods may vary depending on your computer model and operating system.
If you choose to use a wireless connection, make sure that both your Samsung S7 and your computer are connected to the same Wi-Fi network. You may need to enable Wi-Fi and Bluetooth on both devices for them to detect each other. Consult your device’s user manual or online resources for specific instructions on how to enable these features.
Once you have established a connection between your Samsung S7 and your computer, you are ready to proceed with transferring your pictures. In the following sections, we will discuss different methods for transferring pictures using both the USB cable and wireless connections.
Transferring pictures via a USB cable
Transferring pictures from your Samsung S7 to your computer using a USB cable is a straightforward and reliable method. Here’s a step-by-step guide to help you through the process:
- Connect your Samsung S7 to your computer using the USB cable provided with your phone. Make sure both devices are powered on.
- On your Samsung S7, an “USB charging this device” notification should appear in the notification bar. Expand the notification panel and tap on it.
- Select “Transfer files” or “File transfer” option from the USB options menu.
- On your computer, wait for the device to be recognized. This may take a few moments. Once recognized, your Samsung S7 should show up as a removable storage device or an external drive.
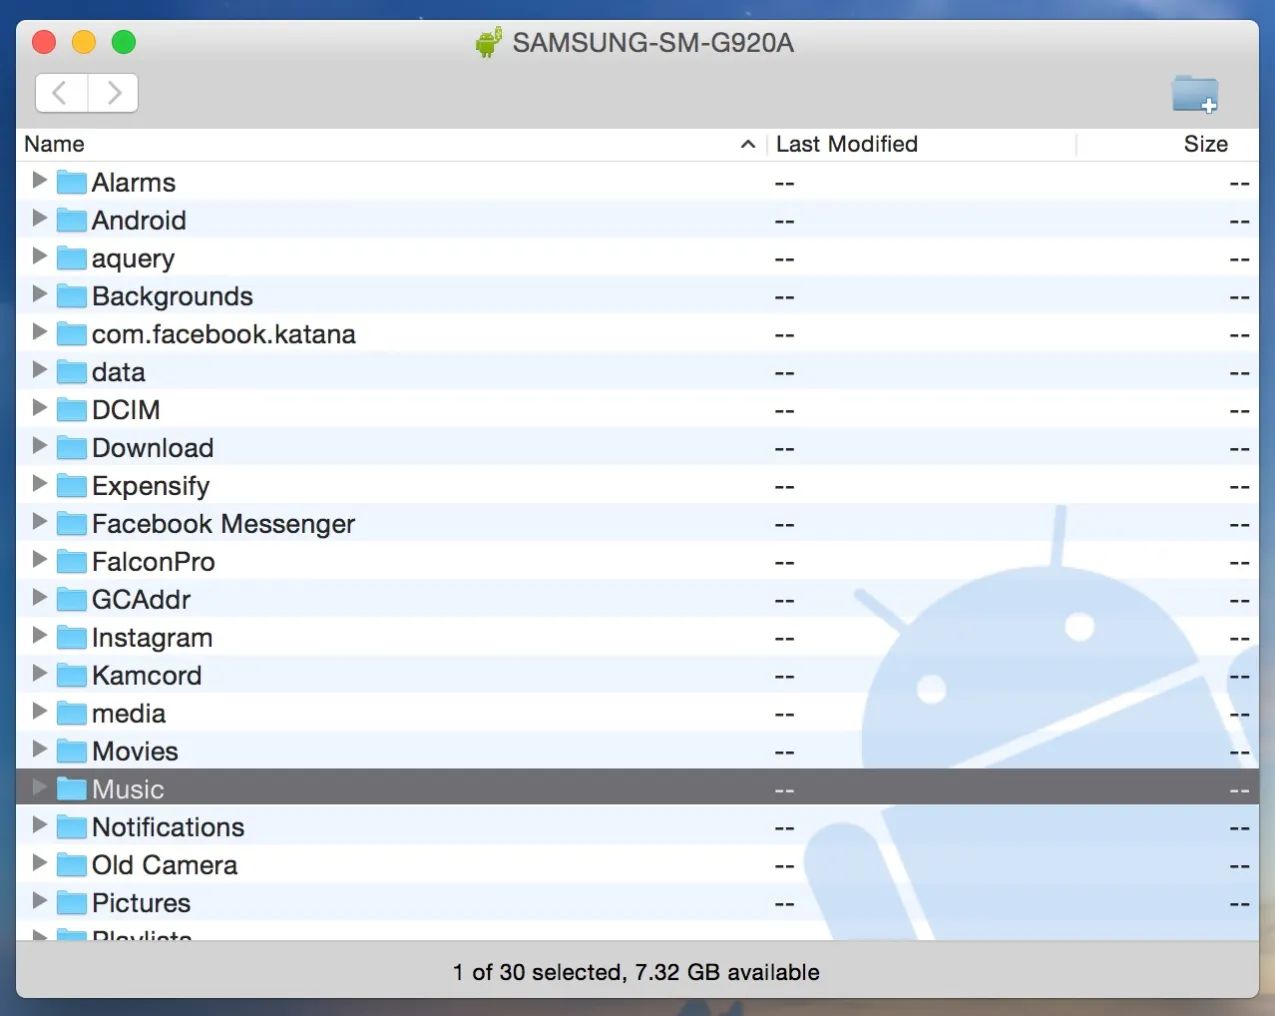
- Open the file explorer on your computer and navigate to the storage location of your Samsung S7 (it may be labeled as “Samsung S7” or “Internal storage”).
- Locate the “DCIM” folder, which stores your camera photos and videos. Open the folder to reveal the contents.
- Select the desired pictures you wish to transfer. You can select multiple pictures by holding down the Ctrl or Shift key and clicking on each individual photo.
- Right-click on the selected pictures and choose “Copy” from the context menu.
- Navigate to the desired location on your computer where you want to transfer the pictures. Right-click on an empty area and choose “Paste” to initiate the transfer.
- Wait for the transfer to complete. The time required will depend on the size of the files and the speed of your USB connection.
- Once the transfer is finished, you can safely disconnect your Samsung S7 from the computer by clicking on the “Safely Remove Hardware” icon in the taskbar (Windows) or using the “Eject” option in the file explorer (Mac).
By following these steps, you should successfully transfer your pictures from your Samsung S7 to your computer using a USB cable. Keep in mind that the exact steps and user interface may vary depending on the operating system and file explorer software you are using.
Transferring pictures wirelessly using Samsung Smart Switch
Samsung Smart Switch is a convenient software developed by Samsung that allows you to transfer a variety of data, including pictures, wirelessly between your Samsung device and your computer. Here’s how you can utilize Samsung Smart Switch to transfer pictures from your Samsung S7 to your computer:
- Download and install Samsung Smart Switch on both your Samsung S7 and your computer. You can download it from the official Samsung website or your device’s app store.
- Ensure that your Samsung S7 and your computer are connected to the same Wi-Fi network.
- Launch Samsung Smart Switch on your Samsung S7 and your computer.
- On your Samsung S7, tap on the “Send data” option, then select “Send from this device”.
- On your computer, click on the “Receive data” option.
- Samsung Smart Switch will attempt to establish a connection between your Samsung S7 and your computer. Follow the on-screen instructions to pair the two devices.
- Once the connection is established, you will see a screen where you can select the types of data you want to transfer. Make sure to check the “Pictures” option.
- Click on the “Transfer” button to initiate the transfer process.
- Wait for the transfer to complete. The time required will depend on the number and size of the pictures being transferred.
- Once the transfer is finished, you will receive a notification on both your Samsung S7 and your computer.
- You can now open the Samsung Smart Switch application on your computer to access the transferred pictures.
Using Samsung Smart Switch provides an efficient and hassle-free method to wirelessly transfer your pictures from your Samsung S7 to your computer. It eliminates the need for cables and allows for seamless transfer between the two devices.
It’s worth noting that Samsung Smart Switch offers additional features, such as transferring other data types like contacts, messages, and apps. Explore the application further to take advantage of all its offerings.
Transferring pictures using Samsung Cloud
Samsung Cloud is a cloud storage service provided by Samsung that allows you to back up and access your data, including pictures, across multiple devices. If you have enabled Samsung Cloud on your Samsung S7, transferring pictures to your computer becomes a breeze. Here’s how to transfer pictures using Samsung Cloud:
- Ensure that your Samsung S7 is connected to a stable Wi-Fi network.
- On your Samsung S7, open the Settings app and tap on “Cloud and accounts”. Then, select “Samsung Cloud”. If prompted, sign in with your Samsung account.
- In the Samsung Cloud settings, make sure that the “Sync” option for pictures is turned on. This ensures that your pictures are uploaded to Samsung Cloud.
- On your computer, open a web browser and navigate to the Samsung Cloud website (https://support.samsungcloud.com/).
- Sign in to the Samsung Cloud website using the same Samsung account that you used on your Samsung S7.
- In the Samsung Cloud web interface, you will find your uploaded pictures organized by date. Browse through the different albums to locate the pictures you want to transfer.
- Select the desired pictures by checking the checkboxes next to them.
- Click on the “Download” button to start downloading the selected pictures to your computer.
- Choose the location on your computer where you want to save the downloaded pictures and click on “Save” or “OK”.
- Wait for the download to complete. The time may vary depending on the number and size of the pictures being downloaded, as well as your internet connection speed.
- Once the download is finished, you can access the transferred pictures on your computer in the chosen location.
Transferring pictures using Samsung Cloud provides a seamless and secure method to access your pictures from any device with an internet connection. It eliminates the need for physical cables and allows for easy retrieval of your photos.
It’s important to note that Samsung Cloud offers limited free storage space. If you have exceeded the storage limit, you may need to upgrade your Samsung Cloud subscription or consider alternative methods for transferring your pictures.
Transferring pictures using Google Photos
Google Photos is a popular cloud-based photo management and storage service offered by Google. With Google Photos, you can easily transfer pictures from your Samsung S7 to your computer and access them from anywhere. Here’s how to transfer pictures using Google Photos:
- Download and install the Google Photos app from the Google Play Store on your Samsung S7.
- Launch the Google Photos app and sign in with your Google account. If you don’t have a Google account, you can create one for free.
- In the app settings, enable the “Backup & sync” option. This will automatically back up your photos to your Google Photos account.
- Wait for the photos on your Samsung S7 to be uploaded to Google Photos. This may take some time depending on the number and size of the pictures.
- On your computer, open a web browser and go to the Google Photos website (https://photos.google.com/).
- Sign in to your Google account that is associated with the Google Photos app on your Samsung S7.
- In the Google Photos web interface, you will find all your uploaded pictures organized by date and location. You can navigate through the albums or use the search bar to locate specific pictures.
- Select the pictures you want to transfer by clicking on them. If you want to transfer all your pictures, simply click on the first picture and then scroll down to the last picture while holding down the Shift key.
- Click on the three-dot menu icon in the top-right corner and choose the “Download” option.
- Specify the location on your computer where you want to save the downloaded pictures, and click on “Save” or “OK”.
- Wait for the download to complete. The time required will depend on the number and size of the pictures, as well as your internet connection speed.
- Once the download is finished, you can access the transferred pictures on your computer in the chosen location.
Google Photos offers a user-friendly interface and seamless integration with your Samsung S7, making it a convenient option for transferring pictures to your computer. Additionally, the cloud storage provided by Google Photos allows you to access your pictures from any device with an internet connection.
Remember to review your Google Photos storage capacity, as there is a limit for free storage. If you exceed the limit, you may need to purchase additional storage or consider alternative methods for backing up and transferring your pictures.
Conclusion
Transferring pictures from your Samsung S7 to your computer is essential for backing up your precious memories, sharing them with others, and having a larger screen to view and edit them. Fortunately, there are multiple methods available to accomplish this task.
The traditional method of transferring pictures via a USB cable provides a reliable and direct connection between your Samsung S7 and your computer. By following the simple steps outlined in this guide, you can easily transfer pictures using this method.
For a more convenient wireless option, Samsung Smart Switch allows you to transfer pictures and other data between your Samsung device and your computer. With a few clicks, Samsung Smart Switch ensures a seamless transfer of your pictures.
Using Samsung Cloud provides the advantage of cloud-based storage and accessibility. By enabling Samsung Cloud on your Samsung S7, you can effortlessly sync and transfer your pictures to your computer and access them from any device with an internet connection.
Another cloud-based option is Google Photos, a popular service that offers easy photo management and storage. By enabling automatic backup and sync on your Samsung S7, you can seamlessly transfer your pictures to your computer through the Google Photos web interface.
In conclusion, transferring pictures from your Samsung S7 to your computer is a simple and necessary process to preserve and manage your photographic memories. Whether you prefer the traditional USB cable connection, the wireless convenience of Samsung Smart Switch, the cloud storage capabilities of Samsung Cloud, or the seamless integration of Google Photos, there are several options to suit your needs. Choose the method that works best for you and enjoy the convenience of having your pictures available on your computer.