Introduction
Welcome to the world of Android customization! If you’ve recently become the proud owner of a Samsung Galaxy S7, you may be wondering what it means to “root” your phone. Rooting is the process of gaining administrative access to your device, allowing you to make modifications and unleash its full potential. In this article, we’ll explore the benefits of rooting the Samsung Galaxy S7 and guide you through the steps to do so.
Before we dive into the various methods of rooting your Galaxy S7, it’s important to understand why you might want to do this in the first place. By gaining root access, you can customize your device to a level that is simply not possible with a stock, unrooted phone. You’ll have the freedom to install custom ROMs, optimize performance, remove bloatware, and even tweak advanced settings that are otherwise inaccessible.
There are a couple of methods you can use to root your Samsung Galaxy S7. The first method involves using Odin, a widely-used firmware flashing tool, while the second method makes use of TWRP (TeamWin Recovery Project), a custom recovery tool. Both methods have their pros and cons, but rest assured, we’ll guide you through the process step-by-step to ensure a successful rooting experience.
But before we dive into the technicalities of rooting, there are a few preparations you need to make. First and foremost, it’s crucial to back up all your important data. While the risk of data loss during the rooting process is minimal, it’s always better to be safe than sorry. Additionally, you’ll need to enable USB debugging and OEM unlock in the developer options on your Galaxy S7. Don’t worry if you’re not familiar with these terms — we’ll explain everything as we go along.
In the following sections, we’ll outline the steps for both the Odin and TWRP methods of rooting your Galaxy S7. We’ll also discuss some important factors to consider before rooting, such as warranty implications and the potential risks involved. By the end of this article, you’ll have all the information you need to make an informed decision about rooting your Samsung Galaxy S7.
What does it mean to root a phone?
If you’re new to the world of Android customization, the term “rooting” may sound unfamiliar. Rooting is the process of gaining administrative access to your Android device, similar to having administrator privileges on a computer. This allows you to make changes and modifications to the system files and settings that are otherwise restricted on a stock, unrooted phone.
When you root your phone, you essentially remove the limitations imposed by the manufacturer and the carrier. This gives you the freedom to customize your device to your liking and take full control over its functionality. Here are some of the main advantages of rooting your phone:
- Custom ROMs: One of the biggest advantages of rooting is the ability to install custom ROMs. A custom ROM is a modified version of the Android operating system that offers additional features, performance enhancements, and customizations not found in the stock ROM. With a rooted phone, you can explore a vast variety of custom ROMs to find the one that best suits your preferences.
- Bloatware removal: Most Android devices come preloaded with various apps and services, commonly referred to as “bloatware.” These apps may not be essential to your needs and can take up valuable storage space and system resources. Rooting allows you to uninstall or disable these preinstalled apps, giving you a cleaner and more streamlined device.
- Performance optimization: Rooting grants you access to certain system files and settings that are otherwise off-limits. This enables you to optimize your device’s performance by using various root-only apps and tools. You can overclock the CPU for better performance, adjust system settings for improved battery life, and even use advanced cache cleaning tools to free up memory.
- Titanium Backup: Rooting your phone allows you to use powerful backup tools such as Titanium Backup. This app can create a complete backup of all your installed applications and their data, providing you with a safeguard against data loss. It also allows for easy restoration of apps and data when switching to a new device or performing a factory reset.
- Advanced customization: Rooting opens up a whole new world of customization options. You can install custom themes, tweak system fonts, modify the boot animation, and even customize the on-screen navigation buttons. With root access, you have the freedom to personalize your device and make it truly unique.
It’s important to note that rooting your phone does come with some risks and potential drawbacks. We’ll discuss these factors in more detail later in the article. However, if you’re someone who loves to explore the possibilities of your Android device and unleash its full potential, then rooting is definitely worth considering.
Why root the Samsung Galaxy S7?
The Samsung Galaxy S7 is a powerful and feature-rich smartphone, but rooting it can take its capabilities to a whole new level. Here are some compelling reasons why you might want to consider rooting your Samsung Galaxy S7:
- Customization: By rooting your Galaxy S7, you can unlock a world of customization options. You can install custom ROMs that offer unique features and a completely different look and feel than the stock Samsung UI. With custom ROMs, you have the freedom to customize everything from the launcher to the system fonts, giving your phone a personalized touch.
- Performance Boost: Rooting allows you to optimize the performance of your Galaxy S7. You can use root-only apps and tools to overclock the CPU, tweak system settings, and remove unnecessary bloatware. These optimizations can improve the speed and responsiveness of your device, providing a smoother and more efficient user experience.
- Ad-Blocking: Tired of intrusive ads while using apps or browsing the web on your Galaxy S7? Rooting enables you to install ad-blocking apps that can block ads system-wide, providing a cleaner and more ad-free experience across all apps and websites.
- Backup and Restore: Root access allows you to use advanced backup and restore tools, such as Titanium Backup. With these tools, you can create a full backup of your apps and their data, allowing you to easily restore them after a factory reset or when switching to a new phone. This ensures that you never lose important data or settings.
- App and System Tweaks: Rooting opens up access to system files and settings that are normally inaccessible. This allows you to make advanced tweaks and modifications to your Galaxy S7. You can use apps like Xposed Framework to apply customizations, such as changing system behavior, adding new features, or even modifying the behavior of specific apps.
Rooting your Samsung Galaxy S7 gives you greater control and flexibility over your device. However, it’s important to keep in mind that rooting does come with certain risks. It can void your device warranty, potentially introduce security vulnerabilities, and may lead to instability if not done correctly. It’s crucial to follow the rooting procedures carefully and make informed decisions before proceeding.
In the next sections, we’ll explore different methods to root the Samsung Galaxy S7 and discuss important considerations to keep in mind before starting the rooting process.
Preparations before rooting
Before you embark on the journey of rooting your Samsung Galaxy S7, it’s important to make some preparations to ensure a smooth and successful process. Taking the time to complete these preparations will help minimize the risks involved and safeguard your data. Let’s take a look at the essential preparations you need to make:
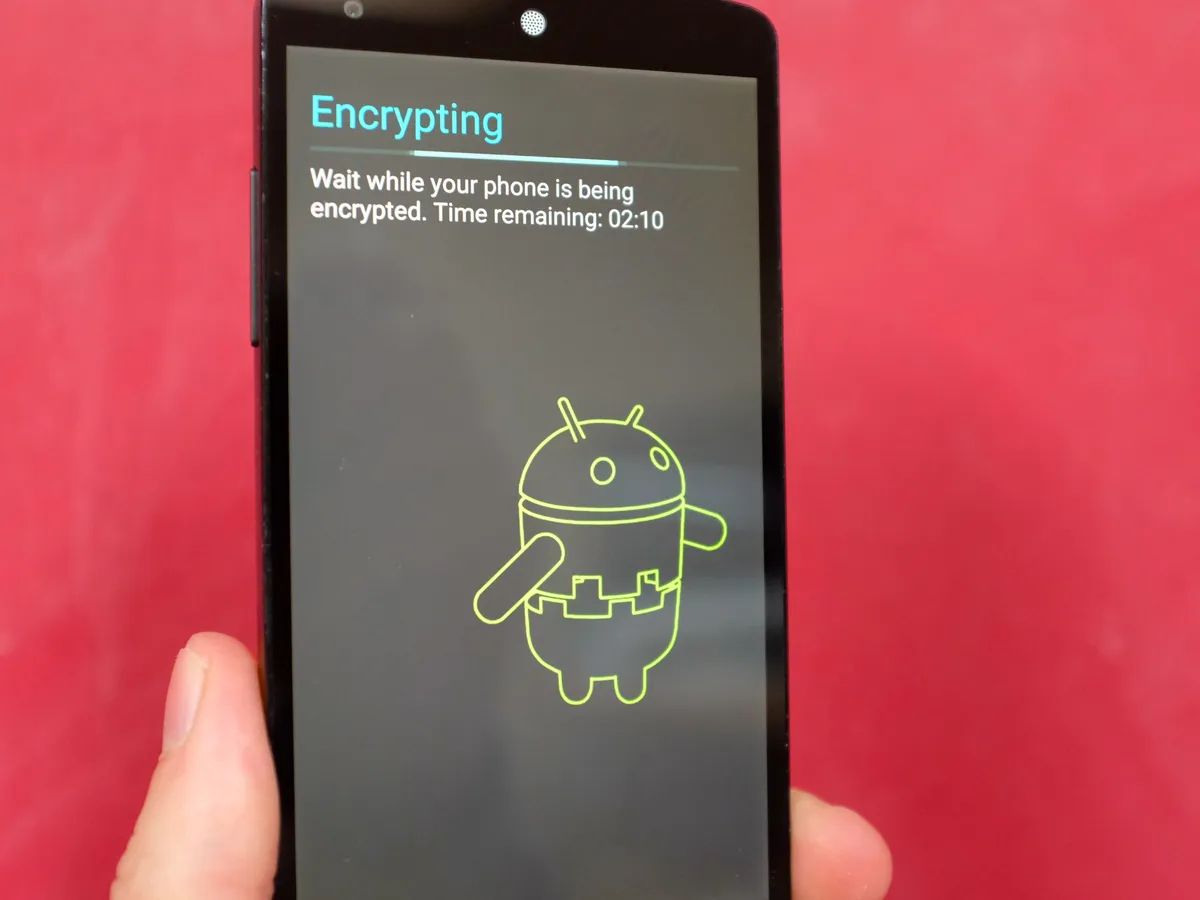
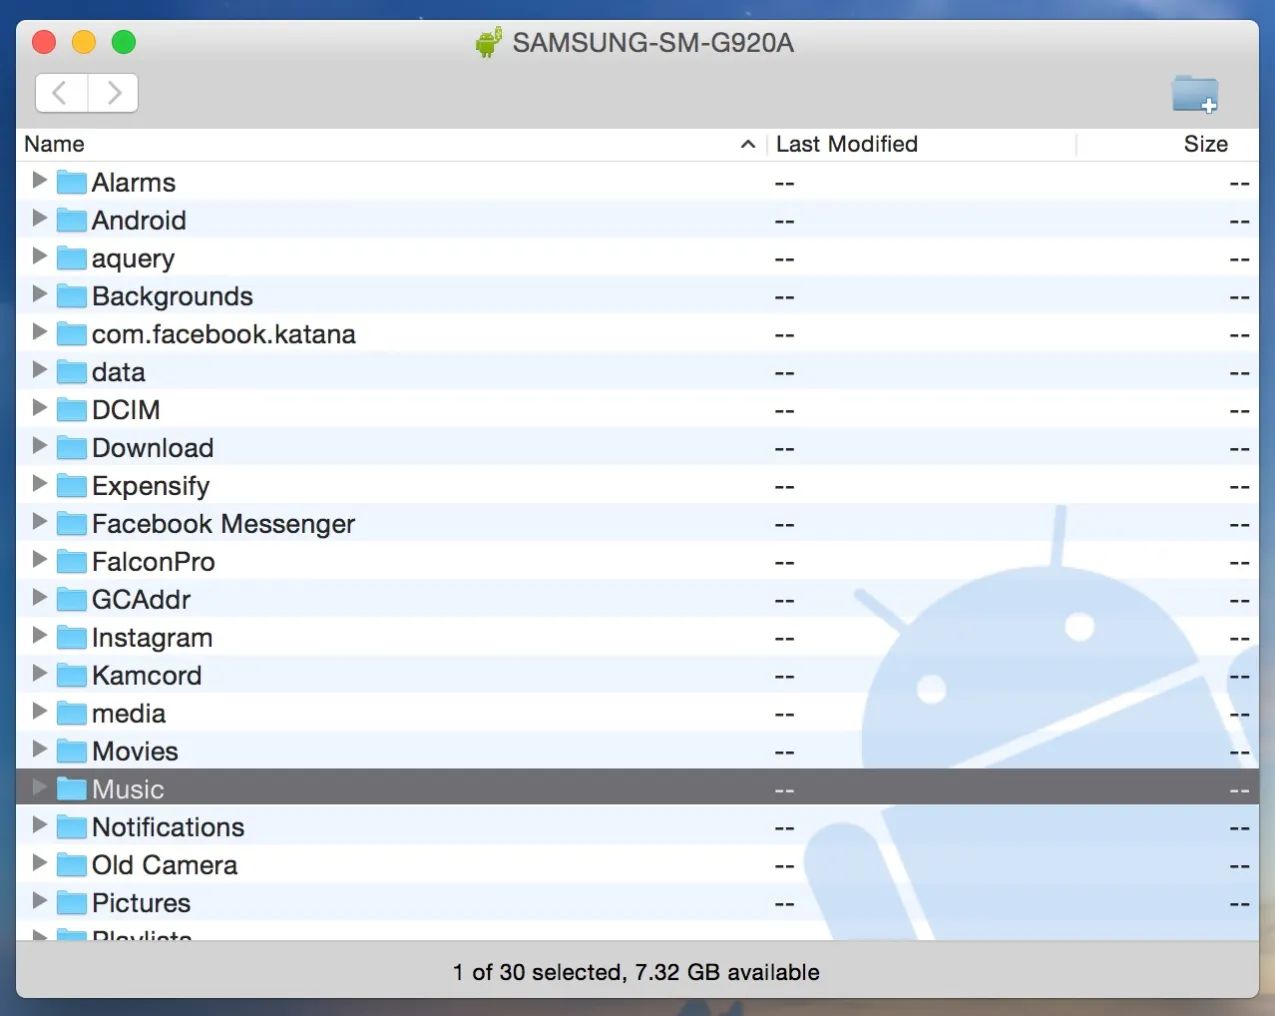
- Back up your data: Rooting your Galaxy S7 involves making changes to the system files, which can potentially lead to data loss. To prevent any unfortunate incidents, it’s highly recommended to back up all your important data. You can use the built-in backup options on your device, such as Samsung Cloud, or third-party backup apps to create a complete backup of your contacts, photos, videos, and any other important files.
- Enable USB debugging: USB debugging is a developer option that allows your phone to communicate with your computer via a USB connection. To enable USB debugging, go to the Settings menu on your Galaxy S7, scroll down to About phone, and tap on the Build number seven times to unlock the developer options. Once unlocked, go back to the main Settings menu, open Developer options, and toggle on USB debugging.
- OEM Unlock: OEM Unlock is another setting that you need to enable before rooting. This option allows for unlocking the bootloader of your device, which is necessary for installing custom recoveries and custom ROMs. To enable OEM Unlock, go to the Developer options as mentioned above and toggle on the OEM unlocking option.
- Charge your device: Rooting can take some time, especially if you encounter any issues along the way. It’s important to ensure that your Galaxy S7 has enough battery power to complete the rooting process. It’s recommended to charge your device to at least 50% or keep it connected to a power source during the rooting process.
- Research and gather resources: Before proceeding with the rooting process, it’s crucial to do your research and gather the necessary resources. This includes finding the appropriate rooting method for your specific model of the Samsung Galaxy S7, downloading the required files, and familiarizing yourself with the step-by-step instructions. Make sure to use reputable sources and verify the compatibility of the rooting tools with your device model and Android version.
By completing these preparations, you’ll be well-equipped to begin the rooting process with confidence. Remember, rooting your Galaxy S7 carries certain risks, so it’s important to proceed carefully and follow the instructions meticulously. In the next sections, we’ll outline two popular methods for rooting the Samsung Galaxy S7: using Odin and using TWRP. We’ll provide detailed steps for each method and discuss important factors to consider before rooting your device.
Method 1: Rooting with Odin
If you’re looking for a straightforward and widely-used method to root your Samsung Galaxy S7, using Odin is a popular choice. Odin is a firmware flashing tool specifically designed for Samsung devices, and it can be used to install custom recoveries, firmware updates, and gain root access. Follow the steps below to root your Galaxy S7 using Odin:
- Download the necessary files: Before you begin, make sure to download the required files for the rooting process. This includes the Samsung USB drivers for your computer and the Odin flashing tool. You’ll also need the appropriate root package for your specific Galaxy S7 model and Android version. It’s essential to use the correct files to ensure compatibility and prevent any issues.
- Enable Developer options and USB debugging: As mentioned earlier, navigate to the Settings on your Galaxy S7, go to About phone, tap on the Build number seven times to unlock the Developer options, and enable USB debugging within the Developer options.
- Power off your device: Turn off your Galaxy S7 completely to prepare it for the flashing process.
- Boot into Download mode: To enter Download mode, press and hold the Volume Down, Home, and Power buttons simultaneously. Release the buttons when you see a warning message on the screen. Press the Volume Up button to confirm and enter Download mode.
- Connect your device to the computer: Use a USB cable to connect your Galaxy S7 to your computer. Ensure that the connection is stable and the device is recognized by the computer.
- Open Odin and prepare for flashing: Launch Odin on your computer. Make sure that the ID:COM port in Odin shows a blue color, indicating that your device is properly connected. Also, ensure that the Auto Reboot and F. Reset Time options are checked in Odin.
- Load the root package: In Odin, click on the AP or PDA button (depending on the Odin version) and select the root package file that you downloaded earlier.
- Start the flashing process: Once the root package is loaded, click on the Start button in Odin to begin the flashing process. It may take a few moments, and you’ll see the progress bar in Odin. Do not disconnect your device during this process.
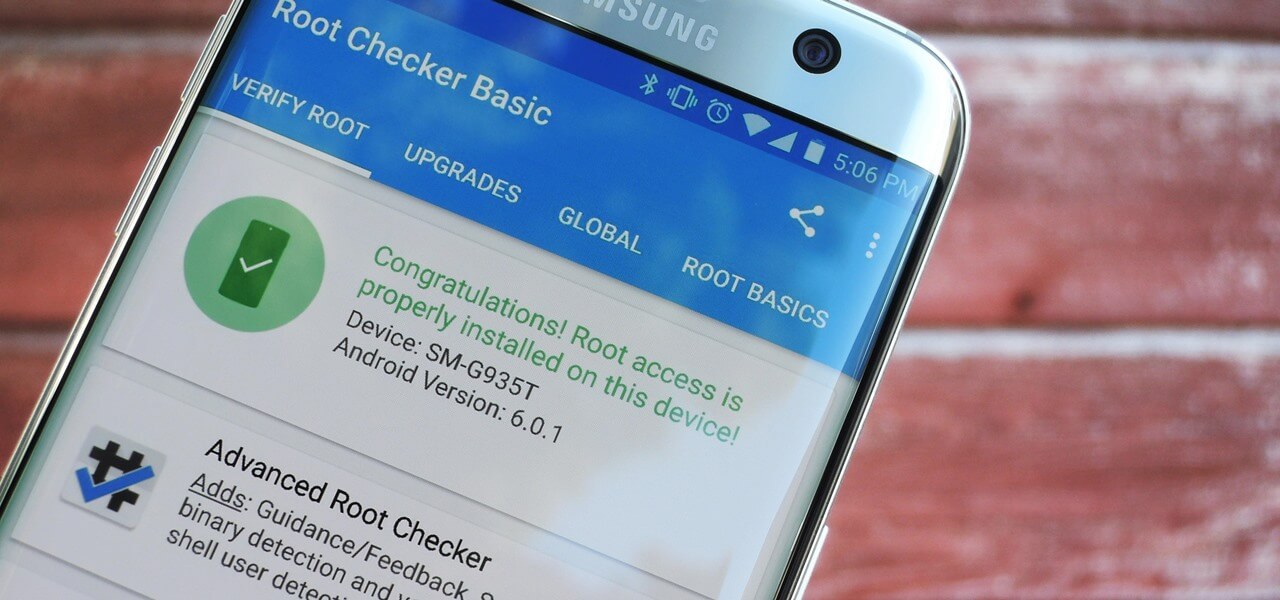
- Rooting successful: After the flashing process is completed, you’ll see a “PASS!” message in Odin, indicating a successful root. Your Galaxy S7 will automatically reboot into the rooted state.
It’s important to note that the rooting process using Odin can vary depending on your device model and the specific root package you’re using. Always refer to the detailed instructions provided by trusted sources when following the rooting process to ensure success.
Before rooting your Galaxy S7 using Odin or any other method, it’s essential to understand the risks involved. Rooting can void your device warranty and potentially lead to data loss or even bricking your device if not done correctly. Make sure to research and understand the risks and proceed with caution.
In the next section, we’ll explore an alternative method for rooting the Samsung Galaxy S7 using TWRP (TeamWin Recovery Project).
Method 2: Rooting with TWRP
If you’re interested in a more advanced and customizable method to root your Samsung Galaxy S7, using TWRP (TeamWin Recovery Project) is a great option. TWRP is a custom recovery tool that allows for advanced system modifications and is widely used for rooting Android devices. Follow the steps below to root your Galaxy S7 using TWRP:
- Download the necessary files: First, download the TWRP recovery image (with the .img extension) for your specific Galaxy S7 model from a trusted source. Additionally, you’ll need to download the appropriate root package for your device model and Android version. Ensure that you choose the correct files to avoid compatibility issues.
- Enable Developer options and USB debugging: Go to the settings on your Galaxy S7, then tap on About phone. Next, tap on the Build number seven times to unlock the Developer options. Open Developer options and enable USB debugging.
- Power off your device: Completely power off your Galaxy S7 to prepare for the flashing process.
- Boot into Download mode: Press and hold the Volume Down, Home, and Power buttons simultaneously until you see the Download mode screen. Confirm by pressing the Volume Up button.
- Connect your device to the computer: Connect your Galaxy S7 to your computer using a USB cable. Ensure that the connection is stable and the device is recognized by the computer.
- Flash TWRP recovery: Open Odin on your computer and ensure that the ID:COM port shows a blue color, indicating a successful connection. Click on the AP or PDA button (depending on the Odin version) and select the TWRP recovery image file that you downloaded earlier. Click on the Start button to flash TWRP to your device.
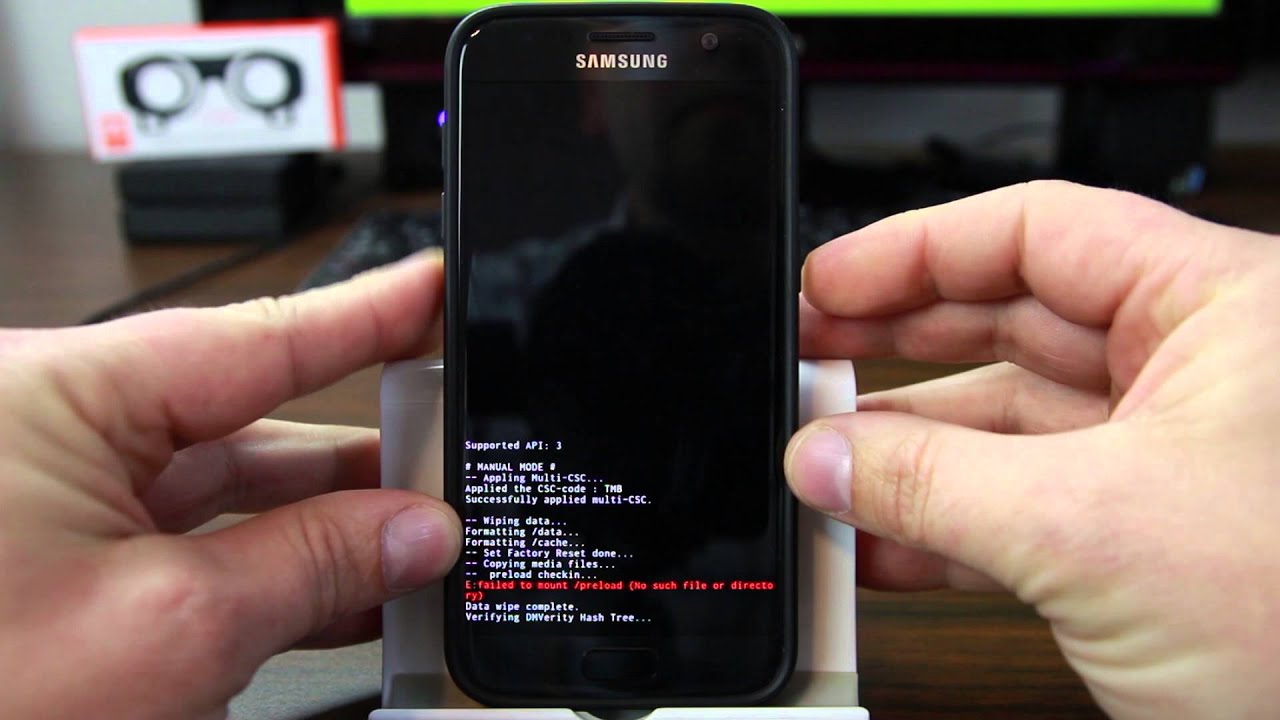
- Boot into TWRP recovery: After the flashing process is complete, disconnect your Galaxy S7 from the computer. Press and hold the Volume Up, Home, and Power buttons simultaneously to boot into TWRP recovery.
- Install the root package: In TWRP recovery, tap on the Install option and navigate to the location where you saved the root package file. Select the root package file and swipe to confirm the installation. Wait for the process to complete.
- Reboot and enjoy rooted device: Once the installation is finished, go back to the TWRP main menu and tap on the Reboot option. Choose System to boot into your newly rooted Samsung Galaxy S7.
It’s important to note that the process of rooting with TWRP can vary slightly depending on your device model and the specific root package you’re using. Always refer to reliable sources and detailed instructions when following the rooting process using TWRP to ensure success.
Before proceeding with the rooting process, it’s crucial to understand the risks involved. Rooting your Galaxy S7 using TWRP can void your device warranty and may potentially lead to data loss or “bricking” if not done correctly. Make sure to research and understand the risks and proceed with caution.
In the next section, we’ll discuss some important considerations to keep in mind before rooting your Samsung Galaxy S7.
Things to consider before rooting
While rooting your Samsung Galaxy S7 can offer numerous benefits and customization options, it’s important to carefully consider some factors before proceeding with the process. Here are a few things to keep in mind:
- Voiding the warranty: Rooting your Galaxy S7 typically voids the manufacturer’s warranty. By gaining root access, you are altering the device’s software in a way that is not supported by the manufacturer. It’s essential to understand that if any issues or hardware malfunctions occur after rooting, you may not be able to rely on the warranty for repair or replacement.
- Potential security risks: Rooting can potentially expose your device to security vulnerabilities. By bypassing built-in security measures, malicious software or apps may gain unauthorized access to your device. It’s important to exercise caution and only install apps and files from trusted sources to minimize the risk of compromising your device’s security.
- Possibility of data loss: While the risk is minimal, there is always a chance of data loss during the rooting process. It’s crucial to back up all your important data, including contacts, photos, videos, and documents, before attempting to root your Galaxy S7. This ensures that in the event of any unexpected issues, you can restore your data and minimize any potential loss.
- Potential instability: After rooting your Samsung Galaxy S7, installing custom ROMs or making system modifications comes with the risk of introducing instability to your device. Custom software may not be fully optimized or thoroughly tested, leading to performance issues, frequent crashes, or other system-related problems. It’s essential to carefully research and choose reliable custom ROMs and modifications to minimize these risks.
- OTA updates: Once your Galaxy S7 is rooted, you may face difficulties in receiving and installing official Over-The-Air (OTA) updates from Samsung. Since rooting modifies the system files, OTA updates may fail or cause issues on a rooted device. You may need to manually install firmware updates or revert to the stock firmware to receive OTA updates. This can be an additional hassle and inconvenience for some users.
By considering these factors and understanding the potential risks involved, you can make an informed decision about whether rooting your Samsung Galaxy S7 is the right choice for you. It’s crucial to weigh the benefits against the potential drawbacks and determine if the additional flexibility and customization options are worth the potential downsides.
Remember, proper research, following instructions carefully, and using reliable sources are key to a successful rooting process. In the next section, we’ll provide concluding remarks and summarize the main points discussed in this article.
Conclusion
Rooting your Samsung Galaxy S7 can unlock a whole new world of customization and control over your device. By gaining root access, you can install custom ROMs, optimize performance, remove bloatware, and tweak advanced settings. However, it’s important to consider a few key points before proceeding with the rooting process.
First and foremost, be aware that rooting your Galaxy S7 may void your warranty and potentially expose your device to security risks. It’s crucial to back up your data before rooting to prevent any potential loss and proceed with caution to minimize the chances of instability or system-related issues.
There are two popular methods for rooting the Samsung Galaxy S7 – using Odin and using TWRP. Odin is a firmware flashing tool while TWRP is a custom recovery tool. Both methods have their own benefits and risks, so it’s vital to choose the one that aligns with your specific requirements and comfort level.
Remember to research and gather the necessary resources, follow instructions carefully, and use reputable sources to ensure a successful rooting process for your Galaxy S7.
In the end, the decision to root your Samsung Galaxy S7 ultimately rests with you. If you’re someone who enjoys customization, optimization, and exploring the possibilities of your device, rooting can be a rewarding experience. Just make sure to weigh the benefits against the potential risks and proceed with caution.
We hope this article has provided you with valuable insights into the world of rooting and helped you understand the considerations associated with rooting the Samsung Galaxy S7. Enjoy exploring the endless possibilities and unleashing the full potential of your device!