Introduction
Welcome to this step-by-step guide on how to download files from Google Drive to your iPad. Google Drive is a powerful cloud storage platform that allows you to store and access your files from anywhere, including your iPad. Whether you need to download documents for work, images for a creative project, or any other file type, this guide will walk you through the process.
Downloading files from Google Drive to your iPad is a convenient way to have access to your files on the go, even when you don’t have an internet connection. By following these simple steps, you’ll be able to easily download and save files directly to your iPad’s local storage.
This guide assumes that you already have the Google Drive app installed on your iPad. If you don’t, you can download it from the App Store. Once you have the app installed, you’re ready to start downloading files!
Before we dive into the step-by-step instructions, it’s important to note that Google Drive offers various storage options, including free and paid plans. The amount of available storage may affect how many files you can store and download. If you’re running low on storage space, consider upgrading your plan or making some room by deleting unnecessary files.
Now, let’s get started with the first step of downloading files from Google Drive to your iPad!
Step 1: Open the Google Drive App
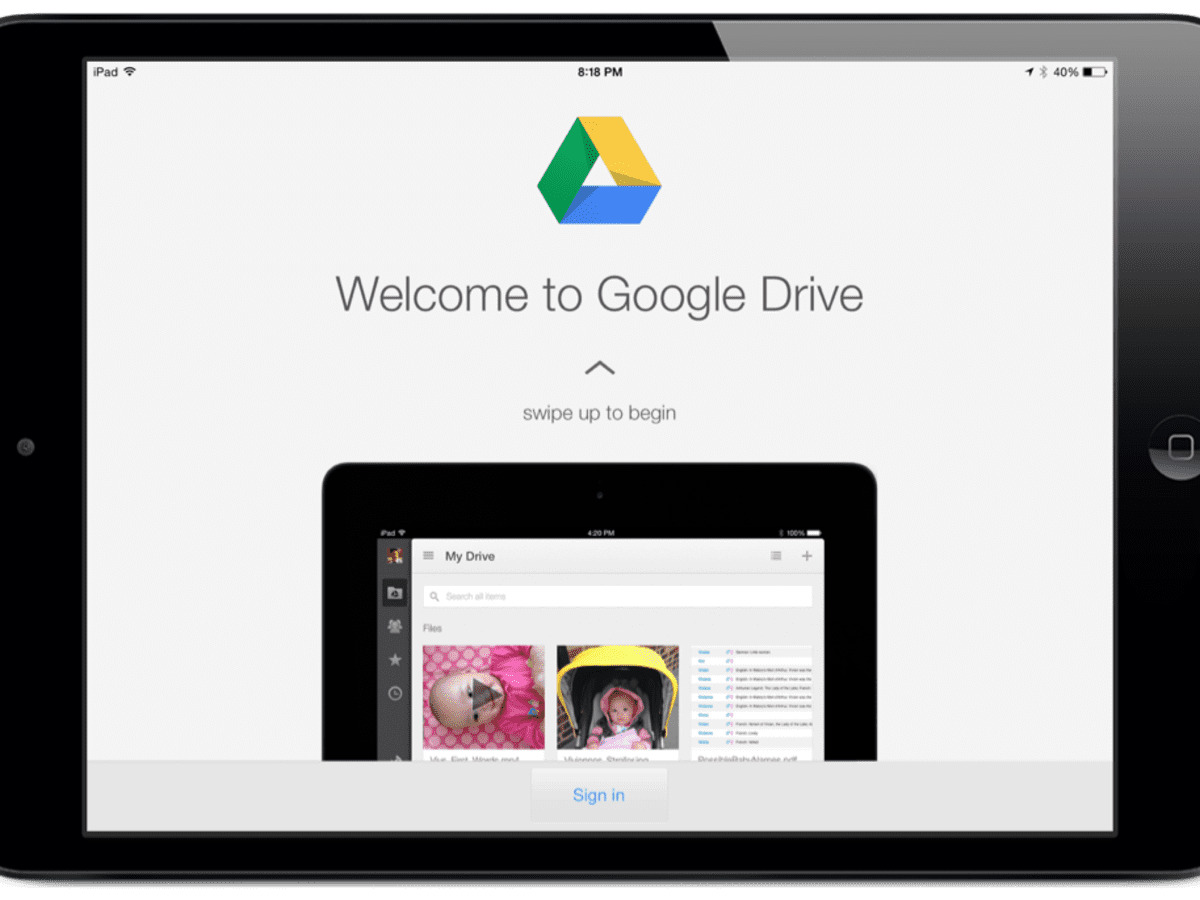
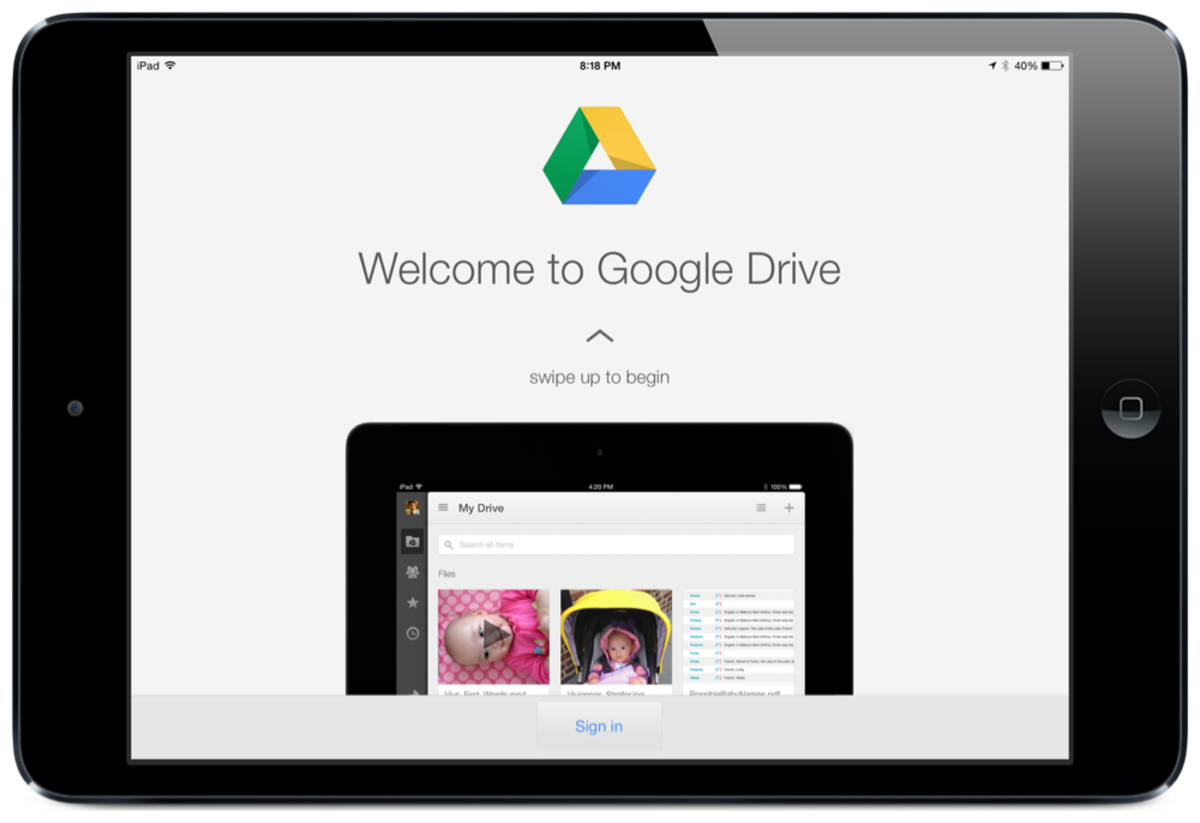
The first step in downloading files from Google Drive to your iPad is to open the Google Drive app. Locate the app on your iPad’s home screen or in your app library and tap on it to open.
Upon opening the Google Drive app, you will be prompted to sign in to your Google account if you haven’t already done so. Enter your credentials and sign in to access your Google Drive files.
Once you’re signed in, you will be greeted with the main interface of the Google Drive app. This is where all your files and folders are organized and stored. You will see various options and buttons that allow you to navigate through your files, create new folders, upload files, and more.
Take a moment to familiarize yourself with the layout and options available in the Google Drive app. This will help you navigate through your files more efficiently and make the downloading process smoother.
If you have a specific file in mind that you want to download, you can use the search bar at the top of the screen to quickly find it. Simply tap on the search bar and enter keywords related to the file you’re looking for. The Google Drive app will display matching results as you type, making it easier to locate the desired file.
Now that you have successfully opened the Google Drive app and signed in to your account, you’re ready to proceed to the next step: finding the file you want to download.
Step 2: Find the File You Want to Download
Once you have the Google Drive app open and signed in, it’s time to locate the file you want to download. Google Drive allows you to organize your files into folders and subfolders, making it easier to keep your files structured and accessible.
Navigate through the folders by tapping on them to open them. If you have a large number of files or folders, you can use the search bar at the top of the screen to quickly find the file you’re looking for. Simply enter keywords related to the file, and Google Drive will display matching results.
If you have previously starred a file or marked it as important, you can access it quickly by tapping on the “Starred” or “Important” section in the sidebar. This is a useful feature if you frequently work with specific files and want to access them easily.
Scroll through the files and folders to locate the specific file you want to download. If you’re having trouble finding it, you can use the sorting and filtering options available in the Google Drive app. Tap on the three-dot menu icon next to the search bar, and a dropdown menu will appear with sorting options such as “Last modified,” “Last opened by me,” and “Name.” Select the option that best suits your needs to organize the files in a way that makes it easier to find what you’re looking for.
Once you have found the desired file, proceed to the next step to open the file in the Google Drive preview.
Step 3: Select the File and Open Preview
After finding the file you want to download in the previous step, it’s time to select the file and open it in the Google Drive preview. The preview allows you to view the contents of the file before downloading and saving it to your iPad.
To select the file, simply tap on its name or thumbnail image. This will open the file in the preview mode, where you can see a preview of the file’s content, such as a document, spreadsheet, image, or video.
If the file you want to download is a document, you can scroll through and read its contents within the preview. For images and videos, you can tap on them to view them in full-screen mode and zoom in or out as needed.
While in the preview, you can also perform various actions depending on the type of file. For example, if the file is a document, you can edit it using the Google Docs integration within the Google Drive app. You may also have the option to comment on the file, share it with others, or make a copy for your own use.
Take a moment to review the file in the preview and ensure it’s the correct file you want to download. If you need to make any changes or access additional options, you can do so within the preview screen.
Once you have confirmed that it’s the correct file and are ready to proceed with the download, continue to the next step to access the options menu.
Step 4: Tap the Three Dots Menu
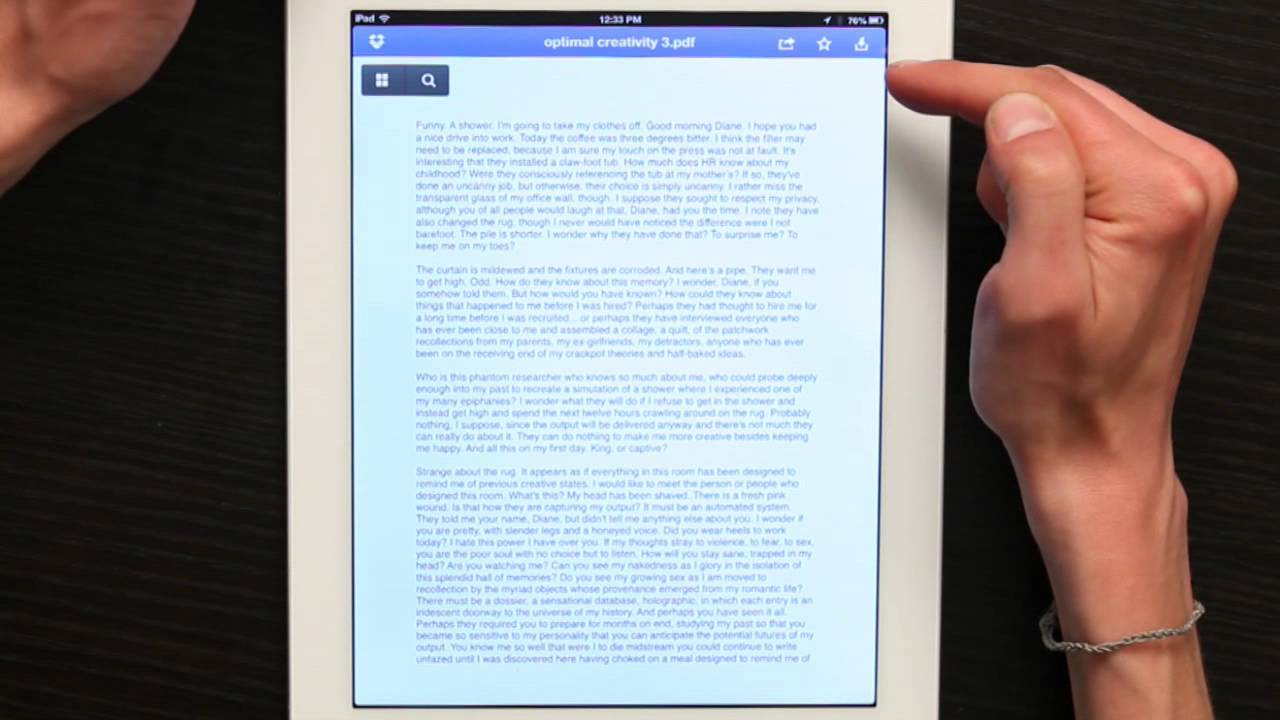
After opening the file in the Google Drive preview, the next step is to tap on the three dots menu icon. This icon is usually located in the top-right corner of the screen and represents additional options and actions that you can perform on the file.
Tapping on the three dots menu will open a dropdown menu that contains various options related to the file. These options may include actions like sharing the file, copying the file, renaming it, moving it to a different folder, or deleting it. However, for the purpose of downloading the file to your iPad, we will focus on the “Open in…” or “Export” option.
Scroll through the options in the menu and locate the “Open in…” or “Export” option. The wording may vary depending on the version of the Google Drive app you’re using, but the functionality remains the same.
By selecting this option, you are indicating to the Google Drive app that you want to export the file and open it in another application or save it to your iPad’s local storage. It will allow you to choose from a list of compatible apps that can handle the file type you’re downloading.
Once you have identified and tapped on the appropriate option, you are now ready to proceed to the next step, where you will select the app you want to use to open the file.
Step 5: Choose ‘Open in…’ Option
After tapping on the three dots menu and accessing the options for the file, the next step is to choose the “Open in…” option. This option allows you to select the app you want to use to open the file you’re downloading from Google Drive.
When you select the “Open in…” option, a list of compatible apps will appear on your screen. These apps are capable of handling the file type you’re downloading, such as document editors, image viewers, video players, or any other relevant applications.
Scroll through the list of apps to find the app you prefer to open the file in. If you can’t find the desired app, you can tap on the “More” option to see additional apps available on your device. You may need to scroll further to locate the desired app in the expanded list.
Once you have found the app you want to use, simply tap on it. This will initiate the file transfer from Google Drive to the selected app, allowing you to view and interact with the file within that application.
It’s worth noting that some apps may have specific features or functionalities that enhance the viewing and editing experience for certain file types. For example, if you’re downloading a document, you might prefer to open it in a dedicated word processing app that offers advanced formatting options.
Once you have selected the desired app, proceed to the next step to initiate the download and save the file to your iPad.
Step 6: Select the App to Open the File in
After choosing the “Open in…” option in the previous step, you will be presented with a list of compatible apps that can open the file you’re downloading from Google Drive. Now, it’s time to select the app in which you want to open and access the file.
Scroll through the list of apps on your screen to find the one you prefer. These apps can include document editors, image viewers, video players, or any other relevant applications based on the file type you’re downloading.
If you can’t locate the app you want to use, look for the “More” option, usually represented by three dots or an ellipsis. Tapping on this option will expand the list to provide additional app options available on your device. Continue scrolling until you find the desired app.
Consider the features and functionalities offered by each app in the list. Depending on the file type, specific apps may provide enhanced capabilities for viewing, editing, or interacting with the file. For example, if you’re downloading a document, a dedicated word processing app may offer better formatting options compared to a generic file viewer.
Once you have identified the app you want to use, simply tap on it. The file will then be transferred from Google Drive and opened within the selected app. You can now view, edit, or interact with the file based on the capabilities of the chosen app.
It’s important to note that the availability and compatibility of apps may vary depending on the file type and the apps installed on your iPad. If you frequently work with specific file formats, consider exploring and downloading apps that are designed to handle those files effectively.
With the chosen app now open and the file accessible, let’s move on to the final step of downloading and saving the file to your iPad.
Step 7: Download and Save the File to iPad
After selecting the app to open the file in, you have reached the final step: downloading and saving the file to your iPad. This step will complete the process of transferring the file from Google Drive and storing it on your device’s local storage.
Depending on the app you have chosen, the exact steps to download and save the file may vary. However, in most cases, you will find an option or button within the app’s interface to initiate the download or save the file.
Look for a “Download,” “Save,” or similar option within the app’s interface. This option is typically represented by an icon or text that indicates saving the file. Tap on this option to initiate the download process.
Once you tap the download or save option, the app will begin downloading the file from Google Drive. The download progress may be indicated by a loading icon or a progress bar, depending on the design of the app.
Once the download is complete, the file will be saved to your iPad’s local storage in a location determined by the app you’re using. It may be saved in a default folder specific to that app or in a location of your choice.
After the file is saved, you can access it within the app or in your iPad’s file management system, such as the Files app. From there, you can open, view, edit, and share the file as needed.
Congratulations! You have successfully downloaded and saved the file from Google Drive to your iPad. Now you can access and use it even when you’re offline or away from the Google Drive app.
Remember to regularly manage your files on your iPad to free up storage space. You can delete files you no longer need or move them to cloud storage services or other external storage devices.
That concludes the step-by-step guide on how to download files from Google Drive to your iPad. We hope you find this guide helpful in managing your files and accessing them on your iPad with ease!
Conclusion
Downloading files from Google Drive to your iPad is a straightforward process that allows you to access and use your files offline, wherever you go. By following the simple steps outlined in this guide, you can easily download and save files from Google Drive to your iPad’s local storage.
Starting with opening the Google Drive app, you can navigate through your files, locate the specific file you want to download, and open it in the preview. From there, you can access the options menu, choose the “Open in…” or “Export” option, and select the app in which you want to open the file. Finally, you can download and save the file to your iPad, completing the process.
Remember to stay mindful of your available storage space on both Google Drive and your iPad. Regularly delete unnecessary files or consider upgrading your storage plan to ensure you have enough space for your files.
With the ability to download files from Google Drive to your iPad, you have the freedom to work offline, access important documents, view images, or watch videos without an internet connection. This flexibility can be crucial for productivity, creative projects, or simply enjoying your favorite content on the go.
Thank you for reading this guide. Whether you’re a student, professional, or casual user, we hope this guide has empowered you to confidently download files from Google Drive to your iPad and make the most of your file management capabilities.
Now, go ahead and start downloading those files and enjoy the convenience of having them at your fingertips on your iPad!