Introduction
Welcome to the world of Pixieset, a popular online platform that photographers use to share and sell their stunning photo collections. Whether you are a professional photographer looking to deliver beautiful images to your clients or a photography enthusiast wanting to download breathtaking works, Pixieset has got you covered. In this guide, we will walk you through the steps of downloading photos from Pixieset, making it an easy and enjoyable experience for you.
Downloading photos from Pixieset allows you to have high-quality images saved directly on your device, ensuring you can admire and share them at any time. Whether it’s capturing memories from a special event, getting inspired by the artistic talents of professional photographers, or simply appreciating visual beauty, Pixieset offers a repository of visual delights.
In the following sections, we will guide you through the step-by-step process to download photos from Pixieset, covering everything from creating an account to customizing download options. By the end of this guide, you will have a collection of exquisite photos conveniently saved on your device.
So, let’s dive into the world of Pixieset and unlock the treasures of digital imagery. Whether you’re looking to download a wedding album, nature landscapes, or artistic portraits, Pixieset provides a seamless and user-friendly experience to make it happen. Follow along and let’s get started!
Step 1: Creating an Account on Pixieset
The first step in downloading photos from Pixieset is to create an account on the platform. Creating an account is quick and easy, and it allows you to access various features and settings provided by Pixieset. Follow the steps below to sign up:
- Visit the Pixieset website (www.pixieset.com) in your web browser.
- Click on the “Sign Up” button, usually located at the top right corner of the homepage.
- You will be presented with two options: “Create Client Account” or “Create Photographer Account.” Choose the option that best suits your needs.
- Fill in the required details, including your name, email address, and password. Make sure to choose a strong password to protect your account.
- Read and accept the terms of service and privacy policy to proceed.
- Click on the “Sign Up” button to create your account.
Once you have successfully created your account, Pixieset will send a verification email to the provided email address. Open the email and click on the verification link to activate your account.
Creating an account on Pixieset not only allows you to download photos but also provides you with additional benefits. As a photographer, you can showcase your work and even sell your photos through the platform. Clients can easily access and download their photo collections, making it a convenient solution for photographers and clients alike.
Now that you have created your Pixieset account, you are ready to proceed to the next step: locating the gallery containing the photos you want to download. Let’s continue our journey to unlock the digital wonders on Pixieset!
Step 2: Locating the Gallery
After successfully setting up your Pixieset account, the next step is to locate the gallery that contains the photos you wish to download. Whether you have received a direct link or are browsing through a photographer’s portfolio, finding the gallery is a crucial step in accessing the desired photos. Follow the instructions below to locate the gallery:
- Log in to your Pixieset account using your registered email address and password.
- Once logged in, you will be redirected to the Pixieset dashboard. This is the central hub where you can manage your galleries and customize various settings.
- Look for the “Galleries” tab or option in the navigation menu. It is usually located on the left-hand side of the dashboard.
- Click on the “Galleries” tab to access your galleries.
- If you have received a direct link to the gallery you want to download from, you can simply click on the provided link to open the gallery directly.
- If you are browsing through a photographer’s portfolio, you will need to look for the specific gallery within their collection. You can browse through different folders or categories, depending on how the photographer has organized their galleries.
- Once you have located the gallery you’re interested in, click on it to enter the gallery page.
By following these steps, you will have successfully located the gallery containing the photos you want to download. Now, let’s move on to the next step, where we will explore how to select the specific photos for download. Stay tuned to unlock the beauty captured within those digital frames!
Step 3: Selecting Photos to Download
With the gallery open in front of you, it’s time to choose the photos you want to download. Pixieset provides a user-friendly interface that allows you to easily navigate through the gallery and select the specific images you desire. Follow the steps below to select photos for download:
- Browse through the gallery by scrolling or clicking on the navigation arrows to view different images.
- Hover over the individual photos to reveal additional options.
- Click on the “Select” or “Add to Selection” button typically represented by a checkbox or a plus symbol.
- Continue browsing and selecting additional photos until you have chosen all the images you wish to download.
- If there are many photos in the gallery and you want to save time, check if there is a “Select All” option. This will automatically select all the available images in the gallery.
- If you change your mind about certain photos, you can deselect them by clicking on the checkbox or the minus symbol.
Keep in mind that the number of photos you can download may depend on the permissions set by the photographer. Some photographers may limit the number of images you can download for free and offer additional download options for purchase.
Now that you have successfully selected the photos you want to download, it’s time to move on to the next step, where we will explore the various download options available on Pixieset. Let’s continue our journey towards capturing those precious moments!
Step 4: Choosing the Download Option
After selecting the photos you want to download, it’s time to choose the appropriate download option on Pixieset. The platform offers different download formats and sizes, allowing you to select the option that best suits your needs. Follow the steps below to choose the download option:
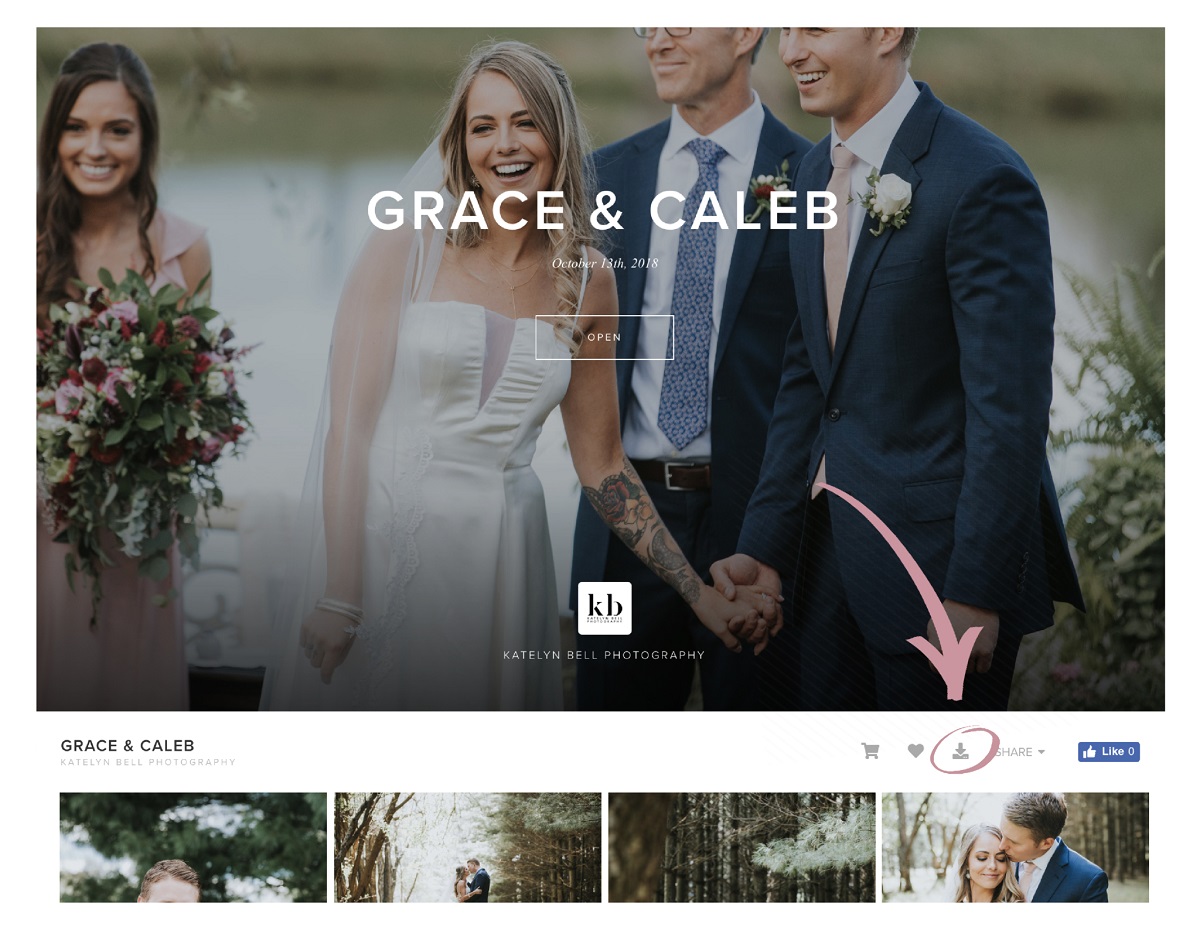
- Look for the “Download” or “Download Options” button within the gallery. It is usually located near the top or bottom of the screen.
- Click on the “Download” button to reveal the available download options.
- Review the different options presented to you. Pixieset typically offers choices such as “Original Size” and “Web Size”. The original size provides high-resolution images suitable for printing, while the web size offers smaller files optimized for online viewing and sharing.
- Select the download option that best fits your requirements. Keep in mind that the file size may vary depending on your selection.
- If you want to download all the selected photos, look for the “Download All” or similar option. This allows you to save all the chosen images in a single download.
Remember, some photographers may have specific download options or restrictions set for their galleries. These restrictions could include limitations on image resolution, usage rights, or watermarks. Make sure to review the information provided by the photographer to ensure you choose the appropriate download option.
With the download option selected, you are now ready to proceed to the next step, where we will discuss customizing the download settings if necessary. Stay tuned to tailor the photo download experience according to your preferences!
Step 5: Customizing Download Settings (Optional)
Customizing the download settings is an optional step in the process of downloading photos from Pixieset. While the default download options are usually suitable for most users, Pixieset provides additional settings that allow you to personalize your photo downloads. Follow the steps below to customize the download settings:
- When you click on the download option, you may see a “Settings” or “Customize” button alongside the download options.
- Click on the “Settings” or “Customize” button to access the additional download settings.
- Review the available settings, which can vary depending on the photographer’s preferences and the features Pixieset offers. Some common customization options include specifying the image format (JPEG or PNG), adjusting the image quality, applying watermarks, and including metadata information.
- Make the desired changes to the settings according to your preferences. Keep in mind that some customization options may only be available for certain download sizes or may require additional fees.
- Once you have customized the download settings to your satisfaction, click on the “Download” or “Start Download” button to initiate the download process.
It’s worth noting that not all galleries may offer customization options for download settings. This depends on the photographer’s settings and preferences. If customization options are not available, you can still proceed with the default download settings provided by Pixieset.
Now that you have learned how to customize the download settings, it’s time to move on to the next step: downloading the photos. The exciting part of having those captivating images saved to your device is just a few clicks away!
Step 6: Downloading the Photos
Now that you have selected your desired photos and customized any necessary download settings, it’s time to download the photos from Pixieset. The download process is straightforward and allows you to save the high-quality images directly to your device. Follow the steps below to download the photos:
- Once you have chosen the download options and customized the settings (if applicable), click on the “Download” or “Start Download” button.
- A prompt will appear asking you to select a destination folder on your device to save the downloaded photos. Choose a location that is easily accessible and convenient for you.
- Click on the “Save” or “Download” button to initiate the download process.
- Depending on the number and size of the photos, the download process may take a few seconds to several minutes. You will see a progress bar indicating the status of the download.
- Once the download is complete, a notification or pop-up window will confirm that the photos have been successfully saved to your device.
It’s important to note that the download speed may vary depending on your internet connection and the size of the files being downloaded. For larger galleries or high-resolution images, it may take longer to complete the download process.
Congratulations! You have successfully downloaded the photos from Pixieset. Now, let’s move on to the final step, where we will discuss saving the downloaded photos to your device. Keep reading to ensure that your cherished images are securely stored and accessible whenever you want to relive those precious moments.
Step 7: Saving the Photos to your Device
After successfully downloading the photos from Pixieset, the final step is to save them to your device. By saving the photos, you ensure that they are easily accessible whenever you want to view, share, or print them. Follow the steps below to save the downloaded photos to your device:
- Locate the folder where you saved the downloaded photos on your device. This is the destination folder you selected during the download process.
- Open the folder to view the downloaded photos. You will typically find them in the format and size you selected.
- If desired, you can create subfolders within the main folder to further organize and categorize the downloaded photos. This can be helpful if you downloaded multiple galleries or have specific themes for your photo collections.
- To ensure the safety and longevity of your photos, consider creating backups. You can copy the photos to an external hard drive, cloud storage service, or other storage devices. This will provide an additional layer of protection against data loss or device failure.
- Finally, take a moment to admire the photos you have downloaded. Open them using your preferred image viewer or editing software and enjoy the visual beauty captured by the photographer.
Saving the photos to your device allows you to have easy access to them whenever you want to relive the special moments captured in those images. Whether you are planning to create a digital photo album, share them on social media, or print them for display, having the photos saved locally ensures their availability and convenience.
With the photos securely saved to your device, you have completed the entire process of downloading and saving photos from Pixieset. Congratulations on successfully journeying through the steps and unlocking the visual wonders of Pixieset galleries. Now, go ahead and enjoy the beautiful photos you have downloaded!
Conclusion
Downloading photos from Pixieset is a seamless and enjoyable process that allows you to access and save breathtaking images captured by talented photographers. By following the step-by-step guide outlined in this article, you have learned how to create an account, locate galleries, select photos, choose download options, customize settings, and save the downloaded photos to your device.
Pixieset provides a user-friendly platform that caters to both photographers and clients, offering a convenient way to share and download photos. Whether you are a professional photographer looking to deliver your work to clients or a photography enthusiast seeking inspiration and visual beauty, Pixieset offers a treasure trove of captivating images.
Remember to consider the various download options and customization settings available on Pixieset. This allows you to tailor the download experience according to your preferences and requirements. Take advantage of the features provided, such as selecting specific photos, adjusting download sizes, and customizing settings like image format and watermarking.
Once you have successfully downloaded the photos, make sure to save them to a secure location on your device. Creating backups and organizing your photo collections will ensure easy accessibility and protection against data loss or device failure. With your photos safely stored, you can relive the captured moments, share them with others, and create lasting memories.
Thank you for joining us on this journey through the steps of downloading photos from Pixieset. We hope that this guide has been helpful in enabling you to unlock the beauty and artistry captured within these digital frames. Enjoy the breathtaking imagery, and keep exploring the world of photography through the lens of Pixieset!