Introduction
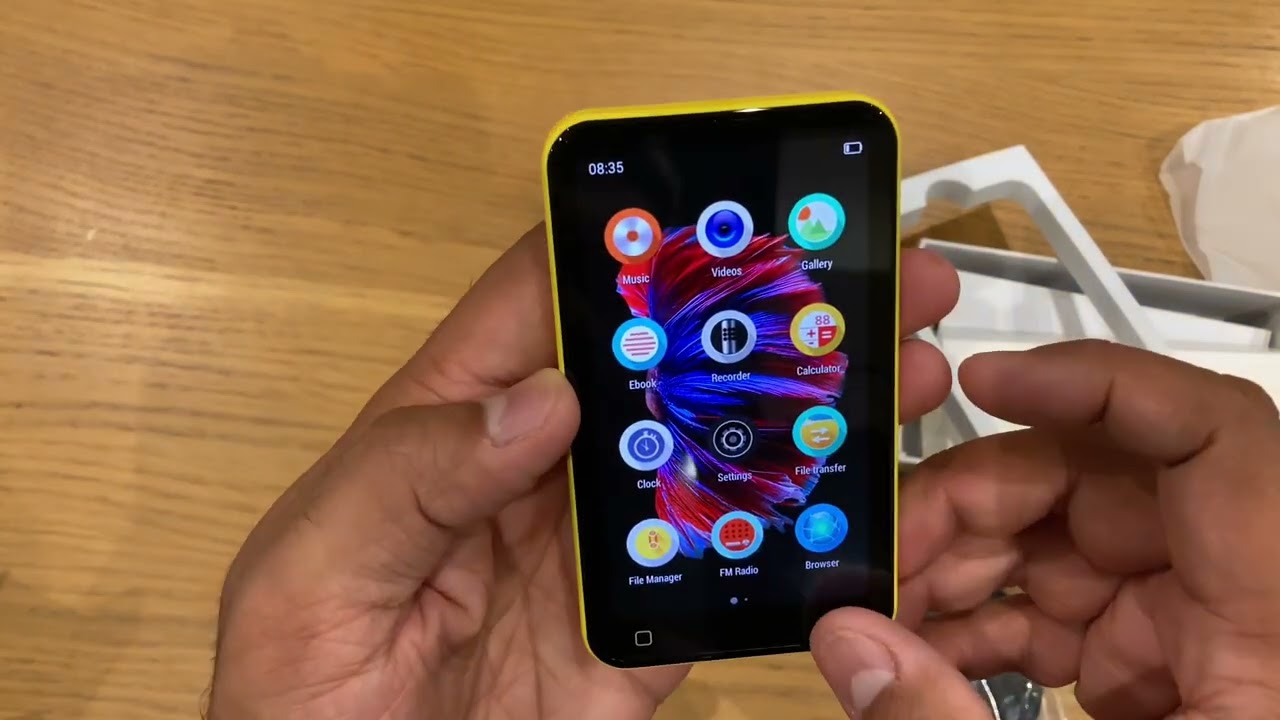
Welcome to the world of portable music! With the advent of MP3 players, you can carry thousands of songs in your pocket and listen to your favorite tunes anytime, anywhere. Whether you’re a music enthusiast or just looking to have your own personalized playlist on-the-go, learning how to download music onto your MP3 player is a valuable skill.
In this article, we will guide you through the process of downloading music onto your MP3 player, step by step. We will cover various methods to access music sources, connect your MP3 player to your computer, and transfer music files efficiently. Additionally, we’ll explore options like using music download websites and streaming services for easy access to your favorite tracks.
Choosing the right MP3 player is crucial, as it will determine the quality of your music listening experience. We will provide insights on selecting the best MP3 player based on your preferences, budget, and desired features. Furthermore, we’ll discuss how to organize and manage your music library effectively, ensuring that your songs are easily accessible and neatly organized.
If you encounter any issues or have questions along the way, don’t worry! We’ve got you covered. Our troubleshooting section will address common problems and provide solutions to help you overcome any obstacles you may face while downloading music to your MP3 player.
So, get ready to embark on a musical journey like never before. Let’s dive into the world of downloading music onto your MP3 player and unleash the power of music at your fingertips!
Choosing the Right MP3 Player
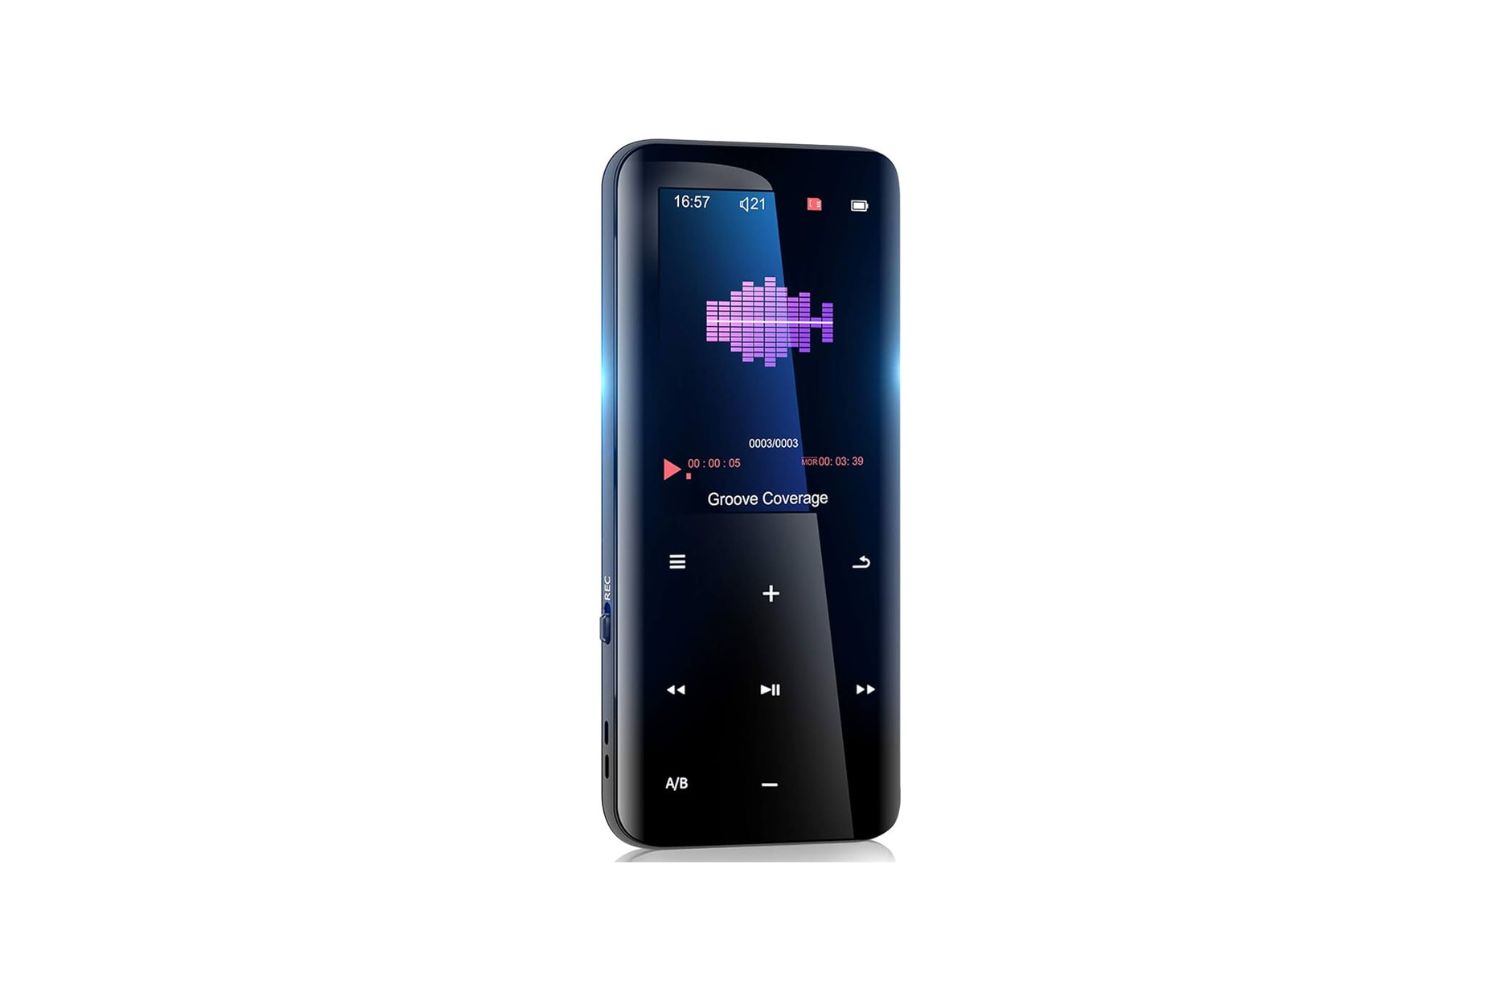
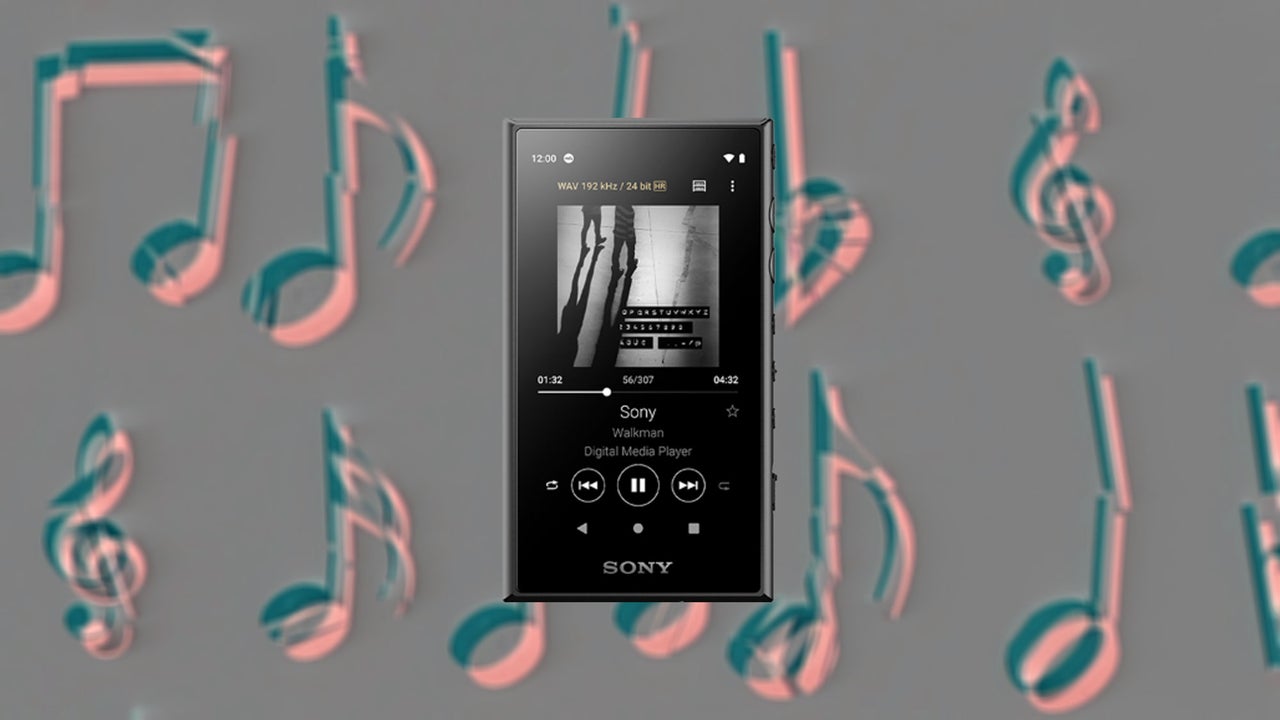
When it comes to selecting an MP3 player, there are a few factors to consider to ensure that you make the right choice for your music needs. Let’s explore what you should keep in mind:
1. Storage Capacity: The amount of storage space available on an MP3 player is crucial, as it determines how many songs you can store. Consider how large your music library is or how many songs you typically listen to at any given time. If you have a vast collection, opt for an MP3 player with higher storage capacity, such as 16GB or 32GB.
2. Battery Life: Long-lasting battery life is essential, especially if you plan on using your MP3 player for extended periods without access to charging. Look for MP3 players with a battery life that can last at least 8-10 hours on a single charge.
3. Audio Quality: Pay attention to the audio quality of the MP3 player. Look for features like support for lossless audio formats or digital signal processing (DSP) technology, which can enhance the sound quality of your music.
4. User Interface: The user interface should be intuitive and easy to navigate. Look for MP3 players with a user-friendly interface that allows you to quickly browse through your music library and access features without any confusion.
5. Connectivity Options: Consider the connectivity options your MP3 player offers. Some players allow you to connect via Bluetooth, enabling wireless audio streaming to compatible headphones or speakers. Others may have a USB port for easy file transfer or an SD card slot for expandable storage.
6. Durability and Design: If you plan on using your MP3 player during physical activities or outdoor adventures, durability becomes a key factor. Look for rugged designs or models with water and shock resistance to ensure your player can withstand the elements.
7. Price: Set a budget for your MP3 player purchase. While high-end models may offer advanced features, there are plenty of budget-friendly options available that still provide excellent music playback.
By considering these factors, you can find an MP3 player that suits your preferences, provides a seamless music listening experience, and fits within your budget. Now that you understand what to look for, let’s move on to the practical aspects of downloading music onto your chosen MP3 player.
Accessing Music Sources
Before you can start downloading music onto your MP3 player, you need to find reliable sources to obtain your favorite tracks. Let’s explore the various options for accessing music:
1. Online Music Stores: Online music stores such as iTunes, Amazon Music, or Google Play Music offer a vast selection of songs for purchase. These platforms allow you to browse and buy individual songs or full albums, ensuring you have legal copies of the music you love.
2. Streaming Platforms: Streaming services like Spotify, Apple Music, or Tidal provide access to millions of songs at your fingertips. These platforms require a subscription but offer the convenience of streaming music online without the need for downloads. Some services also allow you to download songs for offline listening, which can be a great option for MP3 players.
3. Free Music Download Websites: There are websites that offer free music downloads, but exercise caution as not all sources may be legal or reliable. Look for reputable websites like SoundCloud or Bandcamp, where artists and independent musicians often share their music for free or at a low cost.
4. Music Blogs and Promotion Platforms: Music blogs and promotion platforms like NoiseTrade or DatPiff provide a platform for emerging artists to share their music. Exploring these platforms can help you discover new artists and download their songs directly.
5. CD Ripping: If you have a collection of CDs, you can rip the songs to your computer and then transfer them to your MP3 player. Use software like Windows Media Player or iTunes to rip the CDs into digital formats like MP3 or AAC.
6. Personal Music Collection: If you already have a collection of digital music files on your computer, you can simply transfer them to your MP3 player. Make sure the file formats are supported by your player (usually MP3, AAC, or WAV) and use the appropriate software or file transfer methods.
Remember, it’s important to only download or use music from legal sources to respect copyright laws and support the artists. Now that you know where to find music, let’s move on to connecting your MP3 player to your computer and transferring the music files.
Connecting Your MP3 Player to Your Computer
In order to transfer music files from your computer to your MP3 player, you’ll need to connect the two devices. Follow these steps to establish a connection:
- Step 1: Check the USB type on your MP3 player and computer. Most MP3 players use a standard USB-A port, while newer computers may have USB-C or Thunderbolt ports. Make sure you have the correct cable or adapter to establish a physical connection.
- Step 2: Power on your MP3 player. Depending on the model, it may automatically go into a “connectivity” or “transfer” mode when connected to a computer.
- Step 3: Connect the USB cable to your MP3 player’s port and then to an available USB port on your computer. Ensure the connection is secure on both ends.
- Step 4: Your computer should recognize the MP3 player and install the necessary drivers, if required. You may see a notification or an icon indicating a new device connection.
- Step 5: Open the file explorer or music management software on your computer. It could be Windows Explorer, Finder (Mac), or dedicated software like iTunes or Windows Media Player.
- Step 6: Locate your MP3 player in the file explorer or software. It should appear as a connected device or a removable drive.
- Step 7: Double-click on your MP3 player to open it and reveal its file structure.
Now that your MP3 player is connected to your computer, you’re ready to transfer music files. We’ll cover the transferring process in the next section. However, before proceeding, it’s important to note that some MP3 players may require specific software or have unique instructions for connectivity. Refer to the user manual or manufacturer’s website for any specific guidelines.
Connecting your MP3 player to your computer is a simple process that allows you to establish a connection and prepare for music file transfer. Once the connection is established, you can easily manage your MP3 player’s storage and organize your music library. Let’s now dive into the next step of transferring music files from your computer to your MP3 player.
Transferring Music from Your Computer to Your MP3 Player
Now that you have connected your MP3 player to your computer, it’s time to transfer your music files. Follow these steps to transfer music from your computer to your MP3 player:
- Step 1: Open the file explorer or the music management software on your computer.
- Step 2: Navigate to the location where your music files are stored on your computer. This could be your Downloads folder, Music folder, or a specific location you have designated.
- Step 3: Select the music files or folders that you want to transfer to your MP3 player. You can hold the Ctrl key (Windows) or the Command key (Mac) to select multiple files.
- Step 4: Right-click on the selected files and choose the “Copy” option from the context menu.
- Step 5: Go back to the file explorer or software window and navigate to your MP3 player’s folder or storage location.
- Step 6: Right-click inside the MP3 player’s folder and choose the “Paste” option from the context menu. This will transfer the copied music files to your MP3 player.
- Step 7: Wait for the transfer to complete. This may take some time depending on the size of the files and the speed of your computer’s USB connection.
- Step 8: Once the transfer is finished, safely eject and disconnect your MP3 player from your computer.
After following these steps, your MP3 player should now contain the transferred music files, ready for you to enjoy. Remember, it’s important to organize your music files into appropriate folders or playlists to easily navigate through your songs on the MP3 player. Take advantage of the built-in folder structure or playlist creation options on your MP3 player to keep your music library neat and organized.
Now that you’ve successfully transferred your music files to your MP3 player, you can disconnect it from your computer and enjoy your favorite tunes wherever you go. In the next sections, we’ll explore additional methods for downloading music onto your MP3 player, including using music download websites and streaming services. Let’s continue our musical journey!
Using Music Download Websites
Music download websites are a popular way to discover and acquire new music for your MP3 player. These websites offer a wide range of genres and songs that you can download and transfer to your device. Follow these steps to use music download websites:
- Step 1: Open your web browser and search for reputable music download websites. Some well-known options include SoundCloud, Bandcamp, and Jamendo.
- Step 2: Explore the website’s catalog and browse through the available music. You can search by genres, artists, or specific songs to find what you’re looking for.
- Step 3: Once you find a song or album you want to download, look for the download button or link associated with it. Pay attention to any copyright restrictions or licensing terms.
- Step 4: Click on the download button or link to initiate the download process. Choose a location on your computer to save the downloaded file.
- Step 5: After the download is complete, open the file explorer on your computer and locate the downloaded file.
- Step 6: Connect your MP3 player to your computer following the steps mentioned earlier.
- Step 7: Copy the downloaded music file from your computer and paste it into the appropriate folder or location on your MP3 player.
- Step 8: Safely eject and disconnect your MP3 player from your computer.
Using music download websites provides a wide selection of songs to choose from. It allows you to explore music from various artists and genres, including independent and emerging artists. Just ensure that you’re using legitimate websites and respecting copyright regulations.
Remember, not all music download websites are free or legal. Be cautious of websites that infringe copyright laws or distribute pirated content. Stick to trusted platforms and artists who have authorized the distribution of their music for download.
Using music download websites is a great way to expand your music library and discover new artists. In the next section, we’ll explore another method for downloading music onto your MP3 player—using streaming services for offline listening. Let’s keep the music flowing!
Using Streaming Services for Offline Listening
Streaming services have become incredibly popular for accessing a vast library of music. While these services are primarily designed for online streaming, many of them also provide the option to download songs for offline listening. Here’s how you can use streaming services for offline listening:
- Step 1: Subscribe to a streaming service of your choice, such as Spotify, Apple Music, or Amazon Music.
- Step 2: Download and install the streaming service’s app on your computer or mobile device.
- Step 3: Sign in to your account or create a new one if you haven’t already.
- Step 4: Browse the streaming service’s catalog and create playlists or save albums and songs that you want to download for offline listening.
- Step 5: Look for a “Download” or “Offline” option next to the songs, albums, or playlists that you want to make available offline.
- Step 6: Enable the download or offline mode for the selected content. The streaming service will start downloading the songs to your device.
- Step 7: Once the download is complete, you can now access the downloaded songs even without an internet connection.
- Step 8: Connect your MP3 player to your computer and follow the steps mentioned earlier to transfer the downloaded songs to your device.
Using streaming services for offline listening provides a convenient way to have a vast music library accessible at all times, even without an internet connection. It allows you to create personalized playlists and save albums that you can enjoy on your MP3 player, regardless of your location.
However, it’s important to note that the availability of offline listening may depend on your subscription plan and the specific policies of the streaming service you choose. Some services may limit the number of songs you can download or require periodic re-verification of your subscription to continue offline access.
Now that you know how to use streaming services for offline listening, you have another excellent option to download and enjoy music on your MP3 player. In the next section, we’ll discuss the importance of organizing and managing your music library effectively. Let’s keep the rhythm going!
Organizing and Managing Your Music Library
Having a well-organized music library not only makes it easier to find and enjoy your favorite songs but also enhances the overall user experience on your MP3 player. Here are some tips to help you organize and manage your music library effectively:
- 1. Folder Structure: Create a folder structure on your computer or MP3 player that reflects your preferred organization method. For example, you can organize your music by genre, artist, or album. This allows for easy navigation and quick access to specific songs.
- 2. Proper File Naming: Rename your music files with clear and consistent names. Include the artist name, track number, and song title to ensure accurate identification. This helps when searching for specific songs or when organizing your library alphabetically.
- 3. Metadata Management: Ensure that the metadata (such as artist, album, and genre) for your music files is accurate and consistent. Use software like iTunes or MusicBee to edit and update metadata easily.
- 4. Album Artwork: Add album artwork to your music files to create a visually appealing library. You can manually add artwork using software or rely on automatic online sources to fetch artwork for your songs.
- 5. Playlist Creation: Take advantage of playlist creation features on your MP3 player or music management software. Create playlists based on themes, moods, or specific occasions, making it easy to enjoy a curated selection of songs without searching through your entire library.
- 6. Regular Maintenance: Dedicate time to regularly maintain and update your music library. Remove any duplicate or unnecessary files to optimize storage space. Update metadata for new songs and albums to keep your library organized and up to date.
- 7. Backup Your Library: It’s crucial to create backups of your music library to safeguard against data loss. Use external hard drives, cloud storage, or online backup services to ensure that your music collection is protected.
By implementing these techniques, you can create a well-organized and easily navigable music library. Whether you’re searching for a specific artist, album, or song, or simply enjoying your carefully curated playlists, an organized music library enhances your overall music listening experience.
Don’t forget to apply these organization methods consistently, both on your computer and your MP3 player. By keeping your music library tidy and well-maintained, you can make the most of your music collection and enjoy seamless playback on your MP3 player.
Now that you know how to organize and manage your music library effectively, let’s move on to the next section, where we’ll explore troubleshooting common issues that may arise during the process of downloading and transferring music to your MP3 player. Stay tuned!
Troubleshooting Common Issues
While downloading and transferring music to your MP3 player is generally a straightforward process, you may encounter some common issues along the way. Here are solutions to troubleshoot and resolve these problems:
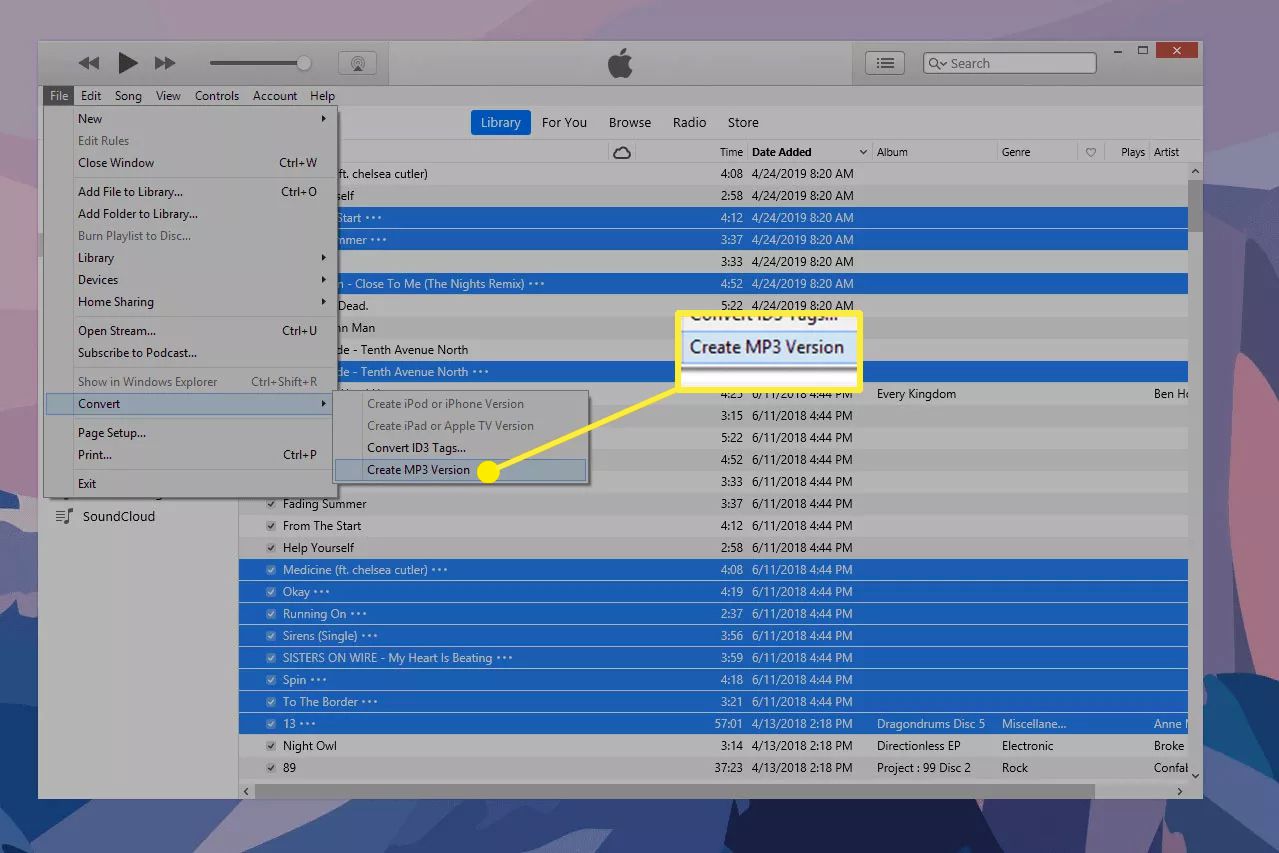
- No Music Playback: If you have transferred music to your MP3 player but are unable to play any songs, ensure that the file formats are compatible with your device. Check the supported file formats in your MP3 player’s user manual or on the manufacturer’s website. Convert the music files to a compatible format if necessary.
- Slow Transfer Speed: If your music files are taking too long to transfer to your MP3 player, try using a different USB cable or a different USB port on your computer. Additionally, close any unnecessary applications or processes running in the background that may be affecting the transfer speed.
- Incompatible USB Connection: If your MP3 player is not recognized by your computer or the file explorer, make sure you have the correct drivers installed. Visit the manufacturer’s website to download and install the latest drivers for your specific MP3 player model.
- Device Not Charging: If you’re having trouble charging your MP3 player, check the connection of the USB cable to both the player and the computer. Ensure that the USB port on your computer is providing power. Try using a different USB cable or a wall charger to rule out any issues with the charging cable or port.
- Storage Space Running Out: If you’re running out of storage space on your MP3 player, consider deleting old or unwanted songs or albums. Alternatively, upgrade to a higher-capacity memory card or choose an MP3 player with more storage space to accommodate your growing music library.
- Corrupted or Missing Files: If some music files are corrupted or missing on your MP3 player, try retransferring those files from your computer. Make sure you have a backup of your music library to prevent permanent data loss. In case of missing artwork, update the metadata or use software to automatically fetch album artwork.
If you encounter any other issues not mentioned here, refer to the user manual of your MP3 player or visit the manufacturer’s support website for specific troubleshooting instructions. Additionally, forums or online communities dedicated to MP3 player support may provide helpful insights and solutions from other users who have faced similar issues.
By troubleshooting common issues, you can ensure a smooth and trouble-free experience while downloading music and transferring it to your MP3 player. Now that you’re armed with solutions, you can overcome any obstacles that may arise during the process.
In the final section of this article, we’ll wrap up our guide and summarize the key points discussed. Let’s conclude our journey through the world of music and MP3 players!
Conclusion
Downloading music onto your MP3 player opens up a world of endless musical possibilities. From choosing the right MP3 player to accessing various music sources, connecting your device to your computer, and transferring music files, the process may seem overwhelming at first. However, with the guidance provided in this article, you now have the knowledge and tools to navigate through the steps effortlessly.
We explored the importance of selecting the right MP3 player based on storage capacity, battery life, audio quality, user interface, connectivity options, durability, and price. Additionally, we discussed the different sources of music, including online music stores, streaming platforms, free music download websites, CD ripping, and personal music collections.
Our step-by-step instructions on connecting your MP3 player to your computer and transferring music files helped you establish a seamless connection and ensure that your favorite tunes are readily available. We also delved into using music download websites and streaming services for offline listening, expanding your music library in convenient ways.
Managing your music library efficiently is essential, and we provided tips on creating a structured folder system, properly naming files, managing metadata, adding artwork, and creating playlists. We also discussed troubleshooting common issues that may arise during the process, ensuring a smooth experience.
With the knowledge gained from this article, you can now embark on your musical journey, enjoying your favorite songs wherever you go. The world of portable music is at your fingertips, waiting to be discovered and savored. So, go ahead, download your favorite tunes, groove to the rhythm, and let the melodies move your soul.
Remember, music has the power to transform our moods, uplift our spirits, and create lasting memories. So, make the most of your MP3 player, explore new artists, genres, and sounds, and let the magic of music accompany you on all your adventures.
Thank you for joining us on this journey through the process of downloading music onto your MP3 player. Now it’s time to plug in your headphones, press play, and let the music take you away.


