Introduction
Fonts play a crucial role in the overall design and visual impact of your PowerPoint presentations. While PowerPoint offers a wide range of default fonts, sometimes these may not be enough to create the desired aesthetic or convey the right tone for your presentation. Thankfully, there is a solution – downloading and installing new fonts to expand your creative options.
In this article, we will guide you through the process of finding, downloading, and installing additional fonts for use in Microsoft PowerPoint. Whether you’re looking for unique and eye-catching typography or need to match the font used in your company’s branding, this tutorial will equip you with the necessary knowledge to enhance your PowerPoint presentations with custom fonts.
Before we dive into the steps, it’s important to note that downloading and installing fonts may vary slightly depending on your computer’s operating system. We will provide instructions for both Windows and Mac users to ensure that everyone can benefit from this guide.
Whether you are a seasoned PowerPoint user or a beginner just starting out, by the end of this article, you’ll have the skills to download and install fonts that will elevate your presentations to the next level. So, let’s get started and explore the world of custom typography in PowerPoint!
Finding and Downloading Fonts
There are various sources where you can find and download fonts to use in your PowerPoint presentations. Here are a few popular options:
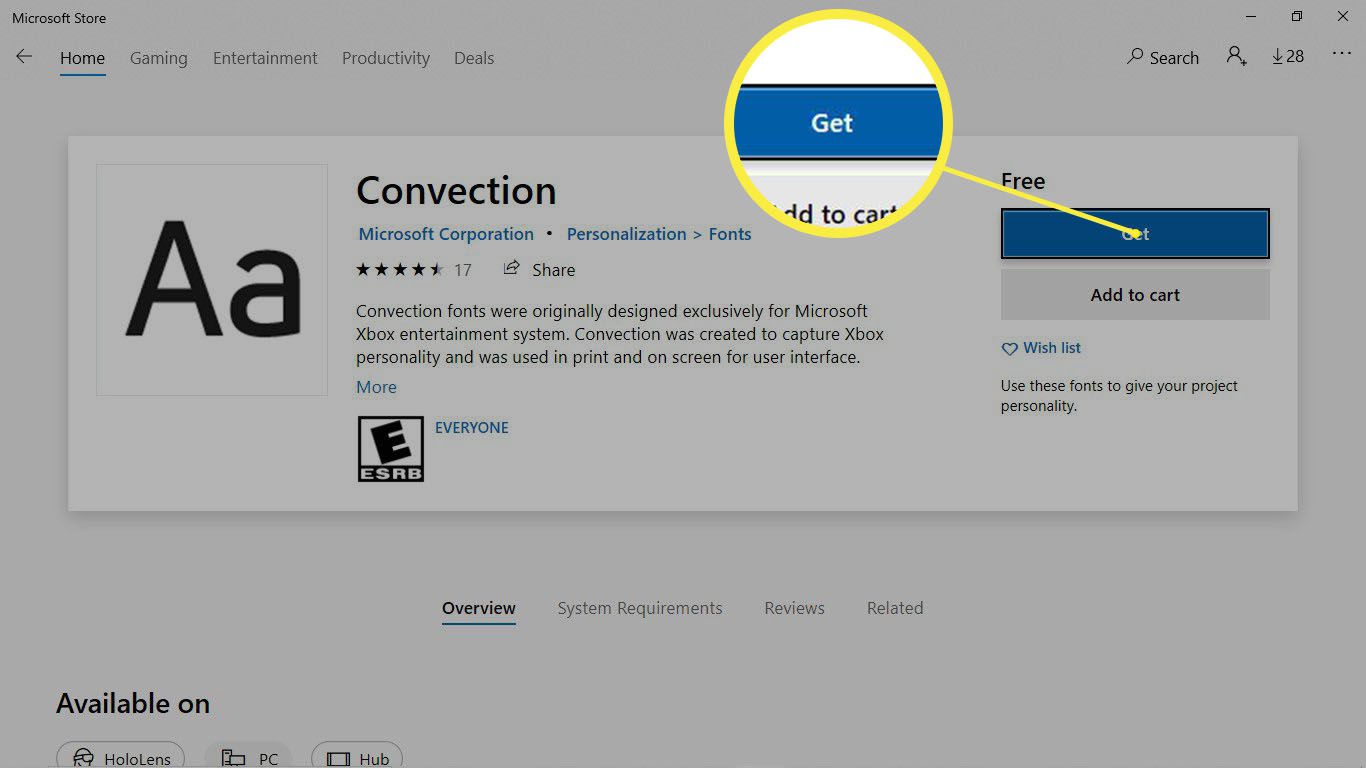
- Font websites: Many websites offer a wide range of fonts that you can browse and download for free or purchase for commercial use. Some popular font websites include Google Fonts, DaFont, Font Squirrel, and Adobe Fonts.
- Type foundries: Type foundries are companies or individuals that create and sell fonts. You can visit their websites to explore their font collections and download the ones you like. Some well-known type foundries include Hoefler&Co, Monotype, and MyFonts.
- Design marketplaces: Platforms like Creative Market and Envato Elements provide a vast selection of fonts, along with other design resources, templates, and assets that you can purchase and download.
- Font management software: Some font management software, like Adobe Creative Cloud and FontBase, offer built-in libraries of fonts that you can download and use in PowerPoint.
Once you’ve decided where to find your desired font, follow these steps to download it:
- Visit the chosen website or platform and search for the font you want to download. You can browse different categories, filter by style or license, and preview the font before making a decision.
- Once you’ve found the perfect font, click on the download button or link provided. The font file will typically be in a .ttf (TrueType Font) or .otf (OpenType Font) format.
- Save the font file to a location on your computer where you can easily access it later.
Remember to check the license agreement for each font you download to ensure that you are complying with the terms of use. Some fonts may be free for personal use but require a license for commercial projects.
Now that you’ve successfully downloaded your desired fonts, the next step is to install them on your computer so that they can be accessed by PowerPoint. In the next section, we’ll explore how to install fonts on both Windows and Mac operating systems.
Installing Fonts on Your Computer
After you have downloaded the fonts that you want to use in your PowerPoint presentations, the next step is to install them on your computer. Here is a step-by-step guide on how to install fonts on both Windows and Mac operating systems:
Windows:
- Locate the downloaded font file on your computer.
- Right-click on the font file and select “Install” from the context menu. Alternatively, you can double-click on the font file to open it, and then click on the “Install” button in the top-left corner of the font preview window.
- Windows will install the font, and a confirmation message will appear once the installation is complete.
- The font is now installed and can be accessed by all applications on your computer, including PowerPoint.
Mac:
- Locate the downloaded font file on your Mac.
- Double-click on the font file to open it. This will launch the Font Book application.
- In Font Book, click the “Install Font” button in the bottom-right corner of the window. Alternatively, you can select the font, right-click, and choose “Install [Font Name]” from the context menu.
- The font will be installed, and you will see a confirmation message once the installation is complete.
- The font is now installed and can be used in any application, including PowerPoint.
Installing fonts on your computer makes them readily available for use in PowerPoint and other software applications. You may need to restart PowerPoint if it was open during the font installation process to ensure that the newly installed fonts appear in the font selection menu.
Now that you have successfully installed the downloaded fonts on your computer, it’s time to explore how to use them in PowerPoint to create visually stunning presentations. Continue reading to learn how to incorporate custom fonts into your PowerPoint slides.
Using Downloaded Fonts in PowerPoint
Once you have installed the downloaded fonts on your computer, you can easily access and use them in Microsoft PowerPoint to enhance the visual appeal of your presentations. Here’s how you can use downloaded fonts in PowerPoint:
- Launch PowerPoint and open the presentation where you want to use the custom font.
- Select the text box or shape where you want to apply the font.
- Click on the “Home” tab in the PowerPoint ribbon.
- In the “Font” section, click on the drop-down menu next to the font name and scroll through the list of available fonts.
- Locate and select the downloaded font that you want to use.
- The selected text or shape will now be displayed in the chosen font.
If you want to apply the downloaded font to all the text in your presentation, you can use the “Replace Fonts” feature in PowerPoint. Here’s how:
- Go to the “Home” tab in the PowerPoint ribbon.
- Click on the arrow in the bottom-right corner of the “Font” section to open the “Font” dialog box.
- In the “Replace” tab, choose the font that you want to replace from the “Replace” list.
- From the “With” list, select the downloaded font that you want to use as a replacement.
- Click on the “Replace” button to apply the font changes to the entire presentation.
Using downloaded fonts in PowerPoint allows you to create unique and visually appealing presentations that align with your brand or personal style. However, keep in mind that if you share your presentation with others who do not have the same font installed on their computers, the text may not display correctly for them. To prevent this, consider embedding the fonts in your PowerPoint presentation. This ensures that the fonts will be preserved when the presentation is viewed on different devices.
Now that you know how to download, install, and use fonts in PowerPoint, let’s address some common font-related issues that you may encounter and how to troubleshoot them.
Troubleshooting Font Issues
While using custom fonts in PowerPoint can greatly enhance the visual impact of your presentations, there might be instances where you encounter font-related issues. Here are a few common font issues and their troubleshooting solutions:
Font not displaying correctly:
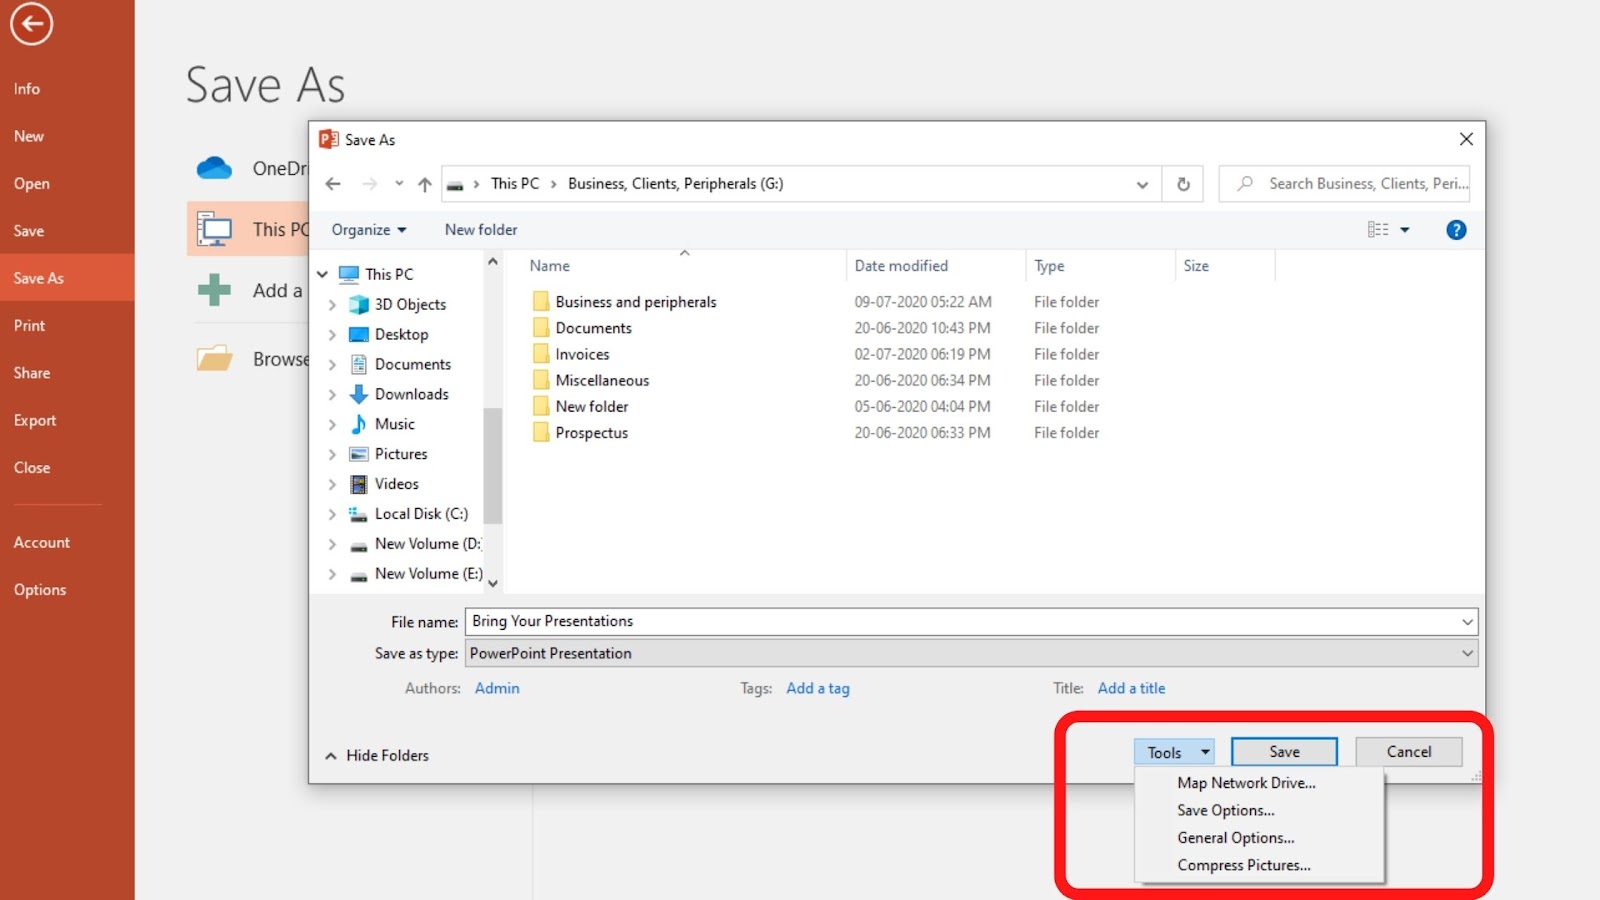
If you have used a custom font in your PowerPoint presentation but it’s not displaying correctly, the most probable cause is that the font is not installed on the computer where the presentation is being viewed. To ensure that your fonts appear correctly for everyone, consider embedding the fonts in your PowerPoint file. To do this, go to “File” > “Options” > “Save” and check the box that says “Embed fonts in the file.”
Font appearing differently on different devices:
Fonts may appear slightly different on different devices due to variations in rendering capabilities. To minimize differences, it’s best to use system or web safe fonts that are widely available on most devices. Additionally, ensure that the font size, line spacing, and text alignment are optimized for readability across different screen sizes.
Font compatibility issues:
Sometimes, fonts downloaded from unreliable sources or those created with incompatible formats may cause compatibility issues in PowerPoint. To avoid this, always download fonts from trusted sources and use widely accepted font formats like TrueType (.ttf) or OpenType (.otf).
Font file errors:
If you encounter errors when trying to install a font, it’s possible that the font file is corrupted or incompatible. Try downloading the font again from a different source, or seek an alternative font that provides a similar style.
Font license restrictions:
Make sure to review the license agreement for each font and ensure that you are using them within the permitted usage rights. Some fonts may have restrictions on commercial use or distribution, so always respect the terms of the license to avoid legal issues.
By addressing these common font issues, you can ensure that your custom fonts are displayed correctly and consistently in your PowerPoint presentations. Remember to always do thorough testing on different devices to verify the font appearance before sharing your presentation with others.
Now that we’ve covered troubleshooting font issues, let’s conclude this guide by summarizing the key points discussed.
Conclusion
In this article, we have explored the process of finding, downloading, and installing fonts to use in Microsoft PowerPoint. By expanding your font library beyond the default options, you can add a personalized touch to your presentations and create visually stunning slides.
We began by discussing the various sources where you can find and download fonts, including font websites, type foundries, design marketplaces, and font management software. We highlighted the importance of checking the license agreements to ensure that you are using the fonts within the permitted usage rights.
Next, we covered the steps to install fonts on both Windows and Mac operating systems. It’s crucial to install the fonts on your computer so that they can be accessed by PowerPoint and other applications.
Then, we delved into the process of using downloaded fonts in PowerPoint. Whether you want to apply a custom font to a specific text box or shape, or replace fonts throughout the entire presentation, we provided step-by-step instructions for a seamless experience.
We also addressed common font issues that you may encounter, such as font not displaying correctly, font compatibility problems, and font file errors. By following the troubleshooting solutions, you can ensure that your fonts appear as intended and minimize compatibility issues across different devices.
Remember, incorporating custom fonts into your PowerPoint presentations allows you to showcase your creativity, align with your brand identity, and make a lasting impression on your audience. However, it’s important to consider the accessibility aspect and ensure that your fonts are readable on different screen sizes and devices.
By following the guidelines and best practices outlined in this article, you now have the knowledge and tools to elevate the visual impact of your PowerPoint presentations and create engaging slides that reflect your unique style and message.
So, start exploring the vast world of fonts, unleash your creativity, and captivate your audience with stunning typography in PowerPoint!


