Introduction
Whether you are a student preparing for a class presentation or a professional delivering a business pitch, creating a visually compelling PowerPoint presentation on a tablet can be a game-changer. Tablets offer the flexibility of a touch-screen interface, allowing you to easily navigate through slides and interact with your content in a more intuitive way. With the right app and a few simple steps, you can bring your ideas to life and captivate your audience.
In this guide, we will walk you through the process of making a PowerPoint presentation on a tablet. We will provide you with step-by-step instructions on how to choose the right app, create a new presentation, customize your slides, and add engaging elements like images, text, transitions, and animations. You’ll also learn how to format your presentation and share it with others.
Whether you’re using an iPad, Android tablet, or any other tablet device, the principles and techniques covered in this guide are applicable across platforms. So, let’s dive in and explore how you can create a powerful and visually stunning PowerPoint presentation on your tablet.
Step 1: Choose a PowerPoint App
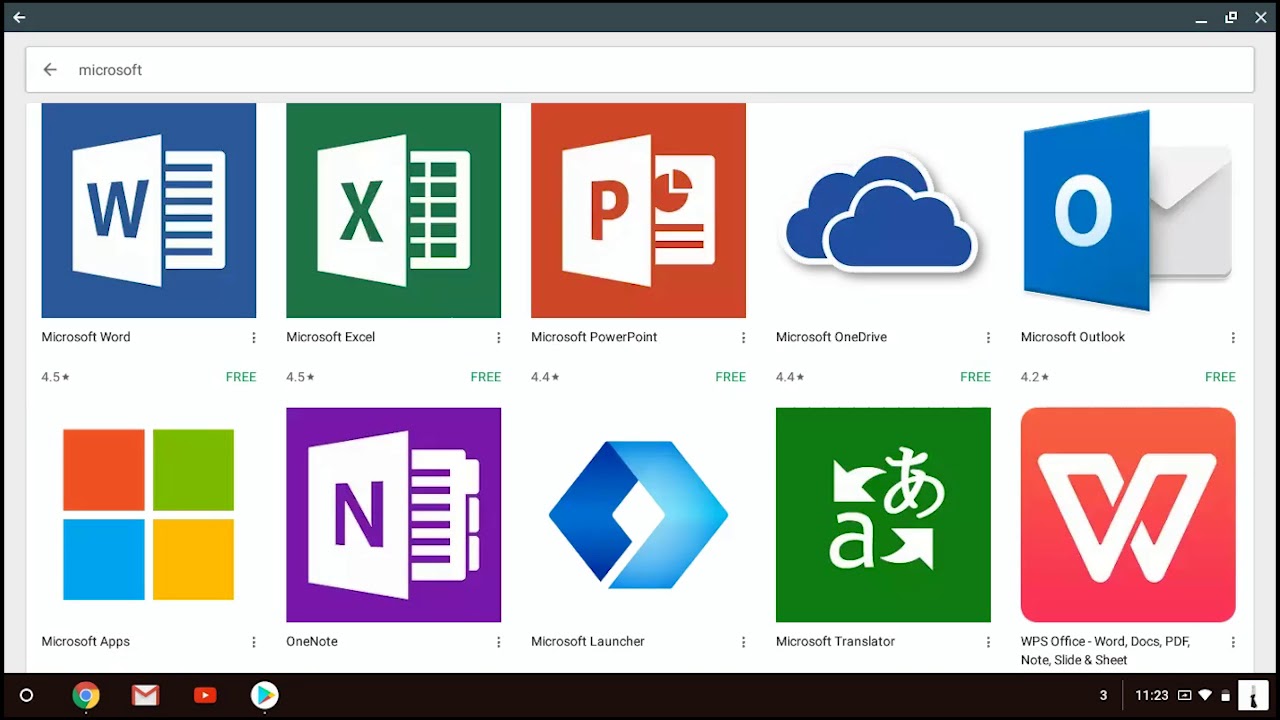
The first step in creating a PowerPoint presentation on your tablet is to choose a suitable app. There are several options available, each with its own unique features and user interface. Here are a few popular apps you can consider:
- Microsoft PowerPoint: If you’re already familiar with Microsoft Office products, using the PowerPoint app on your tablet may be the most seamless option. It offers a wide range of features and compatibility with PowerPoint files.
- Google Slides: For those who prefer cloud-based solutions, Google Slides is an excellent choice. It allows you to create, edit, and collaborate on presentations seamlessly across different devices.
- Keynote: Keynote is a powerful presentation app developed by Apple. It offers a variety of beautiful templates and advanced animation and transition effects.
- Prezi: If you want to create dynamic and visually engaging presentations, Prezi is worth considering. It uses a unique zooming interface to create fluid presentations that stand out.
- Adobe Spark: Adobe Spark is a user-friendly app that lets you create stunning visual presentations with ease. It offers a variety of templates and customization options to make your presentation look professional.
Take some time to explore these apps and choose the one that best fits your needs and preferences. Consider factors such as user interface, feature set, compatibility with your tablet, and ease of use. Once you have selected the app, download and install it from your device’s app store.
Now that you have chosen the perfect PowerPoint app for your tablet, you’re ready to move on to the next step: creating a new presentation.
Step 2: Create a New Presentation
With your PowerPoint app at the ready, it’s time to start creating your new presentation. Follow these steps to get started:
- Open the PowerPoint app on your tablet. You’ll usually find it in the list of installed apps or on your home screen.
- Once you’re in the app, look for an option to create a new presentation. It may be labeled as “New Presentation” or “Create” and is typically located at the top or in the main menu.
- Select a default layout or template for your presentation. Most PowerPoint apps offer a range of visually appealing templates that you can customize to your liking. If you prefer a blank slate, choose the option for a blank presentation.
- Give your presentation a relevant and catchy title. This will help you stay organized and make it easier for others to identify your presentation. You can usually set the title in the designated field on the first slide or in the presentation settings.
- Consider setting up the presentation’s dimensions. By default, the app will likely use a standard aspect ratio, such as 16:9, but you can adjust this according to your needs. Common aspect ratios include 4:3 for traditional presentations and 16:9 for widescreen displays.
Once you’ve completed these steps, you’ll have a blank canvas to start building your presentation. The next section will guide you through the process of selecting a template and customizing the slides to create a visually appealing and cohesive presentation.
Step 3: Select a Template
Now that you have created a new presentation, it’s time to choose a template that suits the theme and style of your presentation. Templates provide a professional and consistent look to your slides, saving you time and effort in designing each slide from scratch. Follow these steps to select a template:
- In your PowerPoint app, navigate to the slide selector or template gallery. This is usually accessible from the main menu or a sidebar.
- Browse through the available templates and preview them to get a sense of their design and layout. Pay attention to the color scheme, typography, and overall aesthetic to ensure it aligns with your presentation’s theme.
- Once you find a template that appeals to you, select it by clicking or tapping on it. The template will be applied to your slides, giving you a starting point for your content.
- If you change your mind or want to explore more templates, feel free to browse through the options until you find the perfect match.
- After selecting a template, you can start customizing it further in the next steps. You can modify the colors, fonts, and other elements to make it uniquely yours.
Choosing the right template sets the tone for your presentation and helps in creating a visually appealing and cohesive look throughout. Remember that templates are customizable, so don’t hesitate to make adjustments to best fit your content and style. With the template selected, we can move on to the next step: customizing the slides to convey your message effectively.
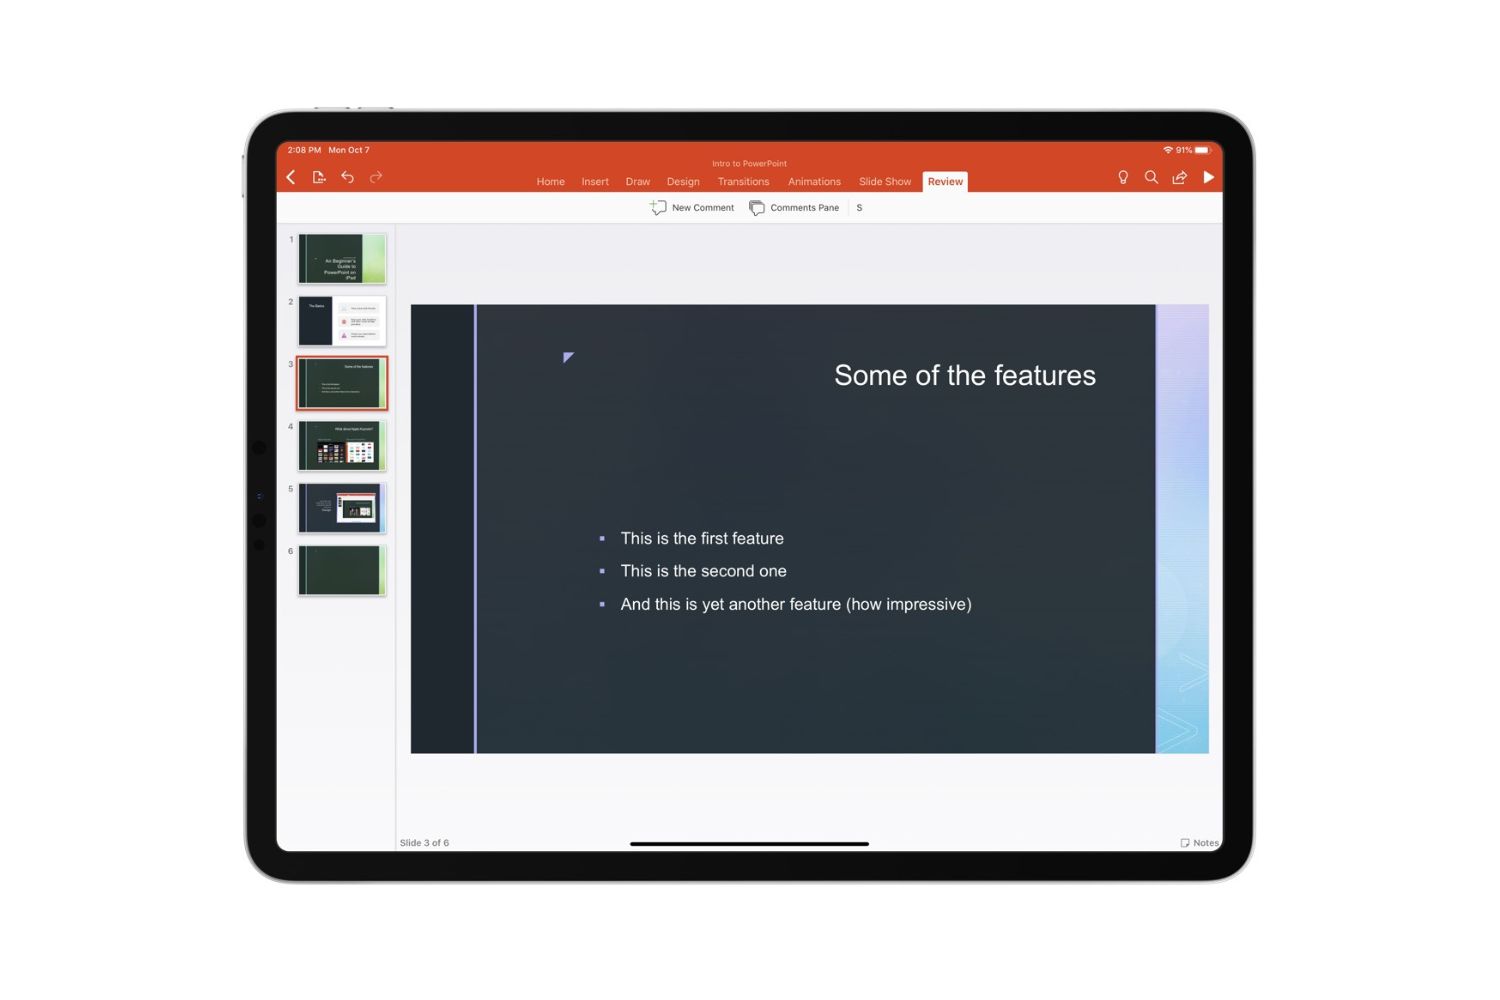
Step 4: Customize the Slides
Once you have selected a template for your presentation, it’s time to customize the slides to make them visually appealing and aligned with your content. Customization allows you to add your personal touch and enhance the overall impact of your presentation. Follow these steps to customize your slides:
- Open the slide editor or customization options in your PowerPoint app. This is where you can modify the content, layout, and design of each slide.
- Start by adding your content to the slides. This may include text, images, charts, graphs, or multimedia elements. Simply click or tap on the designated areas of the slide and begin typing or inserting the desired content.
- Adjust the font styles and sizes to make your text easier to read. You can format the text using bold, italic, or underline styles to emphasize important points.
- Consider using appropriate color schemes that match your presentation’s theme. Use contrasting colors to ensure readability and choose a combination that creates a visually appealing presentation.
- Customize the layout of each slide to optimize the arrangement of your content. Rearrange the elements by dragging and dropping, or use the layout options provided by the app to achieve a balanced and aesthetically pleasing composition.
- Highlight key points by utilizing bullets, numbering, or subheadings. This helps guide your audience and improves the clarity of your message.
- Add relevant images or graphics to enhance the visual impact of your slides. Make sure they are high-quality and properly sized to maintain the overall professionalism of your presentation.
- Review and edit each slide for consistency, coherence, and clarity. Ensure that the content flow and transitions between slides are smooth and logical.
By customizing your slides, you can create a unique and engaging presentation that effectively communicates your message. Take your time to experiment with different layouts, colors, and designs until you achieve a look that best represents your content and style. As you move on to the next step of adding text and images, keep in mind the overall visual appeal and coherence of your presentation.
Step 5: Add Text and Images
Adding text and images to your presentation is an essential step in conveying your message effectively and engaging your audience visually. Follow these steps to incorporate text and images into your slides:
- Identify the areas on your slides where you want to add text. This may include titles, subtitles, bullet points, or captions.
- Click or tap on the designated text box or placeholder and start typing to add your content. Make sure to keep your text concise, clear, and easy to read. Use a font size and style that is legible, even from a distance.
- Consider using headings and subheadings to structure your content and make it easier to follow. This helps your audience grasp the main points of each slide quickly.
- Utilize bullet points to break down complex information into digestible chunks. This not only improves readability but also allows you to emphasize key ideas.
- To enhance visual interest, incorporate relevant images into your presentation. This could be photos, illustrations, icons, or graphics that support your content.
- Ensure that the images you choose are high-quality and relevant to the information presented on each slide. Use them sparingly and strategically, avoiding clutter and distractions.
- Align your text and images in a visually pleasing manner, maintaining balance and proper spacing. Experiment with different layouts to find the most effective arrangement for your content.
- Remember to attribute any images or graphics used that are not your own. This can be done through a small caption or a separate slide dedicated to image credits.
By incorporating well-written text and visually appealing images, you can grab your audience’s attention and make your presentation more memorable. Be mindful of the amount of text and the visual impact of the images to strike the right balance and keep your slides engaging without overwhelming your audience. With text and images added, you’re one step closer to a captivating presentation.
Step 6: Format the Presentation
Formatting your presentation is crucial for creating a polished and professional look. Consistency in design and style across slides enhances the overall visual appeal and readability. Follow these steps to format your presentation:
- Choose a consistent color scheme for your presentation. Use colors that align with your topic and create a harmonious visual experience. Apply the selected color scheme to text, backgrounds, and other design elements throughout the presentation.
- Standardize your font style and size across slides. A cohesive font choice enhances readability and maintains a professional appearance. Select a font that is easy to read and suitable for your presentation’s theme.
- Use formatting options provided by the app to enhance the visual hierarchy of your content. Adjust text alignment, indents, line spacing, and spacing between elements to create a clean and organized layout.
- Apply consistent formatting to headers, subheadings, and body text. Use bold, italic, or underline styles strategically to emphasize important points and create visual variation.
- Consider using slide master or layout templates provided by the app to ensure consistent formatting across all slides. This saves time and effort by applying changes to multiple slides at once.
- Pay attention to the readability of your presentation by adjusting the contrast between text and background. Ensure that the text is easily distinguishable from the background color or image.
- Add appropriate slide transitions to create a smooth flow between slides. Use transitions sparingly and purposefully, choosing ones that support the content and style of your presentation.
- Preview your presentation in slideshow mode to ensure that all elements are properly aligned, formatted, and visually appealing.
By formatting your presentation consistently and paying attention to design details, you create a visually cohesive experience for your audience. A well-formatted presentation not only enhances understanding but also demonstrates professionalism and attention to detail. With your presentation formatted, you’re almost ready to bring it to life with transitions and animations.
Step 7: Add Transitions and Animations
Adding transitions and animations to your slides can significantly enhance the overall visual impact of your presentation. These effects help engage your audience and create a seamless transition between slides. Follow these steps to incorporate transitions and animations into your presentation:
- Select the slide that you want to add a transition effect to. This could be the current slide or the one that follows.
- Access the transition options in your PowerPoint app. Look for a menu or tab specifically dedicated to transitions.
- Browse through the available transition effects and choose the one that best suits the style and content of your presentation. Each effect has its own unique visual impact, such as fades, slides, or zooms.
- Apply the selected transition effect to the slide. You can preview the effect to ensure it aligns with your desired outcome.
- To add animations to specific elements within a slide, select the element you want to animate, such as text, images, or shapes.
- Access the animation options in your PowerPoint app. This may be located in the same menu or tab as the transitions or in a separate animation menu.
- Browse the available animation effects and select the one that enhances the visual presentation of the element. Common animations include appearing, fading, or moving.
- Adjust the duration and timing of the animation to create the desired effect. You can specify when the animation starts, how long it lasts, and if it happens automatically or on user interaction.
- Repeat the process for all the elements you wish to animate throughout your presentation.
Remember, while transitions and animations can add visual interest to your presentation, it’s important not to overdo it. Use them strategically and sparingly to avoid overwhelming your audience or detracting from the content. The goal is to enhance the presentation without creating unnecessary distractions. With transitions and animations added, your presentation is ready to be saved and shared.
Step 8: Save and Share the Presentation
Once you have created and polished your PowerPoint presentation, it’s time to save and share it with your intended audience. Follow these steps to ensure your presentation is accessible and shareable:
- Click or tap on the “Save” or “Save As” option in your PowerPoint app to save your presentation. Choose a recognizable file name and select a location on your tablet or cloud storage where you want to save it.
- Consider saving a backup copy of your presentation to prevent any potential loss or accidental changes.
- If your PowerPoint app provides different file format options, such as PPTX or PDF, choose the appropriate format based on your sharing requirements. PDF format is generally preferred if you want to ensure the presentation’s layout remains intact on different devices.
- Check if your app provides an option to password-protect the presentation or restrict editing privileges, if necessary.
- Determine the method of sharing your presentation. You can share it through email, cloud storage services, or collaborative platforms.
- If sharing via email, attach the presentation file to your email and include any necessary instructions or context for the recipient.
- If using cloud storage services, upload the file to your chosen platform and generate a shareable link. Ensure that the access permissions are set correctly for the intended recipients.
- If using collaborative platforms, such as Google Slides, follow the platform’s specific sharing guidelines to grant access and collaborate with others in real-time.
- Double-check that all external files, images, or videos linked to the presentation are included or accessible, especially if you are sharing the presentation with someone who may not have access to those files.
- Communicate with your recipients and provide any necessary instructions for accessing or viewing the presentation. Consider providing a brief summary or key points to accompany the presentation.
By saving and sharing your presentation, you can effectively deliver your content and engage with your audience. Ensure that your sharing method aligns with the preferences and needs of your audience, making it easy for them to access and view the presentation. Now you’re ready to present your masterpiece!
Conclusion
Creating a PowerPoint presentation on a tablet can be an exciting and innovative way to deliver engaging content to your audience. With the right app and following the step-by-step process outlined in this guide, you can confidently craft a visually stunning and impactful presentation.
We started by choosing a suitable PowerPoint app for your tablet, considering factors such as user interface and features. Then, we walked through the process of creating a new presentation, selecting a template, and customizing the slides to align with your content and style. Adding text and images helped bring your presentation to life, and formatting ensured a polished and professional look throughout.
We also explored the importance of incorporating transitions and animations strategically to enhance the visual flow of your presentation while avoiding overwhelming your audience. Finally, we concluded with steps on saving, sharing, and distributing your presentation, ensuring it reaches your intended audience in the most accessible and convenient manner.
Remember, while this guide provides a solid foundation for creating a PowerPoint presentation on a tablet, don’t be afraid to explore and experiment with your own creative ideas. With practice, you can develop your unique style and presentation techniques that captivate and inspire your audience.
So, grab your tablet, unleash your creativity, and start crafting powerful and captivating PowerPoint presentations that leave a lasting impression on your audience!