Introduction
Have you ever created a stunning presentation using Canva and wanted to download it as a Powerpoint file? Fortunately, Canva offers a simple and convenient way to do just that. Converting your Canva presentation to Powerpoint allows you to easily share it with colleagues, clients, or anyone who may not have access to Canva. Whether you need to present your work in a professional setting or simply want to preserve your design integrity, this guide will walk you through the process of downloading a Canva presentation as a Powerpoint file.
Canva is an intuitive online graphic design tool that offers a wide range of templates, including presentation templates. With its drag-and-drop functionality and an extensive library of design elements, Canva makes it easy for both beginners and professionals to create visually stunning and engaging presentations. And the best part is that you don’t need any design experience to use it!
In the following steps, we’ll demonstrate how to download a Canva presentation as a Powerpoint file in just a few simple clicks. So, let’s get started!
Step 1: Access the Canva Website
The first step in downloading a Canva presentation as a Powerpoint file is to access the Canva website. You can do this by opening your preferred web browser and entering www.canva.com in the address bar. Press Enter or Return to load the website.
If you already have a Canva account, login with your credentials. If you don’t have an account, you can sign up for free by clicking on the “Sign up with email” or “Sign up with Google” button. Fill in the required information, such as your name, email address, and password, and then click on “Sign up” to create your account.
Once you’re logged in, you’ll be taken to your Canva homepage, where you can access all of your saved designs and templates. It’s important to note that you need to have a Canva account and be signed in to download a presentation as a Powerpoint file.
Now that you’ve accessed the Canva website and logged in, you’re ready to proceed to the next step: opening the desired presentation.
Step 2: Open the Desired Presentation
Once you’re on the Canva homepage, you’ll see a list of your saved designs and templates. Look for the presentation you want to download as a Powerpoint file and click on it to open it.
If you don’t see the desired presentation on your homepage, you can use the search bar located at the top of the page to find it. Simply enter the title or keywords related to the presentation and press Enter or Return. Canva will display relevant results based on your search query.
Alternatively, if you have organized your Canva designs into folders, you can navigate to the appropriate folder to find the desired presentation. Click on the folder name to expand it and view the designs within.
Once you have located the presentation you want to download, click on it to open it in the Canva editor. This will allow you to view and make any necessary edits to the presentation before downloading it as a Powerpoint file.
Canva offers a range of customization options to modify your presentation’s layout, design elements, and content. You can change the background, add or remove text, upload images, and much more. Take some time to review and make any desired changes to ensure your presentation looks exactly how you want it.
Now that you have opened the presentation in Canva and made any necessary edits, it’s time to move on to the next step: clicking on the “Download” button.
Step 3: Click on the “Download” Button
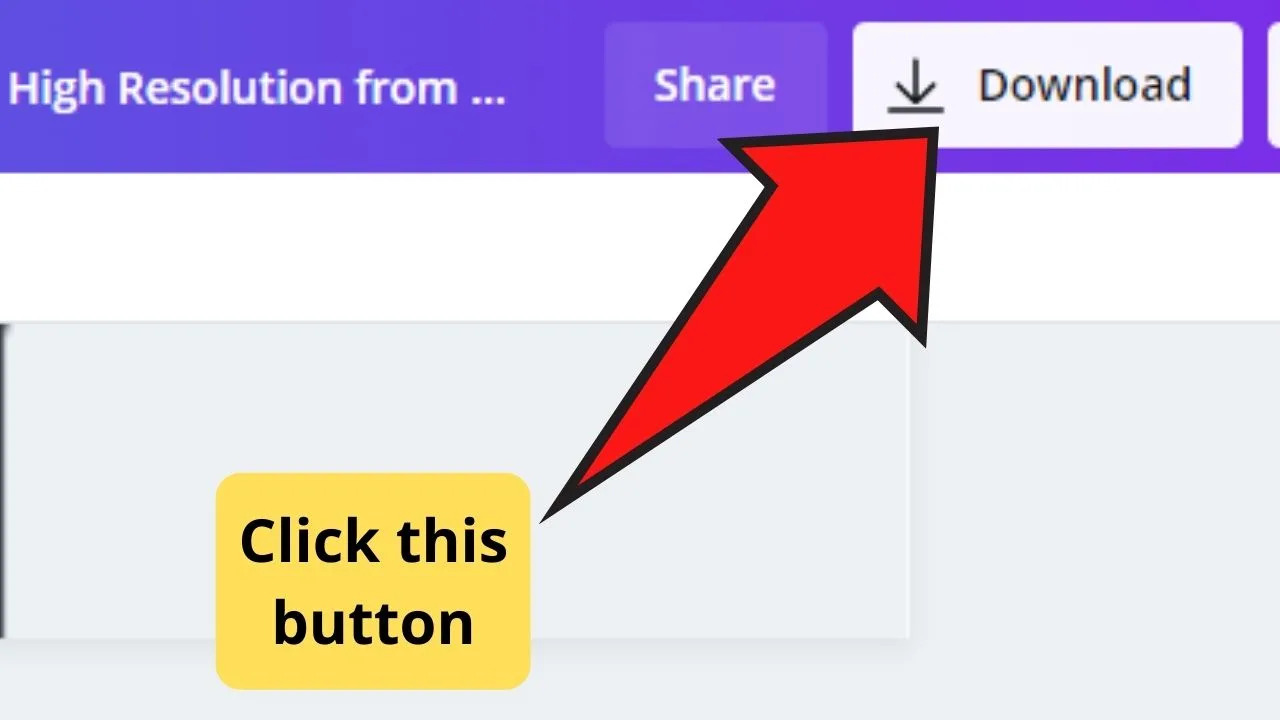
After you have opened the desired presentation in the Canva editor and made any necessary edits, it’s time to download it as a Powerpoint file. To do this, locate and click on the “Download” button, which is located in the top-right corner of the Canva editor interface.
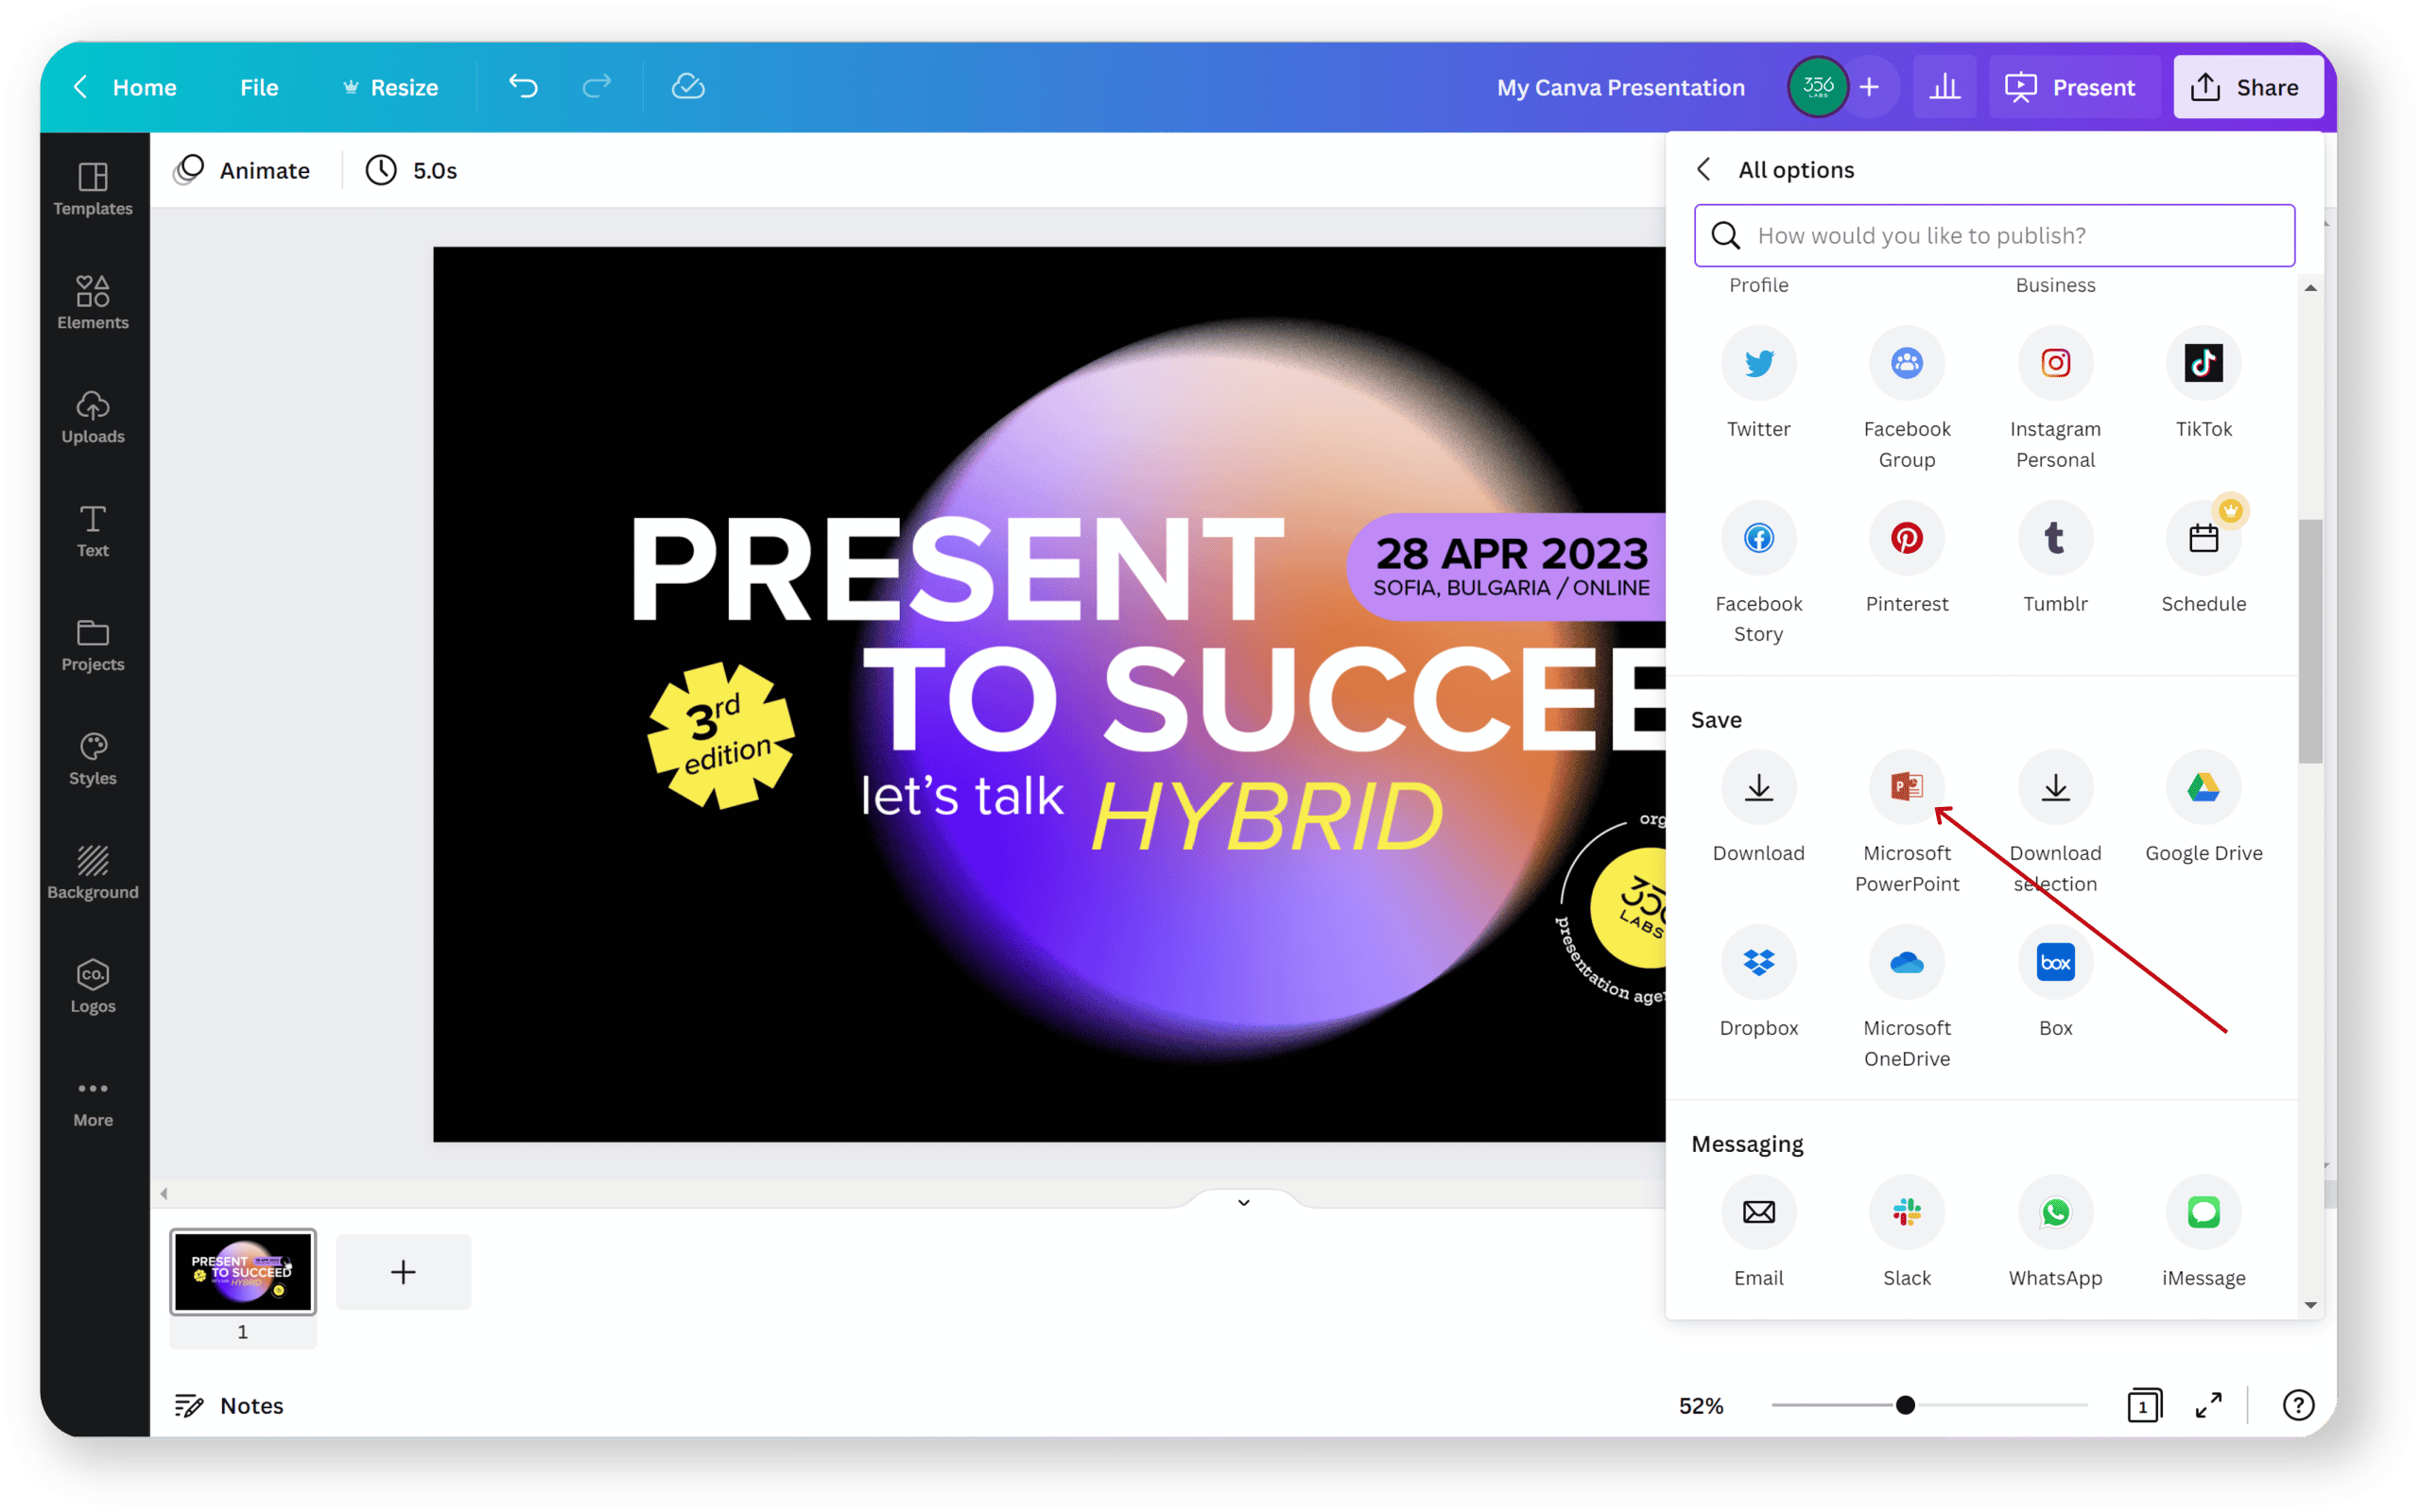
When you click on the “Download” button, a dropdown menu will appear, offering various download options. Canva provides multiple file formats to choose from, including PDF, JPG, PNG, and more. However, for the purpose of downloading a Canva presentation as a Powerpoint file, you need to select the appropriate option.
In the dropdown menu, select the “Powerpoint” option or any other format that specifically mentions Powerpoint compatibility. This will ensure that your presentation is downloaded in a format that is easily accessible and editable using Microsoft Powerpoint or other compatible software.
Once you have selected the “Powerpoint” format, Canva may prompt you to upgrade to a premium account if the selected format is only available to premium subscribers. If you’re okay with upgrading, follow the instructions on the screen. Otherwise, you can choose one of the available formats that don’t require an account upgrade.
Now that you have selected the “Powerpoint” option, you’re ready to move on to the next step: choosing the download location for your presentation.
Step 4: Select the “Powerpoint” Option
After clicking on the “Download” button in Canva, a dropdown menu will appear with various file format options. Look for the “Powerpoint” option in the dropdown menu and select it. This will ensure that your Canva presentation is downloaded in a Powerpoint-compatible format.
By selecting the “Powerpoint” option, Canva will generate a Powerpoint file (.pptx) of your presentation, which can be easily opened and edited in Microsoft Powerpoint or any other software that supports Powerpoint files. This format allows you to maintain the integrity of your design while offering the flexibility to make further modifications or additions if needed.
It’s important to note that the availability of the “Powerpoint” option may depend on your Canva subscription plan. Some advanced features and file formats, such as Powerpoint downloads, may require a Canva Pro subscription. If the “Powerpoint” option is not available to you, you may need to upgrade your account to access this feature.
Once you have selected the “Powerpoint” option and confirmed your selection, Canva will begin generating the Powerpoint file of your presentation. The time it takes to generate the file may vary depending on the size and complexity of your presentation. Canva will display a progress indicator to inform you of the status of the download process.
Now that you have selected the “Powerpoint” option, you’re ready to proceed to the next step: choosing the download location for your Canva presentation.
Step 5: Choose the Download Location
Once Canva has finished generating the Powerpoint file of your presentation, it’s time to choose the download location. When the file is ready, Canva will display a notification or message indicating that the download is complete.
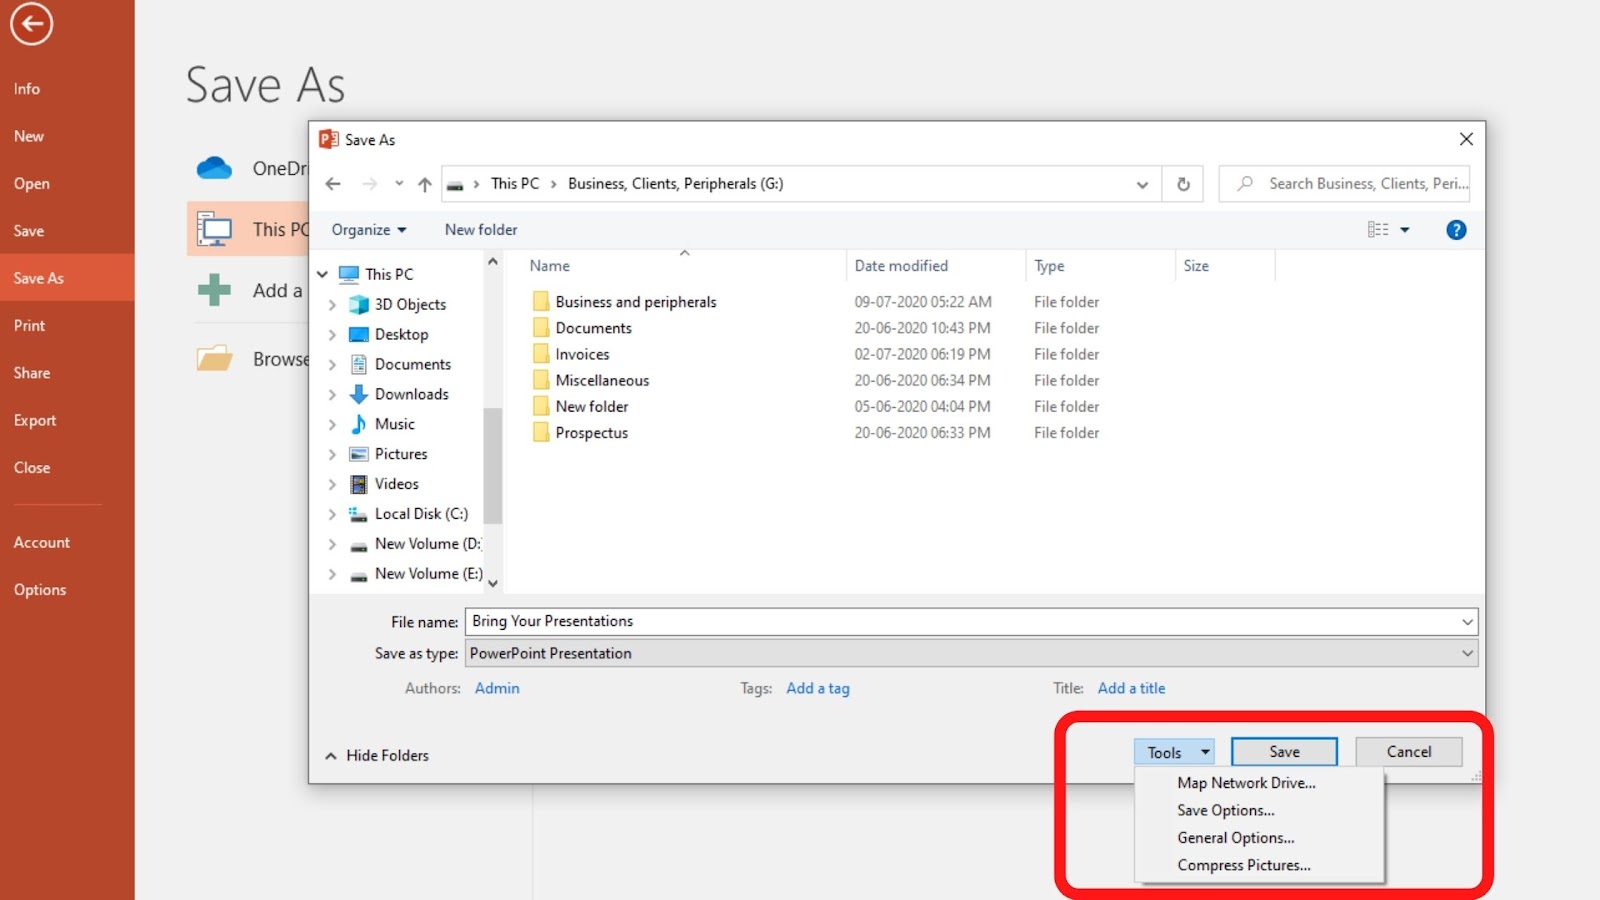
Click on the provided download link or button to initiate the download process. This will prompt your web browser to open a window where you can specify the location on your computer where you want to save the downloaded Powerpoint file.
In the file download window, you can choose to save the file to a specific folder on your computer, such as the “Documents” or “Downloads” folder, or you can select a custom location of your choice. Navigate to the desired folder or location and click on the “Save” or “Download” button to start downloading the Powerpoint file.
Keep in mind that the exact steps and options in the download window may vary depending on your web browser and operating system. However, the general process remains the same: selecting the download location and initiating the download.
Ensure that you choose a location that is easily accessible and memorable, as you will need to locate the file later when you want to open or edit it in Powerpoint. It’s a good practice to save the file in a location where you can easily find it, such as your desktop or a dedicated folder for your Canva presentations.
Now that you have chosen the download location for your Canva presentation, it’s time to move on to the final step: saving the presentation as a Powerpoint file.
Step 6: Save the Presentation as a Powerpoint File
After choosing the download location for your Canva presentation, the file will start downloading to your selected location. The time it takes for the download to complete will depend on the size of the presentation and the speed of your internet connection.
Once the download is complete, navigate to the download location on your computer and locate the downloaded Powerpoint file. The file will have a .pptx extension, indicating that it is a Powerpoint file.
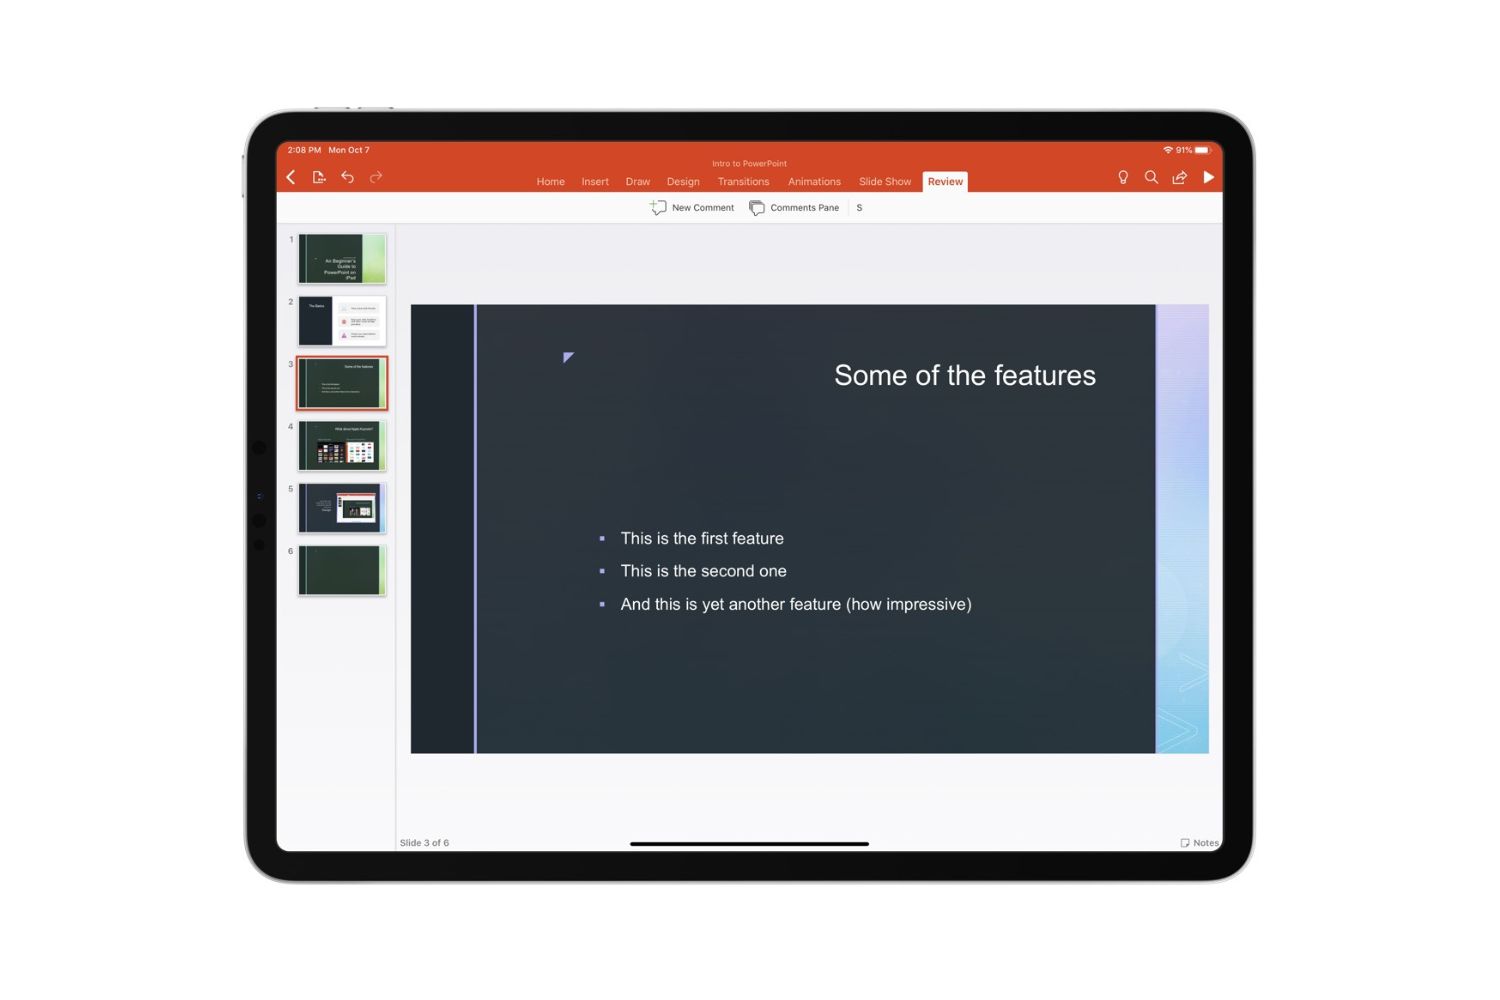
If you have Microsoft Office or Powerpoint installed on your computer, you can simply double-click on the downloaded file to open it in Powerpoint. This will allow you to view and edit the presentation as you would with any other Powerpoint file.
If you don’t have Powerpoint installed, you can use alternative software that supports Powerpoint files, such as Google Slides or Apple Keynote, to open and edit the presentation. These software options provide similar functionality and allow you to work with Powerpoint files seamlessly.
Once you have opened the downloaded presentation in your desired software, you can make any further edits, add animations, include additional slides, or customize the content to suit your needs. Remember to save your changes as you work.
By saving the Canva presentation as a Powerpoint file, you have successfully converted it to a format that is compatible with commonly used presentation software. This allows you to easily share it with others or present it without the need for Canva.
Congratulations! You have now completed all the steps to download a Canva presentation as a Powerpoint file. Enjoy sharing and presenting your visually engaging and professional-looking presentation with ease!
Conclusion
Downloading a Canva presentation as a Powerpoint file provides you with the flexibility to share and present your designs using widely accessible presentation software. With just a few simple steps, you can convert your Canva presentation into a Powerpoint file and make any necessary edits or additions using popular software like Microsoft Powerpoint or Google Slides.
Throughout this guide, we covered the process of downloading a Canva presentation as a Powerpoint file. We started by accessing the Canva website and opening the desired presentation. Then, we clicked on the “Download” button and selected the “Powerpoint” format from the dropdown menu. After choosing the download location, we saved the presentation as a Powerpoint file. Finally, we discussed the importance of having compatible software to open and edit the downloaded file.
By following these steps, you can unleash the full potential of your Canva presentations by utilizing the features and functionalities offered by Powerpoint and other Powerpoint-compatible software. Whether you need to collaborate with others, deliver presentations in a professional setting, or simply want to have a backup of your Canva designs, downloading a Canva presentation as a Powerpoint file is a convenient solution.
Now that you have the knowledge and understanding of how to convert Canva presentations to Powerpoint files, you can confidently create, customize, and share your designs with ease. Embrace the versatility and power of Canva and Powerpoint to captivate your audience and make a lasting impression with your visually striking presentations.


