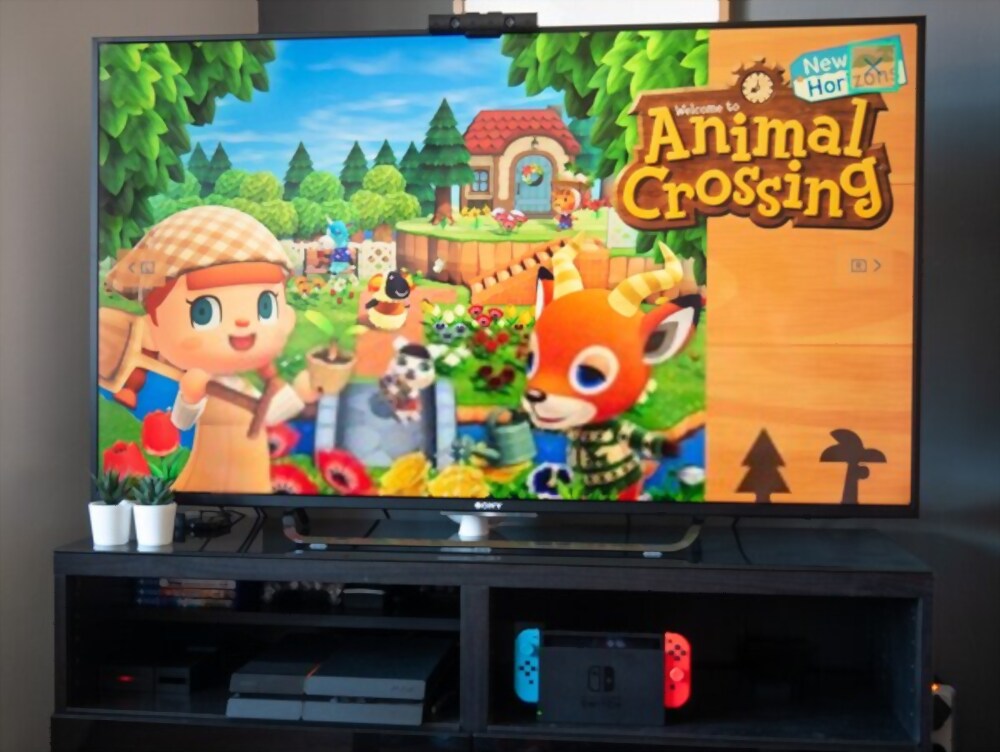
After its official release in March 2017, Nintendo Switch and Nintendo Switch Lite have become a significant hit in the history of the gaming industry. Many people have even labeled it as “The King of Gaming Consoles.” The reason for this lies within its exceptional level of portability. Whether you want to play Super Mario in the comfort of your home or Animal Crossing while riding the bus, this device is the only thing you’ll ever need for gaming wherever you go since it can transition from a handheld gadget into a home console. However, with it being a hybrid device, how to connect Nintendo Switch to TV can be a little tricky. But don’t fret!
In this article, we’ll walk you through the process, including an explanation for the possible reasons why your Switch can’t connect to the television.
Understanding the Mechanism and How It Works
Before we proceed on how to connect Nintendo Switch to TV, let’s first acquaint ourselves with the gaming console, including how it works and its different play styles.
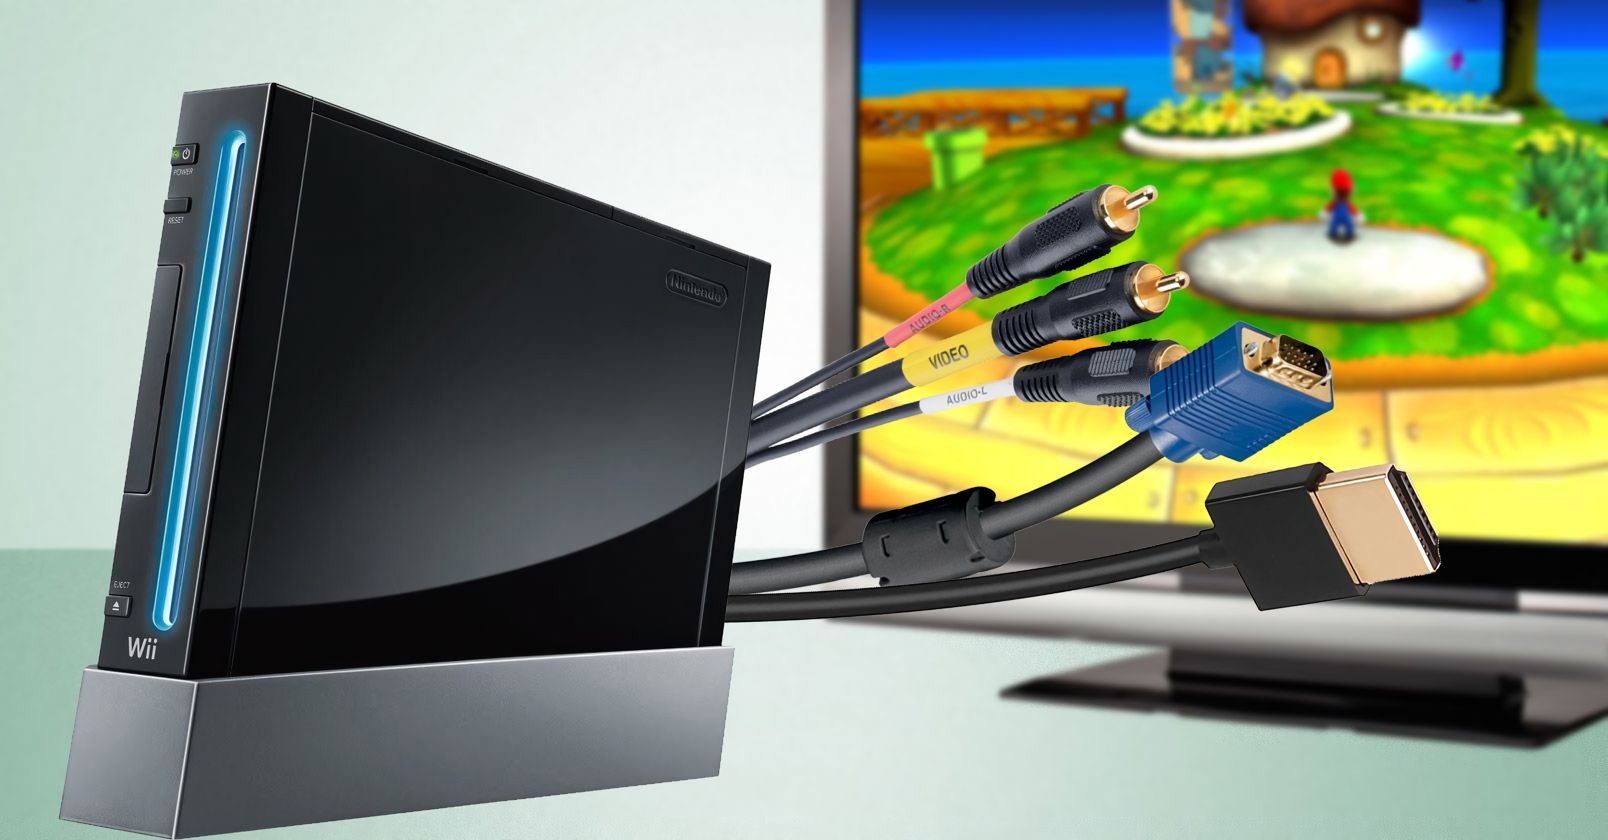
The Nintendo company is one of the pioneers in the video-gaming industry. Over the years, they have produced gaming consoles that defined the authentic entertainment experiences of both children and adults. From the iconic Nintendo Entertainment System to the Wii U GamePad, these devices gave everyone a taste of what immersive gaming truly is.
Now, Nintendo Switch has acquired all of the company’s entertainment DNA, and all legendary features from the previous devices are carefully loaded into the system. As a result, you can enjoy Switch with the correct Switch accessories to connect it to the TV that elevates your gaming experience.
You can use Nintendo Switch in three different play styles. Those include the TV Mode, Tabletop Mode, and Handheld Mode.
Nintendo Switch on TV Mode
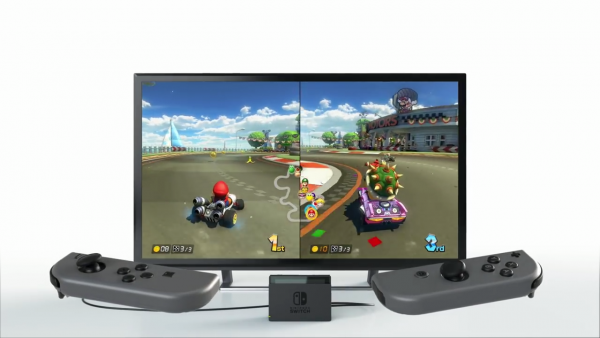
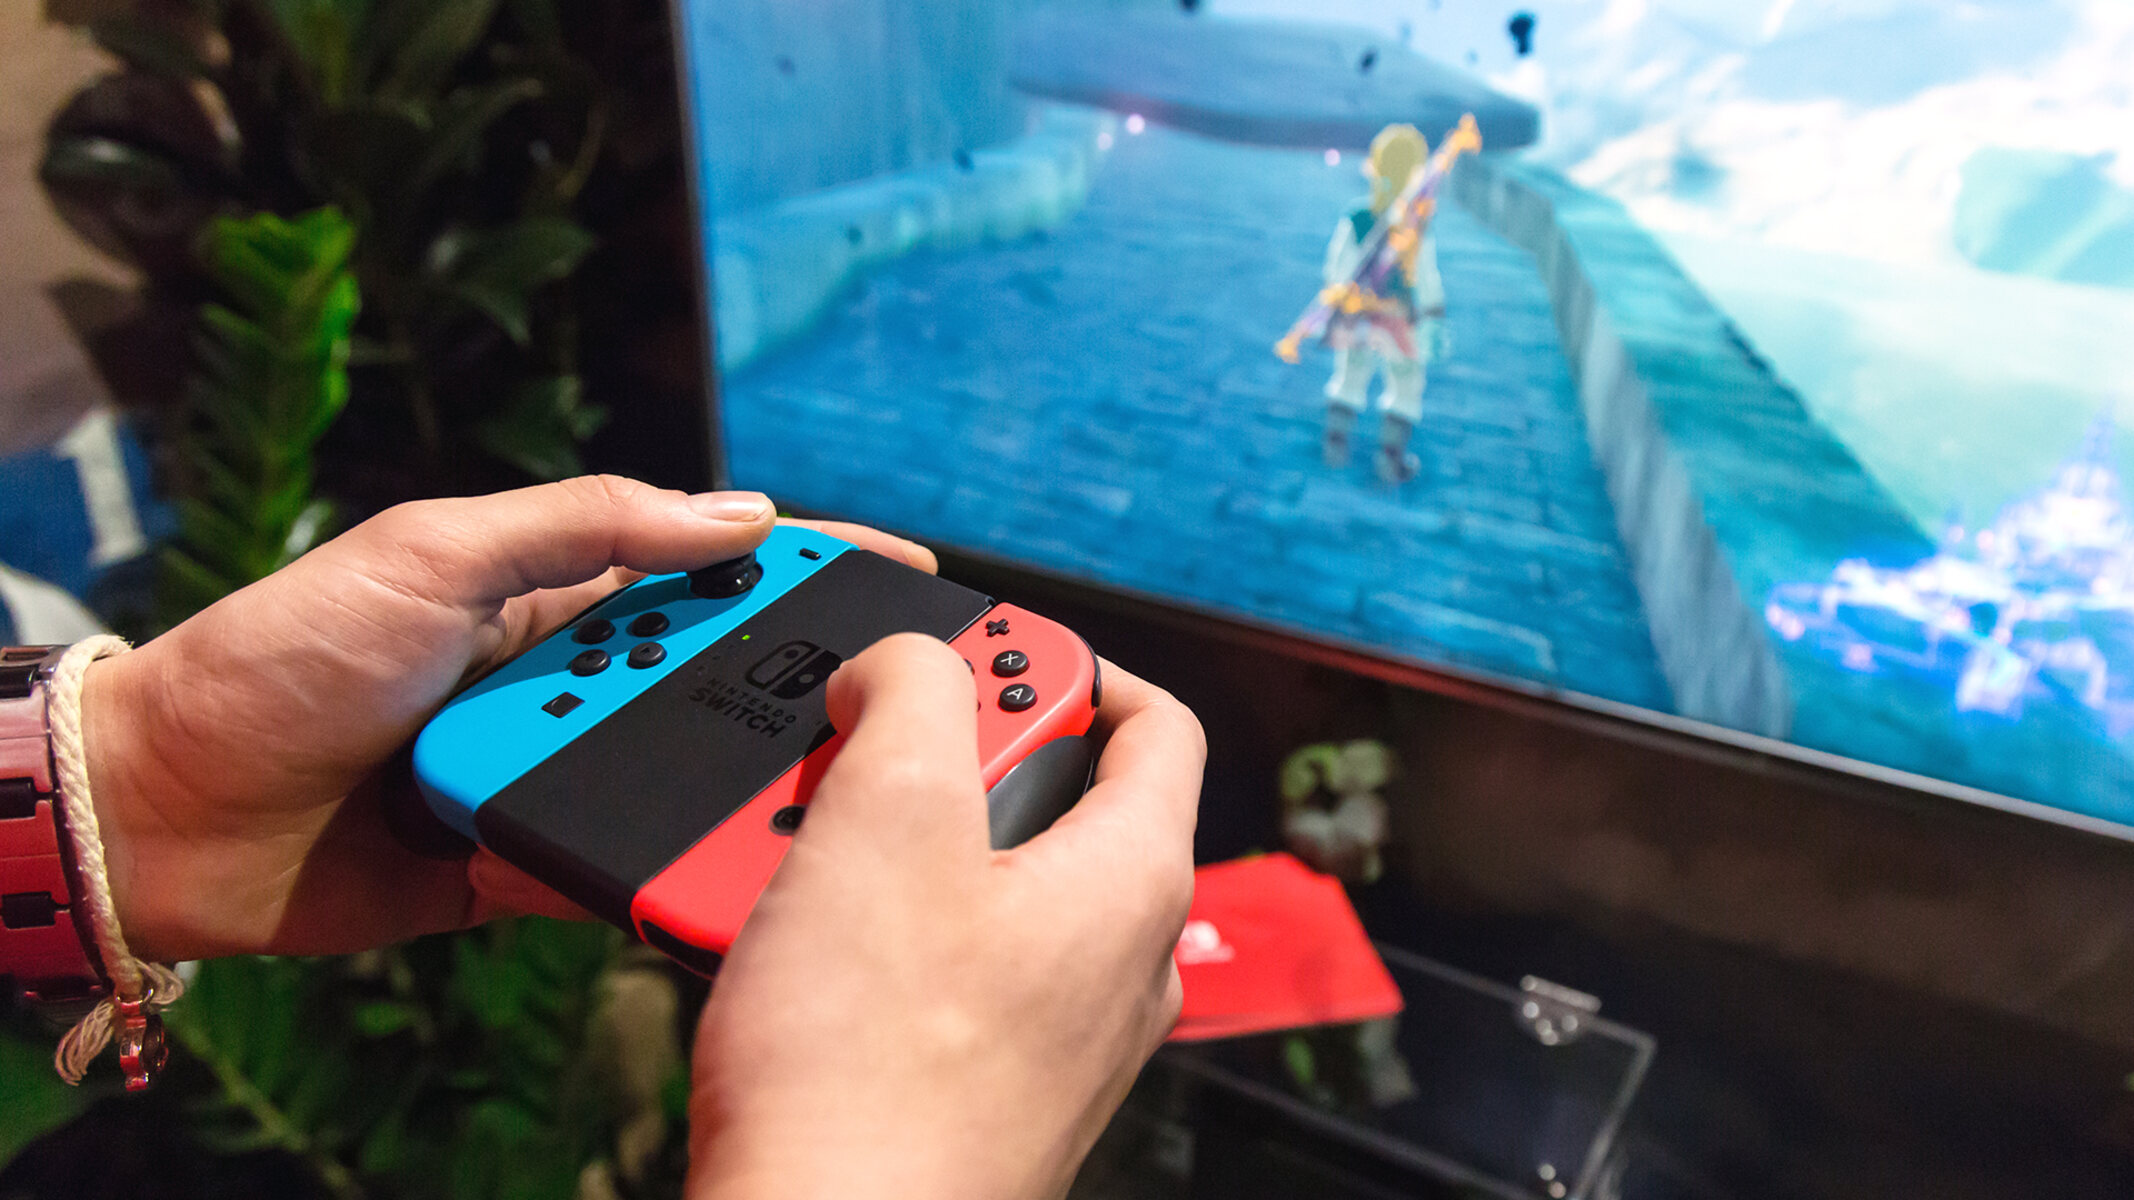
As the name implies, TV Mode is where you can enjoy playing your game while being displayed on the television screen. It adapts the traditional home console gaming, and you have the chance to witness your game’s graphics on a bigger screen. Of course, all you have to do is connect Nintendo Switch to your TV, detach the Joy-Con controllers, set the Switch system in its charging dock, and start playing.
If you’re wondering how to connect Nintendo Switch to TV, proceed to the next section to find out.
Tabletop Mode
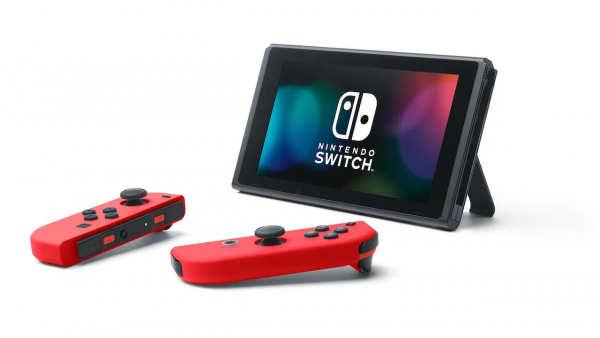
Don’t have a television in your place? Don’t worry. You can still play your favorite games on Nintendo Switch by placing the console on a table or other flat surface. Make sure to stand the system firmly using its kickstand to keep it from falling. From there, you can play games using Joy-Cons. You can also invite your friend to play with you by using one Joy-Con each.
However, do note that you won’t charge the device while playing as the charging port is located at the bottom of the system.
Handheld Mode
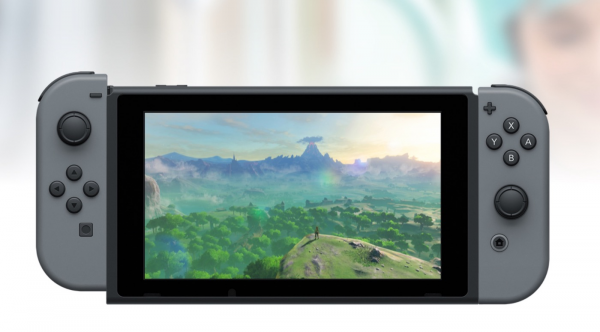
If you’re riding the train bound for home, or in a tight space where placing the console down might be difficult, using Switch in handheld mode is a decent choice. Switch’s screen size measures 6.2” diagonally with 1280 x 720-pixel resolution, which is pretty good for mobile gaming.
To do this, just attach both the Joy-Con controllers to the console and start playing your games. Simple as that.
How to Connect Nintendo Switch to TV

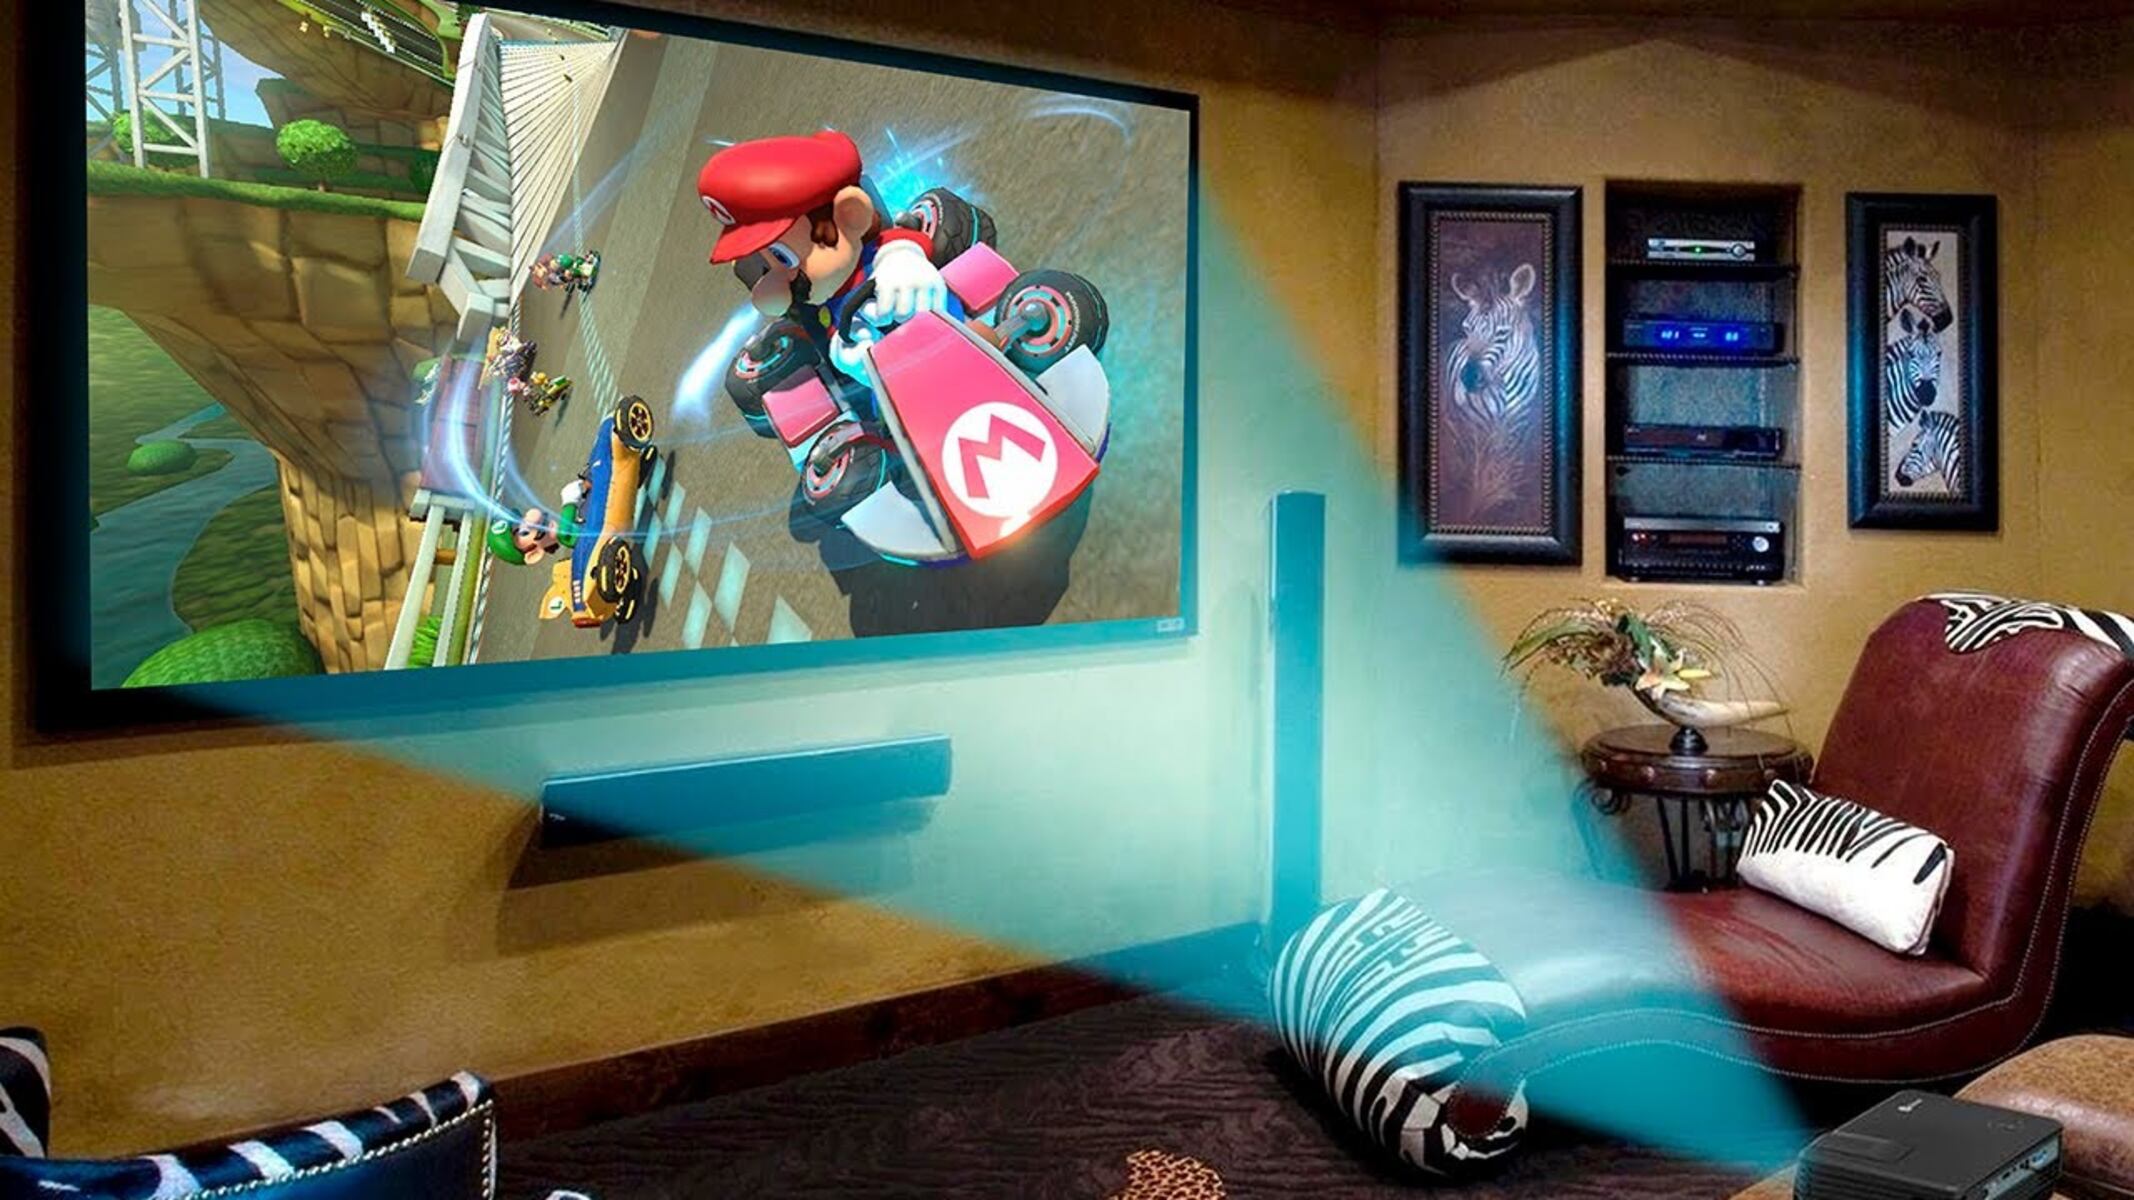
We’ve mentioned in the previous section that Nintendo Switch is played in three different styles. One of which is the TV or Docked Mode. You can enjoy your favorite game on upgraded screen size and witness as more of its finer details come to life in this mode. After all, playing games using the television as your monitor is more appealing than through Switch’s built-in panel. No one wants to play Mario Kart in split-screen on a 6.2” display, right?
Setting up Nintendo Switch for handheld mode is pretty simple. Just turn on the screen, press on the controls and buttons, and you’re good to go. But when it comes to the TV Mode, you may find that it isn’t as simple as when you’re setting it up for mobile gaming. Hence, if you don’t know how to connect Nintendo Switch to TV, here’s a comprehensive guide for you.
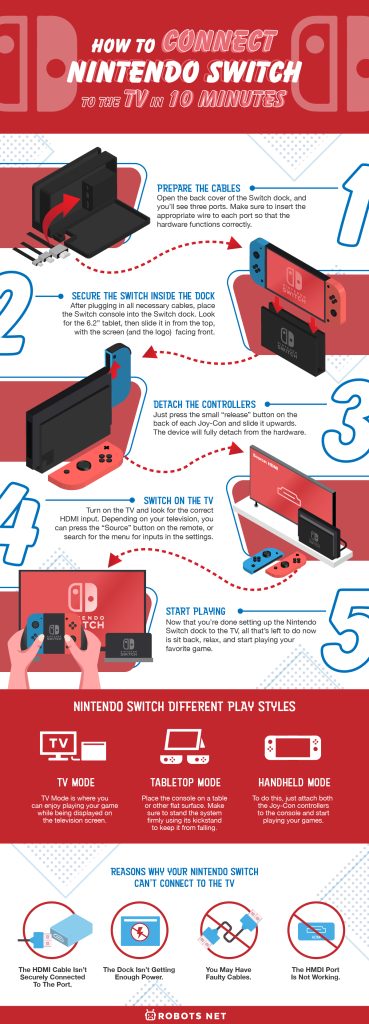
1. Prepare the Cables
When you buy Nintendo Switch from the store, you’ll get the following right out the box:
- 6.2” tablet
- Two Joy-Con controllers
- Joy-Con grip
- TV dock
- HDMI cable
- Charger
Make sure all of these are present. Otherwise, your device won’t work. In case your purchase isn’t bundled with HMDI cables, you can buy your own from Amazon or any local technology store near you.
When your cables are complete, open the back cover of the Switch dock, and you’ll see three ports. The uppermost part is the AC adapter used for plugging into the wall socket for power, while the lower port is for the HDMI 2.0 Cable. This cable is essential so that Switch can transfer content to television. Make sure to insert the appropriate wire to each port so that the hardware functions correctly.
2. Secure the Switch Inside the Dock
After plugging in all necessary cables into their appropriate ports, place the Switch console into the Switch dock. Look for the 6.2” tablet, then slide it in from the top, with the screen (and the logo) facing front. If done correctly, a small connector at the bottom of the dock plugs into the console to secure it.
3. Detach the Controllers
Before you can play any game on TV Mode, you need to detach the Joy-Con controllers from the Switch. To do so, just press the small “release” button on the back of each Joy-Con and slide it upwards. The device will fully detach from the hardware.
4. Switch On the TV
Just one more step and you’re good to go. If you haven’t switched on the television, now is the right time to do so. Turn on the TV and look for the correct HDMI input. Depending on your television, you can press the “Source” button on the remote, or search for the menu for inputs in the settings.
Similarly, some gaming TVs require you to hit the home button on your Switch controller. Once you do that, you’ll activate the display, and the device itself will select the proper input. However, you can always disable this feature in the Switch’s settings menu.
As for the resolution, your television should be at least 1080p for you to notice the graphical difference. If not, that’s okay. You can still play the game; however, the display might not be as vibrant as you would expect. Another thing; Nintendo Switch can’t output in 4K resolution even if your TV is capable of doing it.
5. Start Playing
Now that you’re done setting up the Nintendo Switch dock to the TV, all that’s left to do now is sit back, relax, and start playing your favorite game. How to connect Nintendo Switch to TV is pretty simple, right? However, if you want to find out how to connect the said console without a dock, proceed to the next section.
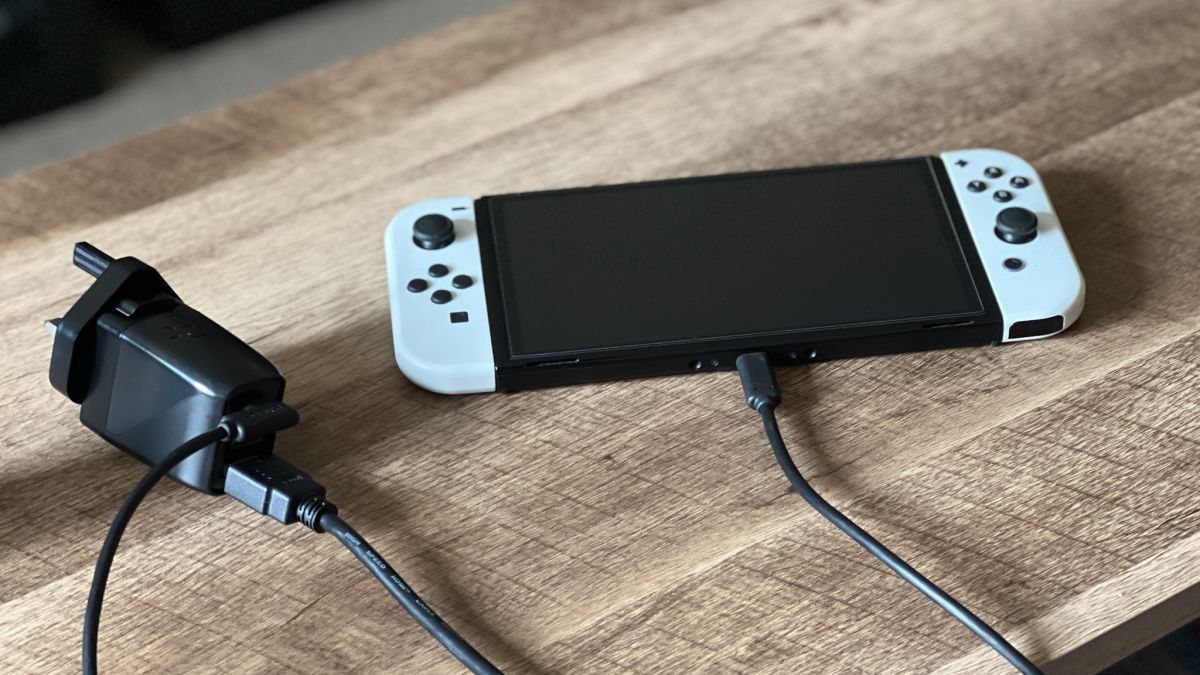
How to Connect Nintendo Switch Without a Dock
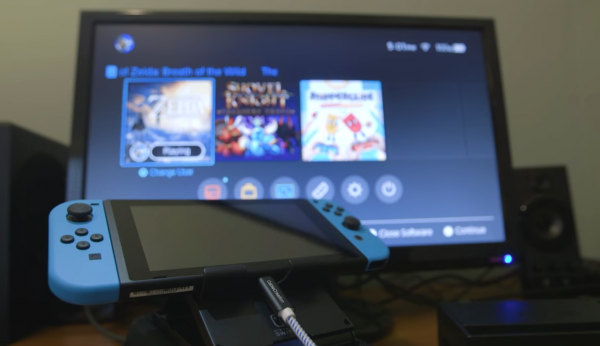
The Nintendo Switch consoles (except for the Lite version) usually come with a dock upon purchase. This small device ensures that the console takes enough power while allowing you to play on the TV using an HDMI cable. It’s pretty to use as well since it just acts like a stand where you slide in your Switch console and connect the necessary cables. However, what happens if you accidentally lost or broke your dock? Can you still use your Nintendo Switch even if you don’t have a dock?
The answer is yes, but it comes with reservations. As we’ve mentioned before, the Nintendo Switch dock has two main functions: to charge and to connect the device to the TV. If you don’t have a dock, you need other accessories to replace these functions and still play your games via the TV.
Here’s a detailed guide on how to connect Nintendo Switch to the TV without a dock.
What You’ll Need:
- HDMI cable
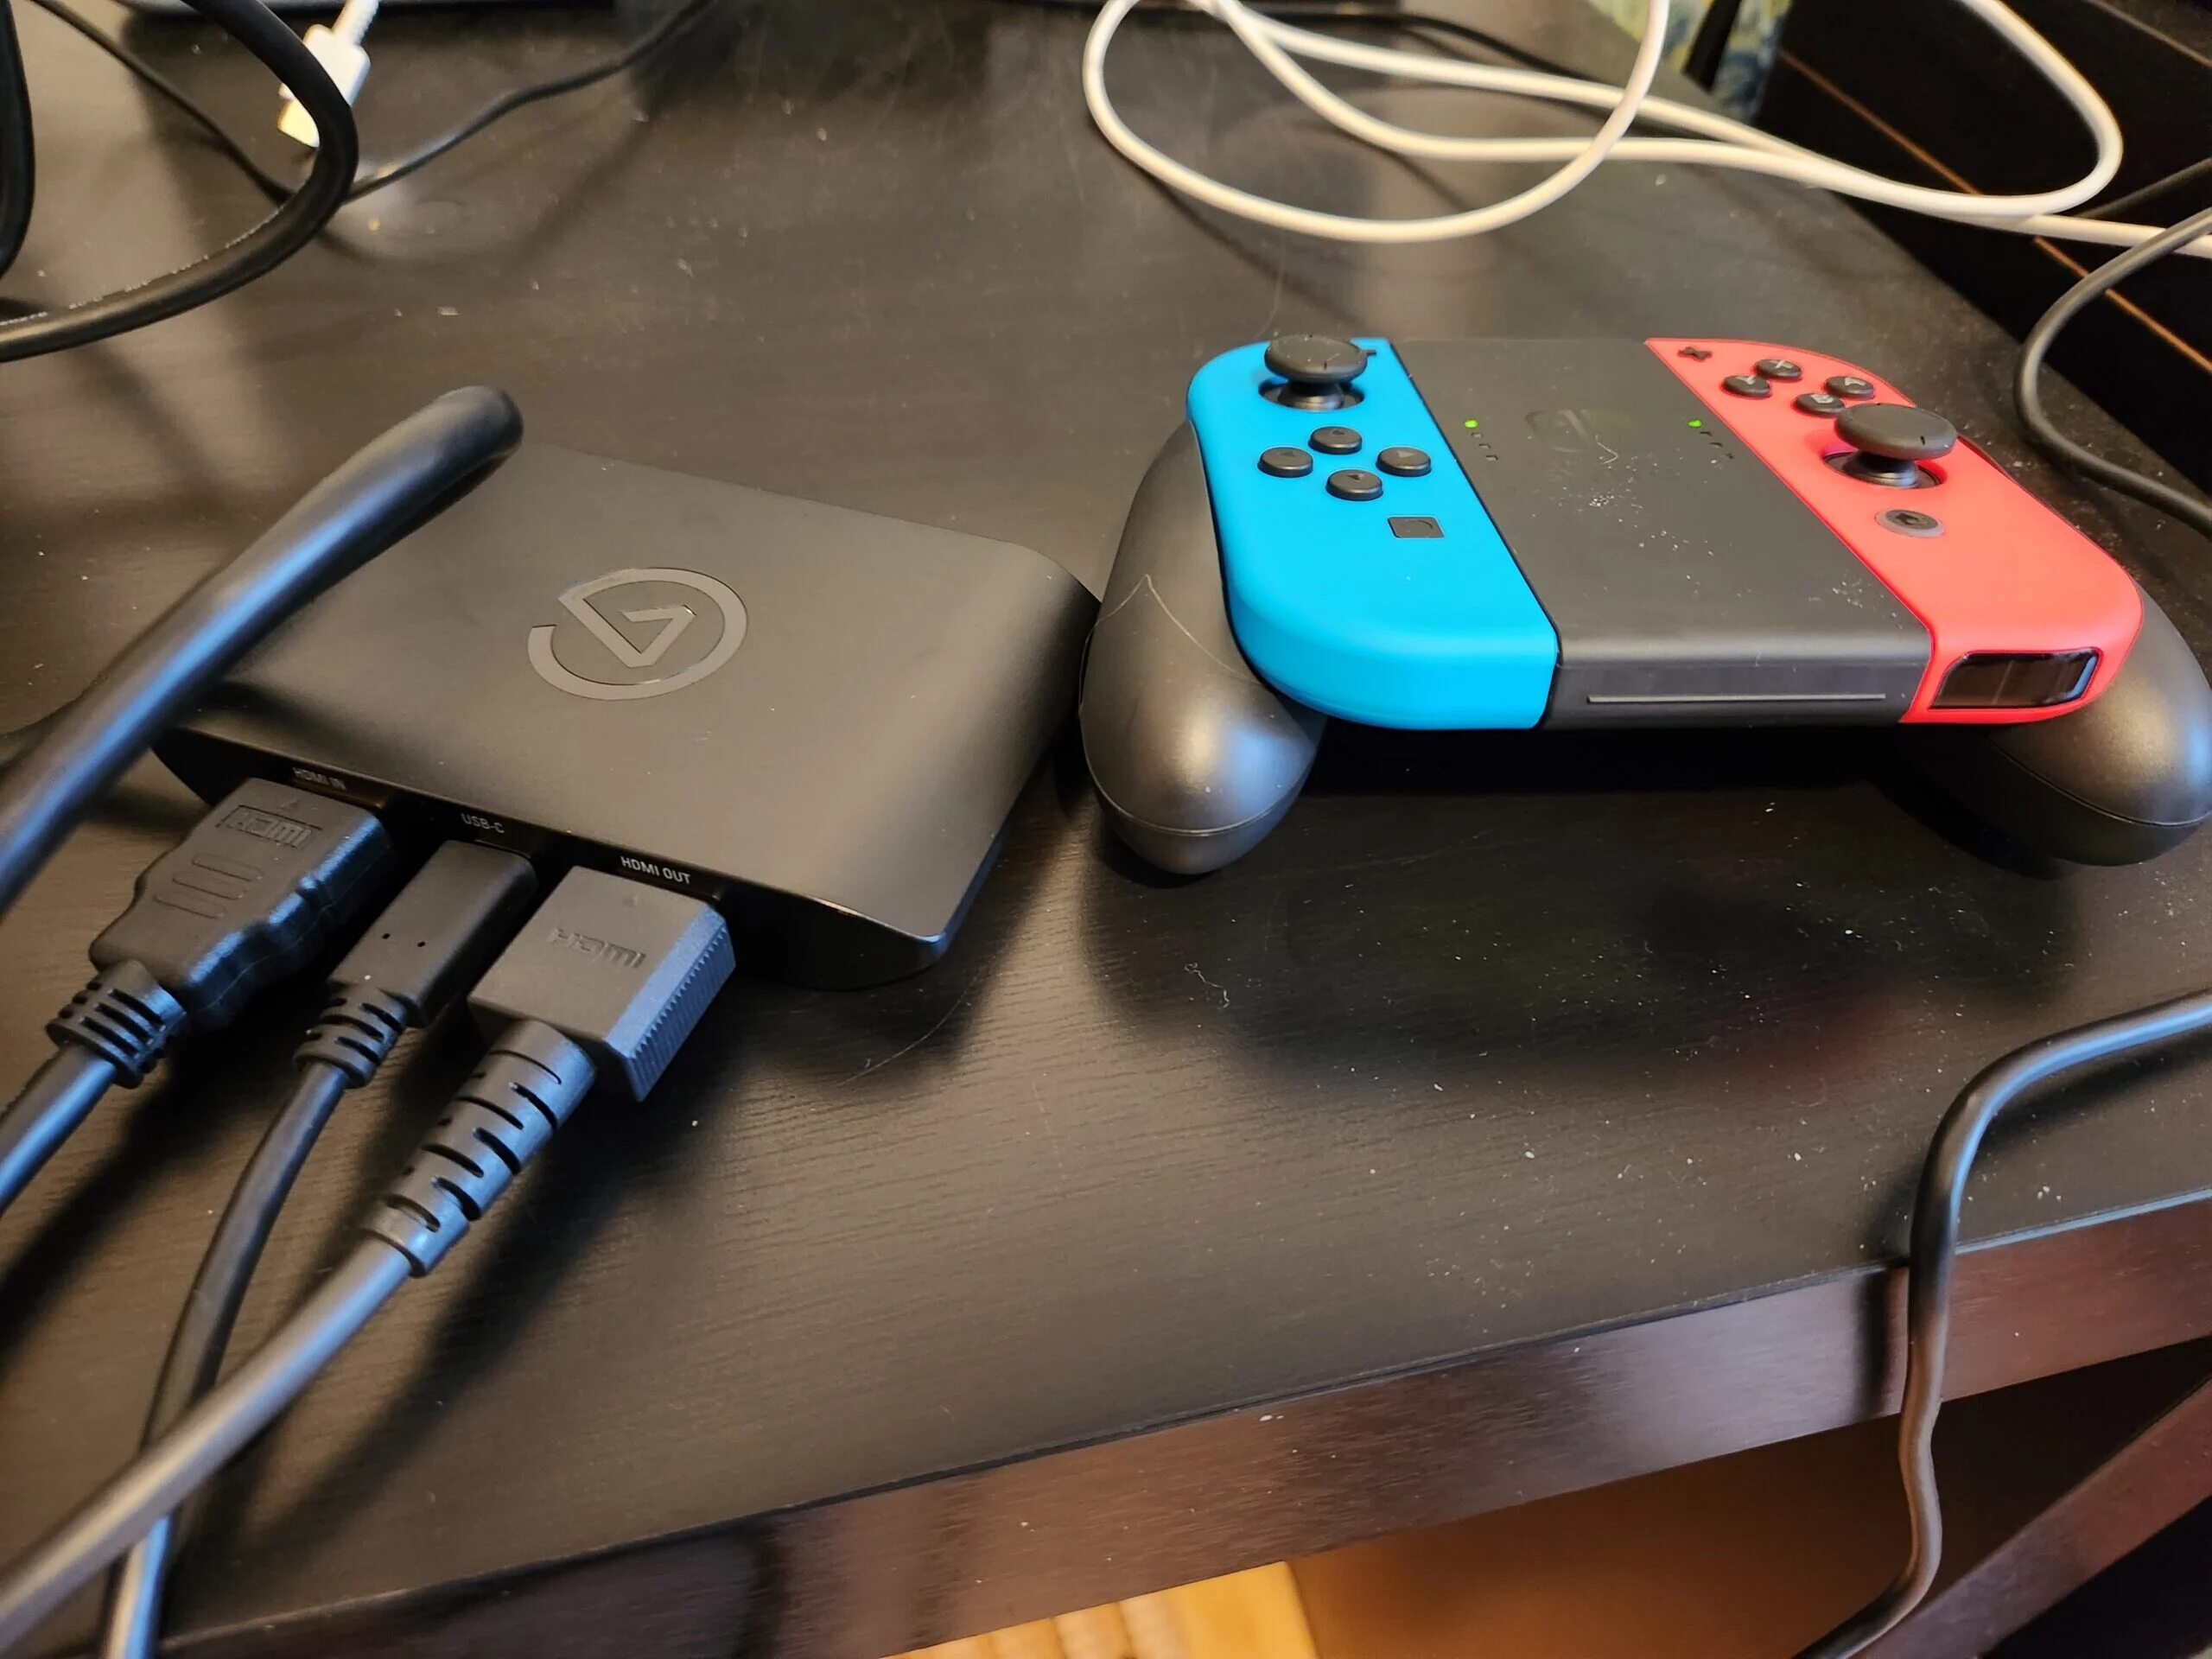
- Type-C HMDI adapter for Nintendo Switch ($20 – $40 on Amazon)
- Nintendo Switch Power Adapter
- Nintendo Switch Stand
How to Do It:
- Hook one end of the HMDI cable into your TV and hook the other end into your type-C HDMI adapter.
- Next, plug the power supply into the adapter then plug it into the power outlet to start charging your device. At this point, if you have anything to plug into the USB port next to the two cables—let’s say you have a Charge Pro controller or anything—you can do so to maximize your gameplay.
- Place your Nintendo Switch on the stand and make sure that the charging port is accessible from below.
- Next, run the cable from the adapter through the bottom of the stand and plug it into your Switch.
- After that, turn on your television, search for the correct HMDI output, and then you can start playing. Do note that once you’ve connected all the necessary cables, Switch doesn’t automatically activate the TV Mode. You’ll have to manually power on your television and look for the HMDI output.
Reasons Why Your Nintendo Switch Can’t Connect to the TV
After reading an in-depth guide about how to connect Nintendo Switch to TV, you’re now excited to use the console on the big screen. You’ve linked all the necessary cables and even secured the console into the dock. Now comes the dilemma, instead of getting a colorful screen with your game’s vibrant and fun interface, you’re greeted with a blank screen. That’s frustrating, right? So, what could be the possible reasons why your Nintendo Switch can’t connect to the TV? Let’s find out.
1. The HDMI Cable Isn’t Securely Connected to the ort.
The HDMI cable is an essential component of Nintendo Switch as it transmits video and audio data from the console into the TV. Without it, you won’t be able to play your game on the big screen. If you see a blank or black screen upon connecting the HDMI cable into both the devices, chances are the ends are not tightly inserted into the ports.
All you have to do is to remove and re-insert the cable and see whether it solves the problem.
2. The Dock Isn’t Getting Enough Power.
If you’ve eliminated the possibility of a loose HMDI cable, another reason to consider might be that the dock has not enough power as it should get. If this is the case, try to plug the device solely to a power outlet. Other appliances might be getting more substantial power, leaving the dock unable to operate since it’s not getting a decent amount of power to function correctly.
3. You May Have Faulty Cables.
Try to switch cables and see if the device works. If yes, then there’s something wrong with your cables. You can buy new ones from Amazon or return them to the store where you’ve purchased the console and replaced them.
4. The HMDI Port Is Not Working.
After doing all the troubleshooting steps listed above and the issue persists, the problem may be rooted in the dock itself. One of which may be that the Nintendo Switch dock port is not working. If this is the case, you’ll need to contact Nintendo’s customer service center to solve this issue.
The Bottom Line: Benefits of Connecting Nintendo Switch to the TV
Playing the Switch on the TV is one of the best ways to make the most out of your game. Through this style, you’re able to see and appreciate the detailed graphics of any game you’re playing. When you connect it to the TV, you won’t have to fight through the console’s small screen just to see instructions of your quest. Televisions make subtitles much more massive and even the audio more audible. Everything is fully upgraded in this mode, ranging from the screen size to the experience.