Introduction
Adding the Download folder to your Mac’s dock can greatly improve your workflow and make accessing downloaded files more convenient. By having quick and easy access to your downloads, you can save time and effort searching through various folders. In this article, we will explore three methods to add the Download folder to your Mac’s dock.
Whether you prefer using the Finder, Terminal, or Automator, we have you covered. The methods outlined here are suitable for both beginner and advanced users, and you can choose the one that best suits your needs and comfort level.
Having the Download folder readily available on your dock ensures that you can quickly locate and open recently downloaded files. This feature is especially beneficial for individuals who frequently download files from the internet, such as documents, images, videos, or software.
With that said, let’s dive into the different methods that will allow you to add the Download folder to your Mac’s dock.
Method 1: Using the Finder
The first method we will explore to add the Download folder to your Mac’s dock is by using the Finder. This method is straightforward and does not require any advanced technical knowledge.
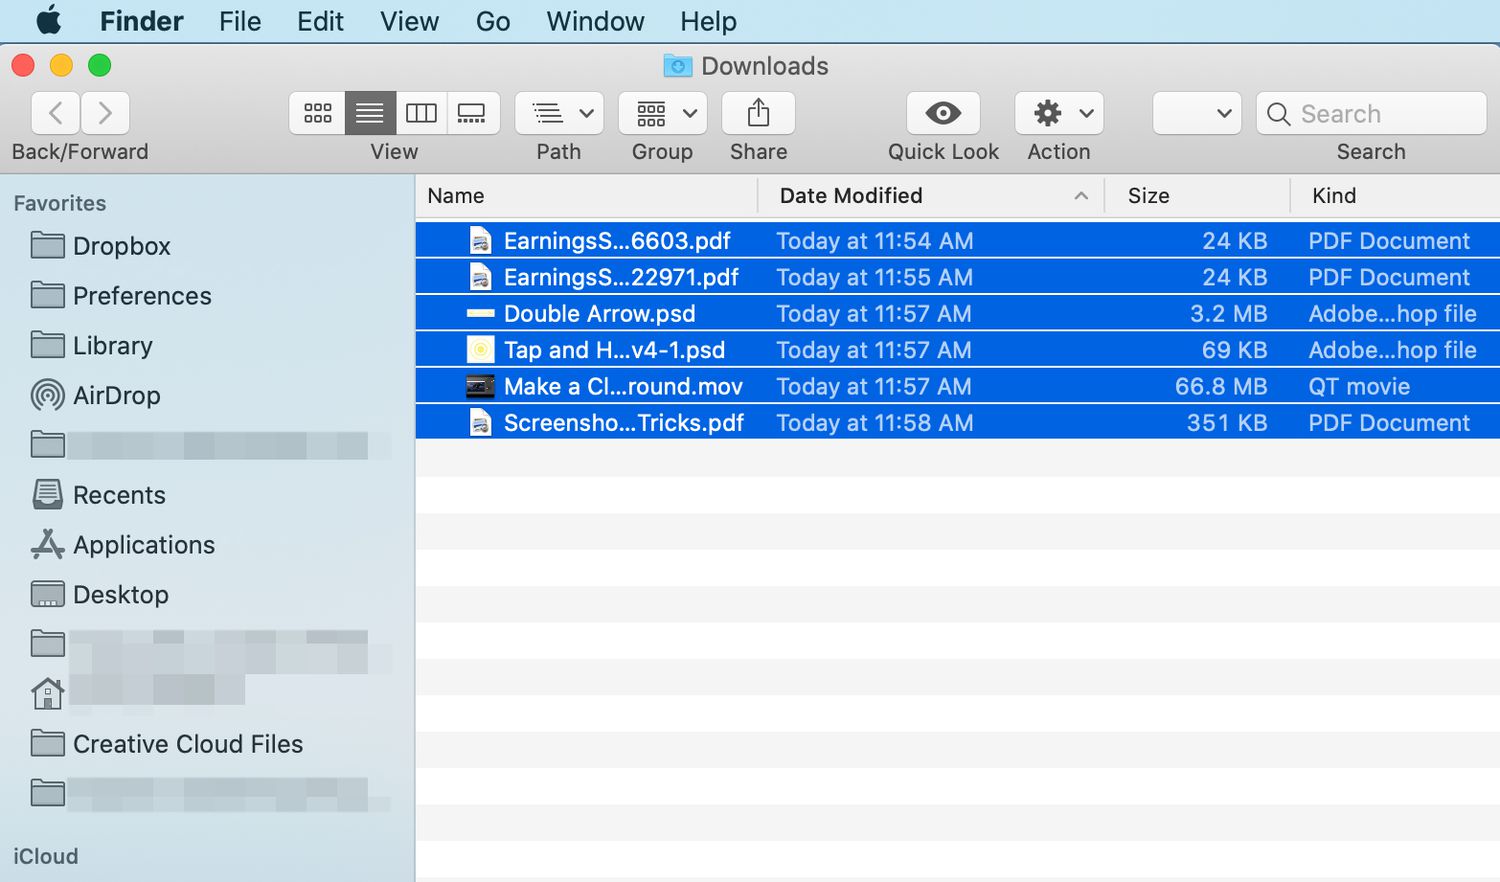
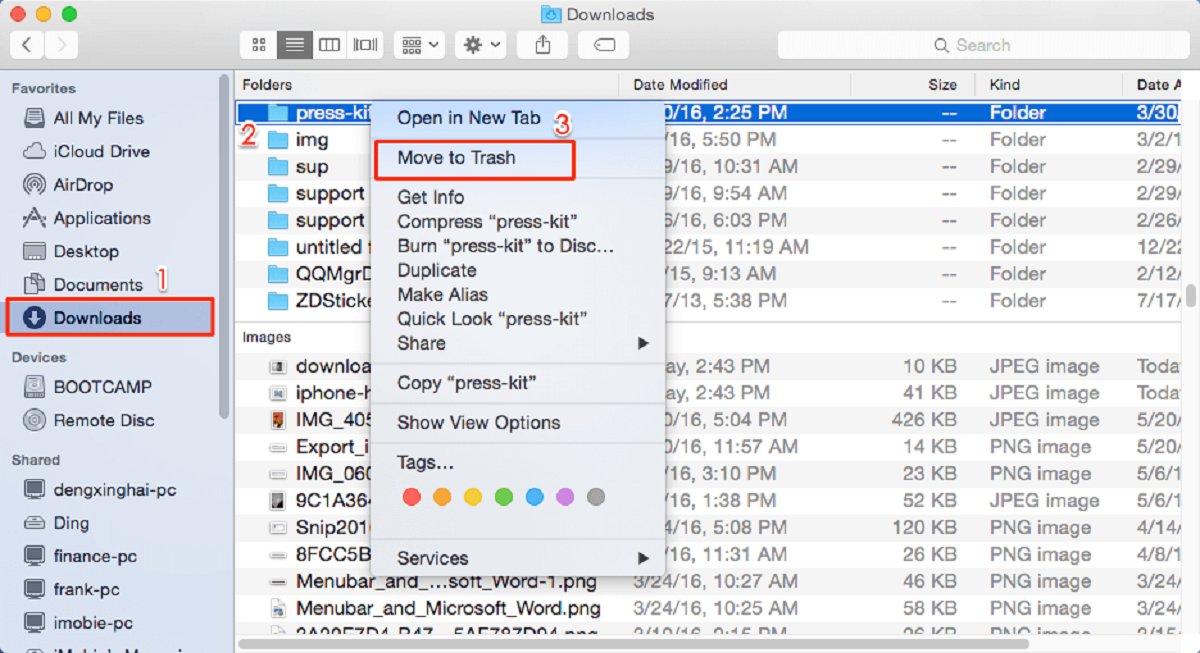
To begin, open a new Finder window by clicking on the Finder icon located in your dock. Once the Finder window is open, navigate to the “Downloads” folder, which is located under the “Favorites” section in the sidebar.
Next, click and hold on the “Downloads” folder icon in the sidebar and drag it to the right side of the dock. You will notice that the other dock icons will move aside to make space for the new folder. Release the mouse button to place the “Downloads” folder on the dock.
Now, you will see the “Downloads” folder represented by a stack of documents in your dock. To access your downloaded files, simply click on the “Downloads” folder icon in the dock, and the folder will pop up, displaying its contents.
If you prefer a different icon style for the “Downloads” folder, you can customize it by following these steps:
- Right-click on the “Downloads” folder icon in the dock.
- Hover your cursor over the “Options” menu.
- Select “Show in Finder.”
- A Finder window will open, displaying the “Downloads” folder.
- Find an image or icon you want to use as the new folder icon and copy it.
- Return to the Finder window displaying the “Downloads” folder.
- Right-click on the folder and select “Get Info.”
- In the info window, click on the current folder icon at the top-left corner.
- Press Command+V to paste the new icon/image.
- Close the info window, and the “Downloads” folder in the dock will now have the new icon/image.
Using the Finder method, you can easily access your downloaded files directly from the dock, saving you time and providing hassle-free file management.
Method 2: Using Terminal
If you are comfortable with using Terminal, you can add the Download folder to your Mac’s dock using a few simple commands. This method allows you to have more control over the customization of the folder icon.
To begin, open Terminal by navigating to Applications > Utilities > Terminal. Once Terminal is open, you can proceed with the following steps:
- Type the command
touch ~/Downloads/.hiddenand press Enter. This command creates a hidden file in the Downloads folder, which will allow it to appear in the dock without displaying the file extension. - Type the command
open ~/Downloadsand press Enter. This will open a Finder window displaying the Downloads folder. - In the Finder window, locate the Downloads folder icon at the top of the window, click on it, and press Command+C to copy it.
- Return to the Terminal window and type the command
touch ~/Downloads/icons.pngand press Enter. This command creates a file with the name “icons.png” in the Downloads folder. - Next, type the command
open ~/Downloadsand press Enter to open the Downloads folder in Finder again. - In the Finder window, locate the newly created “icons.png” file, right-click on it, and select “Get Info.”
- In the Info window, click on the small folder icon at the top-left corner and press Command+V to paste the folder icon you copied earlier.
- Close the Info window. Now, you will notice that the Downloads folder has the new icon in the Finder window.
- Finally, drag the Downloads folder from the Finder window to the right side of the dock. It will now appear as a new folder in your dock.
Using Terminal to add the Download folder to your dock provides a higher degree of customization, allowing you to personalize the folder icon according to your preferences. Additionally, this method allows you to retain the hidden file extension in the dock, providing a cleaner aesthetic.
Method 3: Using Automator
If you prefer a more automated approach to add the Download folder to your Mac’s dock, you can utilize the power of Automator. Automator is a built-in application on your Mac that allows you to create custom workflows and perform automated tasks.
Follow the steps below to add the Download folder to your dock using Automator:
- Launch Automator from your Applications folder.
- Choose “New Document” and select “Workflow.”
- In the Library pane on the left side, search for the “Get Specified Finder Items” action and drag it into the workflow area on the right side.
- In the “Get Specified Finder Items” action, click on the “+” button to add the Downloads folder. You can find the Downloads folder under the “Favorites” section in the sidebar.
- Next, search for the “Open Finder Items” action in the Library pane, and drag it below the “Get Specified Finder Items” action in the workflow area.
- Make sure to select the option to open with default application in the “Open Finder Items” action.
- Save the Automator workflow by clicking on the “File” menu and selecting “Save.”
- Provide a name for the workflow and choose a location to save it.
- Once your workflow is saved, locate the workflow file in the saved location and drag it to the right side of the dock. The Downloads folder will now appear as a new shortcut in your dock.
By using Automator, you can create a personalized workflow that opens the Downloads folder with a simple click in your dock. This method removes the need for manually navigating through Finder windows and allows for quick access to your downloaded files.
Automator provides a powerful toolset for creating custom workflows, and you can explore its features to further automate tasks and enhance your productivity on your Mac.
Conclusion
Adding the Download folder to your Mac’s dock is a great way to improve your workflow and streamline access to your downloaded files. In this article, we explored three methods you can use to achieve this: using the Finder, Terminal, or Automator.
The Finder method is simple and intuitive, allowing you to drag and drop the Downloads folder onto the dock for easy access. It provides a quick way to open the folder and access your downloaded files.
The Terminal method offers more customization options, allowing you to modify the folder’s icon and retain a clean aesthetic in the dock. It involves a few command-line steps, but it gives you more control over the visual aspect of the Download folder in the dock.
For those who prefer automation, the Automator method provides a convenient way to create a workflow that opens the Downloads folder with a single click. This method eliminates the need to navigate through Finder windows, making the process of accessing downloaded files even more efficient.
Choose the method that suits your preference and technical comfort level. Whether you opt for simplicity, customization, or automation, adding the Download folder to your Mac’s dock will undoubtedly enhance your productivity.
Take advantage of these methods and enjoy the convenience of having quick and easy access to your downloaded files. With the hassle-free access to your downloads, you can save time, stay organized, and streamline your workflow on your Mac.