Introduction
Creating your own game controller using an Arduino board can be an exciting and rewarding project for both beginners and experienced hobbyists. With the widespread popularity of gaming, custom controllers offer a unique and personalized gaming experience. This step-by-step guide will walk you through the process of making your very own Arduino game controller, allowing you to unleash your creativity and technical skills.
Whether you are a gaming enthusiast looking to enhance your gaming experience or a tech-savvy individual eager to delve into the world of Arduino, this project provides an excellent opportunity to learn about electronics, programming, and hardware integration. By following this guide, you will gain valuable insights into the principles of circuitry, coding, and interfacing electronic components, all while having fun and creating a functional device.
The Arduino platform, known for its user-friendly interface and extensive community support, serves as an ideal foundation for this project. By leveraging the versatility of Arduino, you can customize your game controller to suit your preferences, whether it's for a specific game genre or a particular gaming console. Furthermore, the skills acquired during this project can be applied to various other DIY electronics endeavors, fostering a deeper understanding of hardware and software integration.
This guide aims to provide clear and concise instructions, making the process accessible to individuals with varying levels of technical expertise. Whether you are new to Arduino or have prior experience with microcontrollers, this project will enable you to gain practical skills and knowledge that can be applied to future electronic projects. Get ready to embark on an engaging journey of creativity, problem-solving, and technical exploration as we dive into the exciting world of Arduino game controller creation.
Materials Needed
Before diving into the creation of your Arduino game controller, it’s essential to gather the necessary materials and components. The following items will be required to complete this project:
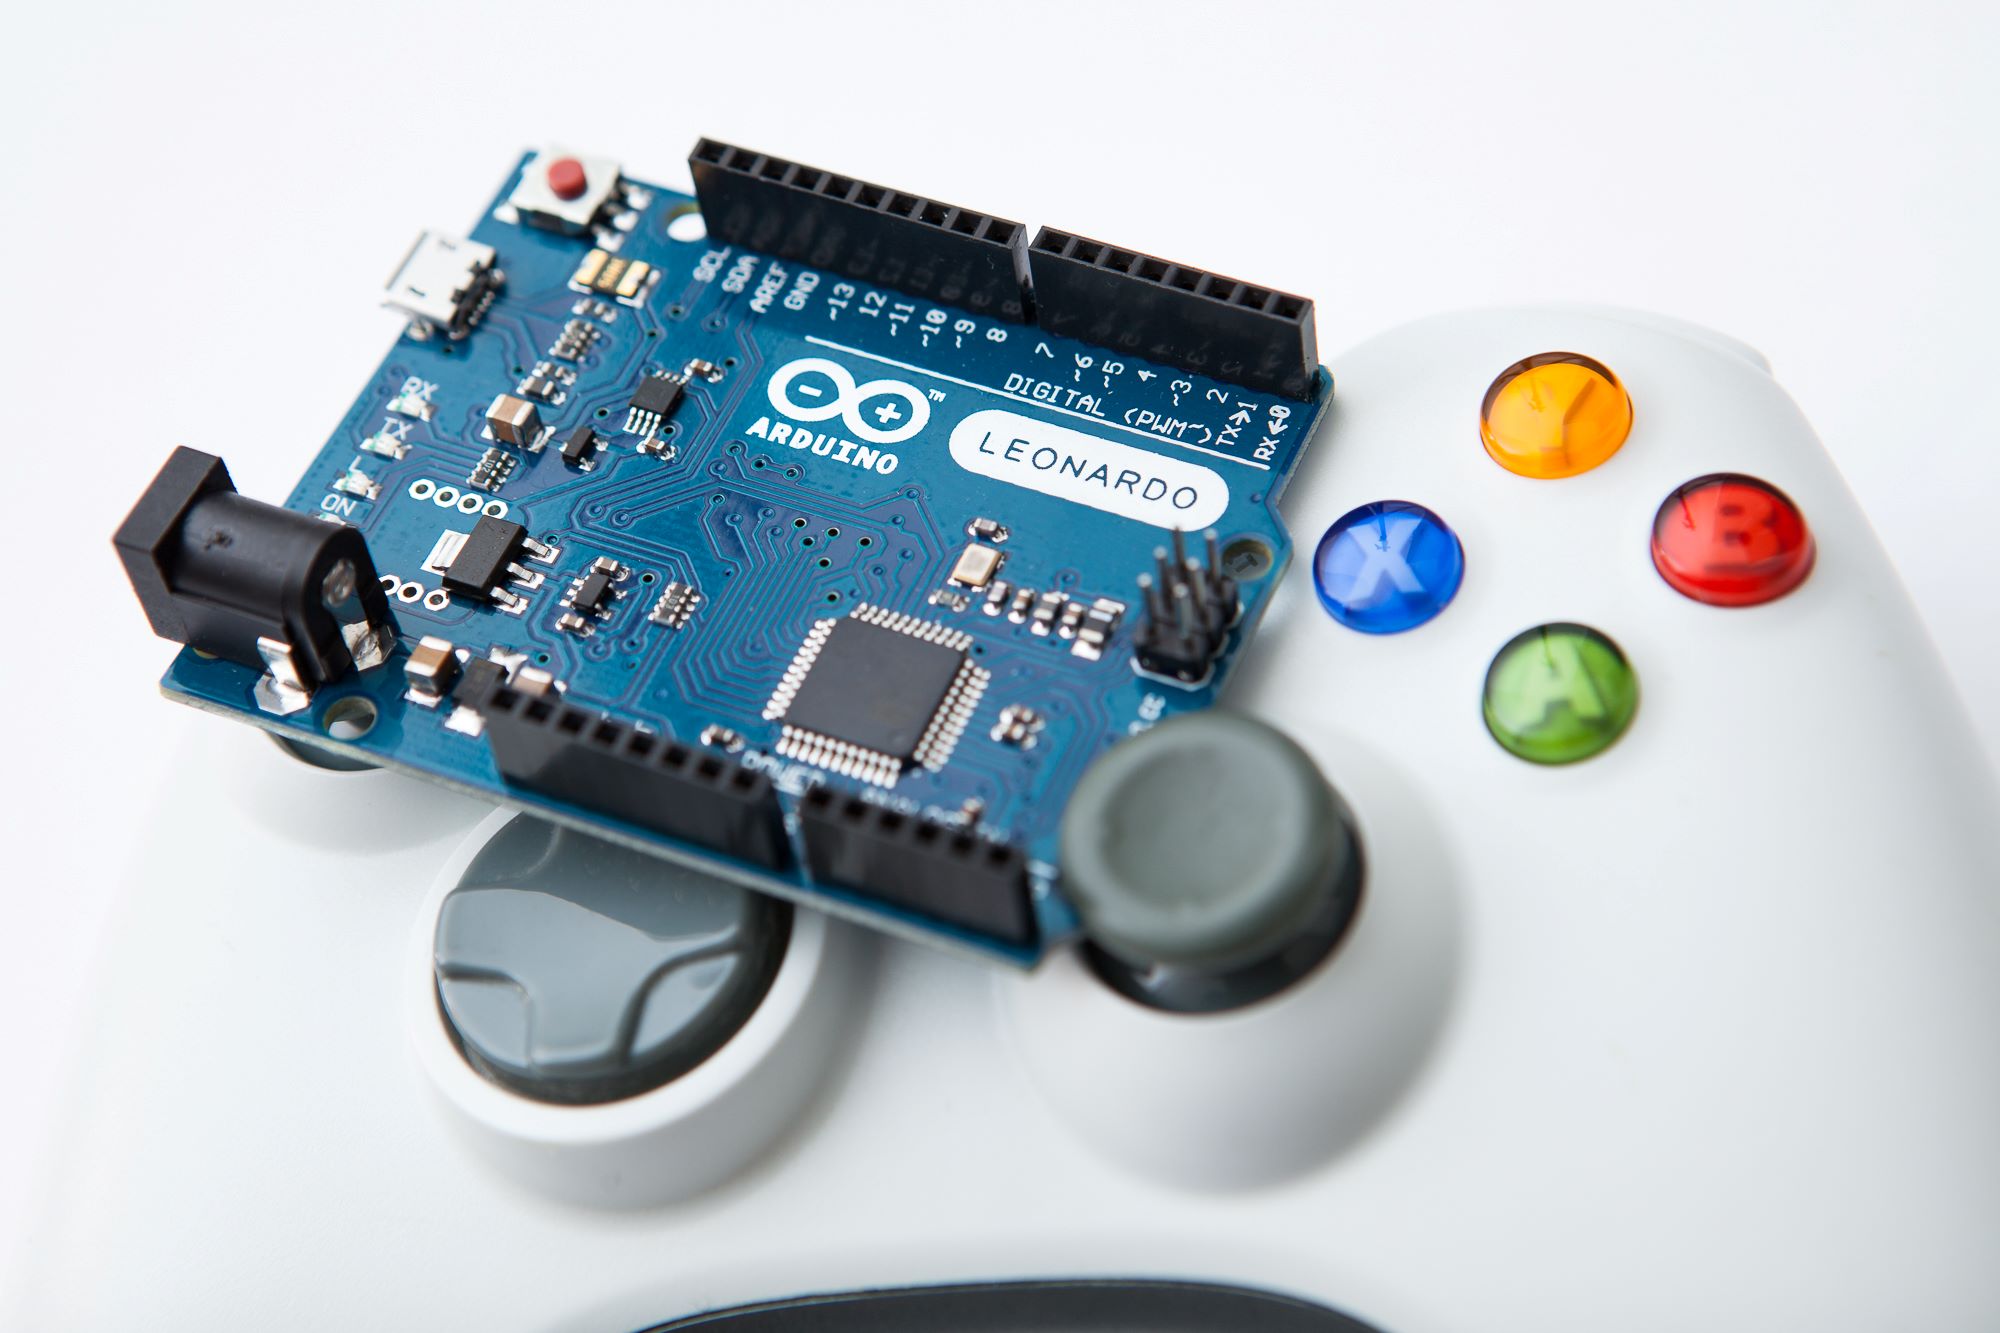
- Arduino Board: The heart of the project, the Arduino board serves as the central processing unit for the game controller. Opt for a reliable and compatible Arduino board, such as the Arduino Uno or Arduino Mega.
- USB Cable: A standard USB cable will be needed to connect the Arduino board to your computer for programming and power.
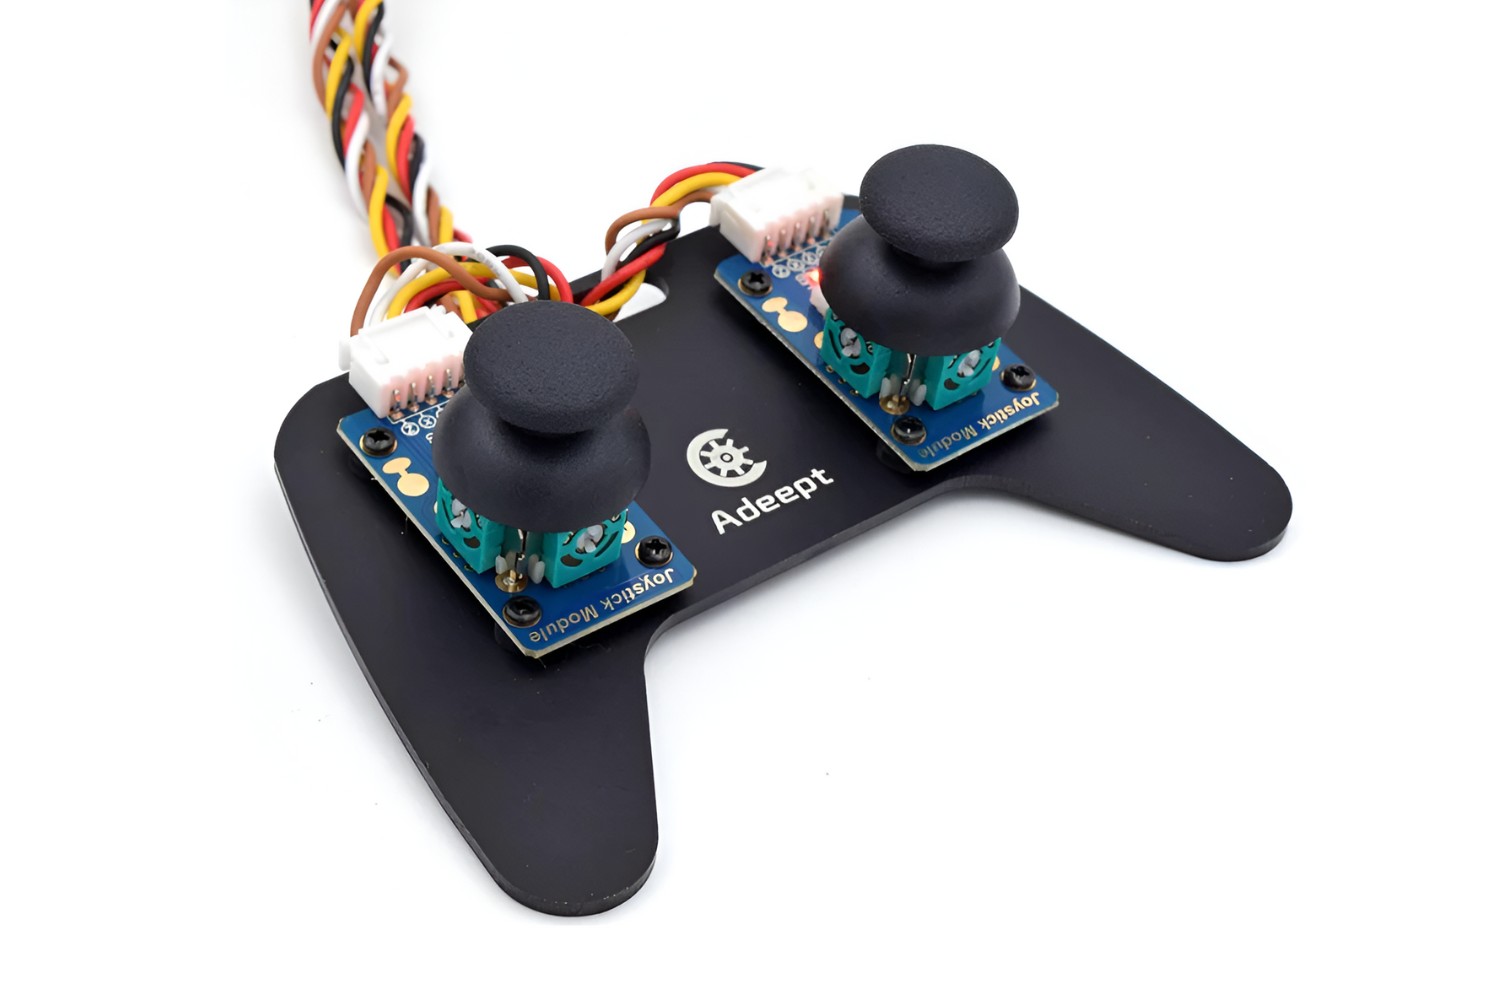
- Joystick Module: This component allows for precise control in games and is essential for creating a functional game controller. Ensure that the joystick module is compatible with the Arduino platform.
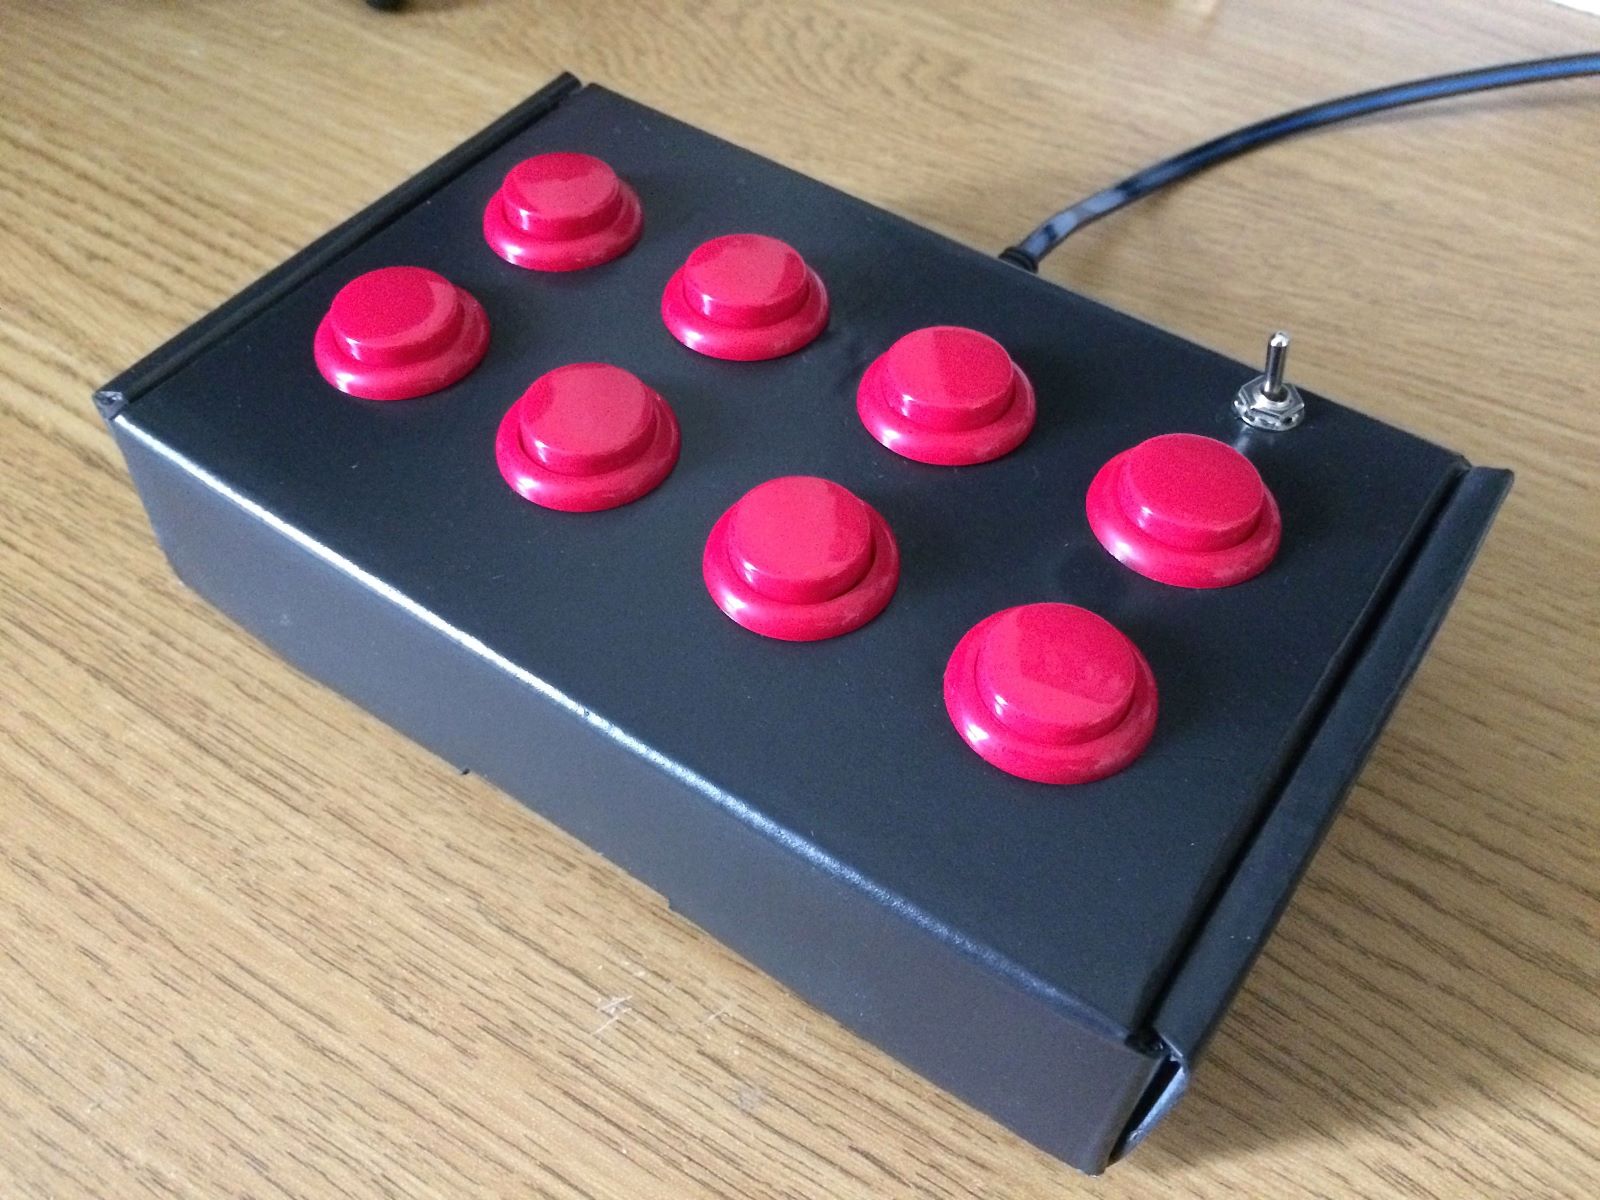
- Pushbuttons: Select high-quality pushbuttons to serve as the action buttons on the game controller. The number of pushbuttons will depend on the desired layout and functionality of the controller.
- Resistors: Various resistors will be required to protect the components and ensure proper voltage levels within the circuit. Refer to the specifications of the components for the appropriate resistor values.
- Breadboard and Jumper Wires: A breadboard and jumper wires will facilitate the prototyping and connection of the components, allowing for a modular and adjustable setup during the construction phase.
- Soldering Iron and Solder: If permanent connections are preferred, a soldering iron and solder will be necessary for securing the components onto a perfboard or custom circuit board.
- Computer with Arduino IDE: A computer equipped with the Arduino Integrated Development Environment (IDE) is essential for programming and uploading code to the Arduino board.
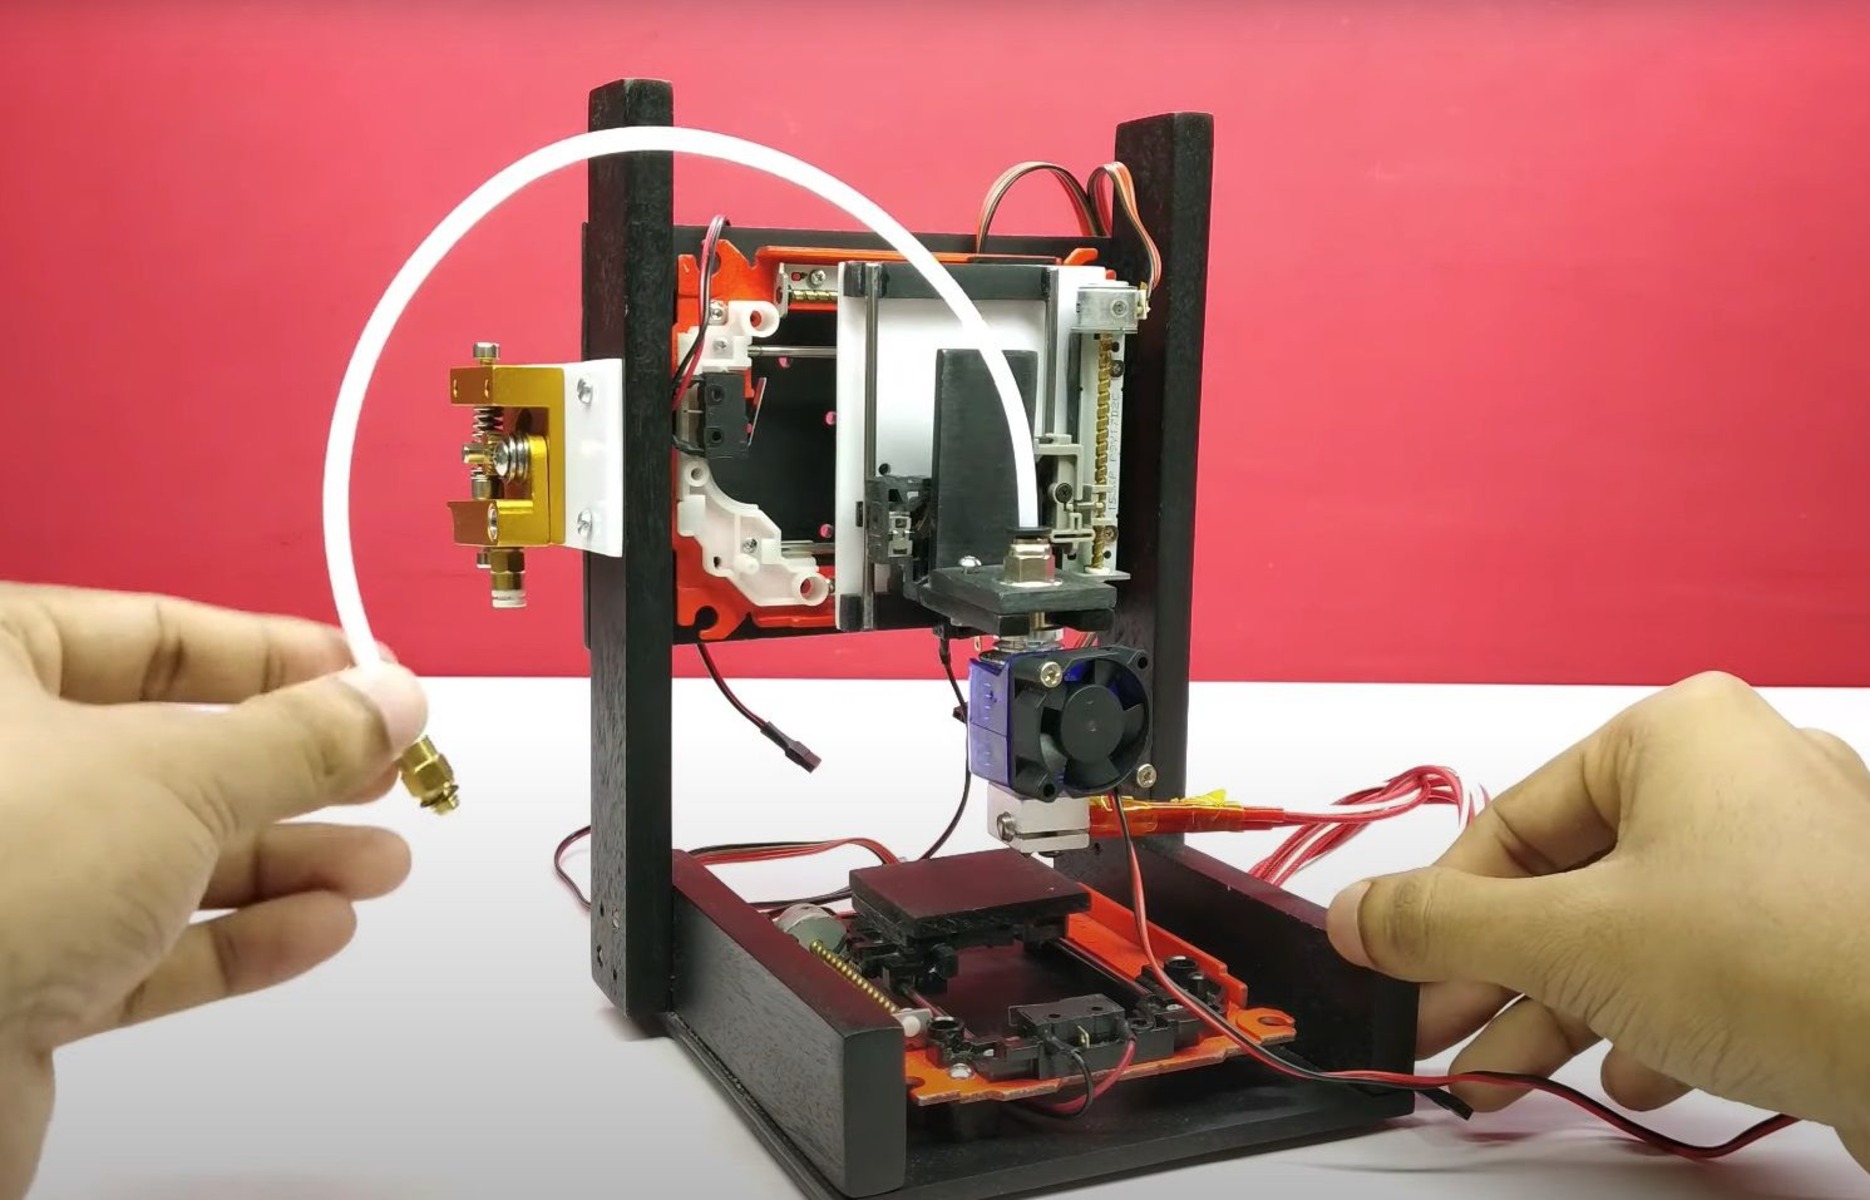
- Game Controller Enclosure (Optional): If desired, an enclosure or housing for the game controller can be crafted using 3D printing, laser cutting, or traditional fabrication methods.
By ensuring that you have all the required materials at hand, you can proceed with confidence, knowing that you are well-equipped to embark on this exciting DIY electronics project.
Setting Up the Arduino
Before delving into the construction of the game controller, it is crucial to set up the Arduino board and ensure that it is ready for programming and hardware integration. Follow these steps to prepare the Arduino for the upcoming stages of the project:
- Install Arduino IDE: Begin by downloading and installing the Arduino IDE on your computer. The Arduino IDE is available for various operating systems and can be obtained from the official Arduino website. Once installed, launch the IDE to verify that it is functioning correctly.
- Connect the Arduino Board: Using a standard USB cable, connect the Arduino board to your computer. Ensure that the board is recognized by the computer and that the necessary drivers are installed. The Arduino IDE should detect the connected board, allowing you to proceed with programming.
- Install Board Drivers (If Necessary): In some cases, specific Arduino boards may require additional drivers to be installed on the computer. Refer to the documentation provided by the board’s manufacturer to determine if any additional drivers are needed and install them accordingly.
- Select the Correct Board and Port: Within the Arduino IDE, navigate to the “Tools” menu and select the appropriate Arduino board from the “Board” submenu. Additionally, choose the correct port to which the Arduino board is connected. This step is essential for ensuring that the code is uploaded to the correct board.
- Test the Connection: To verify that the Arduino board is properly set up and communicating with the computer, upload a simple test sketch, such as the “Blink” example, to the board. This will confirm that the board is functioning as expected and is ready for further programming.
By carefully following these steps, you can establish a solid foundation for the Arduino board, ensuring that it is primed for the subsequent stages of the project. With the board set up and the necessary software in place, you are now prepared to proceed with the hardware integration and programming required to create the Arduino game controller.
Wiring the Components
With the Arduino board prepared, the next crucial step in creating your game controller is to wire the various components, including the joystick module, pushbuttons, and any additional elements, to the Arduino. Proper wiring is essential to ensure the functionality and reliability of the game controller. Follow these steps to effectively wire the components:
- Identify Pin Assignments: Begin by identifying the pin assignments for each component, including the joystick module and pushbuttons. Refer to the documentation provided with the components to determine the pinout and connection details.
- Prepare the Breadboard: Utilize a breadboard to prototype the circuit before making any permanent connections. This allows for easy adjustments and troubleshooting during the wiring process. Arrange the components on the breadboard, ensuring that they are positioned according to the planned layout of the game controller.
- Connect the Joystick Module: Using jumper wires, connect the joystick module to the Arduino board. The joystick module typically consists of two potentiometers for the X and Y axes, as well as a pushbutton. Ensure that the connections are secure and that the axis readings are consistent when the joystick is manipulated.
- Wire the Pushbuttons: Connect the pushbuttons to the Arduino board, assigning each button to a specific digital input pin. Implement appropriate pull-down or pull-up resistor configurations to ensure stable button readings and prevent false triggers. Test each pushbutton to verify its functionality.
- Establish Ground and Power Connections: Ensure that all components are properly grounded and powered. Connect the ground (GND) pins of the components to the Arduino’s ground pin and provide power, if necessary, to the components according to their specifications.
- Organize and Secure the Wiring: Once all the components are wired, organize the jumper wires to minimize clutter and confusion. Consider using cable ties or wire management tools to secure the wiring, reducing the risk of accidental disconnections or short circuits.
By meticulously wiring the components and ensuring that all connections are secure and accurate, you can lay the groundwork for a robust and functional game controller. This phase sets the stage for the subsequent programming and testing of the controller, bringing you one step closer to realizing your custom Arduino game controller.
Writing the Code
Once the components are wired and the hardware setup is complete, the next critical phase in creating your Arduino game controller involves writing the code that will govern its functionality. The code will define how the Arduino board interacts with the joystick module, pushbuttons, and other integrated components, allowing for seamless communication with gaming software and platforms. Follow these essential steps to write the code for your game controller:
- Open the Arduino IDE: Launch the Arduino IDE on your computer, ensuring that the correct board and port are selected as configured during the setup phase. Create a new sketch to begin writing the code for the game controller.
- Define Input and Output Pins: In the code, define the input and output pins that correspond to the connections of the joystick module and pushbuttons. Assign meaningful names to these pins to facilitate readability and maintainability of the code.
- Implement Joystick Readings: Write code to read the analog input values from the X and Y axes of the joystick module. Map and interpret these values to determine the direction and magnitude of joystick movements, which will be translated into game commands.
- Handle Pushbutton Inputs: Incorporate code to monitor the state of the pushbuttons and detect when they are pressed or released. Define specific actions or commands associated with each button, allowing for interaction with the game software or controlling in-game functions.
- Integrate Debouncing and Calibration: Implement debouncing techniques to ensure that pushbutton inputs are stable and free from unintended noise or rapid fluctuations. Additionally, consider calibrating the joystick readings to align with the desired sensitivity and responsiveness for gaming.
- Test and Refine the Code: Upload the code to the Arduino board and test the functionality of the game controller. Fine-tune the code as needed, addressing any issues related to input responsiveness, button mappings, or joystick accuracy.
By meticulously crafting the code for your game controller, you can tailor its behavior to suit your gaming preferences and ensure a seamless and enjoyable gaming experience. The code serves as the bridge between the physical inputs of the controller and the virtual world of gaming, empowering you to unleash the full potential of your custom Arduino game controller.
Testing the Game Controller
With the hardware components wired and the code written, the final phase of creating your Arduino game controller involves comprehensive testing to ensure its functionality and responsiveness. Thorough testing is essential to identify and address any potential issues before deploying the controller for gaming purposes. Follow these steps to effectively test your Arduino game controller:
- Connect the Game Controller: Connect the Arduino board, along with the integrated game controller components, to your gaming platform or computer. Ensure that the connections are secure and that the controller is powered appropriately.
- Launch a Game or Testing Environment: Open a compatible game or testing environment that allows for the mapping of controller inputs. Choose a game that supports customizable controllers or provides options for configuring input devices.
- Verify Joystick Functionality: Test the joystick module to confirm that its movements are accurately translated into in-game actions. Verify that the X and Y axes respond as intended, providing smooth and precise control within the game environment.
- Test Pushbutton Inputs: Press each pushbutton on the controller and verify that the corresponding actions or commands are executed within the game. Ensure that each button functions reliably and consistently, providing tactile feedback and responsive interaction.
- Assess Overall Performance: Engage in gameplay or interactive testing to evaluate the overall performance of the game controller. Pay attention to input latency, button responsiveness, and the ergonomic comfort of the controller during extended use.
- Refine and Adjust as Needed: If any issues or discrepancies are identified during testing, return to the code and hardware setup to refine and adjust the controller’s behavior. Fine-tune the code, address wiring concerns, or reconfigure component placement to optimize the controller’s performance.
By rigorously testing the game controller and addressing any identified issues, you can ensure that it meets the desired standards of functionality and reliability. Thorough testing not only validates the effectiveness of the controller but also provides valuable insights for future enhancements and modifications, empowering you to create a truly personalized and high-performance Arduino game controller.
Conclusion
Embarking on the journey of creating an Arduino game controller has provided a hands-on exploration of electronics, programming, and hardware integration, culminating in the realization of a personalized and functional gaming device. By following the step-by-step process outlined in this guide, you have gained valuable insights into the intricacies of circuitry, code development, and interactive hardware design.
The meticulous selection and integration of components, the precise wiring of the circuit, the crafting of purposeful code, and the comprehensive testing of the game controller have collectively contributed to the development of a unique and tailored gaming interface. This project has not only allowed for the expression of creativity and technical skill but has also fostered a deeper understanding of the underlying principles of electronic systems.
As you reflect on the journey from concept to creation, consider the versatility and adaptability of the skills acquired throughout this project. The knowledge and experience gained in the realm of Arduino and game controller development can extend beyond this specific endeavor, serving as a foundation for future explorations in the realm of DIY electronics and interactive systems.
Whether this project serves as a starting point for further electronic innovations or as a standalone achievement, the Arduino game controller you have crafted embodies the fusion of creativity, technology, and practicality. It stands as a testament to your ingenuity and determination, offering a tangible representation of your ability to transform ideas into functional and meaningful creations.
As you continue to explore the boundless possibilities of Arduino and electronic prototyping, may the skills honed in this endeavor propel you toward new horizons of innovation and discovery, inspiring a continued pursuit of hands-on learning and technical mastery.