Introduction
Introduction
Are you a racing enthusiast who loves the thrill of high-speed driving on your PC? If so, building your own racing wheel for PC can take your gaming experience to the next level. A racing wheel provides a more immersive and realistic driving experience compared to a traditional controller, allowing you to feel every turn, bump, and acceleration as if you were behind the wheel of a real race car.
In this guide, we will walk you through the process of creating your own racing wheel for PC. Whether you're a DIY enthusiast or simply looking for a fun and rewarding project, building a racing wheel can be an exciting endeavor. With the right materials and a bit of technical know-how, you can construct a custom racing wheel that suits your preferences and enhances your gaming experience.
Throughout this guide, we will cover the materials needed for the project, the step-by-step process of building the racing wheel, connecting it to your PC, and performing testing and calibration to ensure optimal performance. By the end of this guide, you'll be ready to hit the virtual racetrack with your newly constructed racing wheel.
So, roll up your sleeves, gather your tools, and get ready to dive into the world of DIY racing peripherals. Whether you're a seasoned gamer or a newcomer to the world of racing simulations, building your own racing wheel is a rewarding and fulfilling undertaking. Let's rev up our engines and embark on this exciting journey to create a custom racing wheel for your PC.
Materials Needed
Before diving into the construction of your DIY racing wheel, it’s essential to gather all the necessary materials and tools. Here’s a comprehensive list of items you’ll need to bring your project to life:
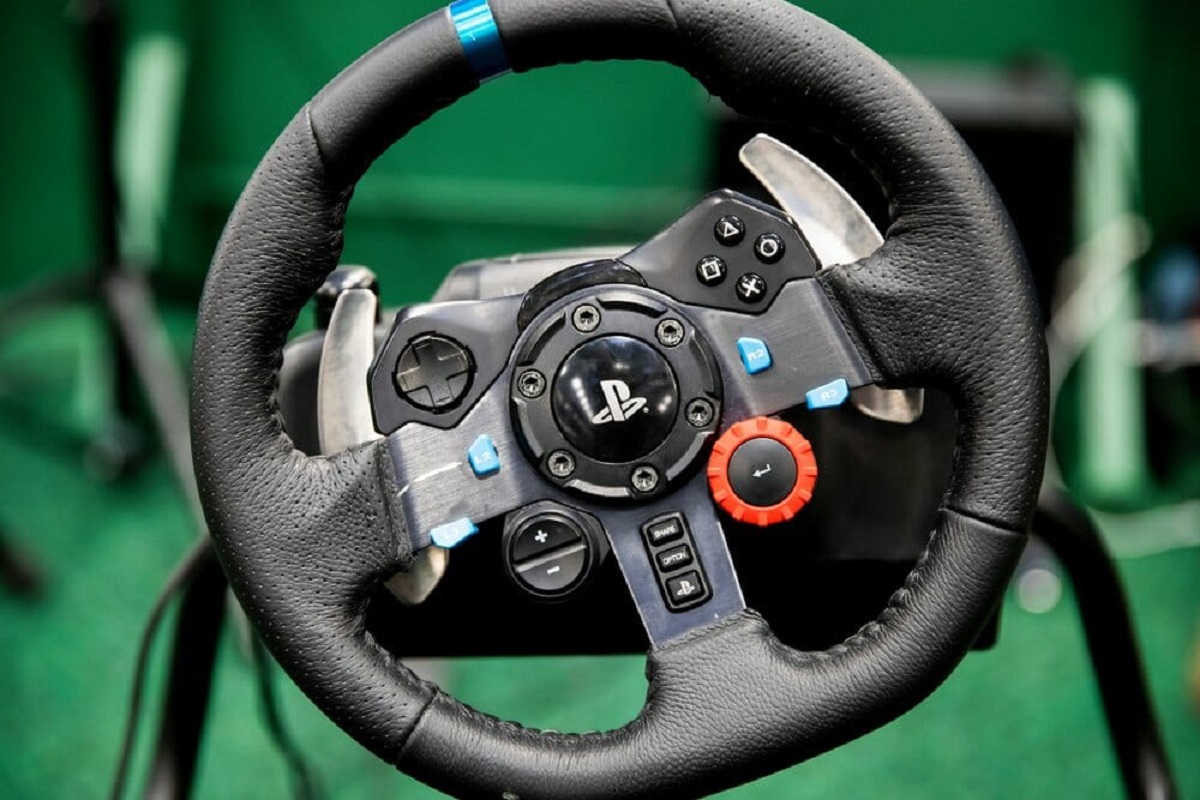
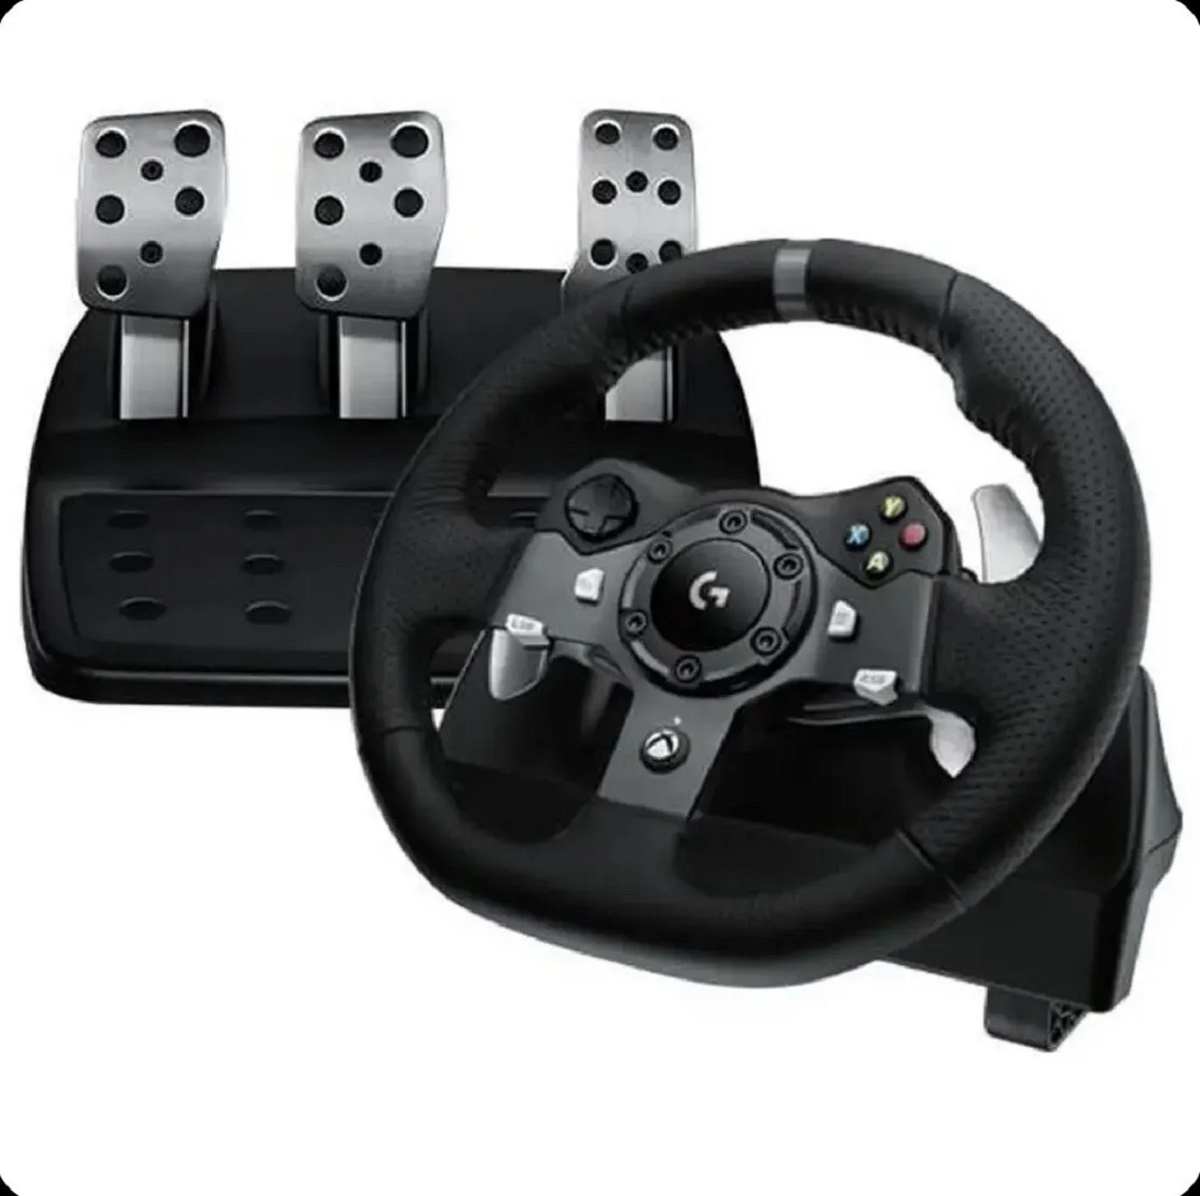
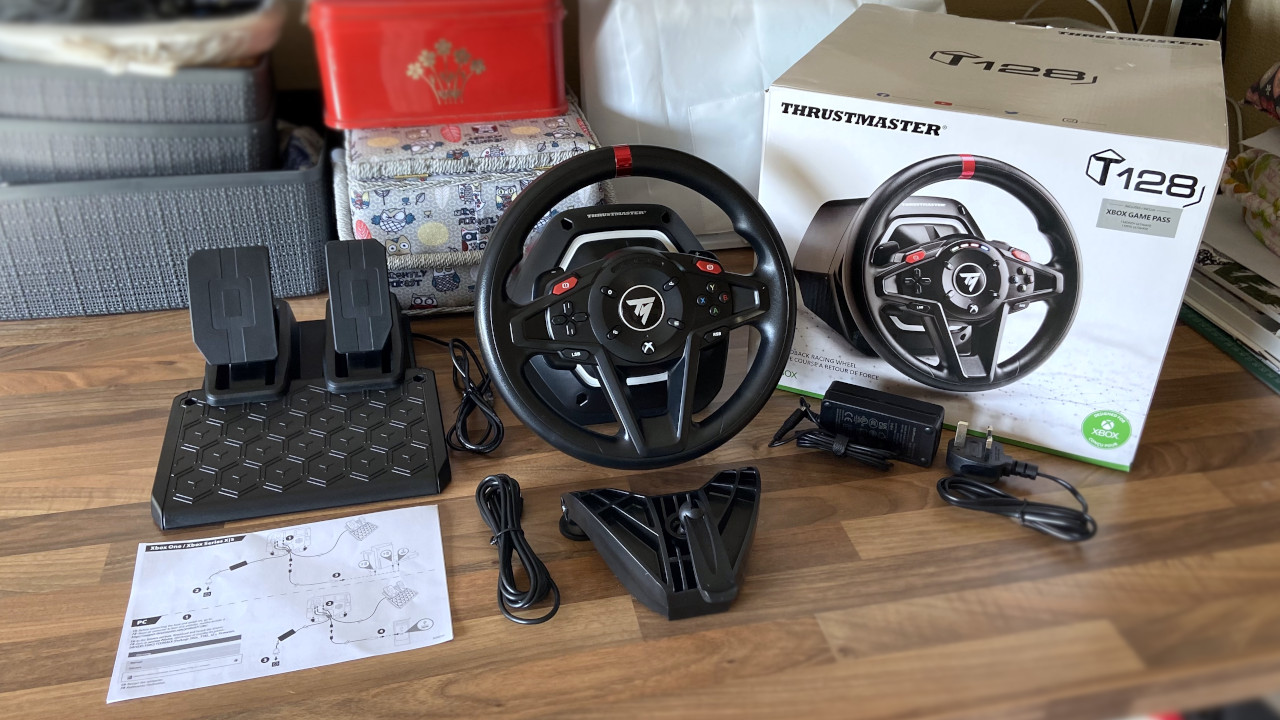
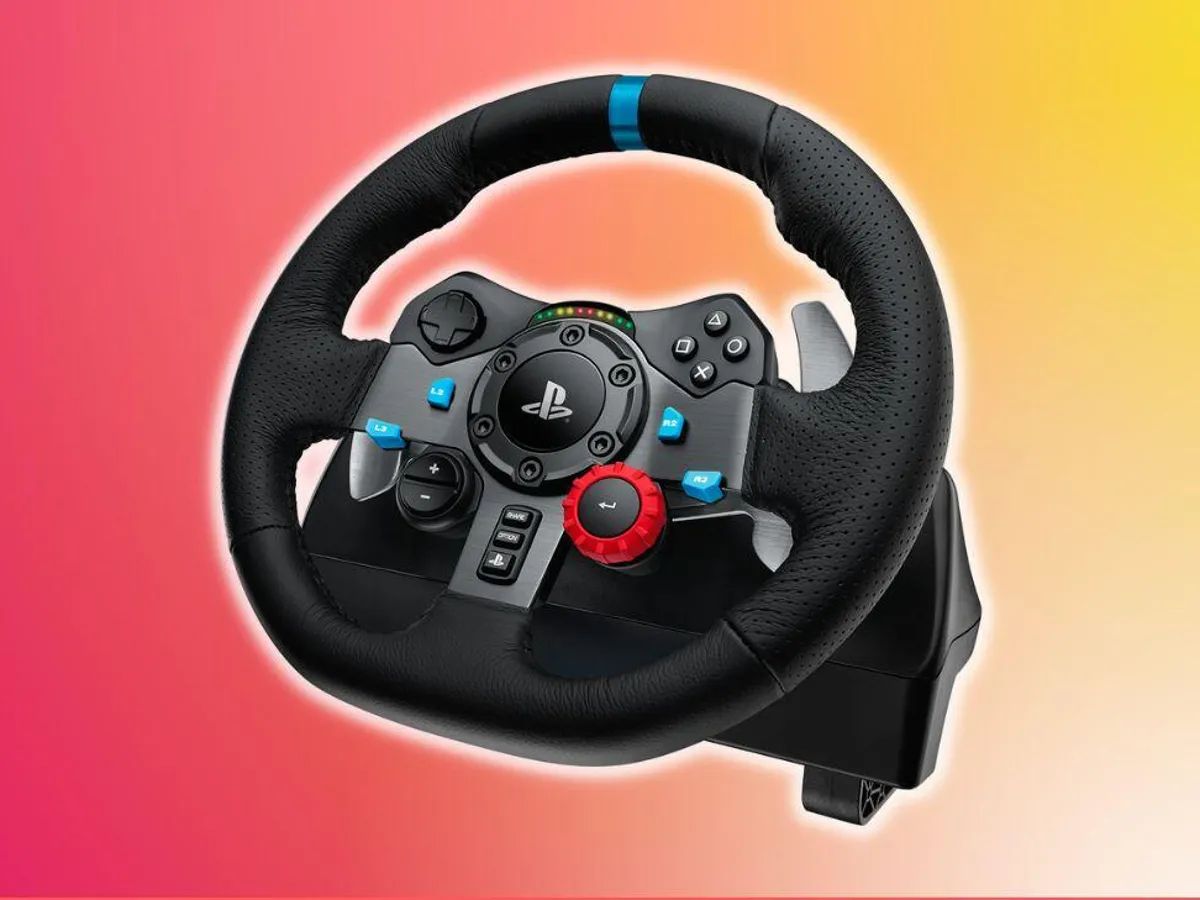
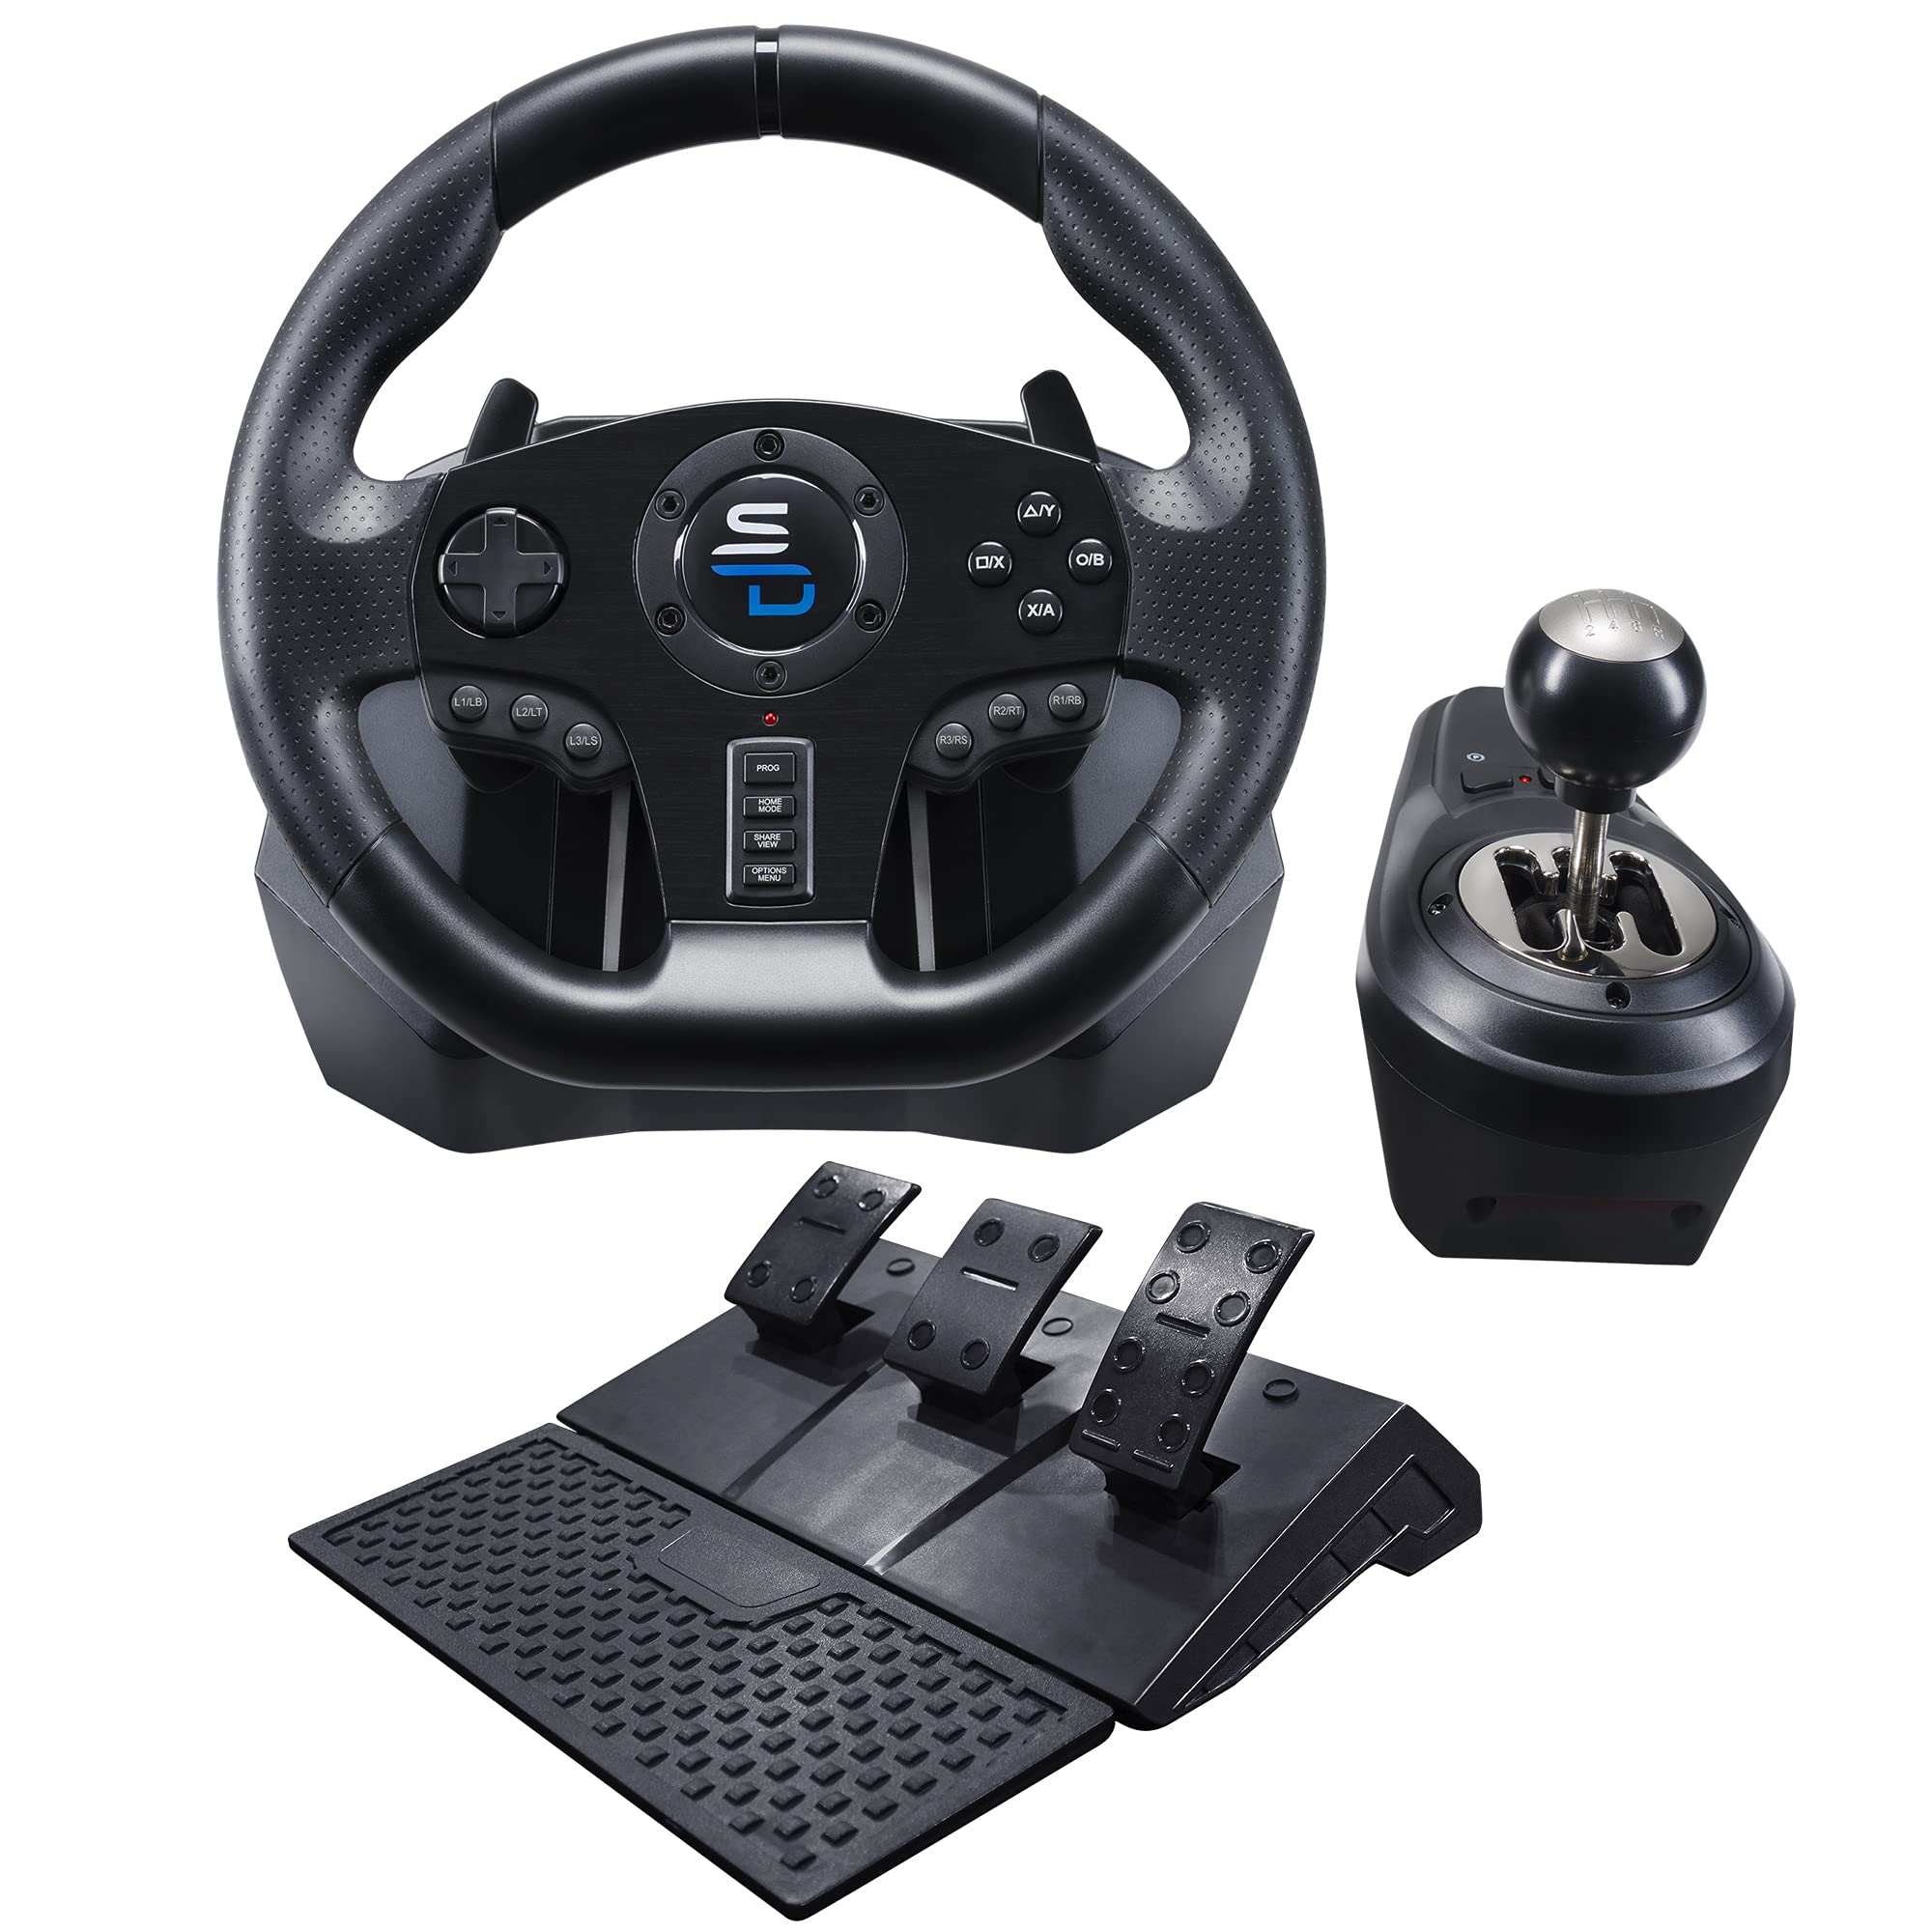
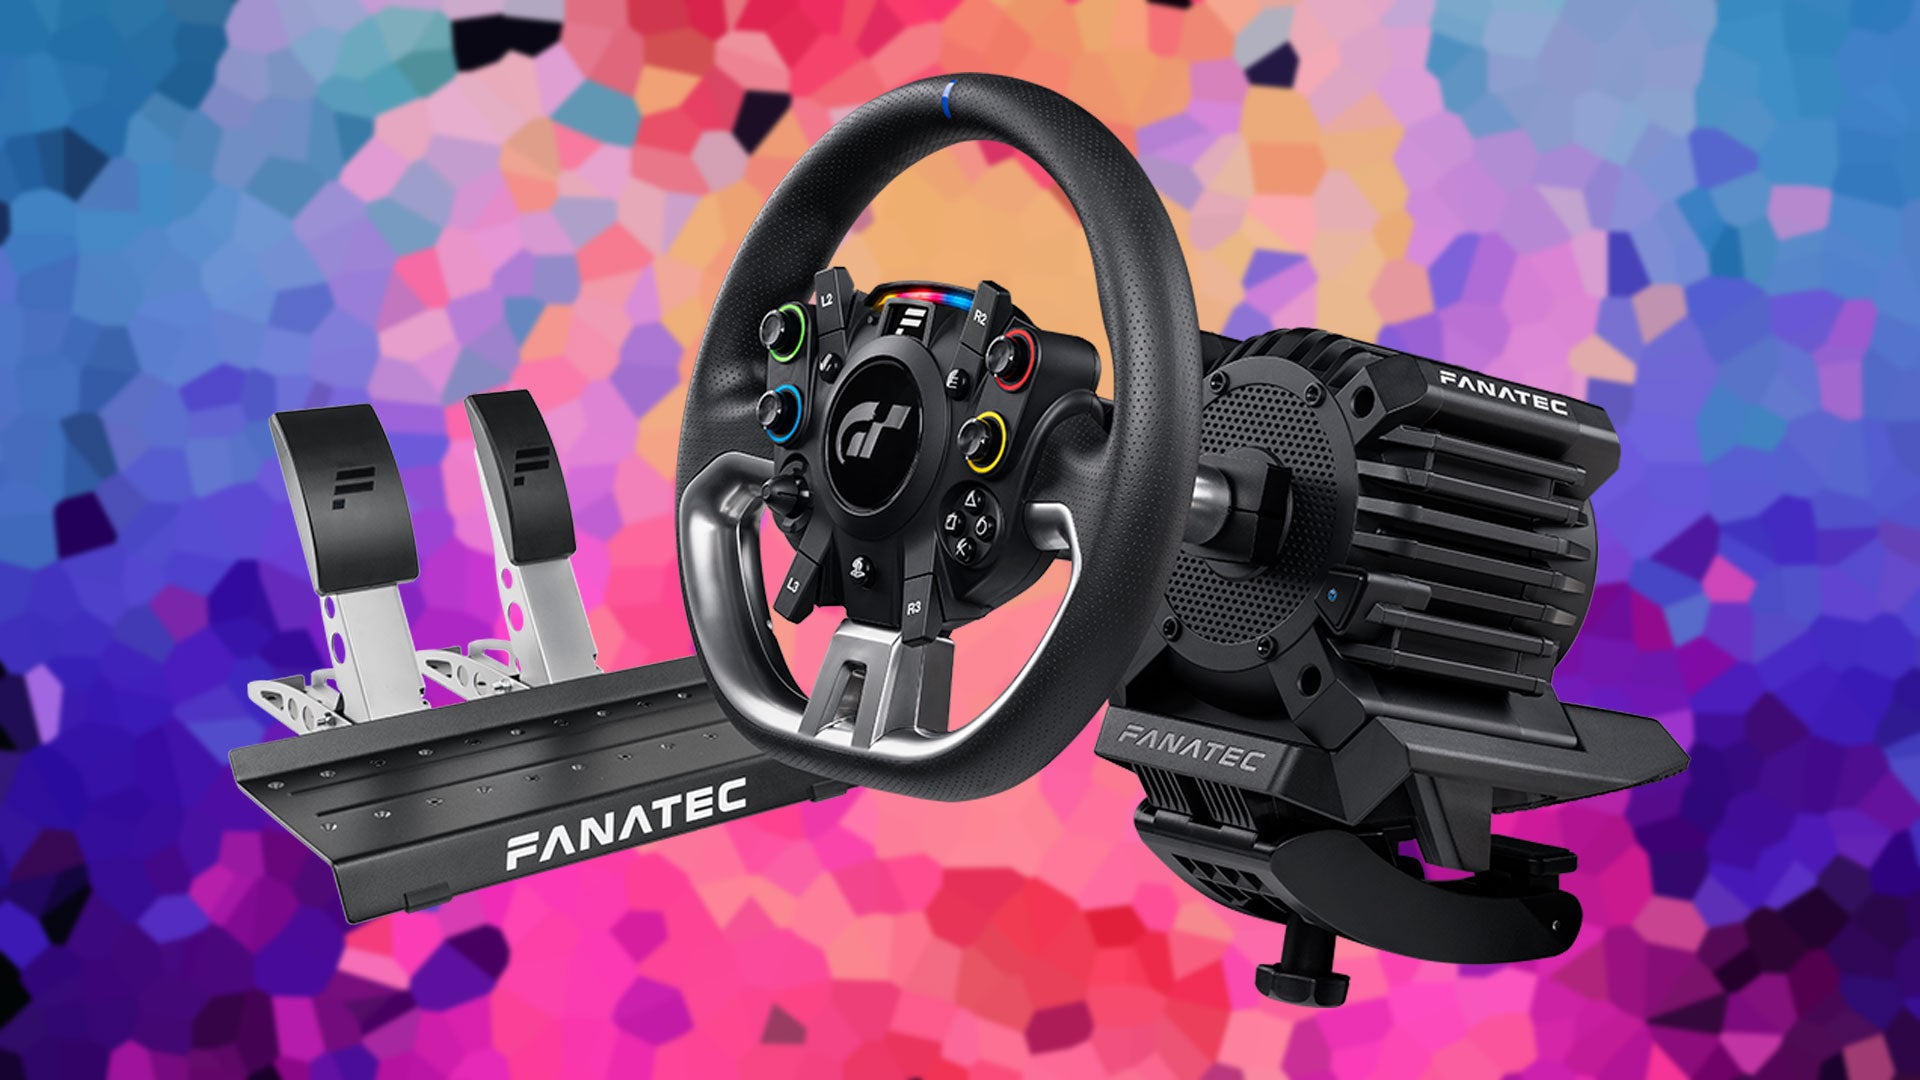
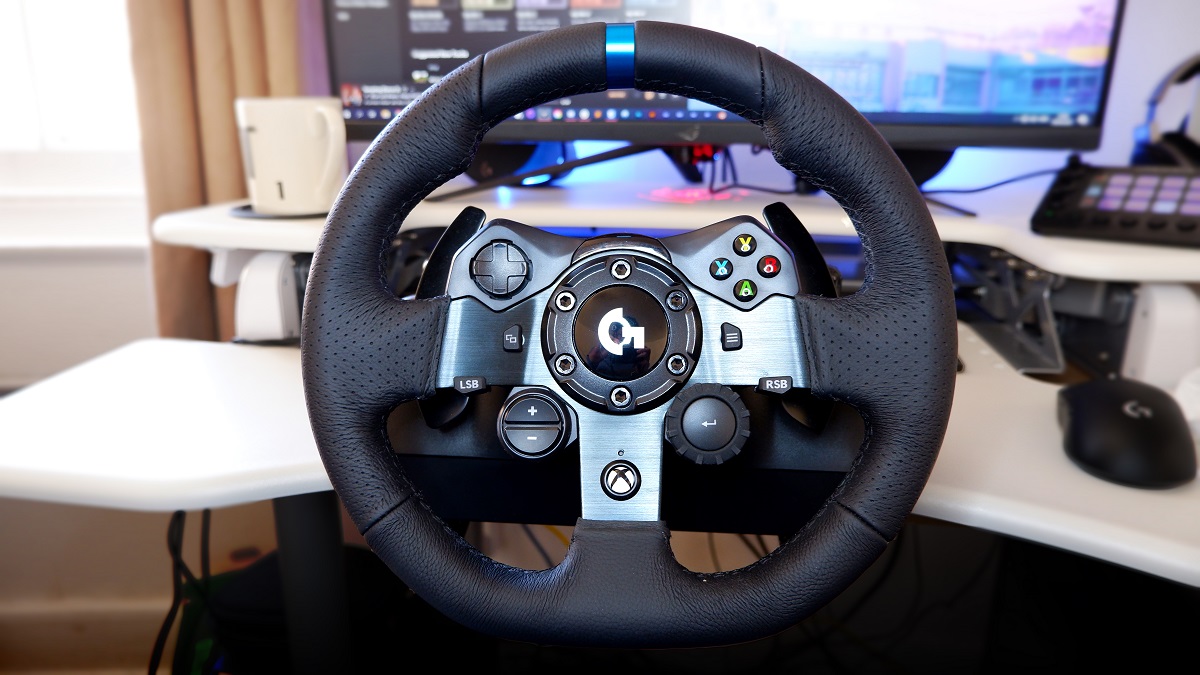
- A high-quality steering wheel: Look for a steering wheel that offers precise control, realistic force feedback, and compatibility with PC gaming systems. Many gaming peripheral manufacturers offer steering wheels specifically designed for PC gaming.
- Force feedback motors: These motors provide the realistic resistance and vibrations that simulate the feel of driving on different road surfaces and conditions. Ensure that the motors are compatible with your chosen steering wheel and are capable of delivering immersive force feedback.
- Arduino microcontroller: An Arduino board serves as the brain of your racing wheel, enabling communication between the steering wheel, pedals, and your PC. It’s essential for integrating various components and customizing the functionality of your racing wheel.
- Pedals: Acquire a set of pedals that complement your steering wheel. Look for pedals with realistic resistance and adjustable settings to accommodate your driving style.
- Enclosure or mounting rig: You’ll need a sturdy enclosure or mounting rig to secure the steering wheel, pedals, and force feedback motors. Consider building or purchasing a rig that provides stability and adjustability for comfortable gameplay.
- Electronics components: Various electronic components such as wires, resistors, capacitors, and connectors will be needed to wire the internal circuitry of your racing wheel. These components facilitate the communication between the Arduino board, steering wheel, and pedals.
- Power supply: Depending on the voltage requirements of your force feedback motors and Arduino board, you’ll need a reliable power supply to ensure consistent and safe operation of your racing wheel.
- Tools: Gather a set of basic tools including screwdrivers, soldering iron, wire cutters, and electrical tape for assembling and wiring the components of your racing wheel.
By acquiring these essential materials and tools, you’ll be well-prepared to embark on the construction of your custom racing wheel for PC gaming. With a clear understanding of the required components, you can proceed to the next phase of the project and begin assembling your DIY racing peripheral.
Building the Racing Wheel
Now that you’ve gathered all the necessary materials and tools, it’s time to roll up your sleeves and start building your custom racing wheel for PC. Follow these step-by-step instructions to bring your racing wheel to life:
- Assembling the Steering Wheel: Begin by mounting the steering wheel to the designated enclosure or mounting rig. Ensure that the wheel is securely fastened and aligned for comfortable and realistic gameplay. If your steering wheel includes removable components, such as paddle shifters or additional controls, attach them according to the manufacturer’s instructions.
- Integrating Force Feedback Motors: Install the force feedback motors within the mounting rig, ensuring that they are positioned to deliver realistic resistance and vibrations during gameplay. Connect the motors to the Arduino microcontroller using the appropriate wiring and connectors, following the specifications provided by the motor manufacturer.
- Wiring the Pedals: Connect the pedals to the Arduino board, ensuring that the wiring is secure and properly routed to prevent interference with the steering wheel or force feedback motors. Calibrate the pedals to match your preferred sensitivity and resistance settings for a personalized driving experience.
- Arduino Programming: Program the Arduino microcontroller to communicate with the steering wheel, pedals, and force feedback motors effectively. Utilize the Arduino’s programming environment to customize the functionality of your racing wheel, including button mapping, force feedback settings, and compatibility with PC gaming software.
- Enclosure Finalization: Once all components are integrated and wired, finalize the enclosure or mounting rig by securing any loose wiring, ensuring proper cable management, and adding finishing touches to enhance the aesthetics and functionality of your custom racing wheel.
By following these steps, you can construct a fully functional racing wheel tailored to your preferences and gaming style. Building your own racing wheel not only provides a sense of accomplishment but also allows for customization and fine-tuning to create the ultimate immersive gaming experience.
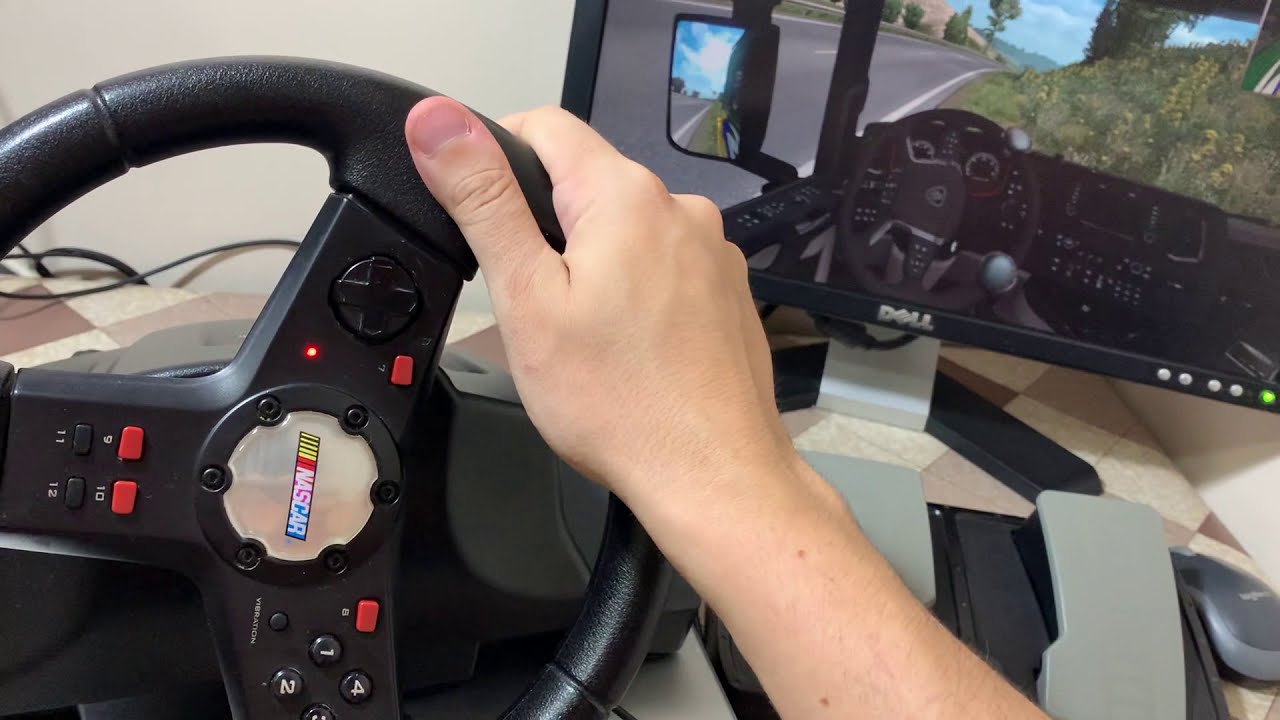
Connecting the Racing Wheel to PC
Once you’ve completed the construction of your custom racing wheel, the next crucial step is to connect it to your PC for seamless integration with your favorite racing simulations. Follow these steps to establish a reliable connection between your racing wheel and PC:
- USB Connectivity: Most modern racing wheels utilize USB connectivity for seamless plug-and-play functionality. Connect the USB cable from your racing wheel to an available USB port on your PC. Ensure that the drivers for the racing wheel are installed and up to date to guarantee proper recognition by your PC’s operating system.
- Driver Installation: If your racing wheel requires specific drivers to function optimally, visit the manufacturer’s website to download and install the latest drivers for your device. These drivers often include additional software for customizing force feedback settings, button mapping, and compatibility with popular racing titles.
- Calibration: Once the racing wheel is connected and the drivers are installed, perform a calibration process to ensure that the wheel, pedals, and force feedback motors are recognized and functioning correctly. Calibration may involve adjusting sensitivity settings, dead zones, and force feedback strength to match your preferences.
- Software Configuration: Access the settings within your favorite racing simulation software to configure the racing wheel for optimal performance. Many racing titles allow you to customize button mappings, sensitivity curves, and force feedback settings to suit your driving style and enhance the overall gaming experience.
- Compatibility Testing: Before diving into intense racing sessions, perform compatibility testing with a variety of racing simulations to ensure that your custom racing wheel functions seamlessly across different titles. Verify that force feedback, steering sensitivity, and pedal response align with your expectations for a realistic and immersive driving experience.
By following these steps, you can establish a robust connection between your DIY racing wheel and your PC, paving the way for countless hours of exhilarating virtual racing. The seamless integration of your custom racing wheel with PC gaming software allows you to fully immerse yourself in the world of virtual motorsports, experiencing the thrill of high-speed racing from the comfort of your gaming setup.
Testing and Calibration
After connecting your custom racing wheel to your PC, it’s essential to conduct thorough testing and calibration to ensure that the wheel, pedals, and force feedback motors function optimally and deliver a realistic driving experience. Follow these steps to test and calibrate your DIY racing wheel:
- Functional Testing: Begin by testing each component of the racing wheel, including the steering wheel, pedals, and force feedback motors. Verify that the steering wheel responds accurately to input, the pedals register pressure and movement smoothly, and the force feedback motors deliver realistic vibrations and resistance during gameplay.
- Force Feedback Tuning: Utilize the force feedback tuning software provided by the racing wheel manufacturer or third-party applications to fine-tune the force feedback settings. Adjust parameters such as overall strength, environmental effects, and wheel weight to match your preferences and enhance the immersion of the driving experience.
- Steering Sensitivity: Test the steering sensitivity and dead zone settings to ensure that the steering wheel responds precisely to your inputs. Adjust these settings based on your preferred driving style, whether it’s precise and responsive for competitive racing or more forgiving for casual driving experiences.
- Pedal Calibration: Calibrate the pedals to match your desired sensitivity and resistance. Many racing simulations offer in-game calibration tools to customize the pedal response, allowing you to fine-tune braking pressure, throttle input, and clutch engagement for a personalized driving experience.
- Compatibility Testing: Test the racing wheel across a variety of racing simulations to ensure compatibility and optimal performance. Experiment with different titles to verify that force feedback, steering sensitivity, and pedal response align with your expectations for a realistic and immersive driving experience.
By meticulously testing and calibrating your DIY racing wheel, you can fine-tune its performance to match your preferences and elevate your gaming experience to new heights. Whether you’re aiming for competitive edge or immersive realism, the testing and calibration process allows you to tailor your racing wheel to deliver the ultimate virtual driving experience.
Conclusion
Congratulations on successfully building and integrating your custom racing wheel for PC gaming. Through careful planning, assembly, and calibration, you’ve created a personalized peripheral that enhances the immersion and realism of your virtual driving experiences. As you reflect on the journey of constructing your DIY racing wheel, consider the following key takeaways:
- Customization and Personalization: Building your own racing wheel allows for a high degree of customization, enabling you to tailor the wheel’s performance and feel to match your unique preferences and driving style. Whether you prefer precise, competitive racing or leisurely, immersive driving experiences, your custom racing wheel can be adjusted to suit your needs.
- Immersive Gaming Experience: The integration of force feedback motors, precise steering control, and responsive pedals creates an immersive gaming experience that closely replicates the sensation of driving a real vehicle. The attention to detail and calibration of your racing wheel contribute to a heightened sense of realism and excitement during virtual races.
- Technical Proficiency and Creativity: The process of building a racing wheel for PC fosters technical proficiency and creativity, allowing you to explore electronics, programming, and mechanical assembly. This DIY project provides a hands-on opportunity to expand your skills and unleash your creativity in the realm of gaming peripherals.
- Continuous Improvement: As you familiarize yourself with your custom racing wheel, continue to refine its settings and performance based on your evolving preferences and gaming experiences. The ability to fine-tune force feedback, steering sensitivity, and pedal response ensures that your racing wheel adapts to your changing needs and delivers consistent enjoyment.
With your custom racing wheel connected and calibrated, you’re poised to embark on thrilling virtual racing adventures, pushing the limits of speed and precision from the comfort of your gaming setup. Whether you’re tackling challenging race tracks, competing in virtual championships, or simply enjoying leisurely drives through stunning landscapes, your DIY racing wheel adds a new dimension of excitement to your gaming endeavors.
As you revel in the exhilaration of virtual motorsports, remember the dedication and ingenuity that went into creating your custom racing wheel. Your passion for gaming and the pursuit of an authentic driving experience have culminated in a remarkable achievement that enhances your connection to the virtual world of racing. Embrace the thrill of the open road, the roar of high-performance engines, and the satisfaction of knowing that you’ve crafted a racing wheel that elevates your gaming pursuits to extraordinary heights.