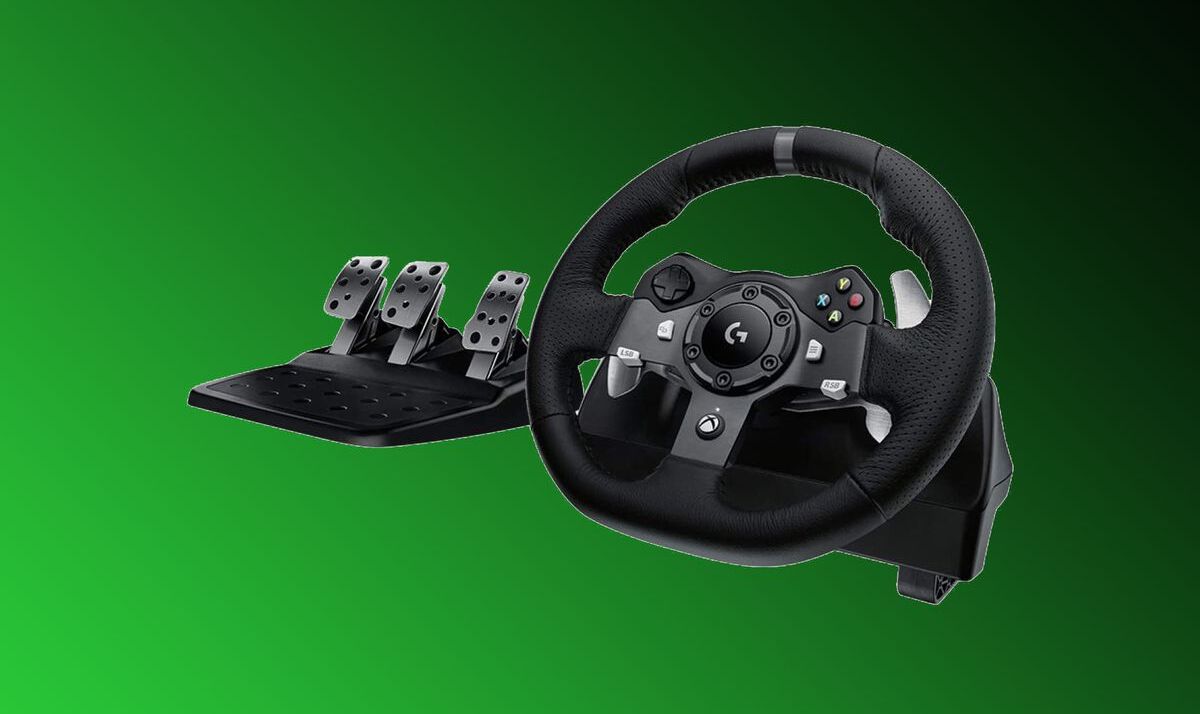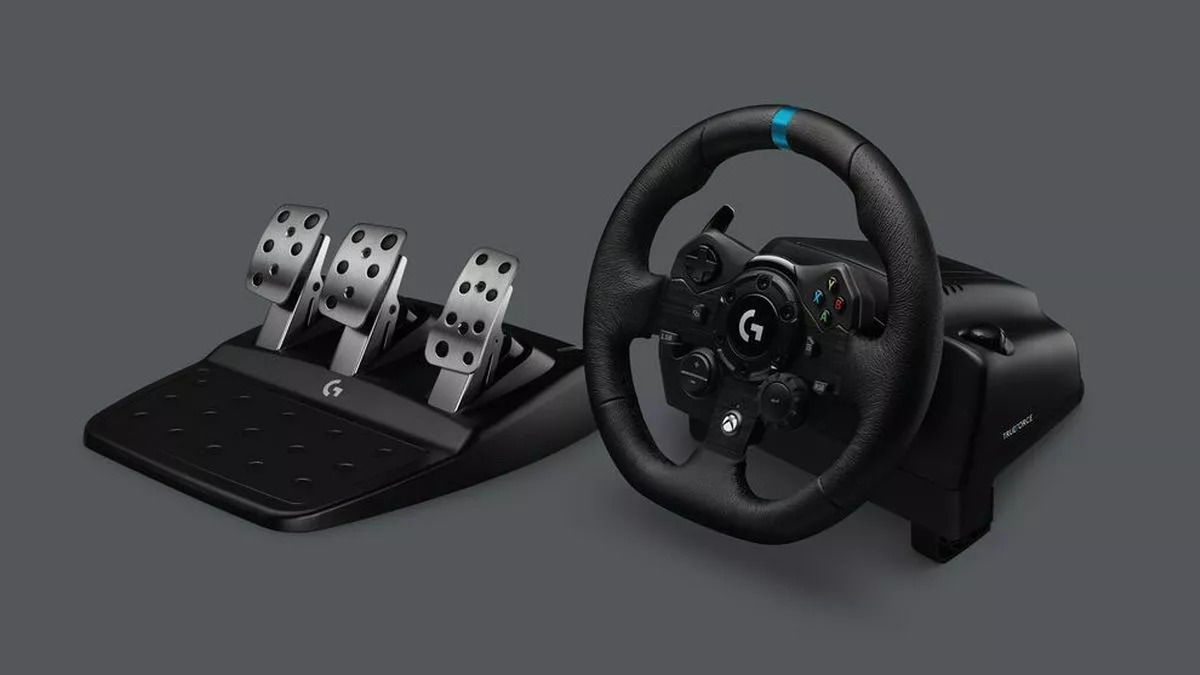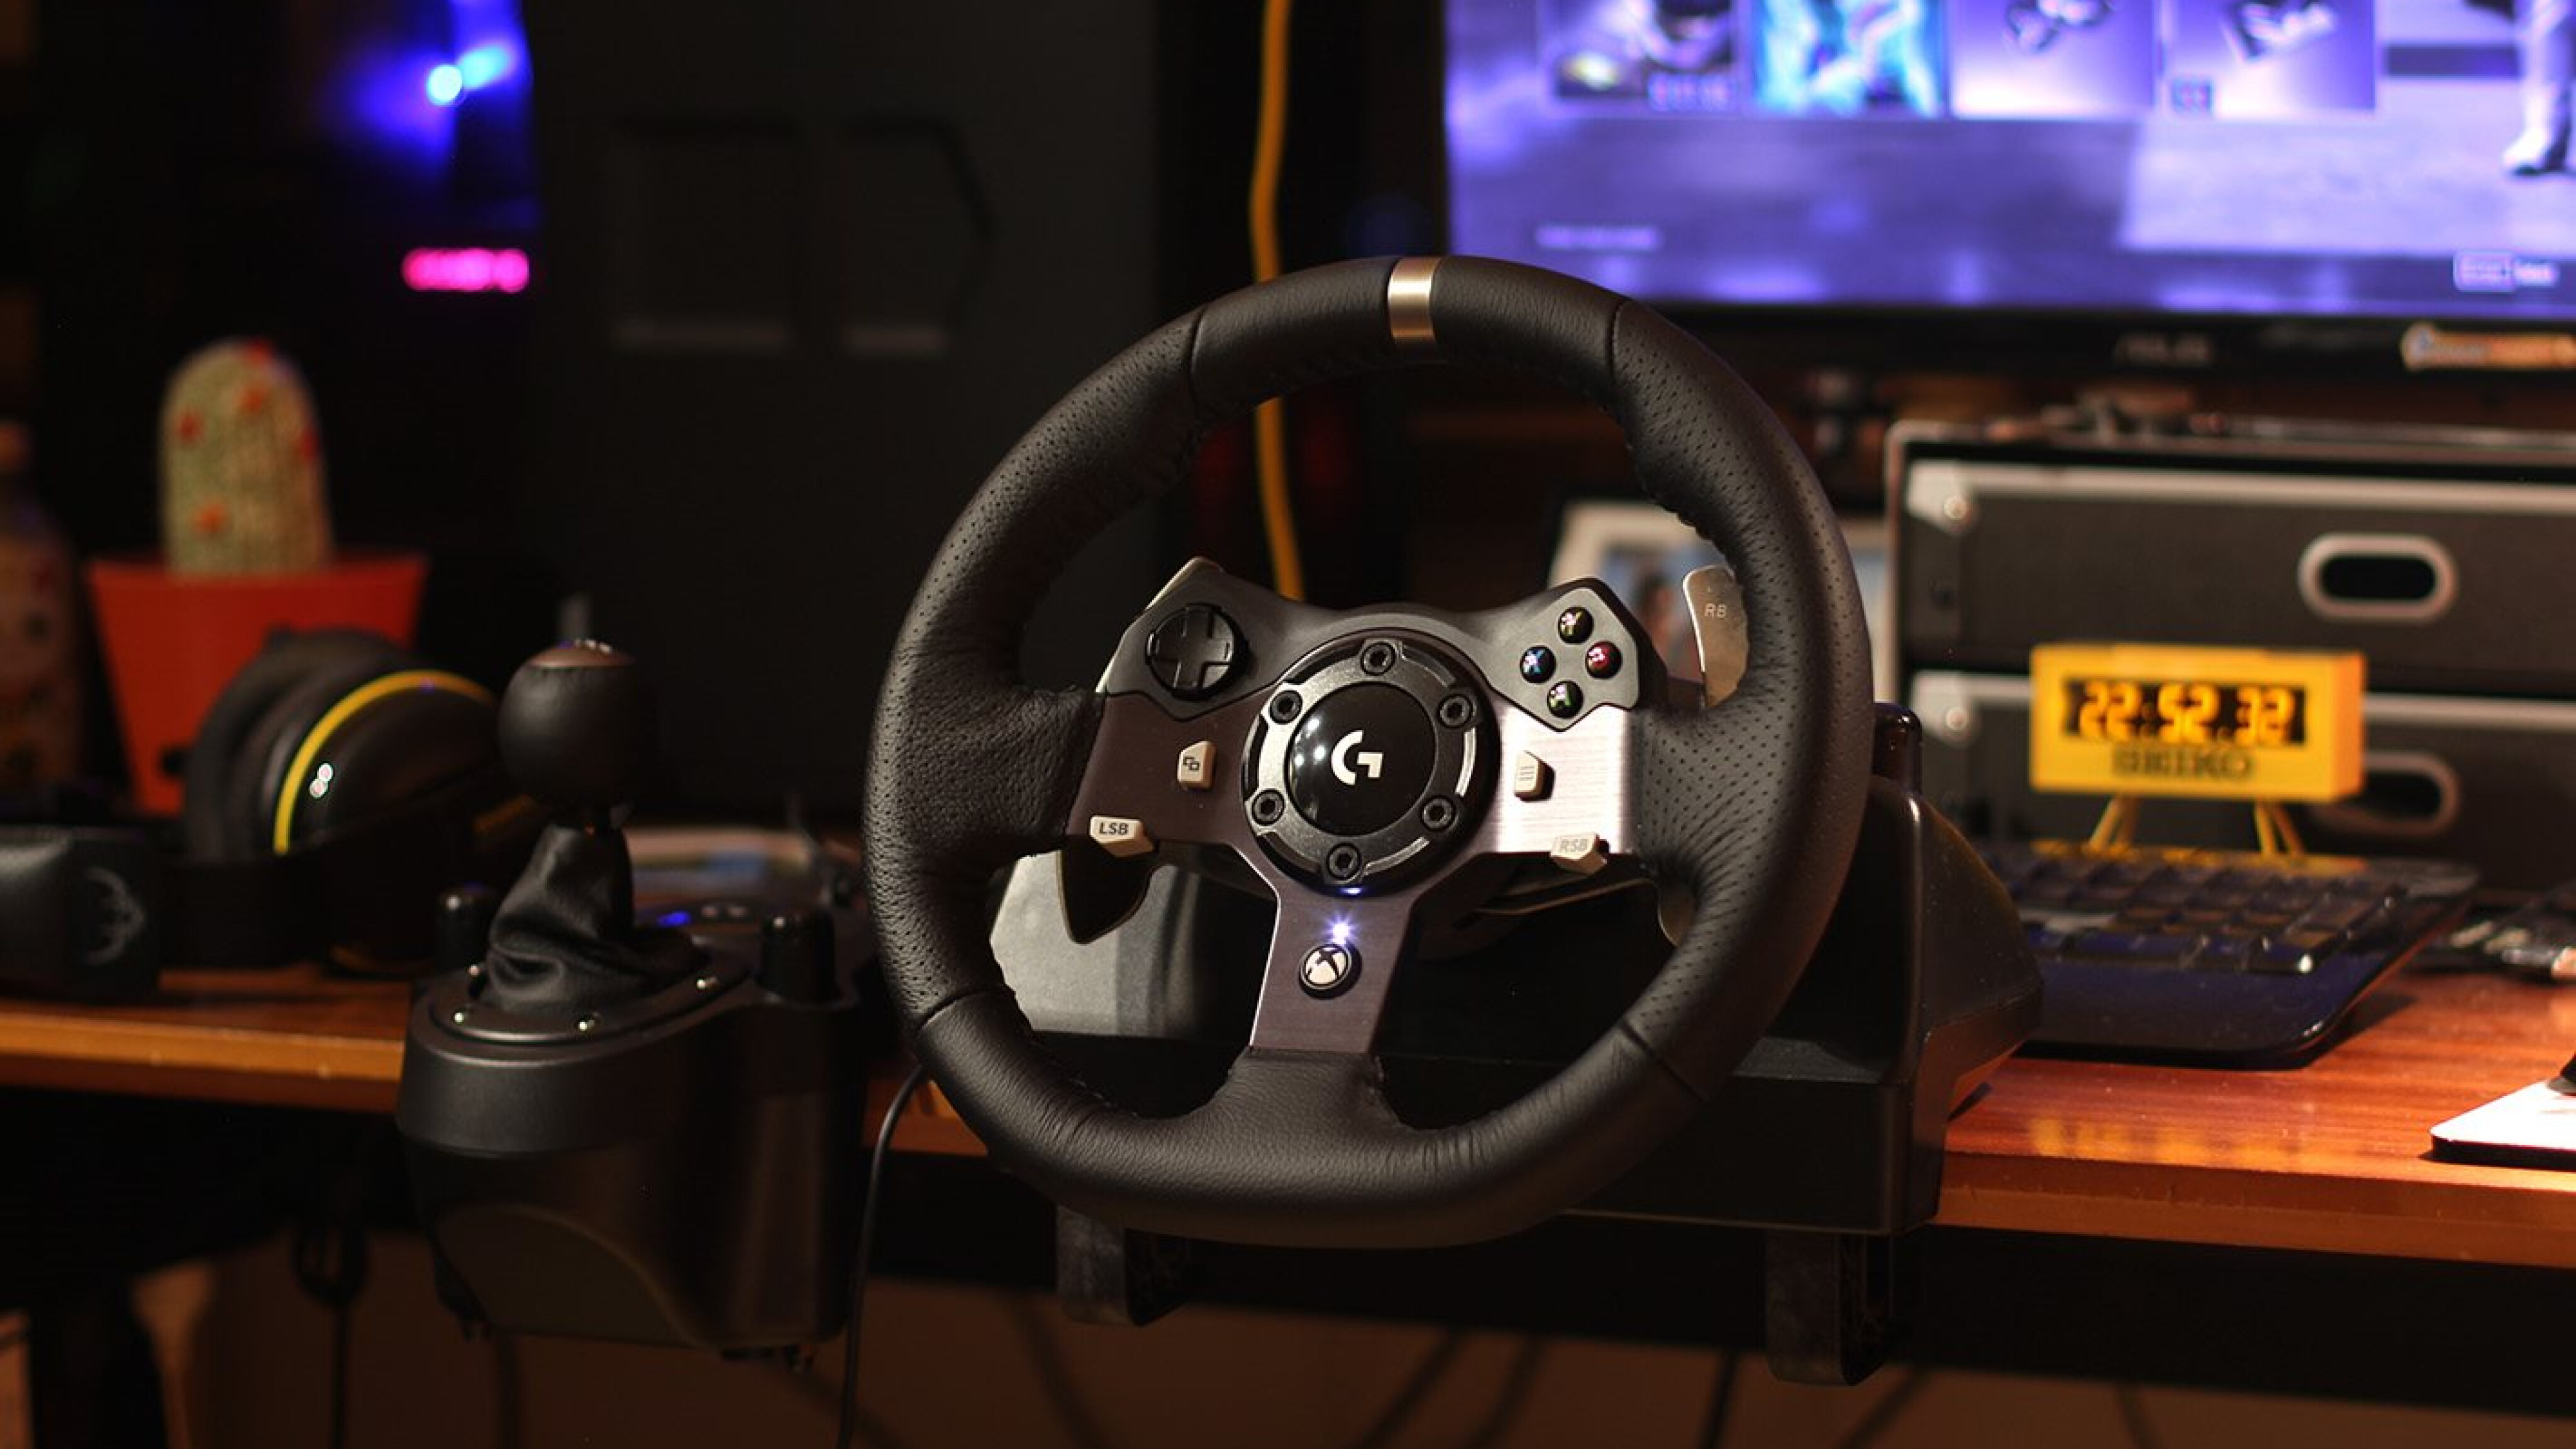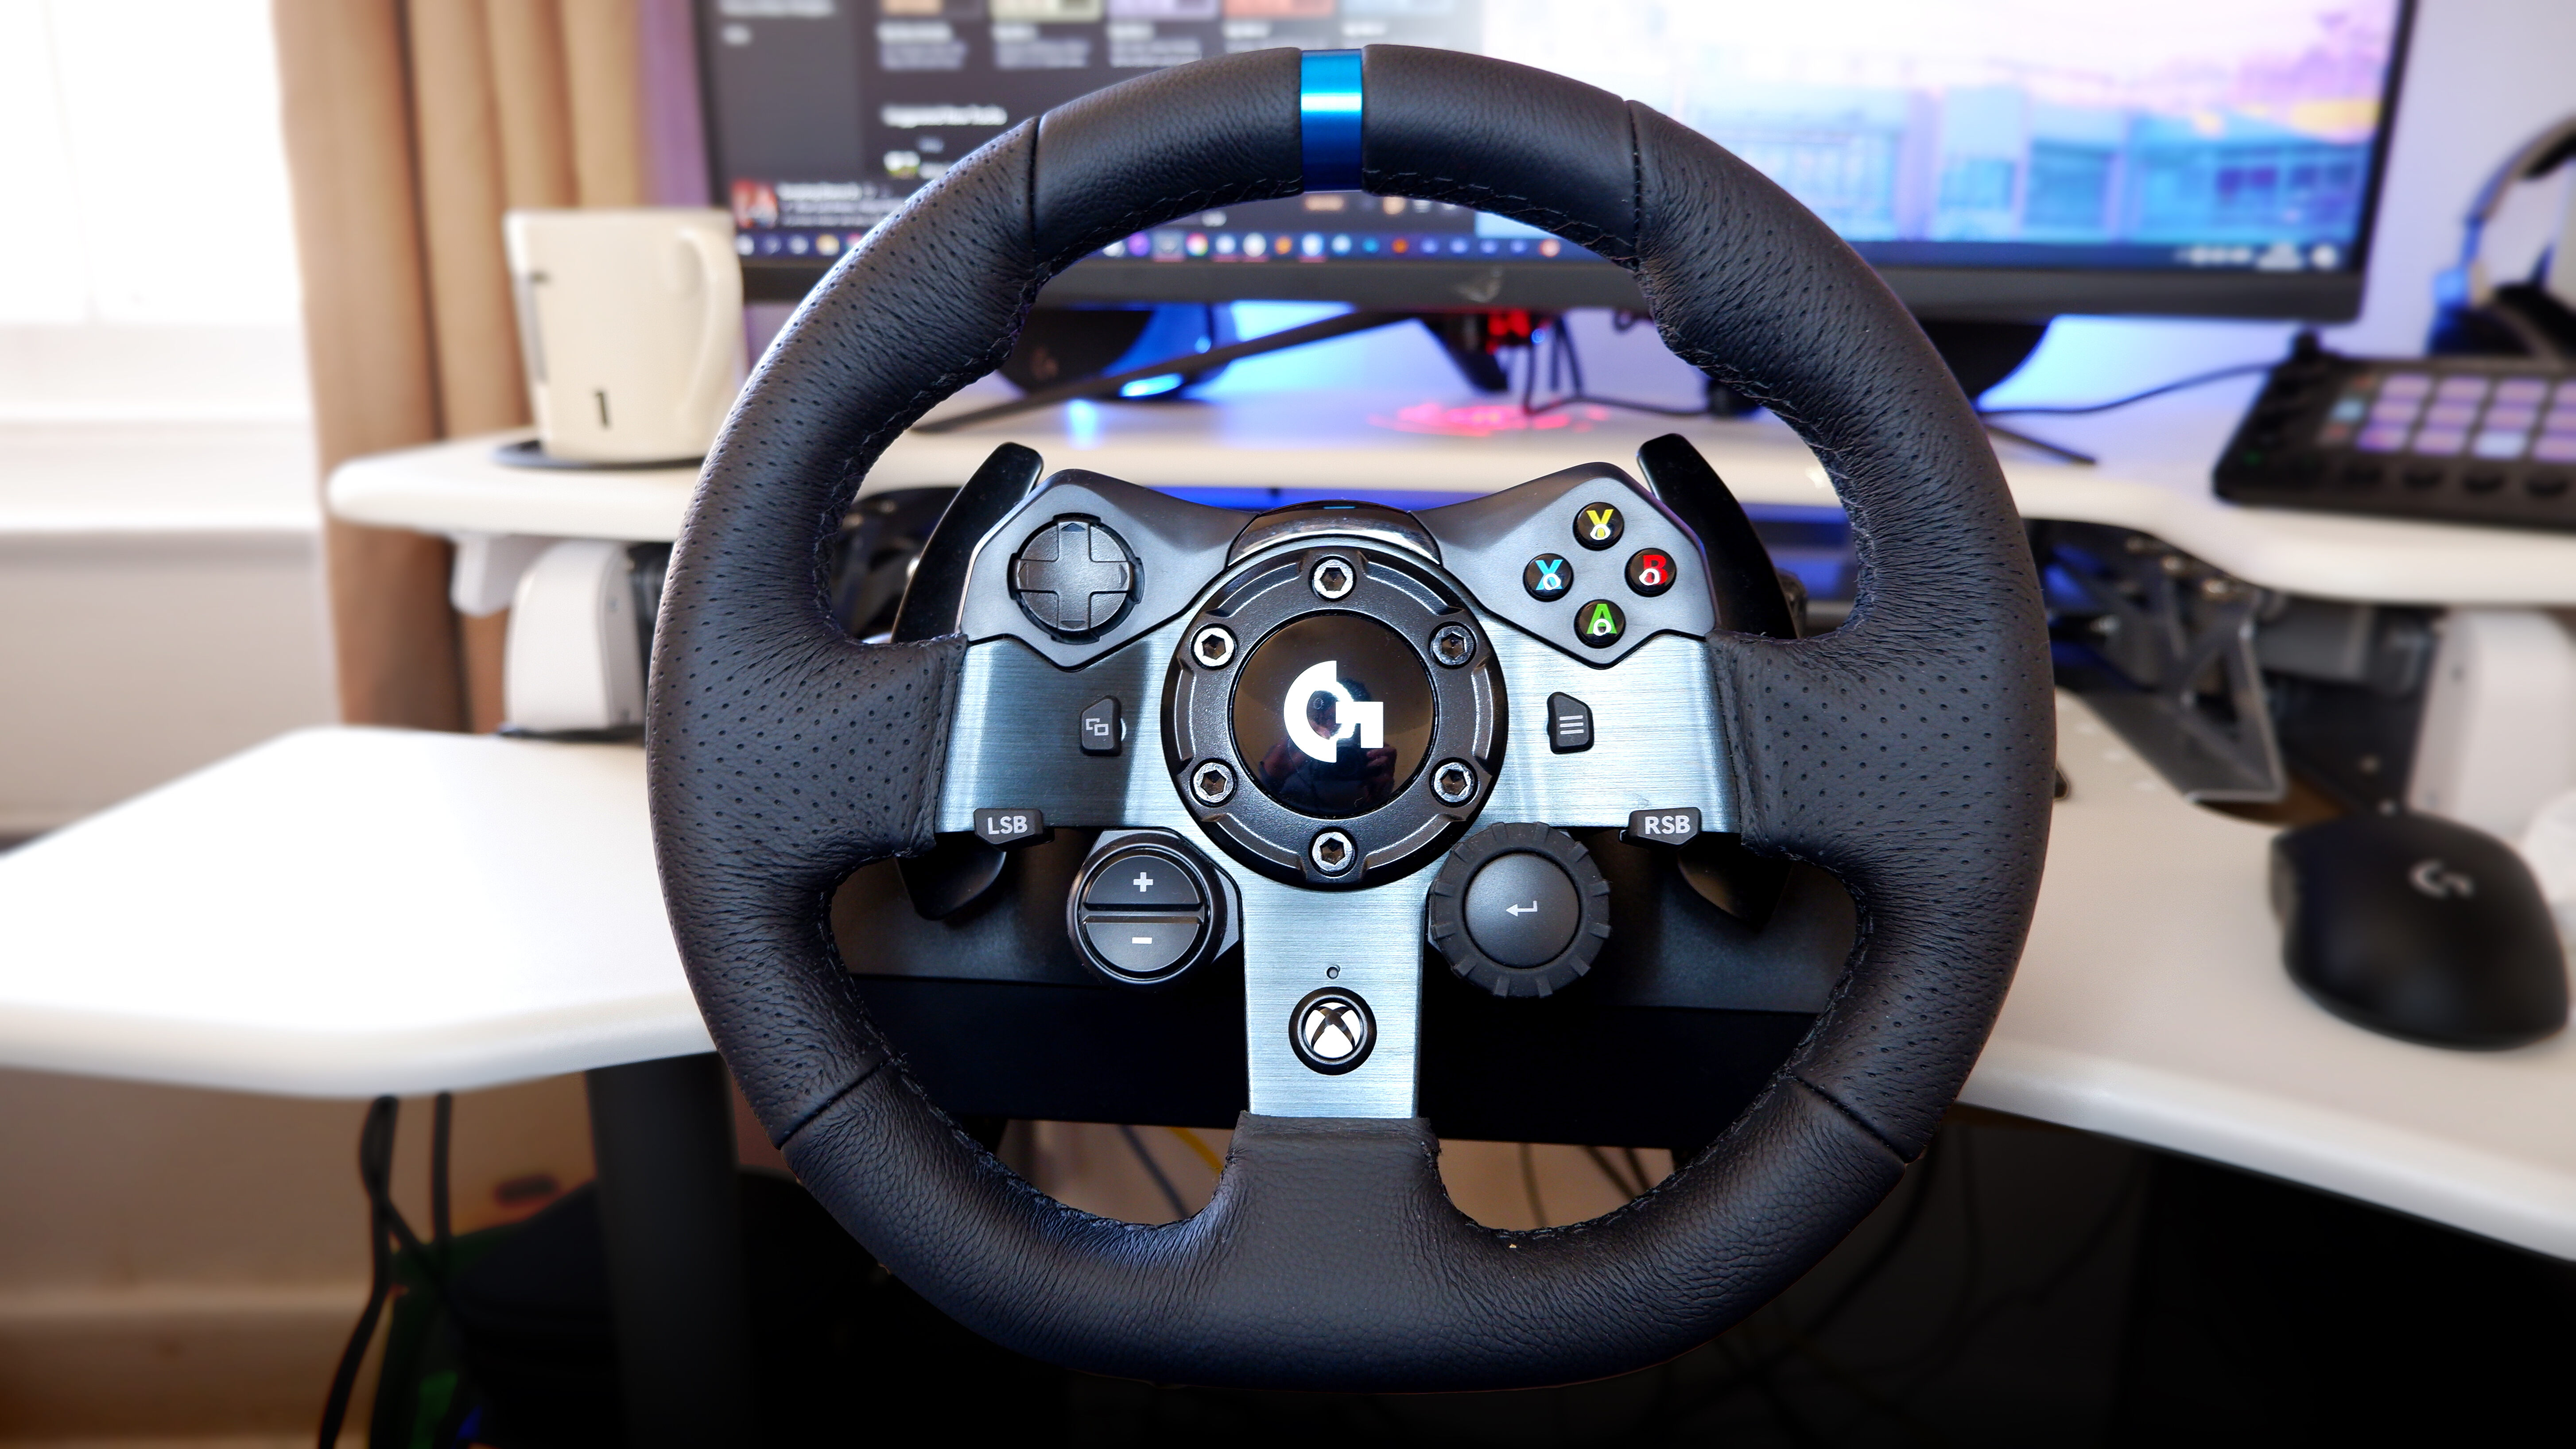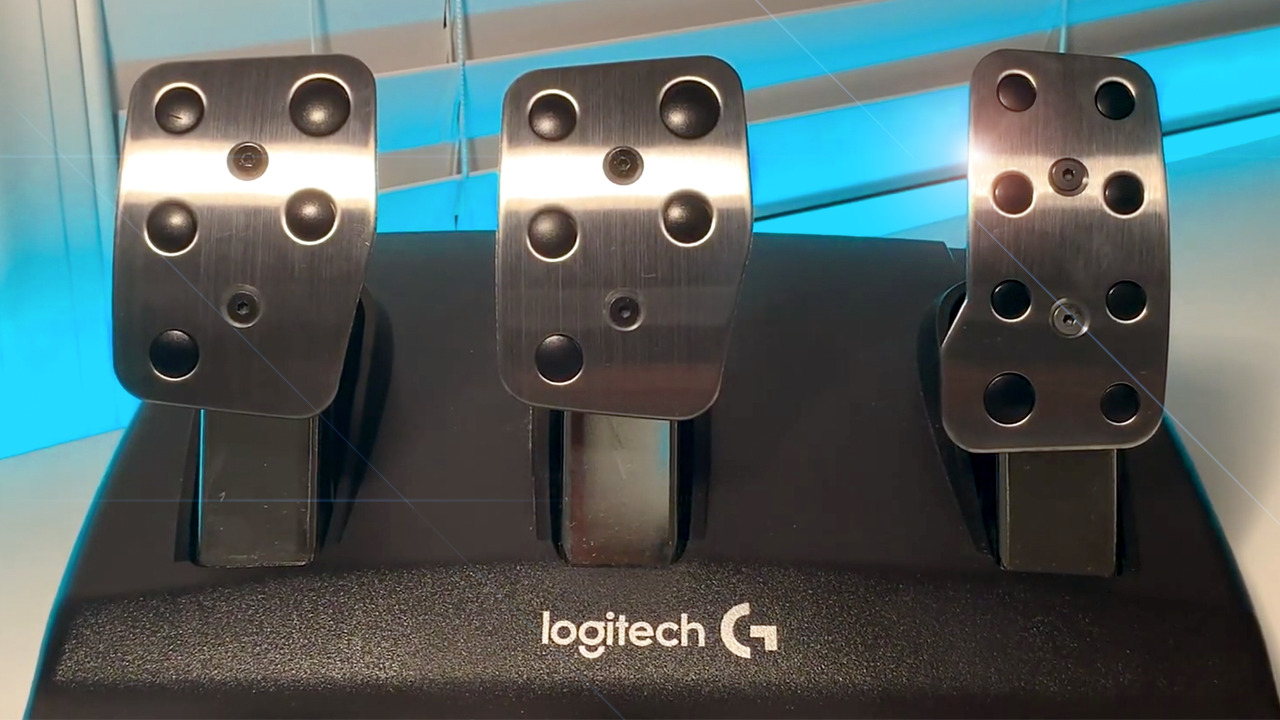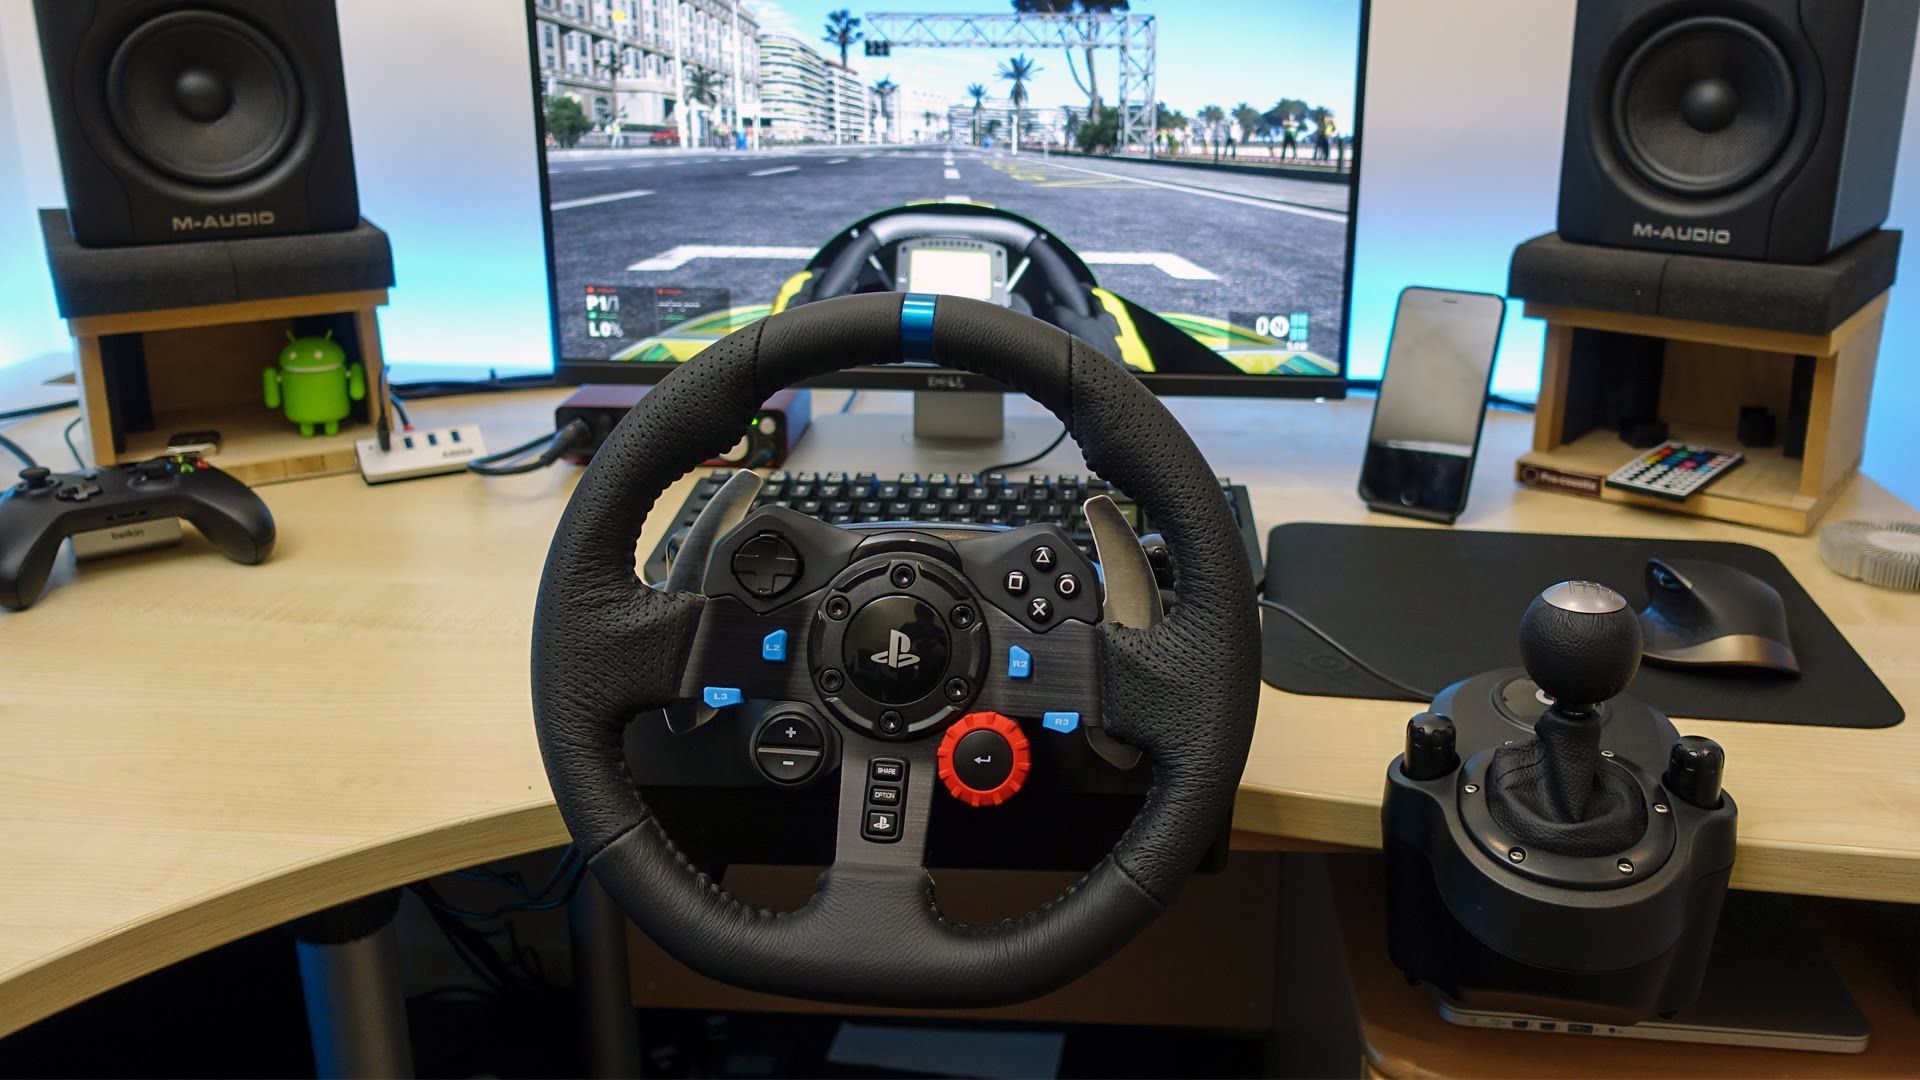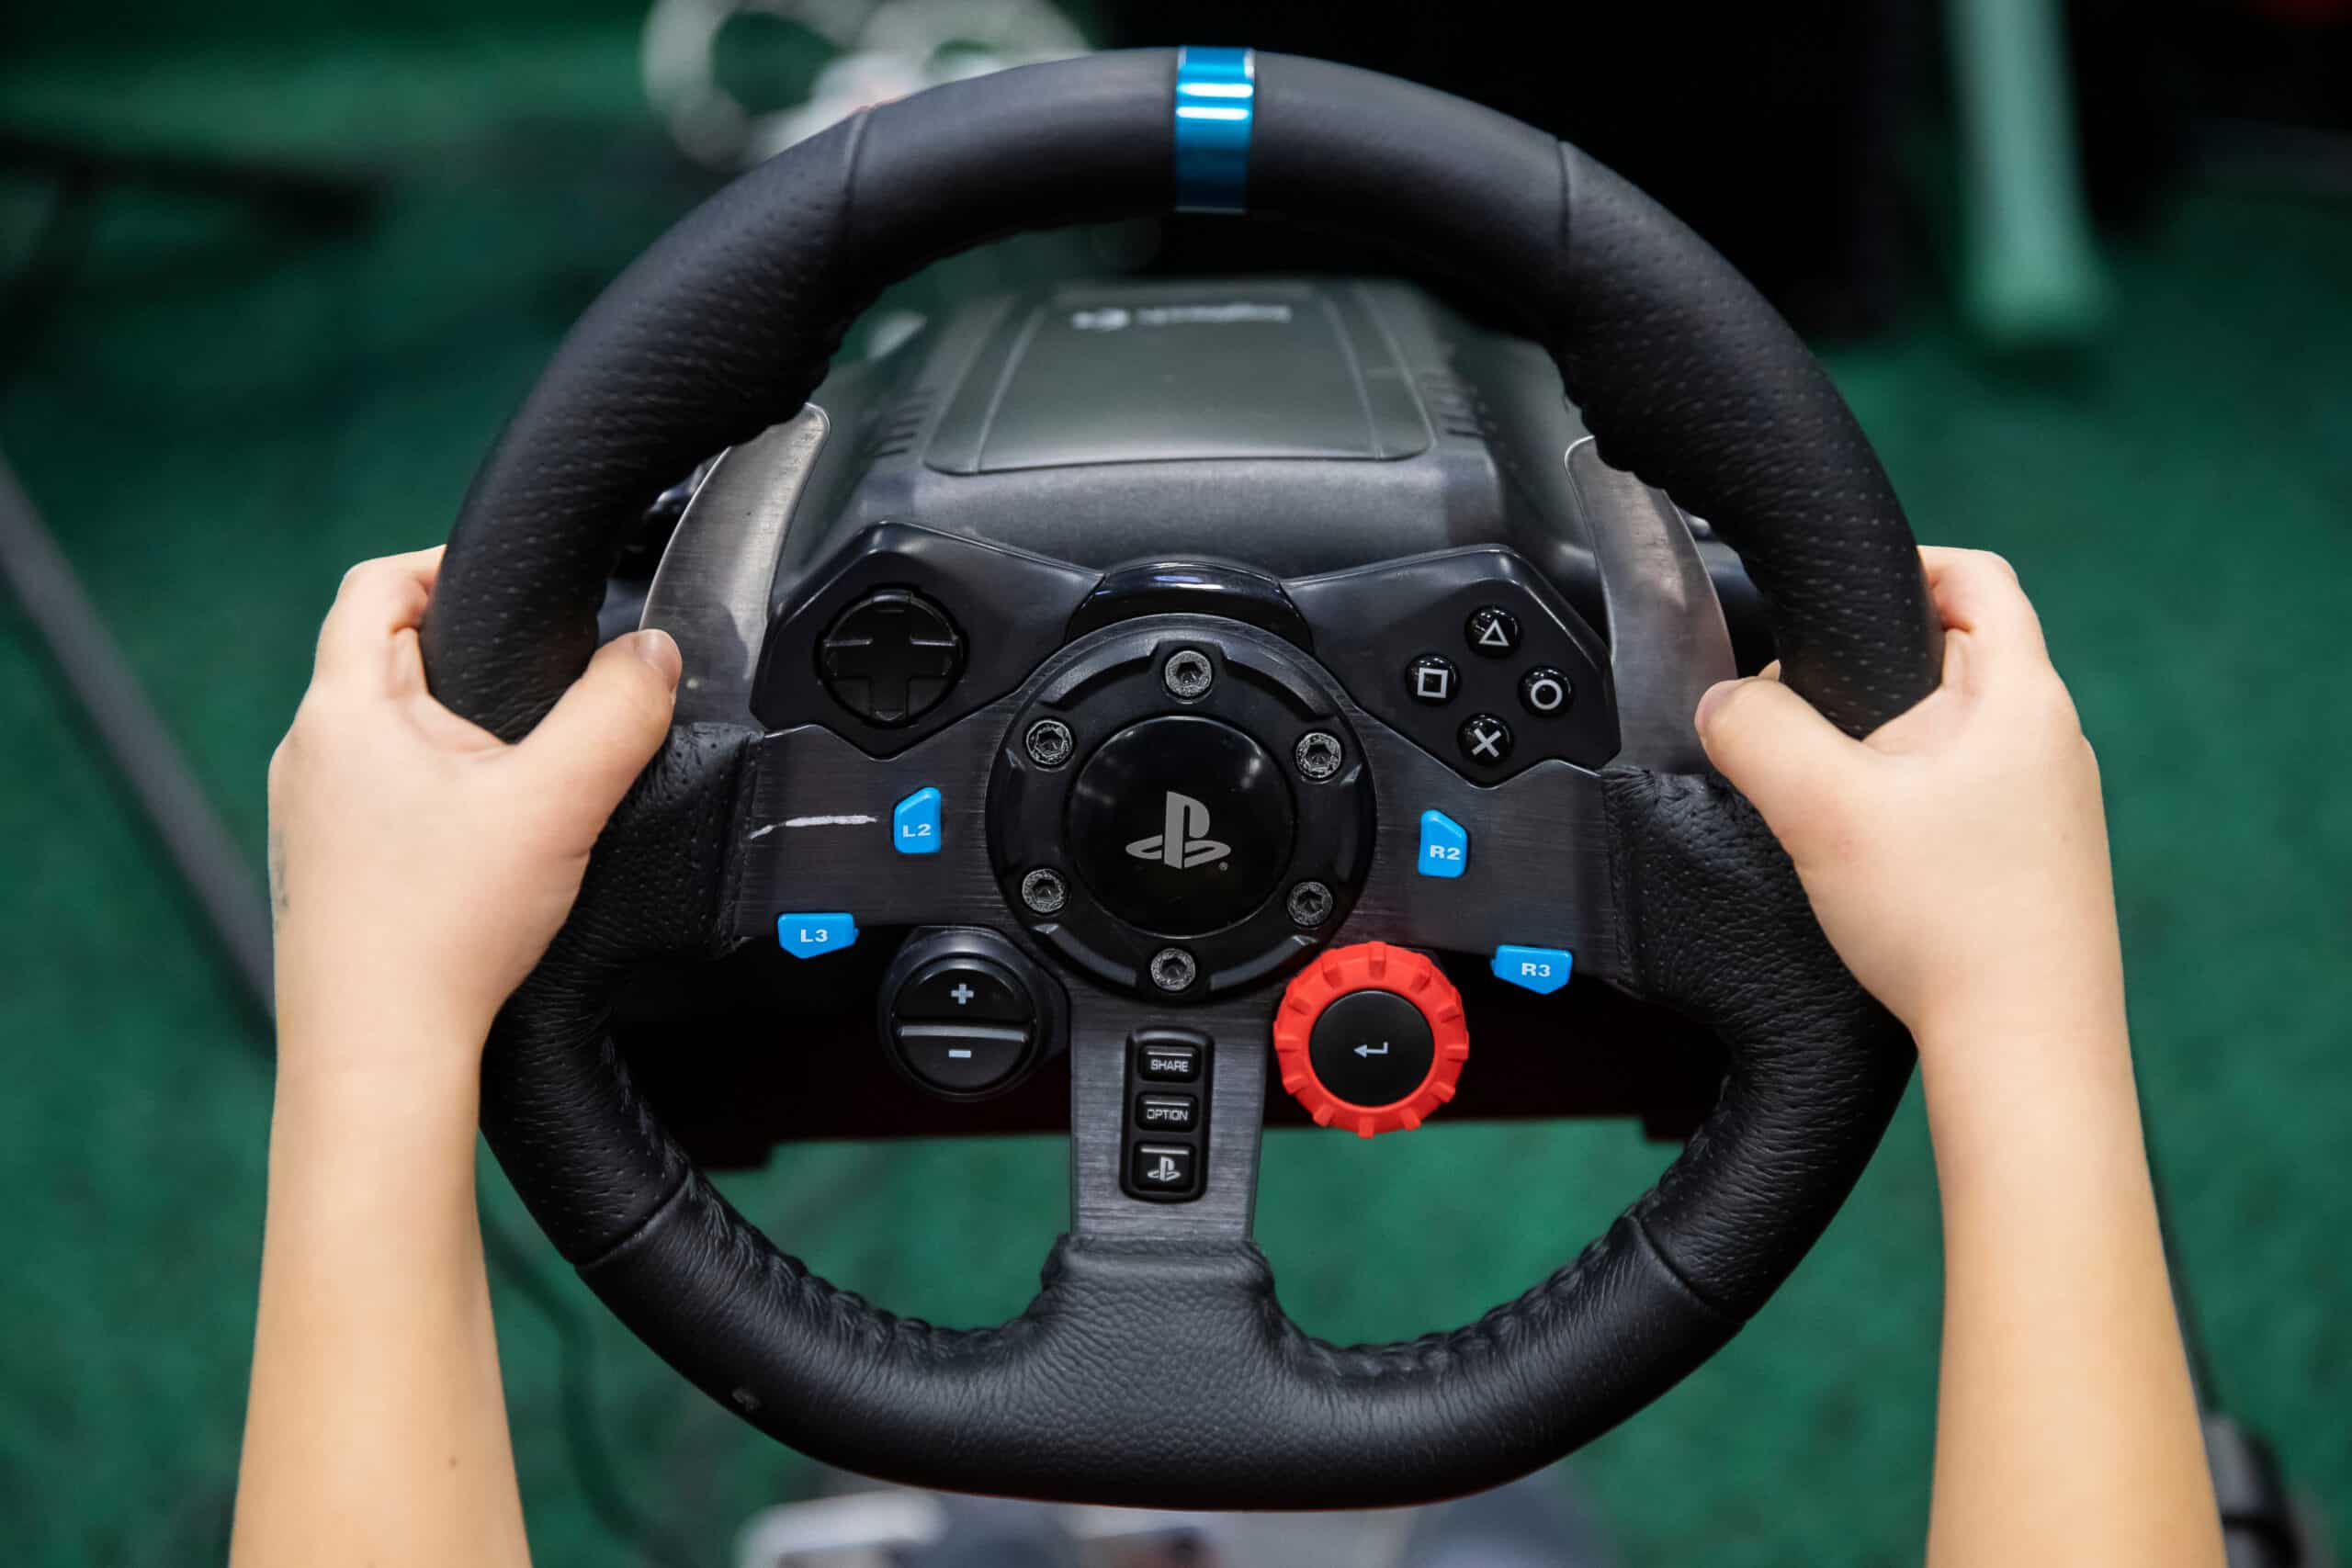
To set up Logitech G920, begin by physically connecting the pedal unit and any optional shifter to the wheel base, then plug in the power adapter and connect the USB cable to your Xbox or PC. This guide covers the complete process from mounting the wheel to installing drivers and calibrating it for racing games.
What's in the box
Inside the packaging you will find the racing wheel, pedal set, power adapter, cables, and documentation. Familiarize yourself with these components before starting your racing wheel setup.
Connect the pedals and shifter to the wheel base
Before powering on the wheel, attach the pedal unit and any optional shifter to the wheel base. The connections are designed to be straightforward, ensuring all inputs are recognized by the wheel base before it communicates with your system.
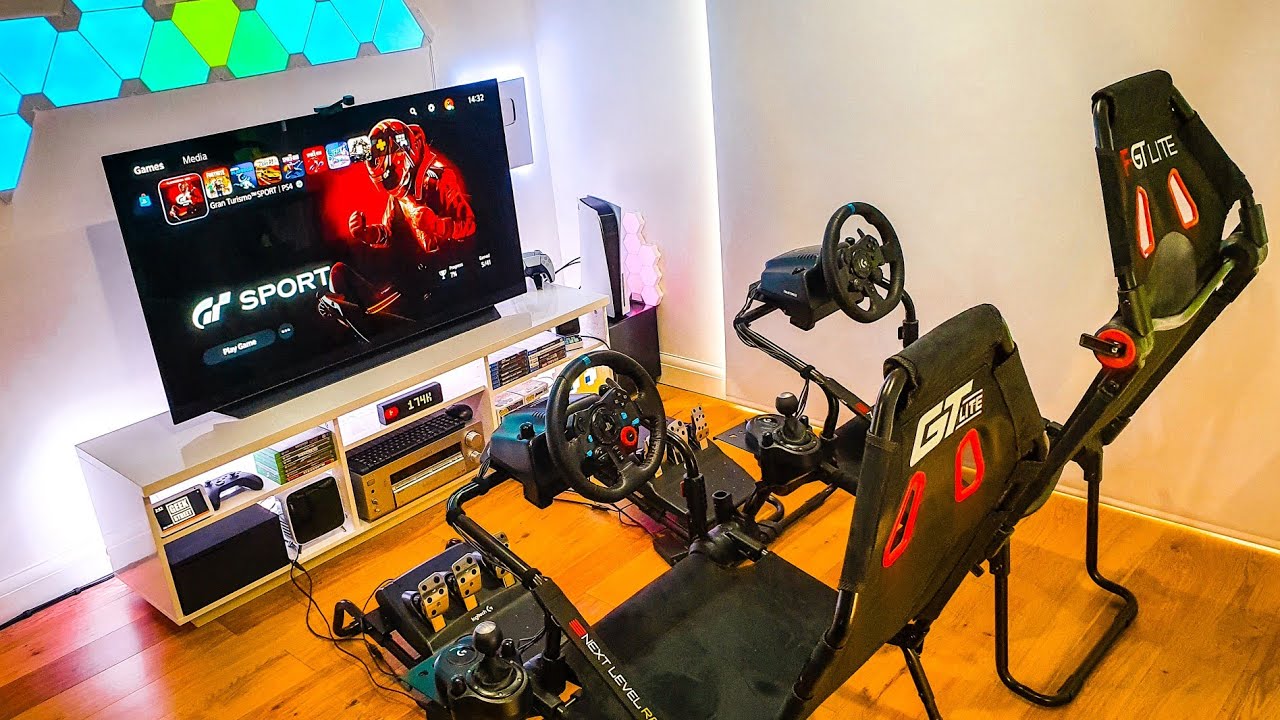
Mount the wheel to a table or rig
The G920 features a built-in clamping system for mounting to a table. If your table is thicker than standard, remove the clamp extenders to allow attachment. Position the wheel at a comfortable height and tighten the clamps securely. Place the pedal set on the floor or a rig and ensure it does not slide during use.
Plug in power and connect USB to Xbox or PC
Connect the power adapter to the wheel and a power outlet. Then connect the wheel's USB cable to your Xbox or PC. Each time the wheel connects, it automatically rotates fully to each side and then to the center to calibrate itself. This self-calibration ensures the wheel is centered and ready for use.
Install Logitech G920 drivers on PC
To use Logitech G920 on PC, visit the Logitech website and download the drivers for the G920. Run the installer and follow the on-screen instructions. If you are setting up on Xbox, the console installs the necessary drivers automatically without manual intervention.
Calibrate and adjust settings in-game
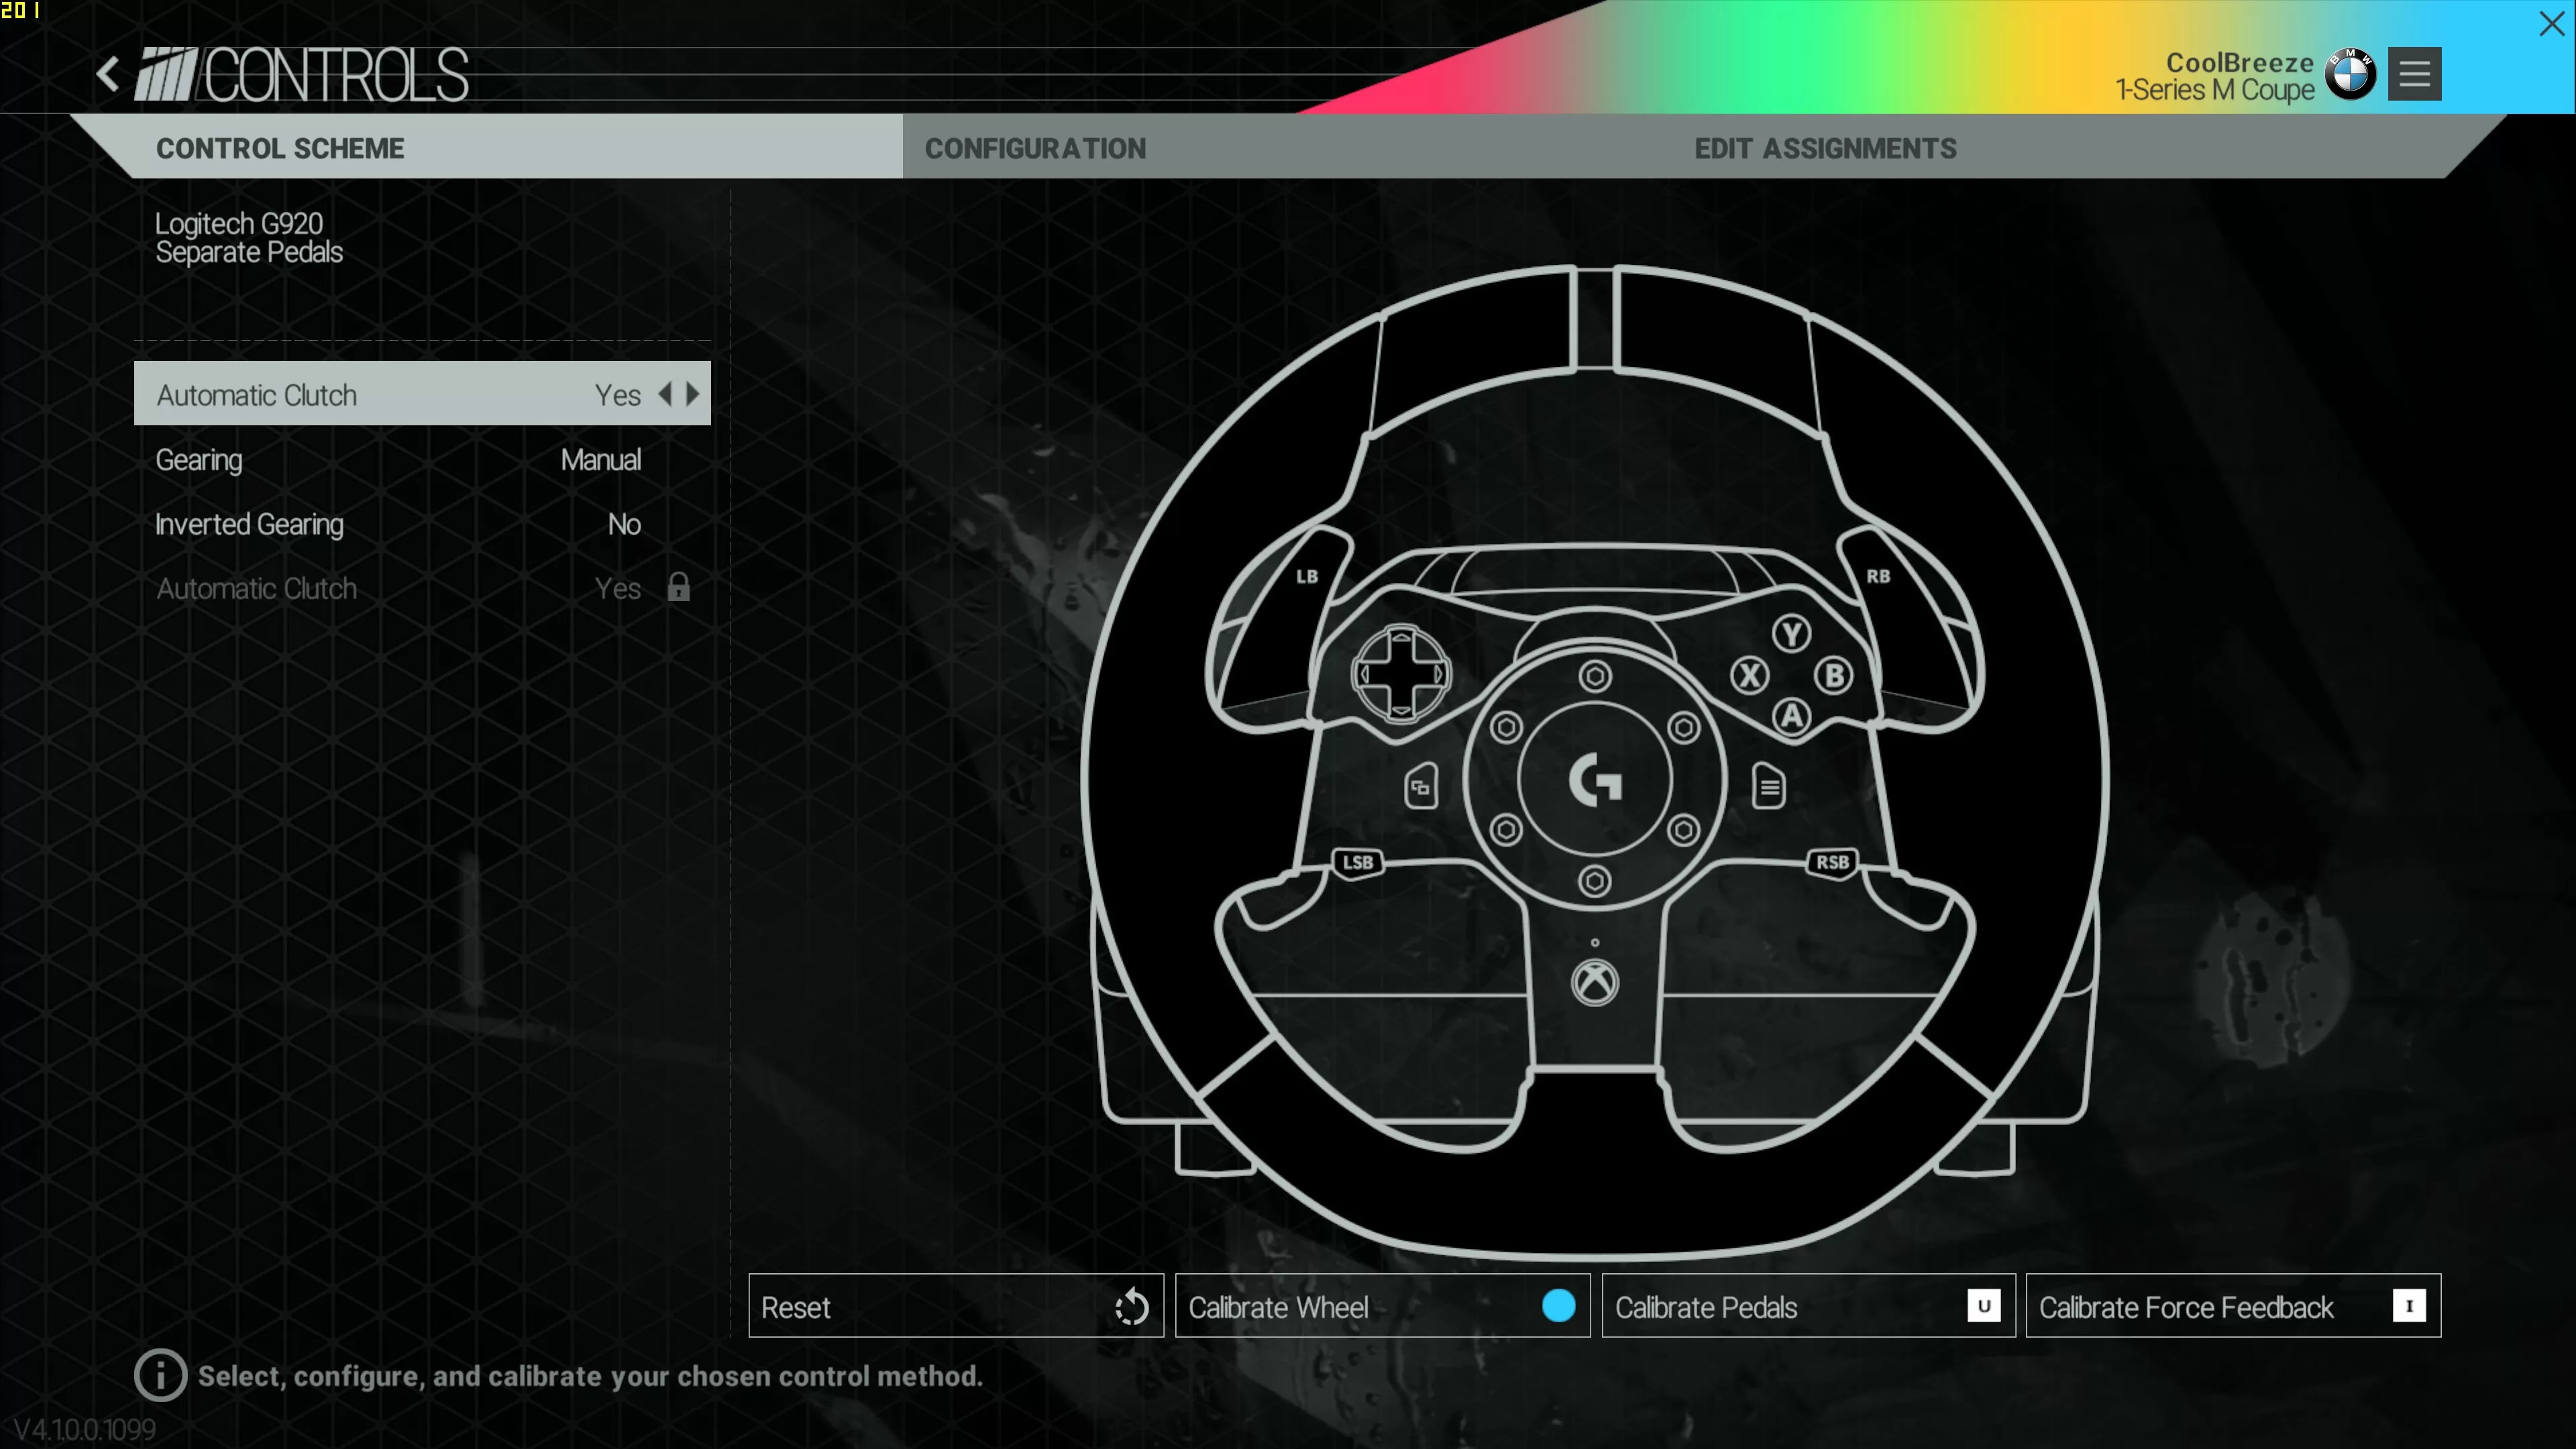
Launch your racing game and navigate to the controller settings or options menu. Select the G920 as your primary input device. To calibrate Logitech G920 Xbox or PC, follow the game's on-screen calibration prompts, which typically involve turning the wheel fully left and right and pressing the pedals to set their range. Adjust force feedback strength, wheel sensitivity, and button assignments to match your preferences.
Troubleshooting common issues
If the wheel has no power, verify the power adapter is connected to a working outlet and the wheel. For no force feedback, ensure the setting is enabled in the game and the drivers are up to date. If calibration seems off, disconnect and reconnect the wheel to trigger the automatic self-calibration. For pedal sensitivity problems, check that the pedal connections are secure and adjust the sensitivity in the game's settings. If button mapping errors occur, confirm the G920 is selected as the primary device and reassign buttons as needed. The G920 has an overheat protection circuit; if force feedback temporarily shuts down during use, allow the wheel to cool down and unplug it for a period before reconnecting.
Adjusting pedal feel
If you want to make Logitech G920 brake less stiff, adjust the brake pedal sensitivity in the game's controller settings. Some games allow you to reduce the required pressure for the brake input, making it easier to modulate braking without physically modifying the pedal.