Introduction
Welcome to our guide on how to set up the Logitech G923 racing wheel on your PC. The Logitech G923 is a high-performance racing wheel designed to deliver an immersive and realistic gaming experience. Whether you’re a seasoned racing enthusiast or just getting started, this guide will walk you through the process of setting up and configuring your Logitech G923 for optimal performance.
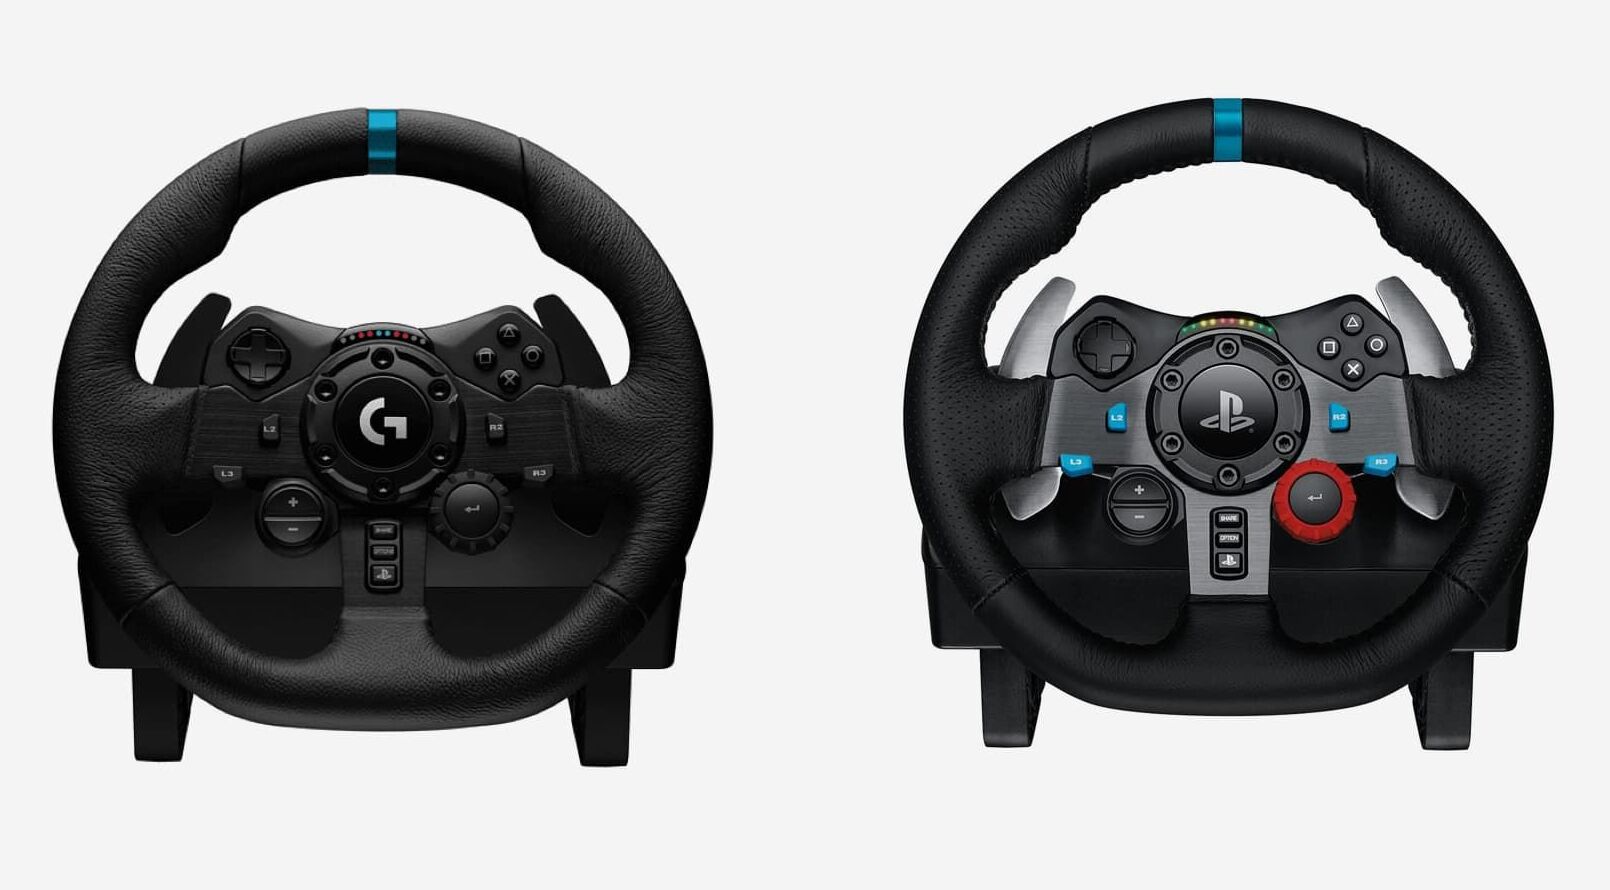
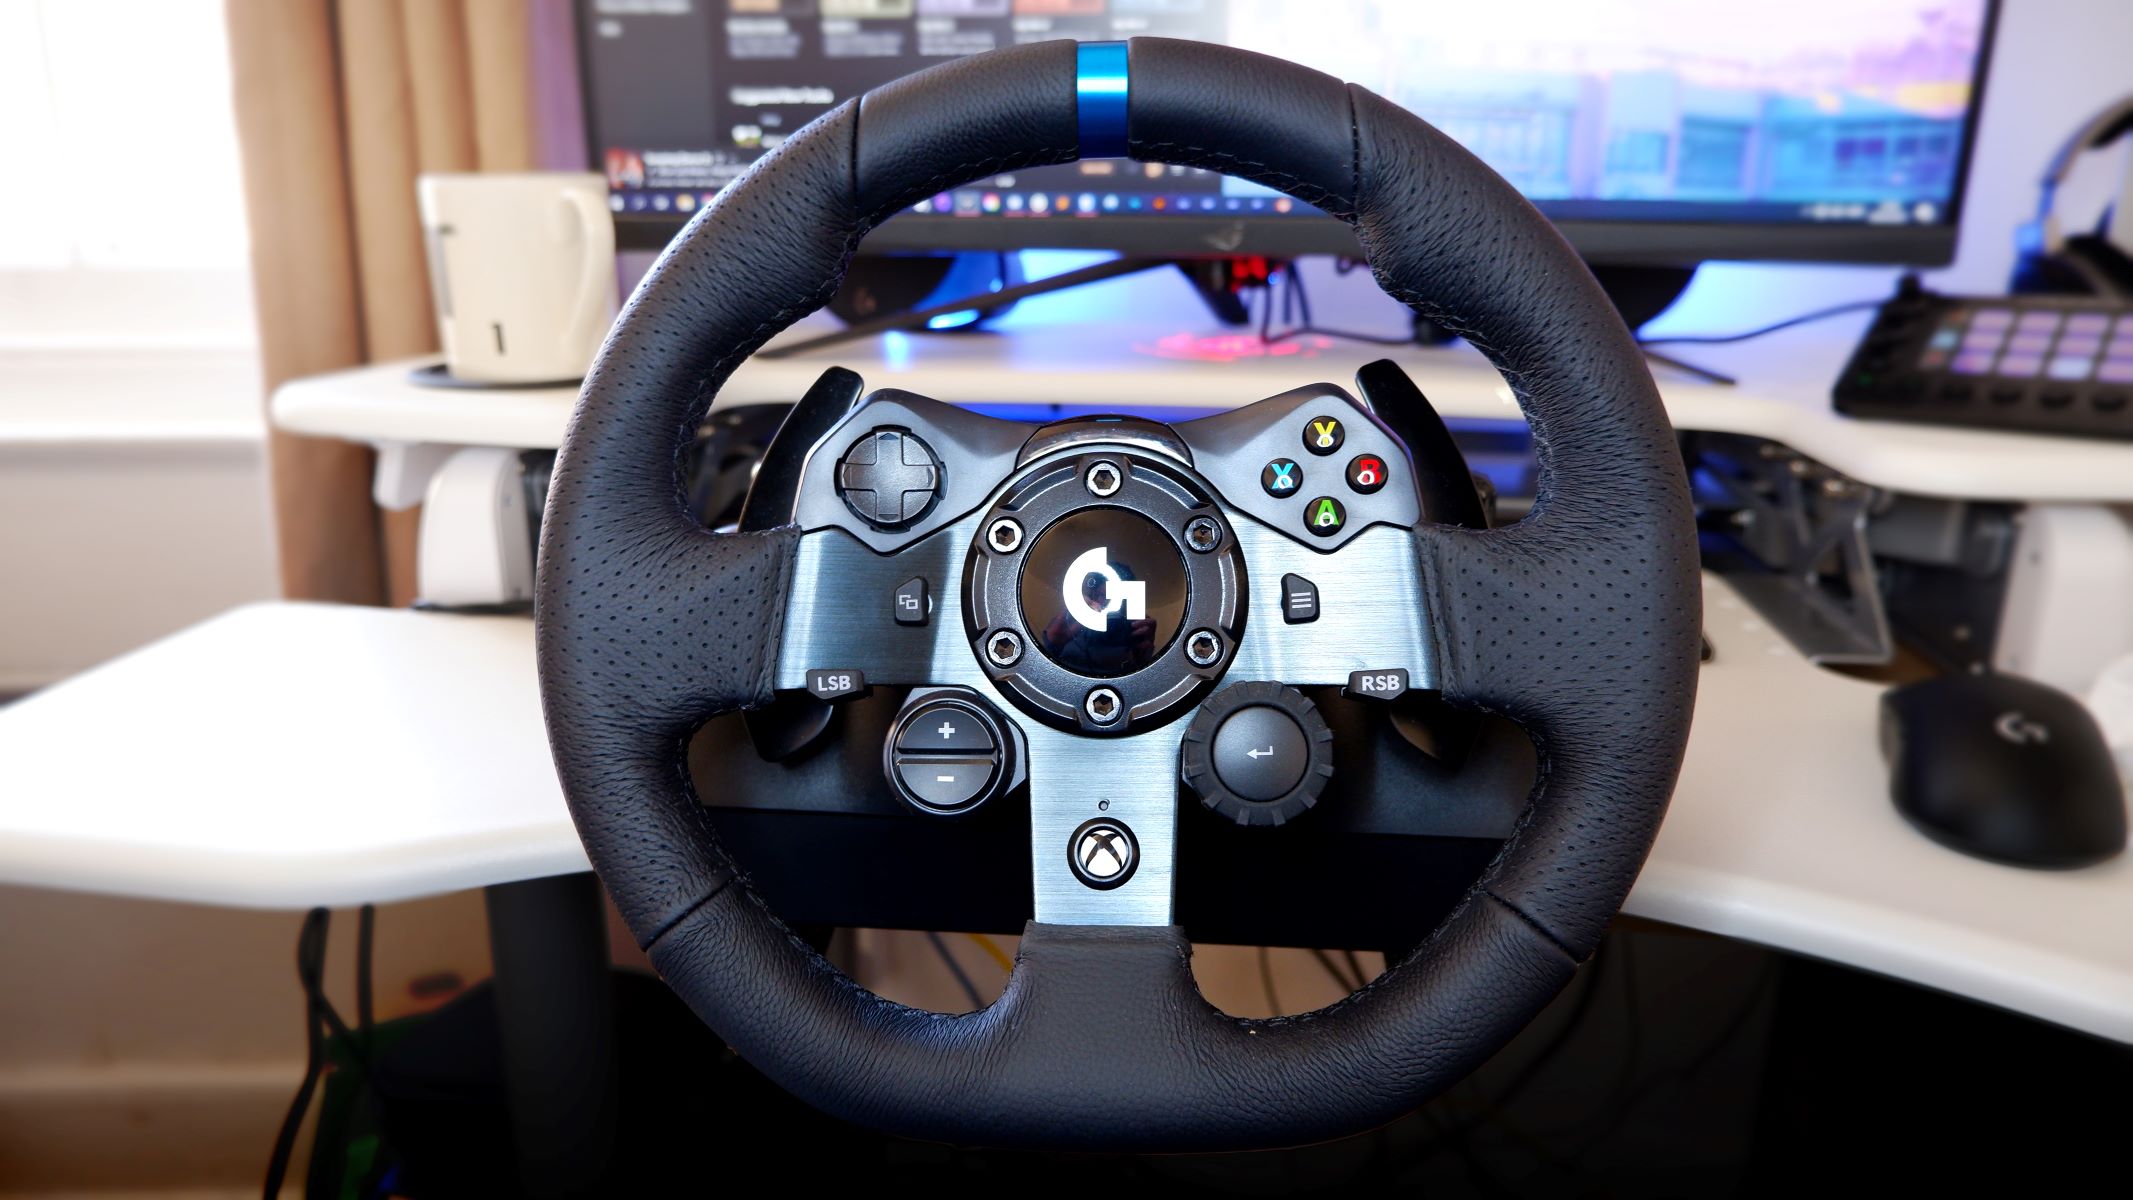
The Logitech G923 features advanced technologies such as TrueForce, which provides precise, detailed, and responsive force feedback, and a high-quality leather-wrapped steering wheel for a comfortable grip. With its customizable buttons, adjustable pedal sensitivity, and compatibility with popular racing games, the Logitech G923 offers a customizable and immersive racing experience like no other.
Before we dive into the setup process, let’s take a moment to ensure that your system meets the necessary requirements. This will ensure a smooth and seamless experience with your Logitech G923 racing wheel.
System Requirements
Before setting up your Logitech G923 racing wheel, make sure that your PC meets the minimum system requirements. These requirements ensure compatibility and optimal performance with the Logitech G923. Here are the system requirements:
- Operating System: Windows 10, 8, or 7 (32-bit or 64-bit)
- USB Port: A free USB 2.0 or higher port
- Processor: Intel Core i5 or equivalent
- RAM: 4GB or higher
- Hard Drive Space: 150MB for software installation
- Internet Connection: Required for downloading and updating the Logitech G HUB software
- Supported Racing Games: Check the Logitech website for a list of compatible games
It’s important to note that the Logitech G923 is specifically designed for PC gaming. While it might be possible to use it with other systems or consoles, it may require additional software or adapters that are not covered in this guide.
Once you have confirmed that your PC meets the system requirements, you are ready to proceed with connecting and setting up your Logitech G923 racing wheel.
Step 1: Connecting the Logitech G923 to your PC
Before you can start using your Logitech G923 racing wheel, you need to connect it to your PC. Follow these steps to properly connect the Logitech G923:
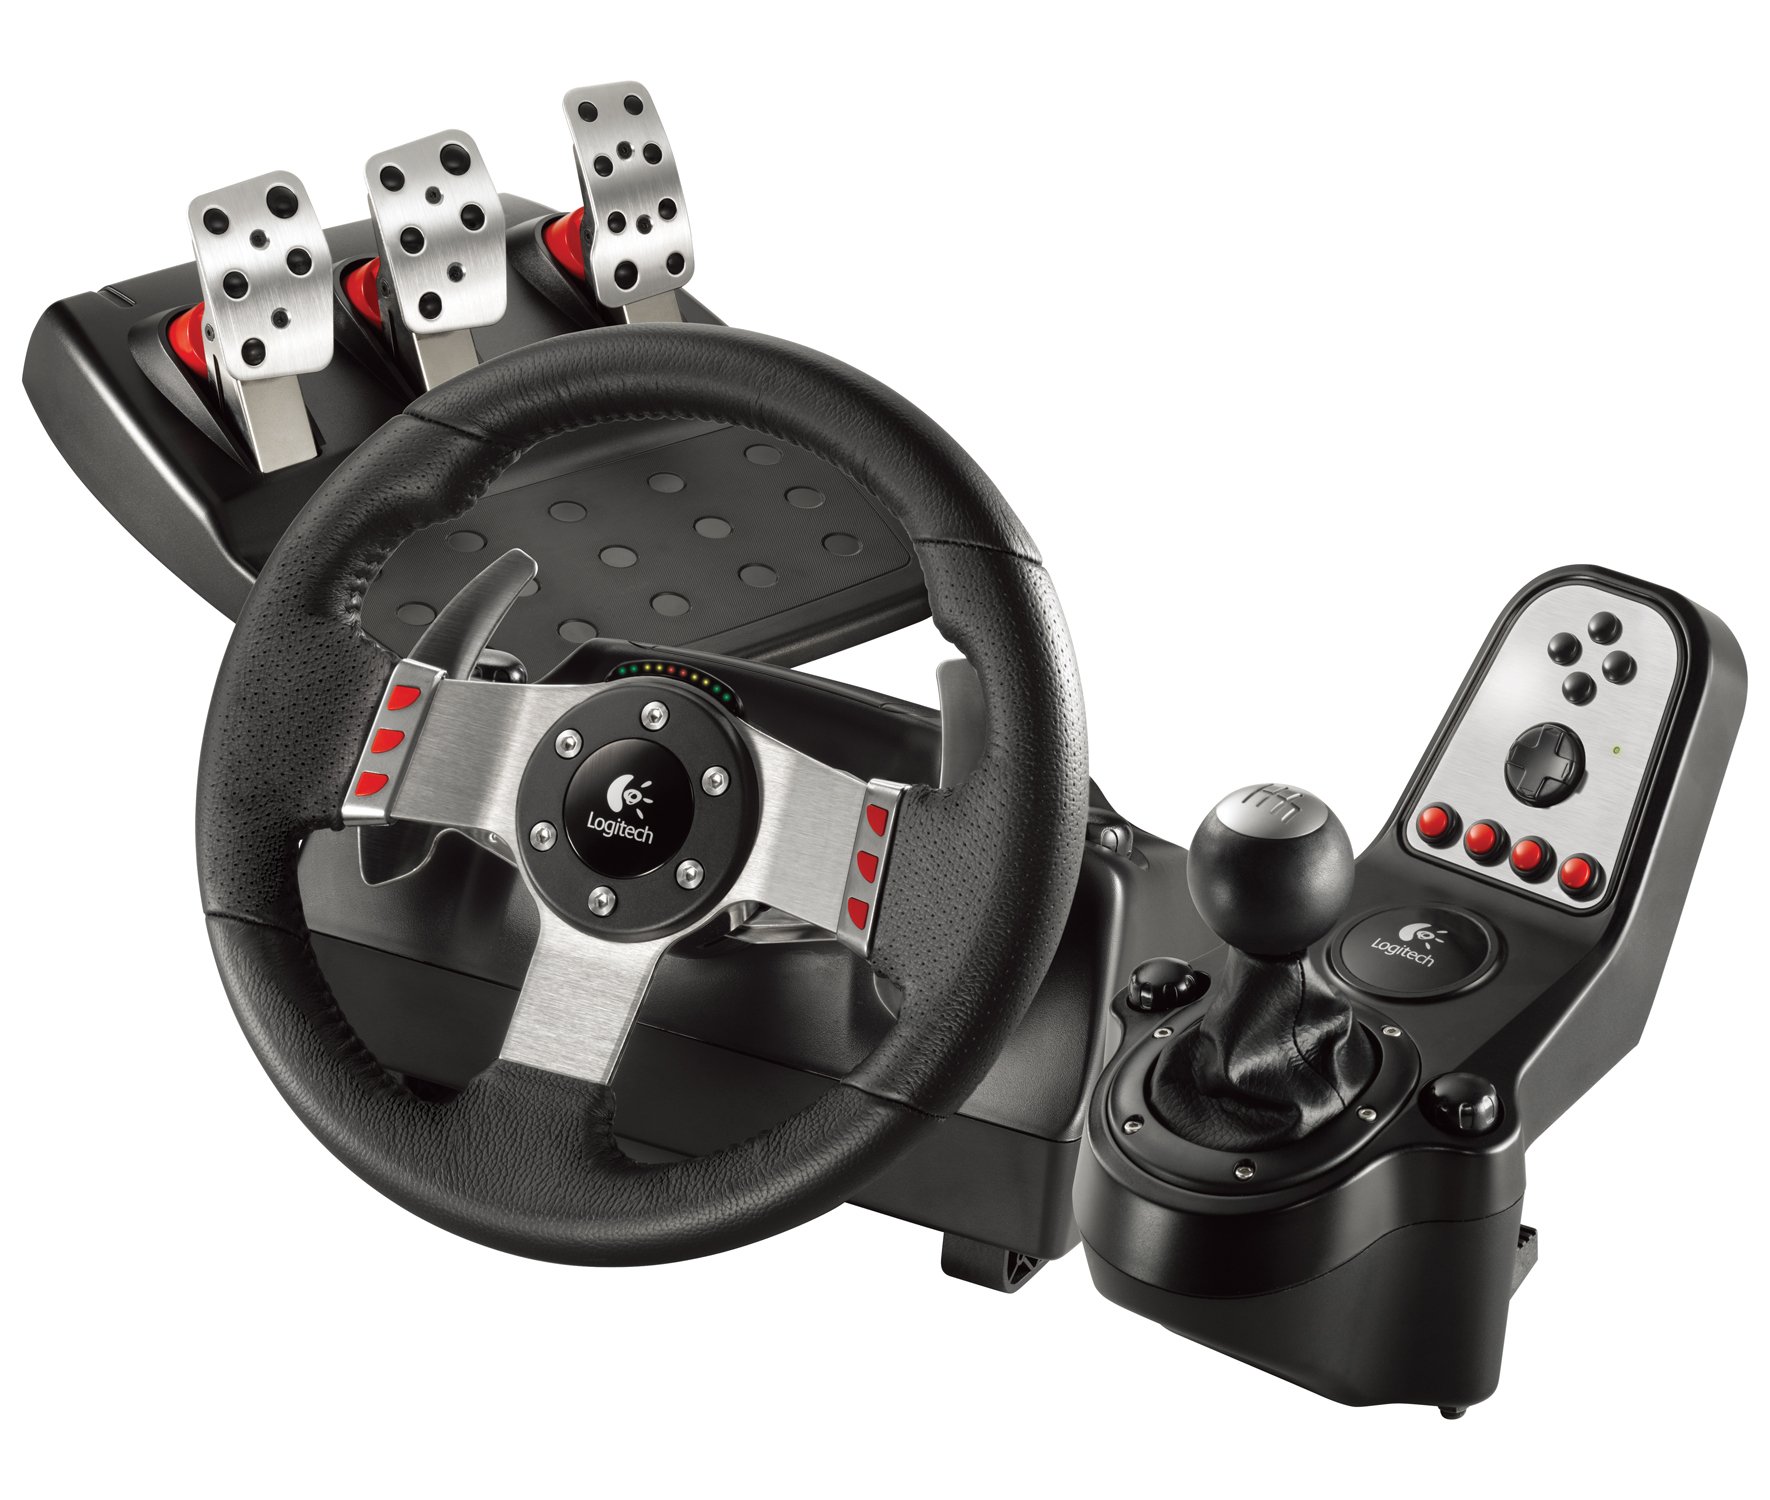
- Start by finding a suitable location for your racing wheel setup. Ensure that there is enough space for the wheel, pedals, and any accessories.
- Connect the power adapter to the racing wheel base and plug it into a power outlet.
- Using the USB cable provided, connect one end to the racing wheel base and the other end to an available USB port on your PC. Make sure to use a USB 2.0 or higher port for optimal performance.
- Once the Logitech G923 is connected to your PC, the wheel base should light up, indicating that it is receiving power.
- Position the steering wheel in a comfortable and accessible position. Adjust the angle and height of the wheel to suit your preference.
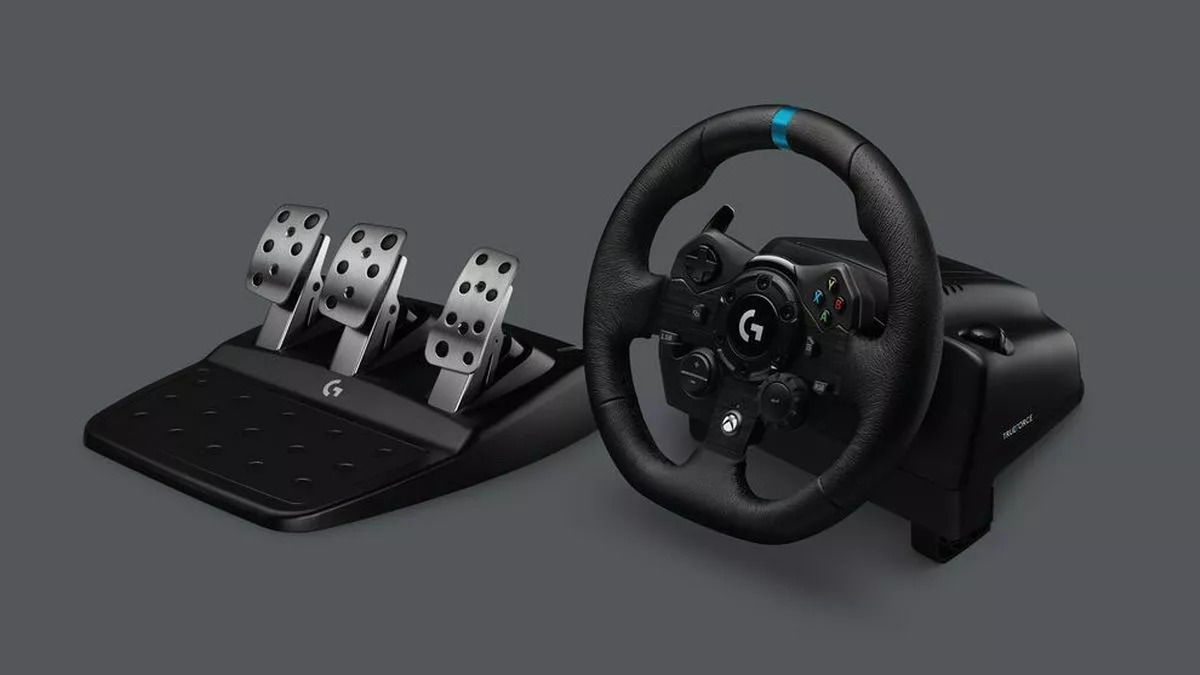
- Finally, connect the pedals to the wheel base. Ensure that the cables are securely plugged into the corresponding ports on the back of the wheel base.
Once all the connections are made, you can proceed to the next step of installing the Logitech G HUB software.
Note that the Logitech G923 is compatible with both PC and PlayStation consoles. However, for the purpose of this guide, we will focus on the PC setup.
Step 2: Installing the Logitech G HUB Software
In order to fully utilize the features and customization options of your Logitech G923 racing wheel, you will need to install the Logitech G HUB software. Follow these steps to install the software:
- Visit the Logitech G website and navigate to the G923 product page.
- Locate the “Support” or “Downloads” section and find the Logitech G HUB software.
- Click on the download link to begin the download process.
- Once the download is complete, double-click on the installer file to start the installation process.
- Follow the on-screen instructions to complete the installation. Make sure to read and accept the software’s terms and conditions.
- When the installation is finished, launch the Logitech G HUB software.
- Connect your Logitech G923 racing wheel to your PC if it’s not already connected.
The Logitech G HUB software will automatically detect your connected Logitech G923 racing wheel and prompt you to customize its settings. This software enables you to personalize various aspects of your racing wheel, including button assignments, wheel sensitivity, force feedback, and more. It also allows you to download and install firmware updates for your device.
With the Logitech G HUB software installed and your Logitech G923 racing wheel connected, you are now ready to configure and customize your wheel to suit your racing preferences. Proceed to the next step to learn how to configure the Logitech G923 in the G HUB software.
Step 3: Configuring the Logitech G923 in the G HUB Software
Now that you have installed the Logitech G HUB software, it’s time to configure your Logitech G923 racing wheel to your preferences. Follow these steps to customize the settings:
- Launch the Logitech G HUB software on your PC.
- Once the software is open, it should automatically detect your connected Logitech G923 racing wheel.
- Click on the Logitech G923 icon or select it from the list of connected devices.
- You will now see the main dashboard of the Logitech G HUB software for the Logitech G923. Here you can access various customization options.
- Explore the different tabs and settings available in the software. You can adjust wheel sensitivity, force feedback strength, pedal sensitivity, and more. Take your time to experiment with different settings to find what works best for you.
- Additionally, you can use the software to create different profiles for specific games or racing scenarios. Customizing profiles allows you to save and easily switch between different configurations based on your preferences.
- Once you have personalized the settings to your liking, make sure to save the changes.
The Logitech G HUB software offers a wide range of customization options, allowing you to fine-tune your Logitech G923 racing wheel to deliver the best gaming experience. Take some time to familiarize yourself with the software and explore the available settings to optimize your racing performance.
Now that you have configured the Logitech G923 in the G HUB software, proceed to the next step to learn how to adjust wheel settings for precise control.
Step 4: Adjusting Wheel Settings
Adjusting the wheel settings of your Logitech G923 racing wheel is crucial for achieving precise control and an optimal racing experience. Follow these steps to adjust the wheel settings:
- In the Logitech G HUB software, go to the “Wheel” settings tab.
- Here, you will find options to adjust the sensitivity, rotation angle, and centering spring of the wheel.
- Start by adjusting the sensitivity. Lower sensitivity settings make the wheel less responsive to small movements, while higher sensitivity settings make it more responsive. Find a sensitivity level that feels comfortable and suits your racing style.
- Next, adjust the rotation angle. The Logitech G923 allows you to customize the rotation angle of the wheel, ranging from 270 degrees to 1080 degrees. This adjustment can affect the steering response and the amount of rotation needed to achieve full lock. Experiment with different rotation angles to find what feels most realistic and comfortable for you.
- Lastly, you can adjust the centering spring force. This setting controls the force applied by the wheel to return to its neutral position. Lowering the spring force can provide a more relaxed driving experience, while increasing it can offer a more firm and responsive feel.
- Make sure to test your adjustments by taking the wheel for a spin in your favorite racing game. Fine-tune the settings as needed until you achieve the desired level of control and responsiveness.
Remember that adjusting the wheel settings is a personal preference, and what works for one person may not work for another. Take the time to experiment and find the configuration that feels most comfortable and natural to you.
Now that you have adjusted the wheel settings, proceed to the next step to learn how to customize button assignments on your Logitech G923 racing wheel.
Step 5: Customizing Button Assignments
Customizing the button assignments on your Logitech G923 racing wheel allows you to map specific functions or actions to different buttons for quick and easy access during gameplay. Follow these steps to customize button assignments:
- In the Logitech G HUB software, navigate to the “Button Assignments” or “Controls” tab.
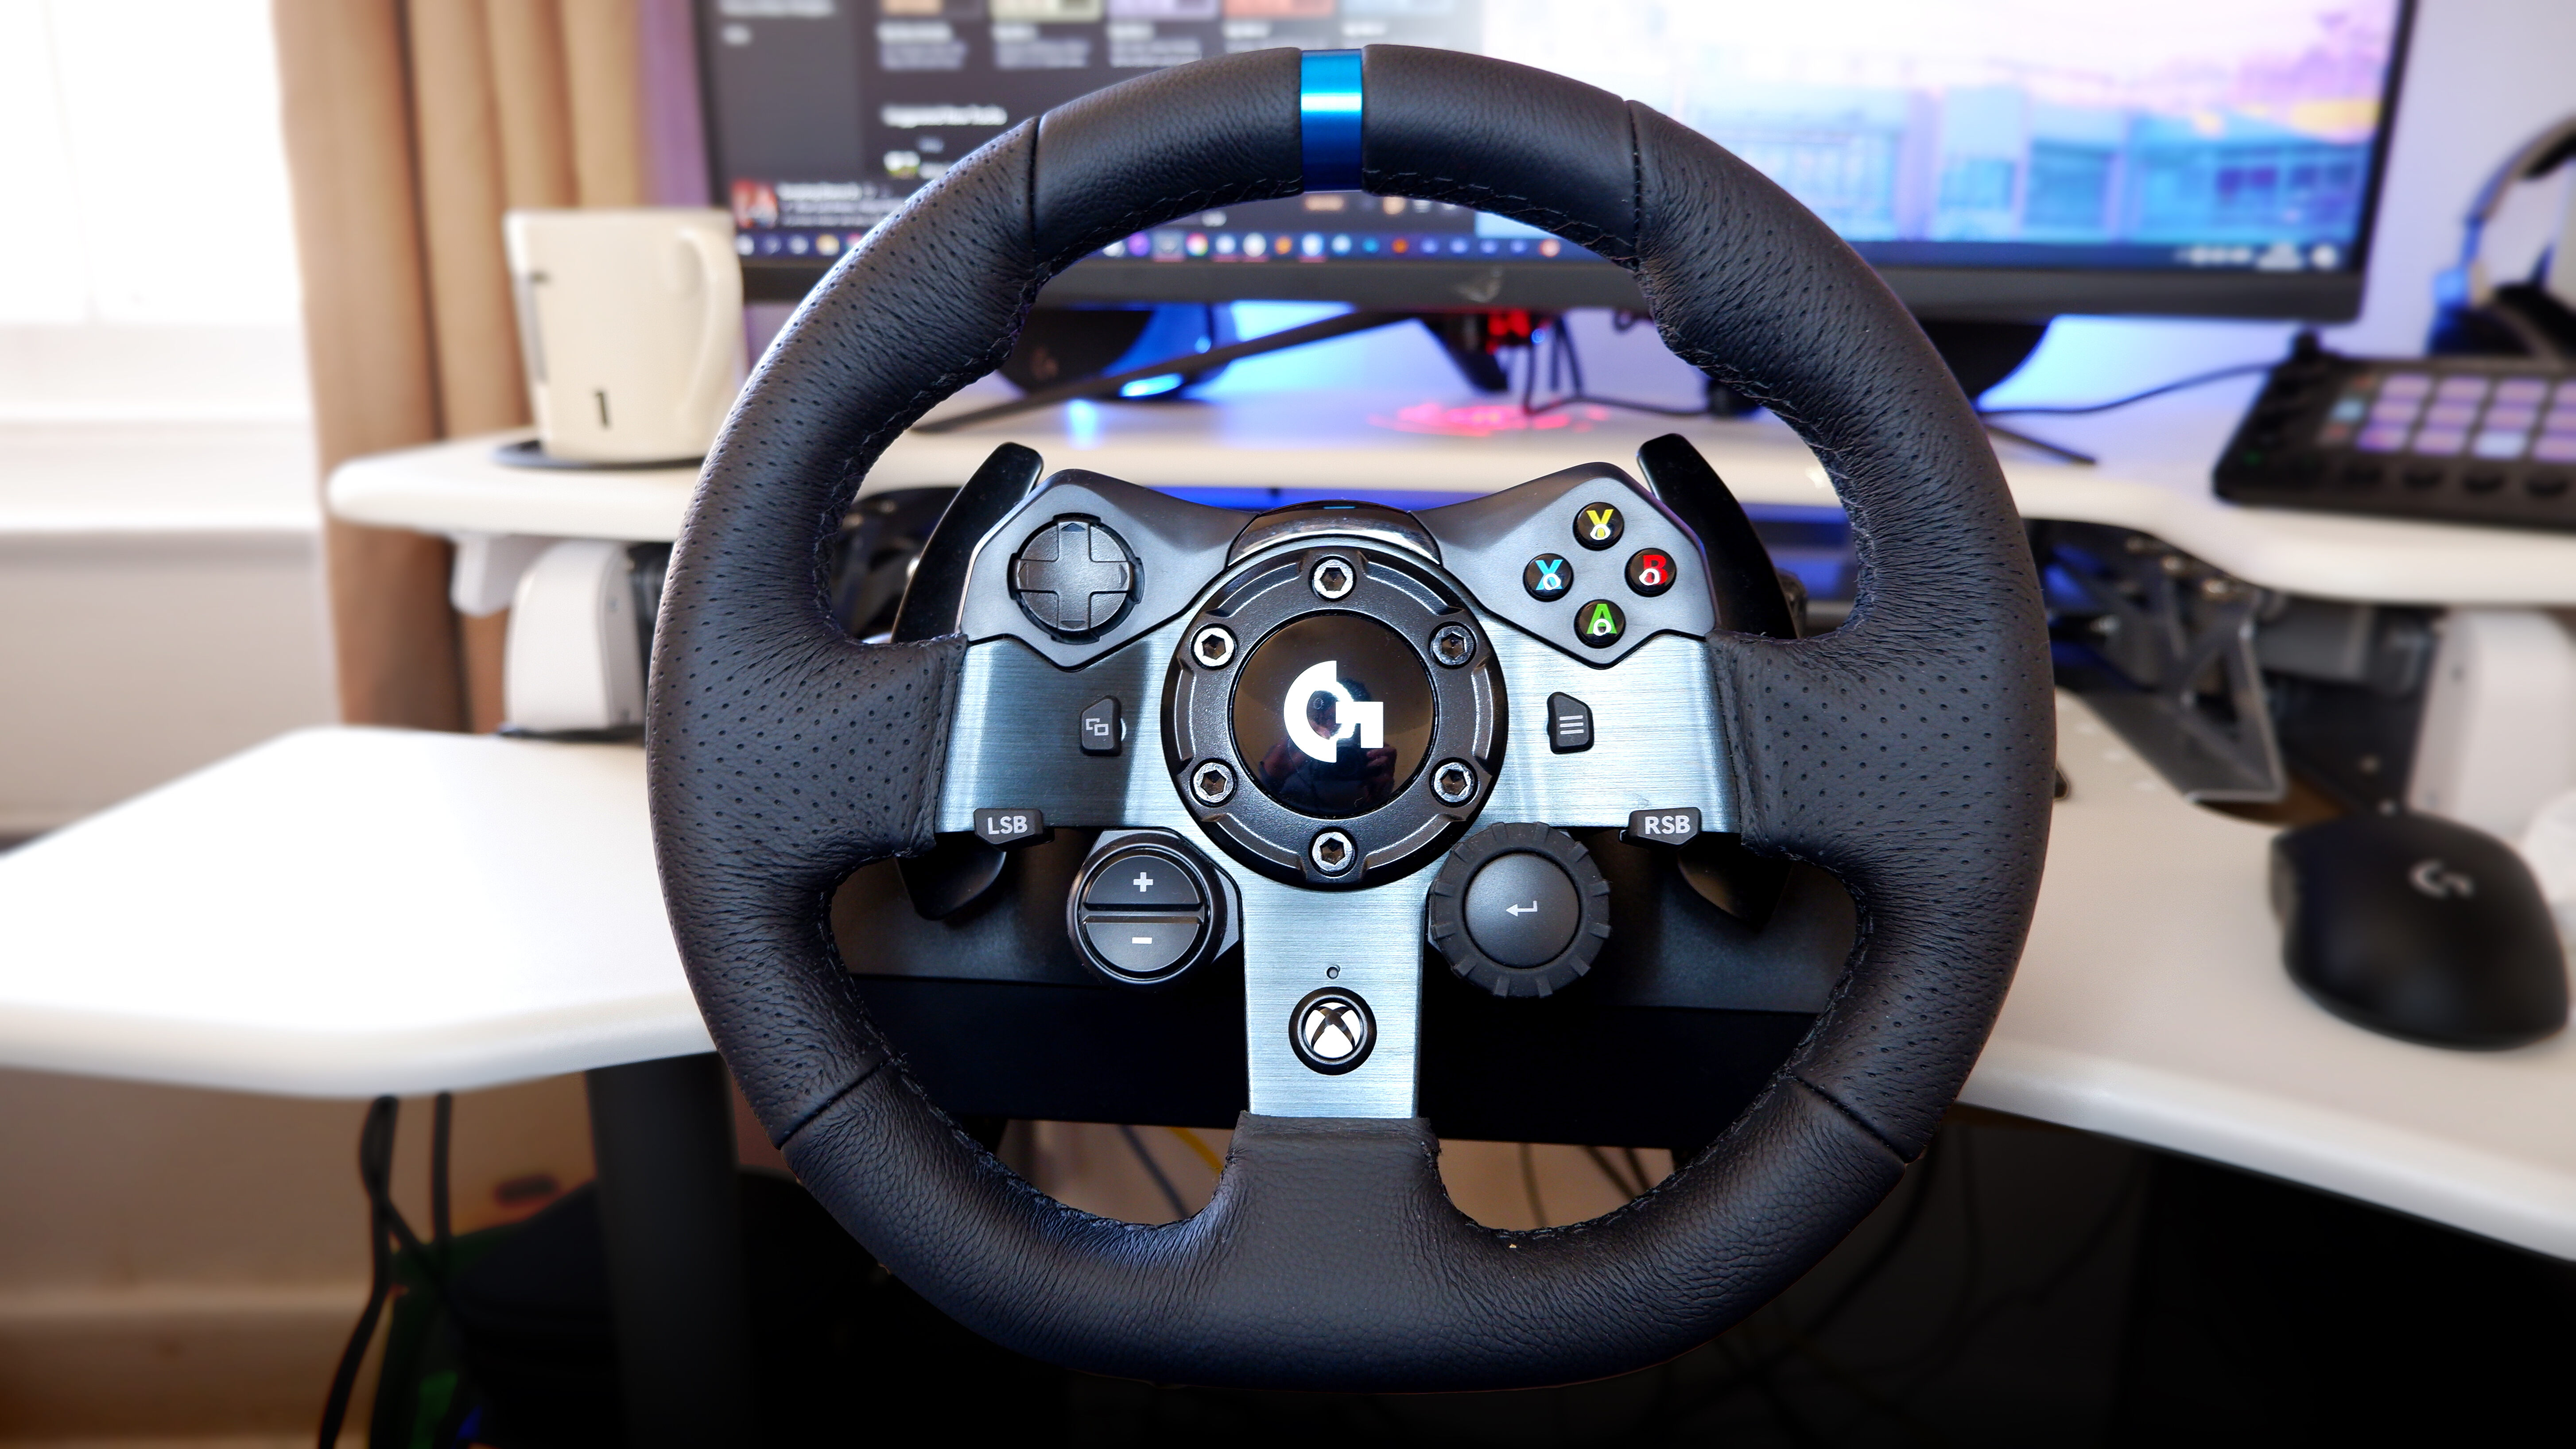
- Here, you will see a layout of your Logitech G923 racing wheel, with all the available buttons and controls.
- Click on a button or control that you want to customize.
- Choose the function or action you want to assign to that button from the available options.
- Repeat this process for each button or control that you want to customize.
- You can also create different profiles for specific games or racing scenarios. This allows you to have custom button assignments for each game or situation.
- Once you have customized the button assignments, make sure to save your changes.
Customizing button assignments gives you the flexibility to optimize your gameplay experience by having key functions within easy reach. Whether it’s shifting gears, activating the headlights, or toggling different camera views, customizing button assignments helps streamline your racing actions.
Remember to consider your own preferences and play style when assigning functions to buttons. What works for one person may not work for another, so feel free to experiment and find the configuration that feels most comfortable and intuitive to you.
Now that you have customized the button assignments on your Logitech G923 racing wheel, let’s move to the next step to set up the force feedback for a more immersive racing experience.
Step 6: Setting Up Force Feedback
Setting up the force feedback on your Logitech G923 racing wheel is essential for a truly immersive racing experience. Force feedback provides realistic vibrations and resistance that simulate the feel of the road, enhancing your overall gameplay. Follow these steps to set up the force feedback:
- In the Logitech G HUB software, navigate to the “Force Feedback” or “Feedback Settings” tab.
- Here, you will find options to adjust the overall strength, effects, and detail of the force feedback.
- Start by adjusting the overall strength or force level. Increase or decrease the strength to match your preference and the intensity of the racing experience you desire.
- Next, fine-tune the individual force feedback effects such as road texture, tire slip, and collisions. These effects add depth and realism to your racing experience. Experiment with different settings to find the balance that feels most immersive and enjoyable.
- Along with the force feedback effects, you can also adjust the detail or granularity of the feedback. Higher detail settings provide more refined and responsive force feedback, while lower detail settings may offer a smoother and more subdued experience.
- Make sure to test the force feedback settings in your chosen racing game to see how they feel on the track. Adjust the settings as needed to achieve the desired level of immersion and responsiveness.
Keep in mind that force feedback settings are subjective and can vary depending on individual preferences. Take the time to experiment and find the configuration that provides the most realistic and enjoyable racing experience for you.
Now that you have set up the force feedback on your Logitech G923 racing wheel, let’s move on to the final step: testing and calibration to ensure everything is functioning properly.
Step 7: Testing and Calibration
After completing the setup and customization process for your Logitech G923 racing wheel, it’s important to perform testing and calibration to ensure that everything is functioning as intended. Follow these steps to test and calibrate your racing wheel:
- Make sure your Logitech G923 racing wheel is properly connected to your PC.
- Launch your favorite racing game or simulation software.
- Access the game’s settings menu and navigate to the controls or input settings.
- Verify that the game recognizes the Logitech G923 racing wheel and its buttons and controls.
- Proceed to test the various functions and inputs of the racing wheel, including steering, pedals, and buttons.
- Test the force feedback by driving on different surfaces, taking turns, and experiencing different in-game effects.
- Take note of any issues or inconsistencies you encounter during the testing process.
- If necessary, perform a calibration process as outlined in the game’s instructions or consult the Logitech G923 user manual.
- Make any necessary adjustments or recalibrations to ensure that the racing wheel functions optimally.
- Continue testing and fine-tuning until you are satisfied with the performance and responsiveness of your Logitech G923 racing wheel.
Performing testing and calibration ensures that your Logitech G923 racing wheel is accurately responding to your inputs and providing the intended force feedback effects. It also helps identify and address any potential issues or inconsistencies that may arise during gameplay.
Remember that the calibration process may vary depending on the game or simulation software you are using. Consult the game’s documentation or the Logitech G923 user manual for specific instructions on calibration if necessary.
Once you have completed the testing and calibration phase, you can confidently enjoy your Logitech G923 racing wheel to its full potential.
Congratulations! You have successfully set up and configured your Logitech G923 racing wheel on your PC. Now it’s time to jump into your favorite racing games and experience the thrill of virtual racing like never before.
Conclusion
Setting up the Logitech G923 racing wheel on your PC can greatly enhance your racing experience, immersing you in the virtual world with its advanced features and customization options. By following the steps outlined in this guide, you have successfully connected and configured your Logitech G923 racing wheel, customized button assignments, adjusted wheel settings, set up force feedback, and performed testing and calibration to ensure optimal performance.
The Logitech G HUB software provides a user-friendly interface for personalizing your racing wheel’s settings, allowing you to fine-tune sensitivity, button assignments, force feedback, and more. It’s important to spend some time experimenting with these settings to find the configuration that suits your racing style and preferences.
With the Logitech G923 racing wheel, you can now enjoy a realistic and immersive racing experience, thanks to its TrueForce technology, comfortable leather-wrapped steering wheel, and responsive pedals. Whether you’re a casual gamer or a dedicated racing enthusiast, the Logitech G923 offers a level of control and authenticity that will take your gameplay to new heights.
Remember to refer to the Logitech G923 user manual and consult the official Logitech website for any additional support or troubleshooting that you may need along the way.
Now, get ready to hit the virtual tracks and enjoy the thrill of high-speed racing with your Logitech G923 racing wheel!