Introduction
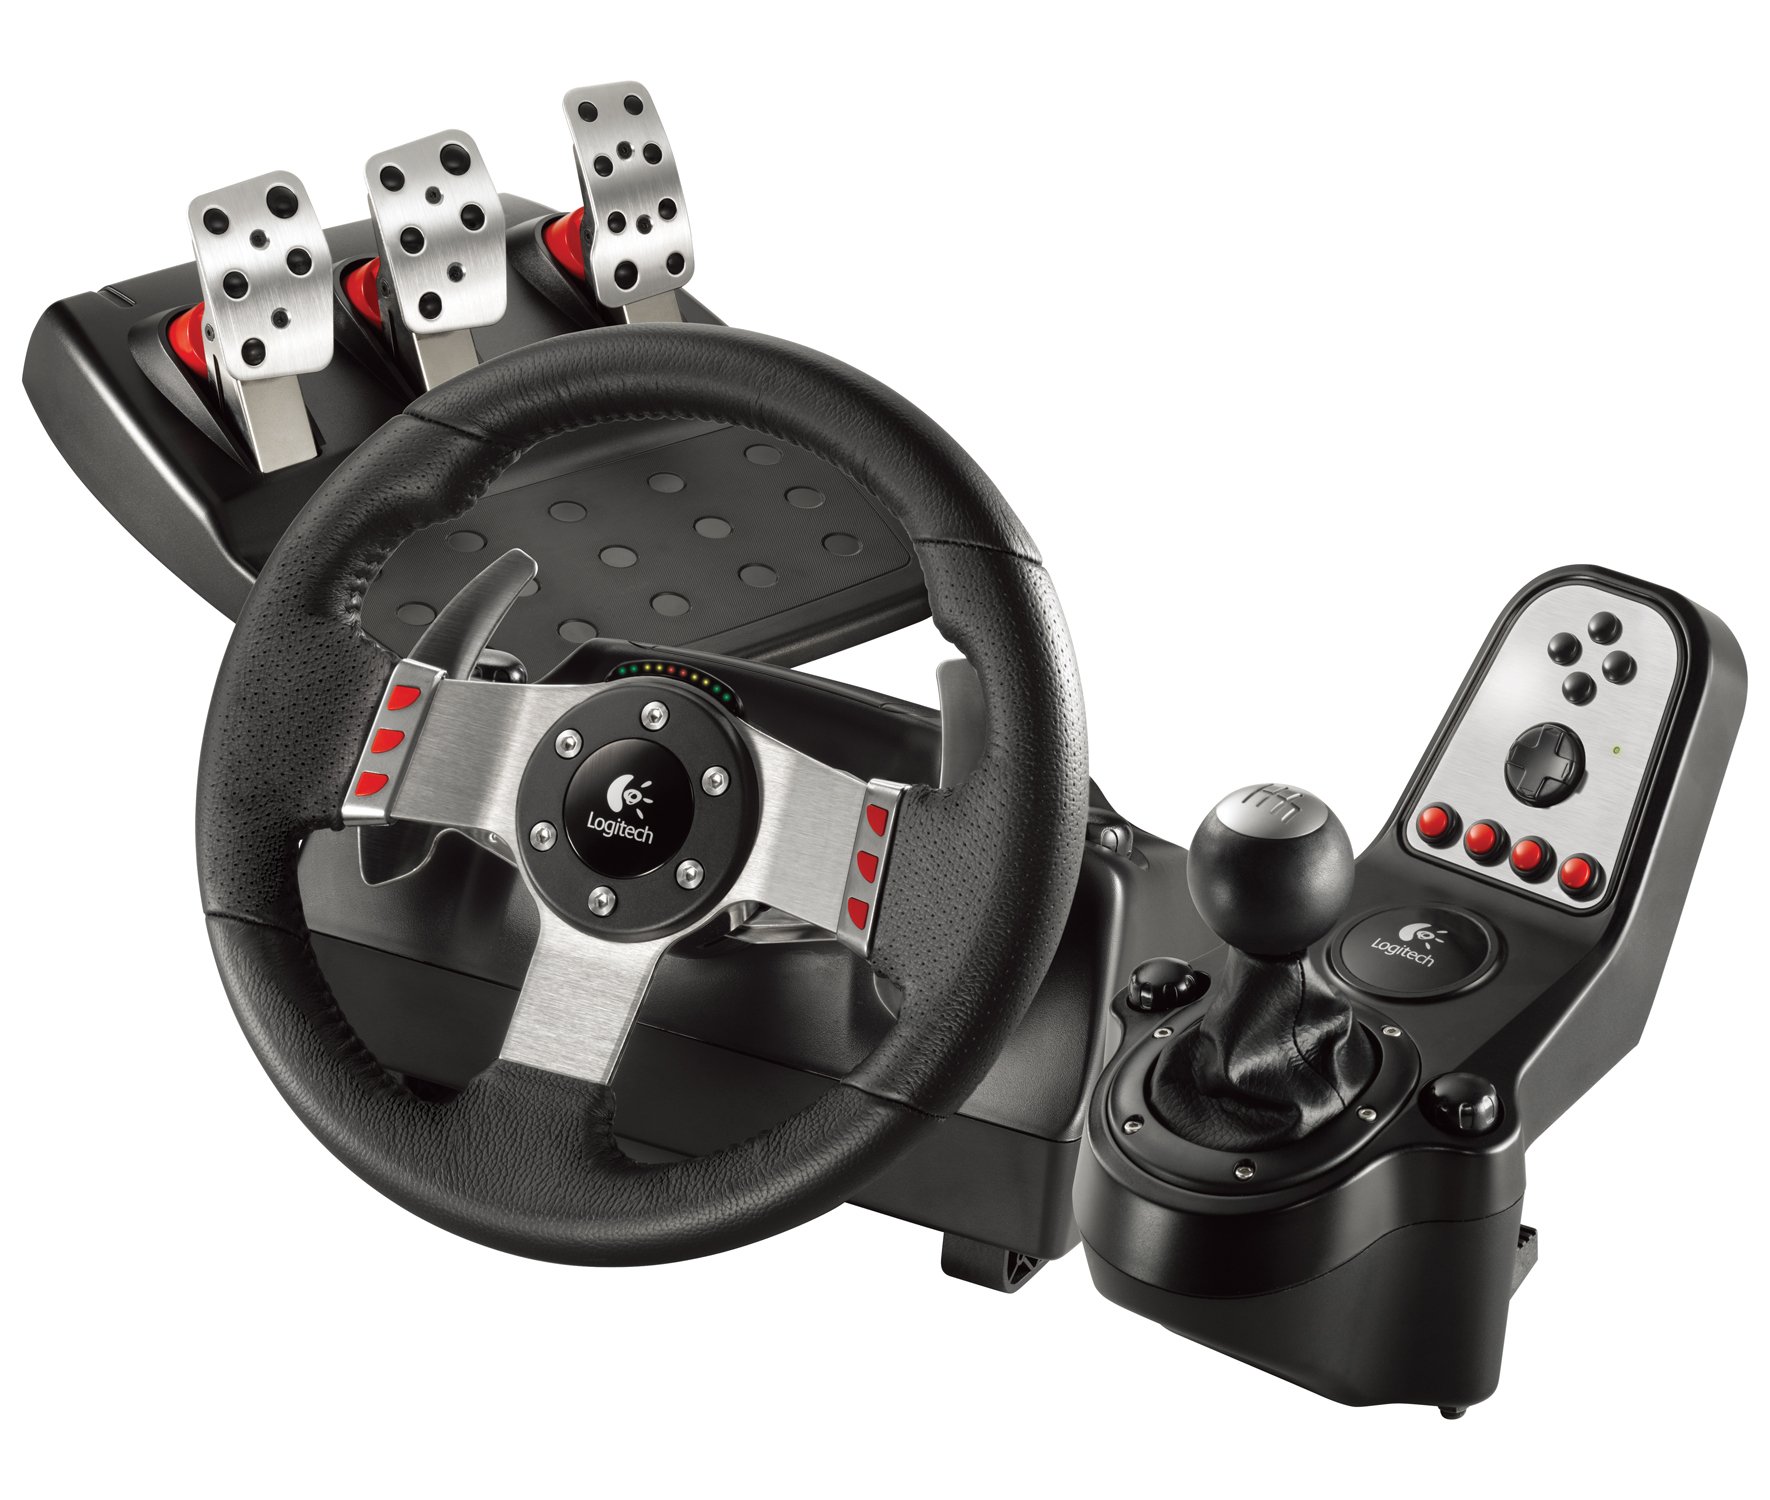
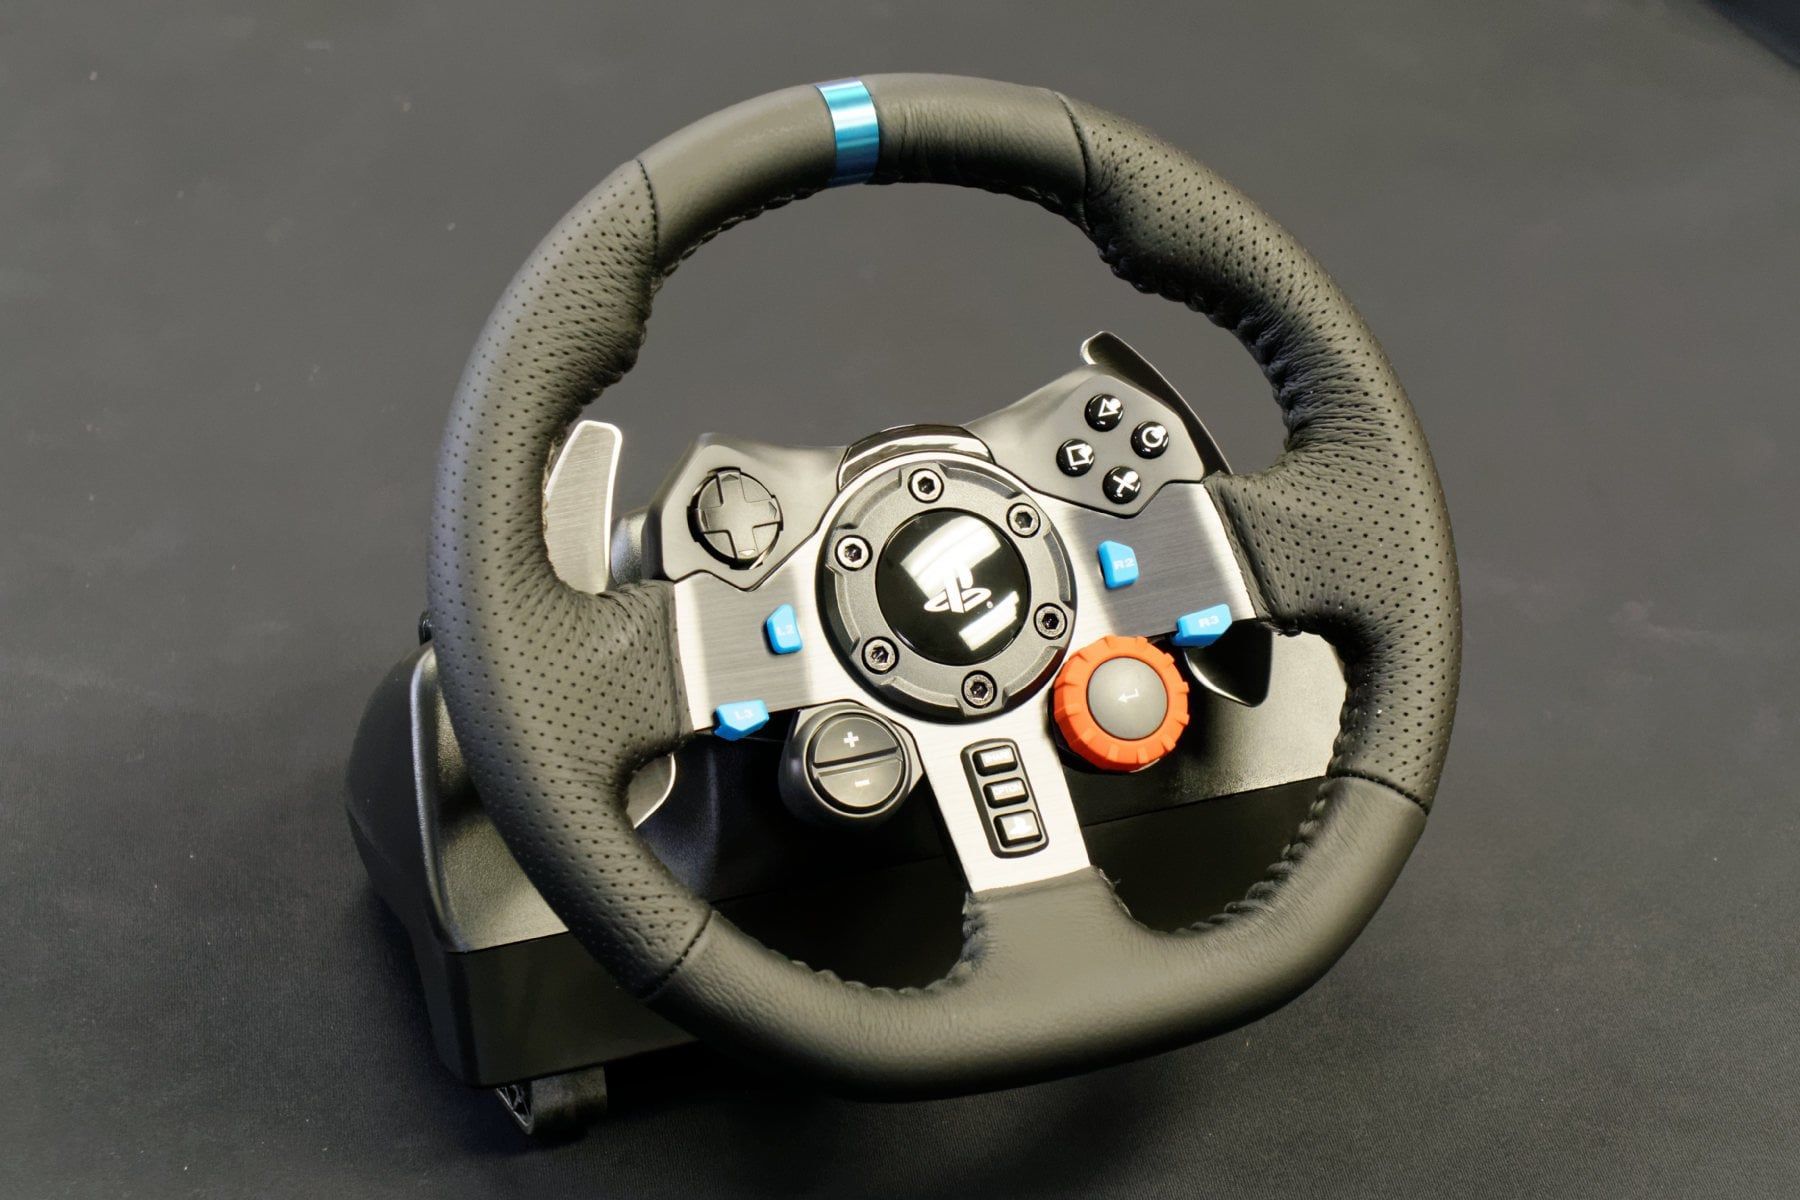
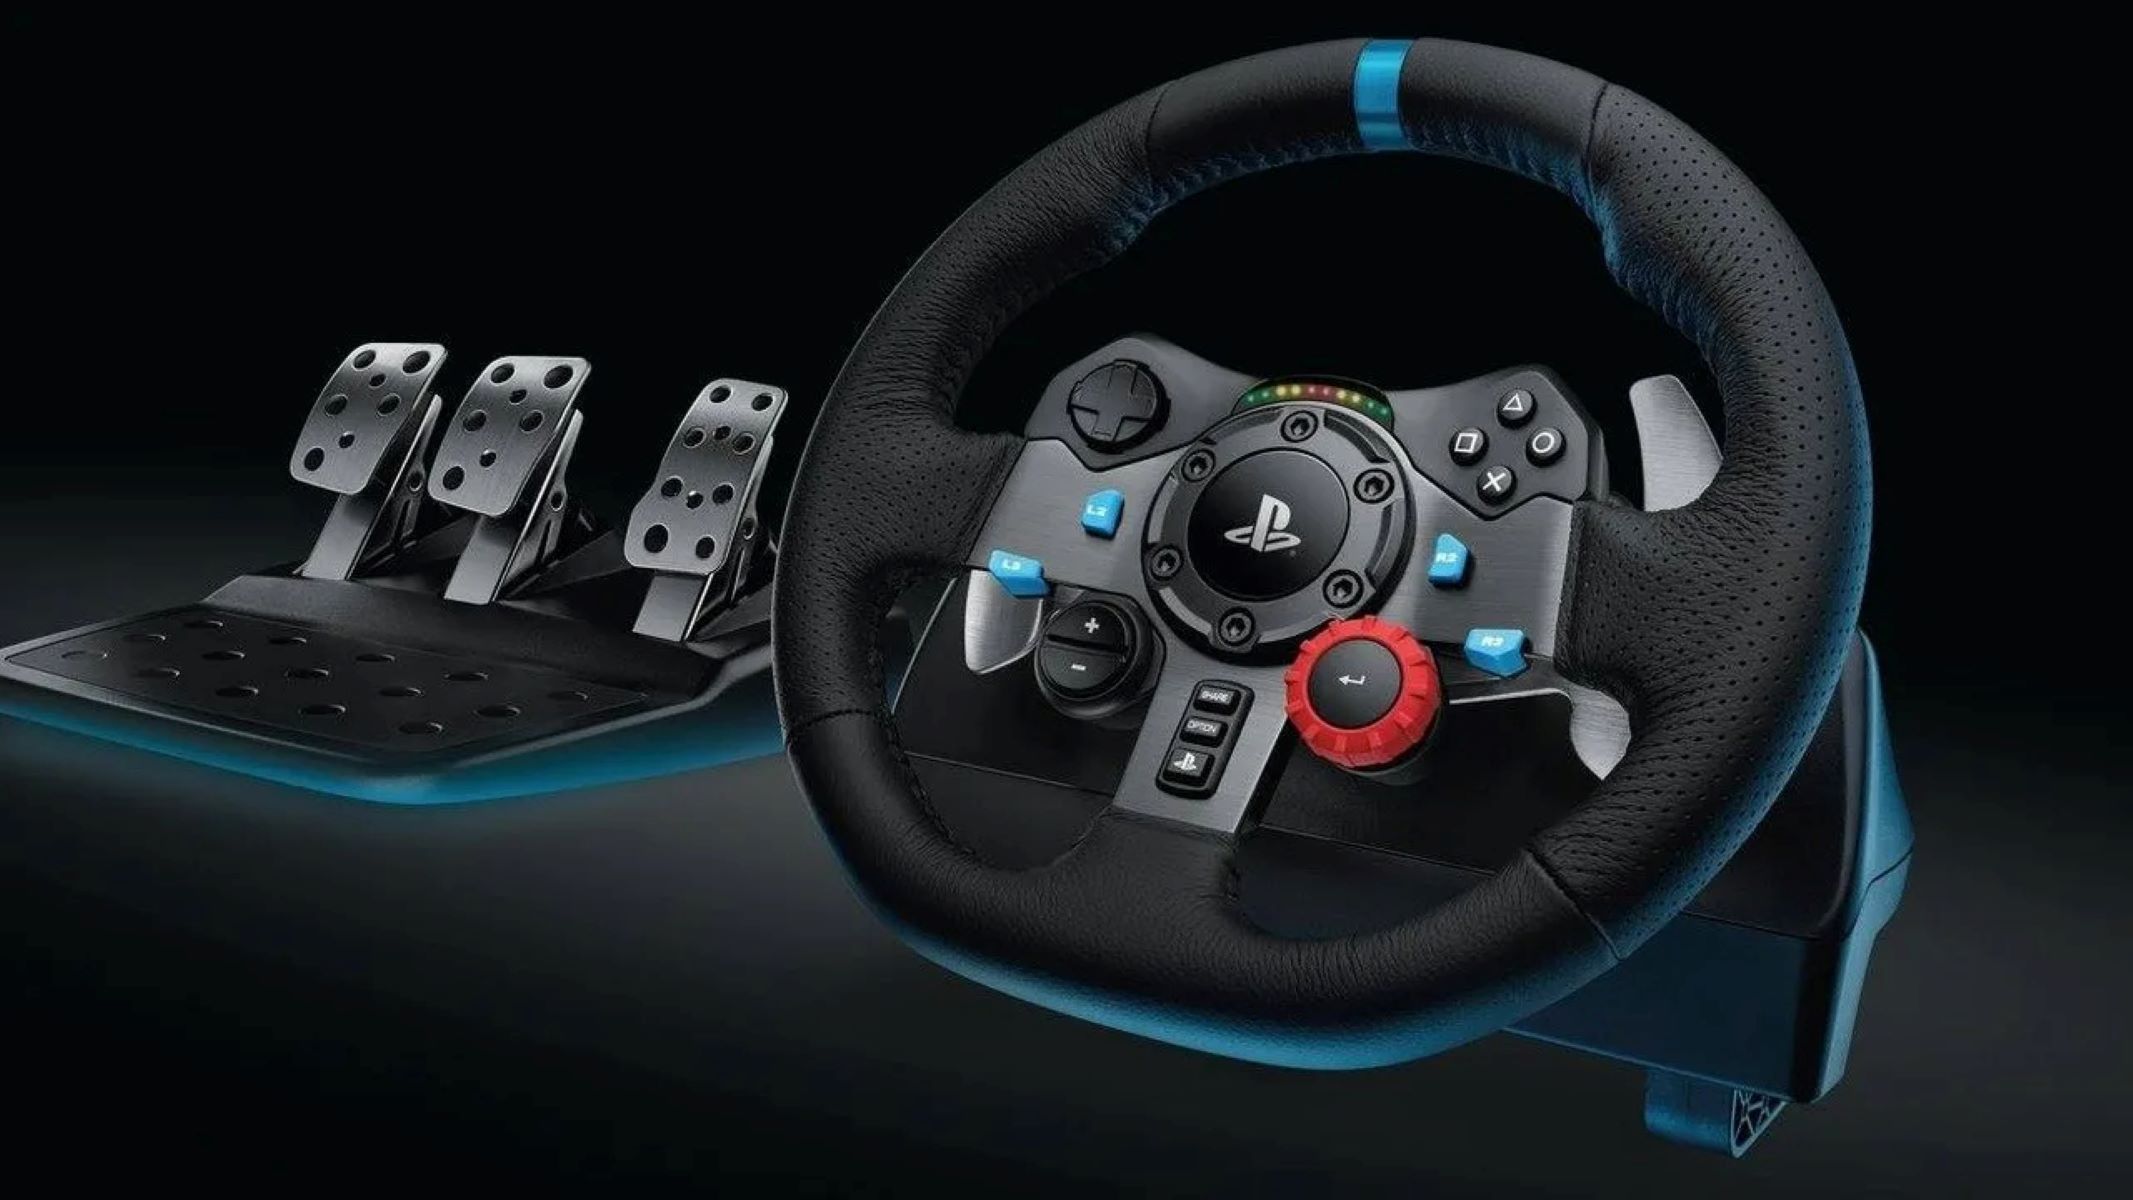
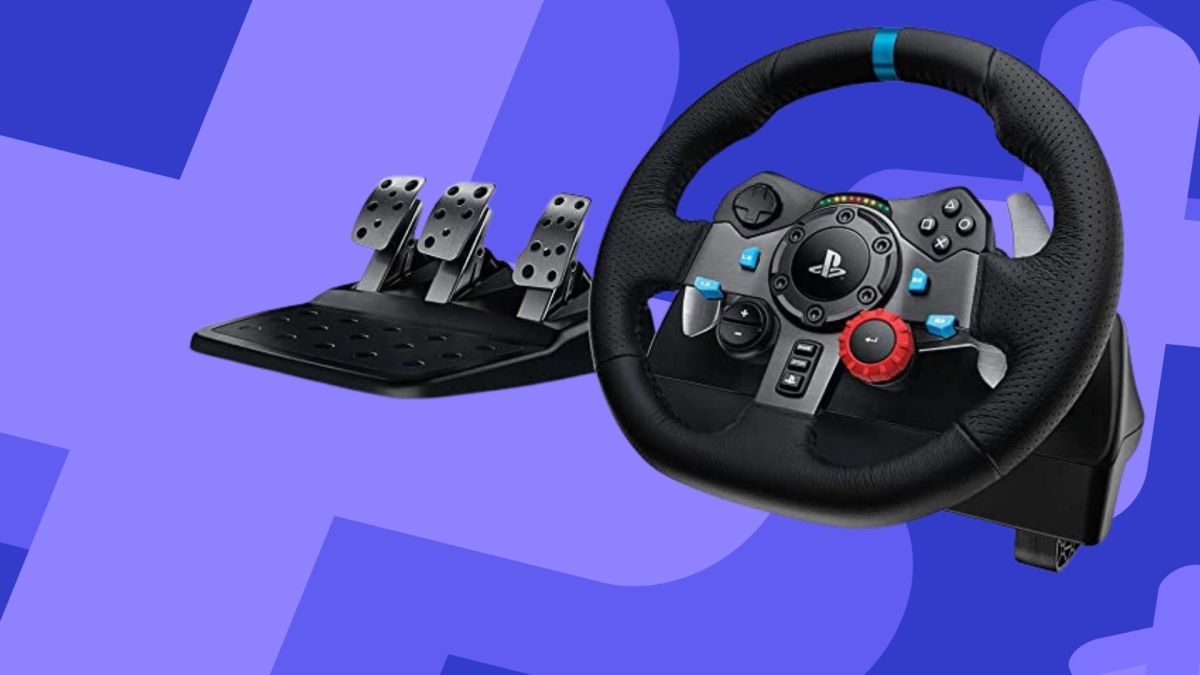
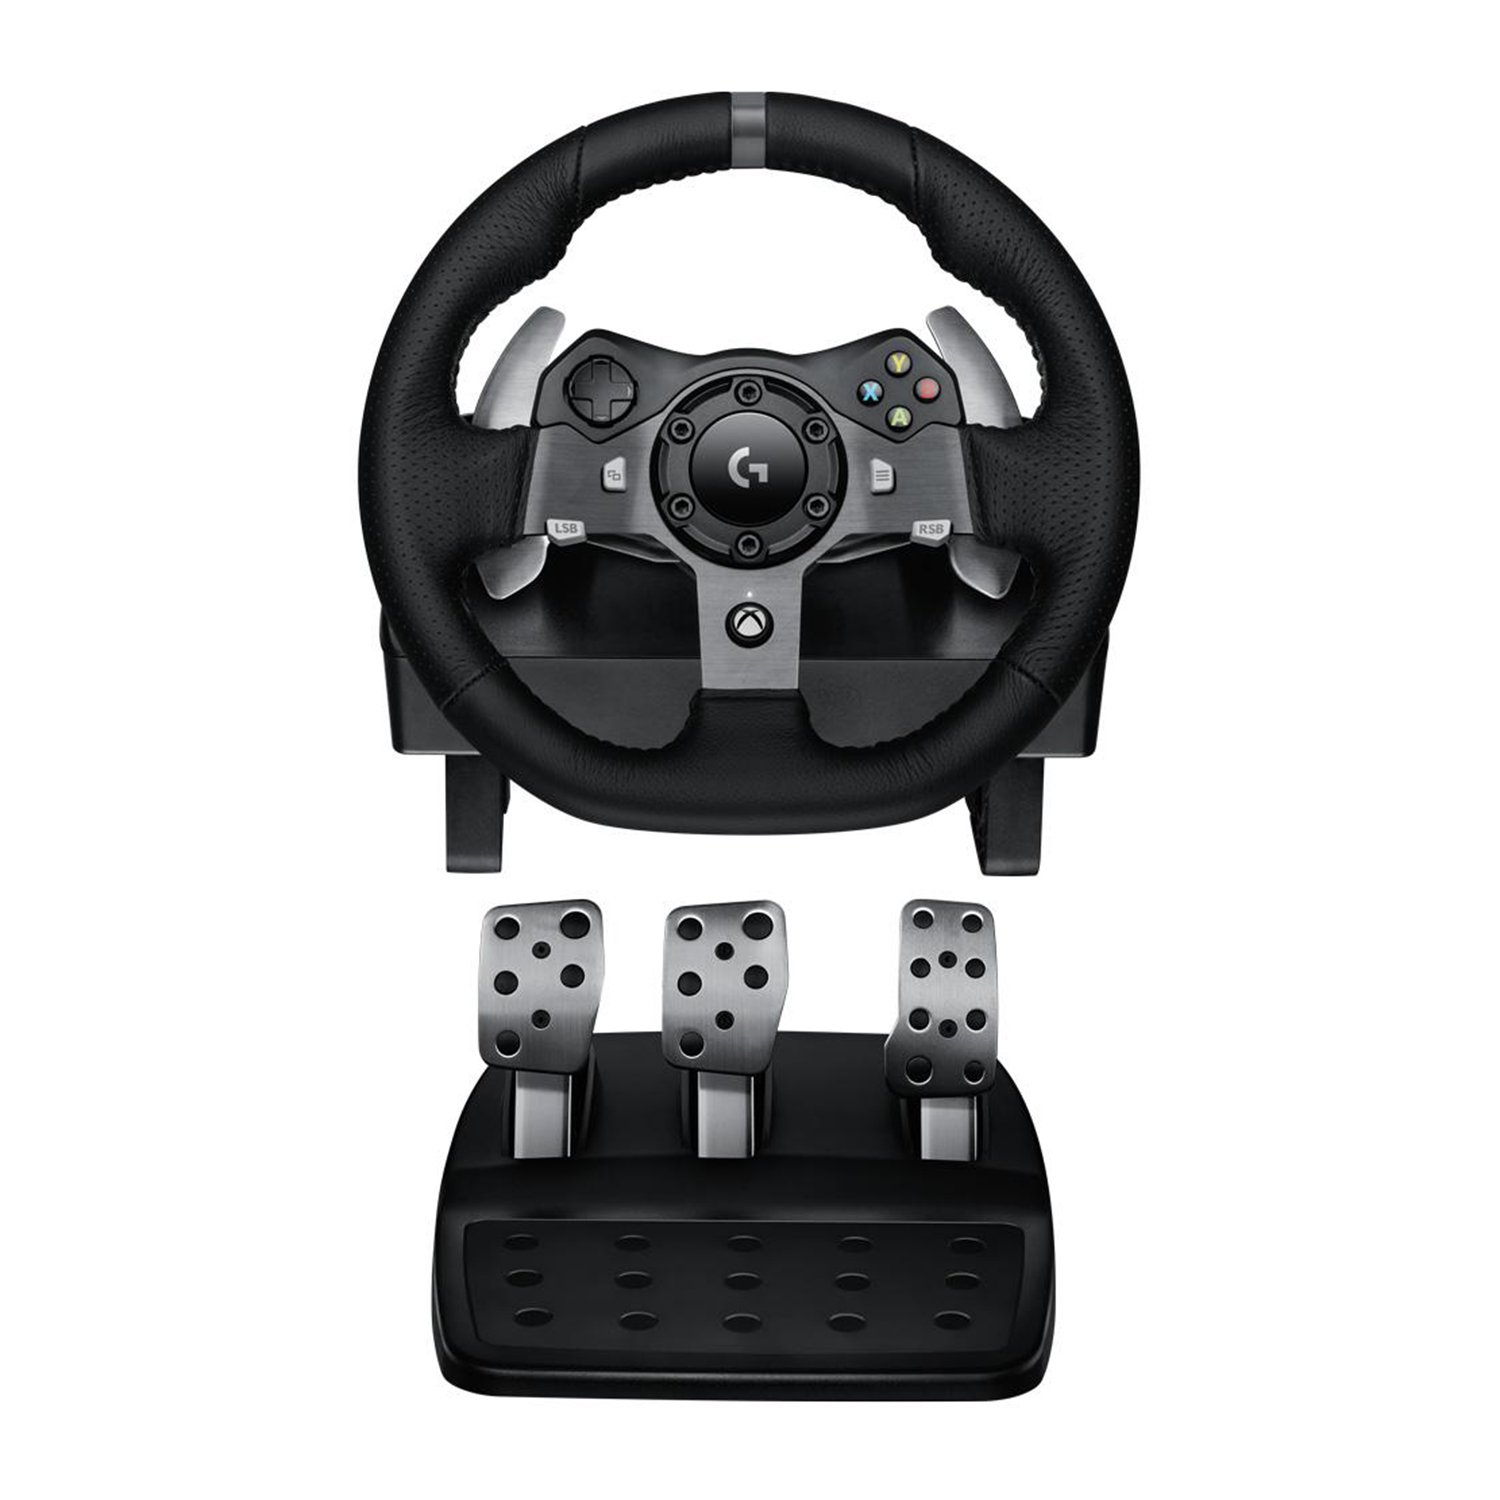
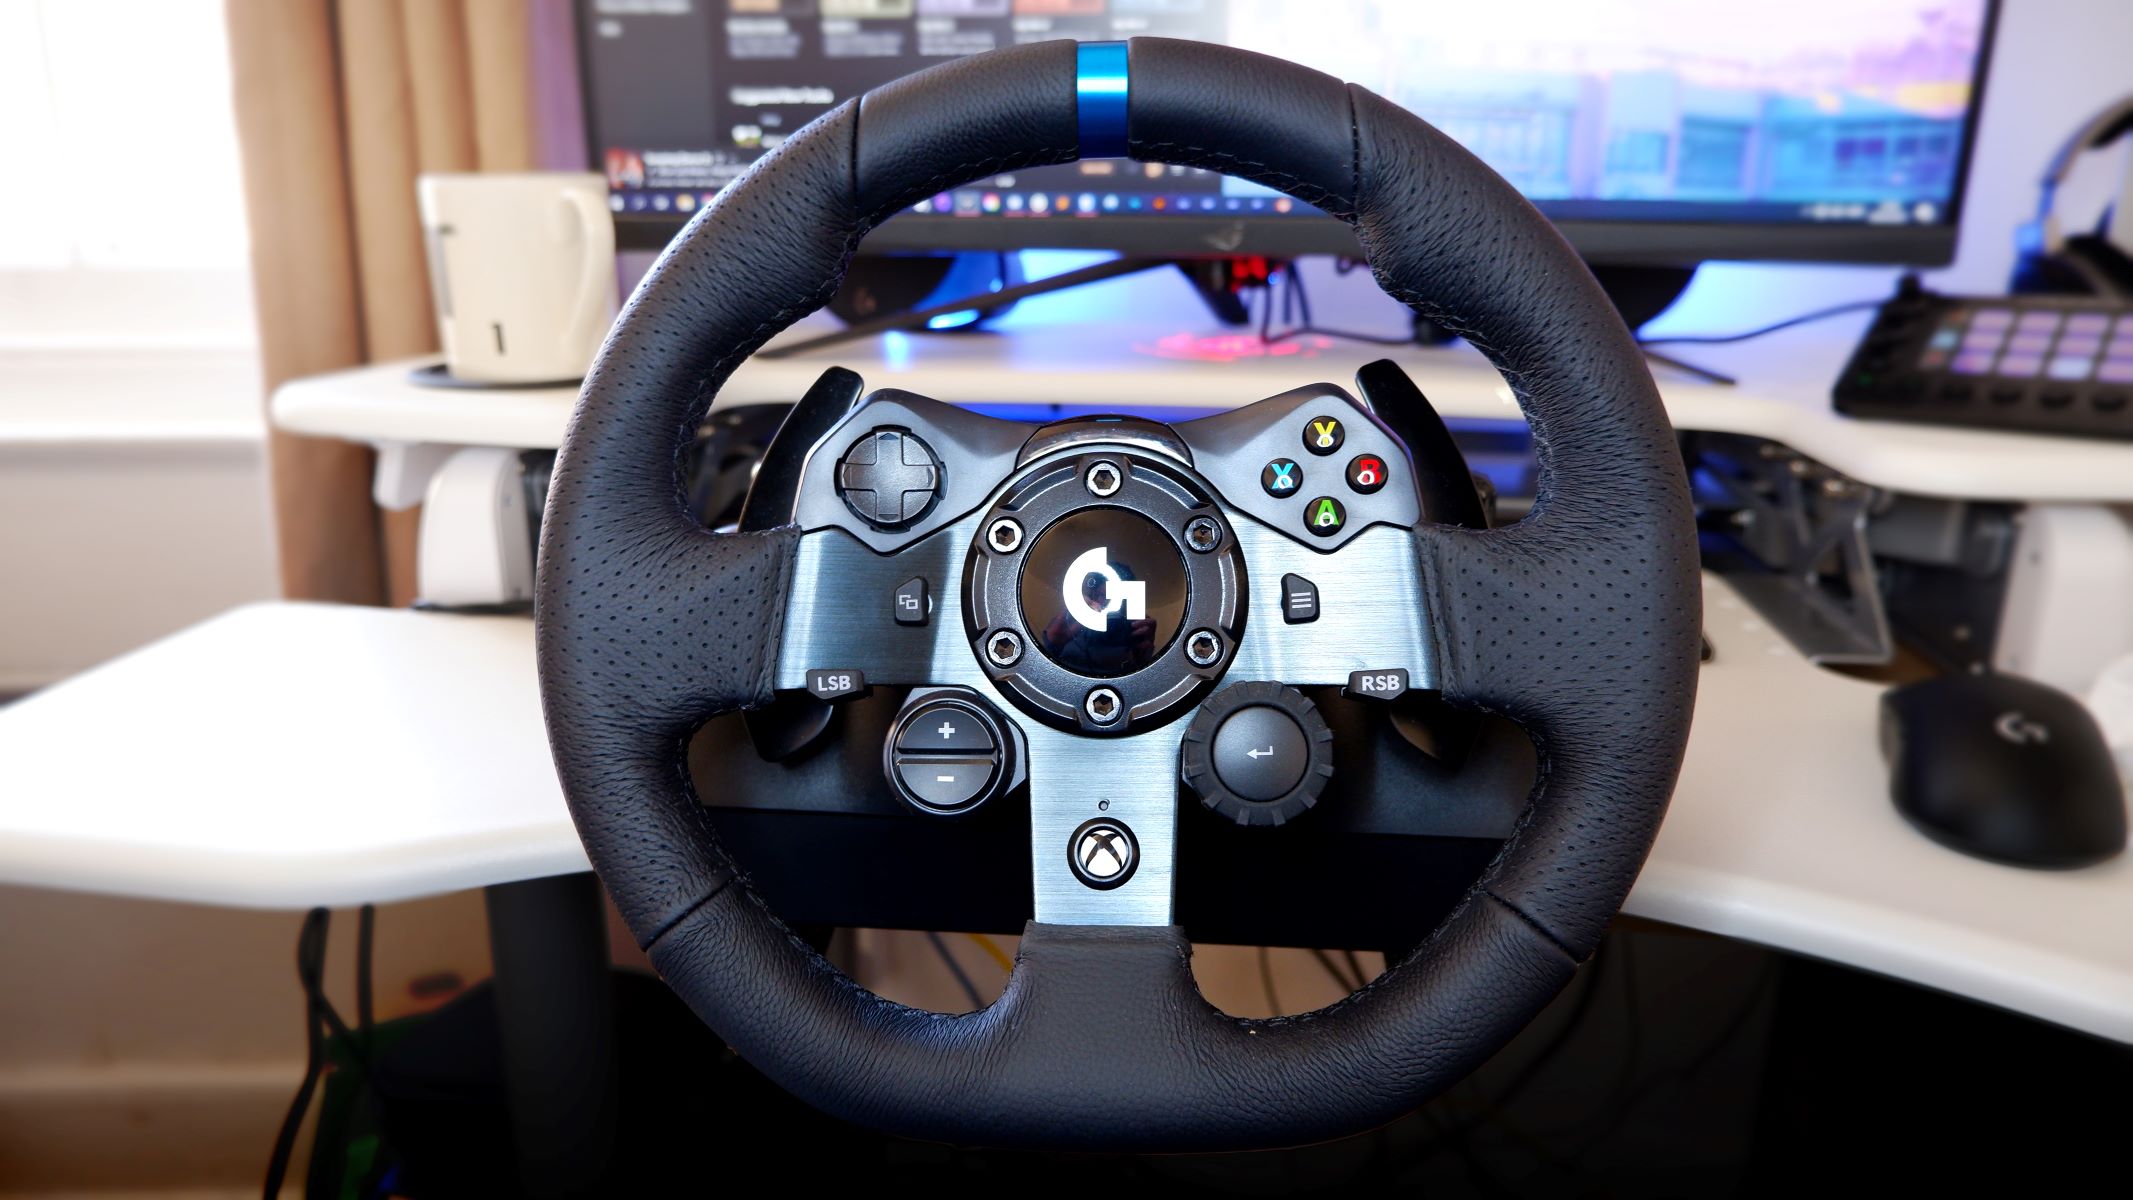
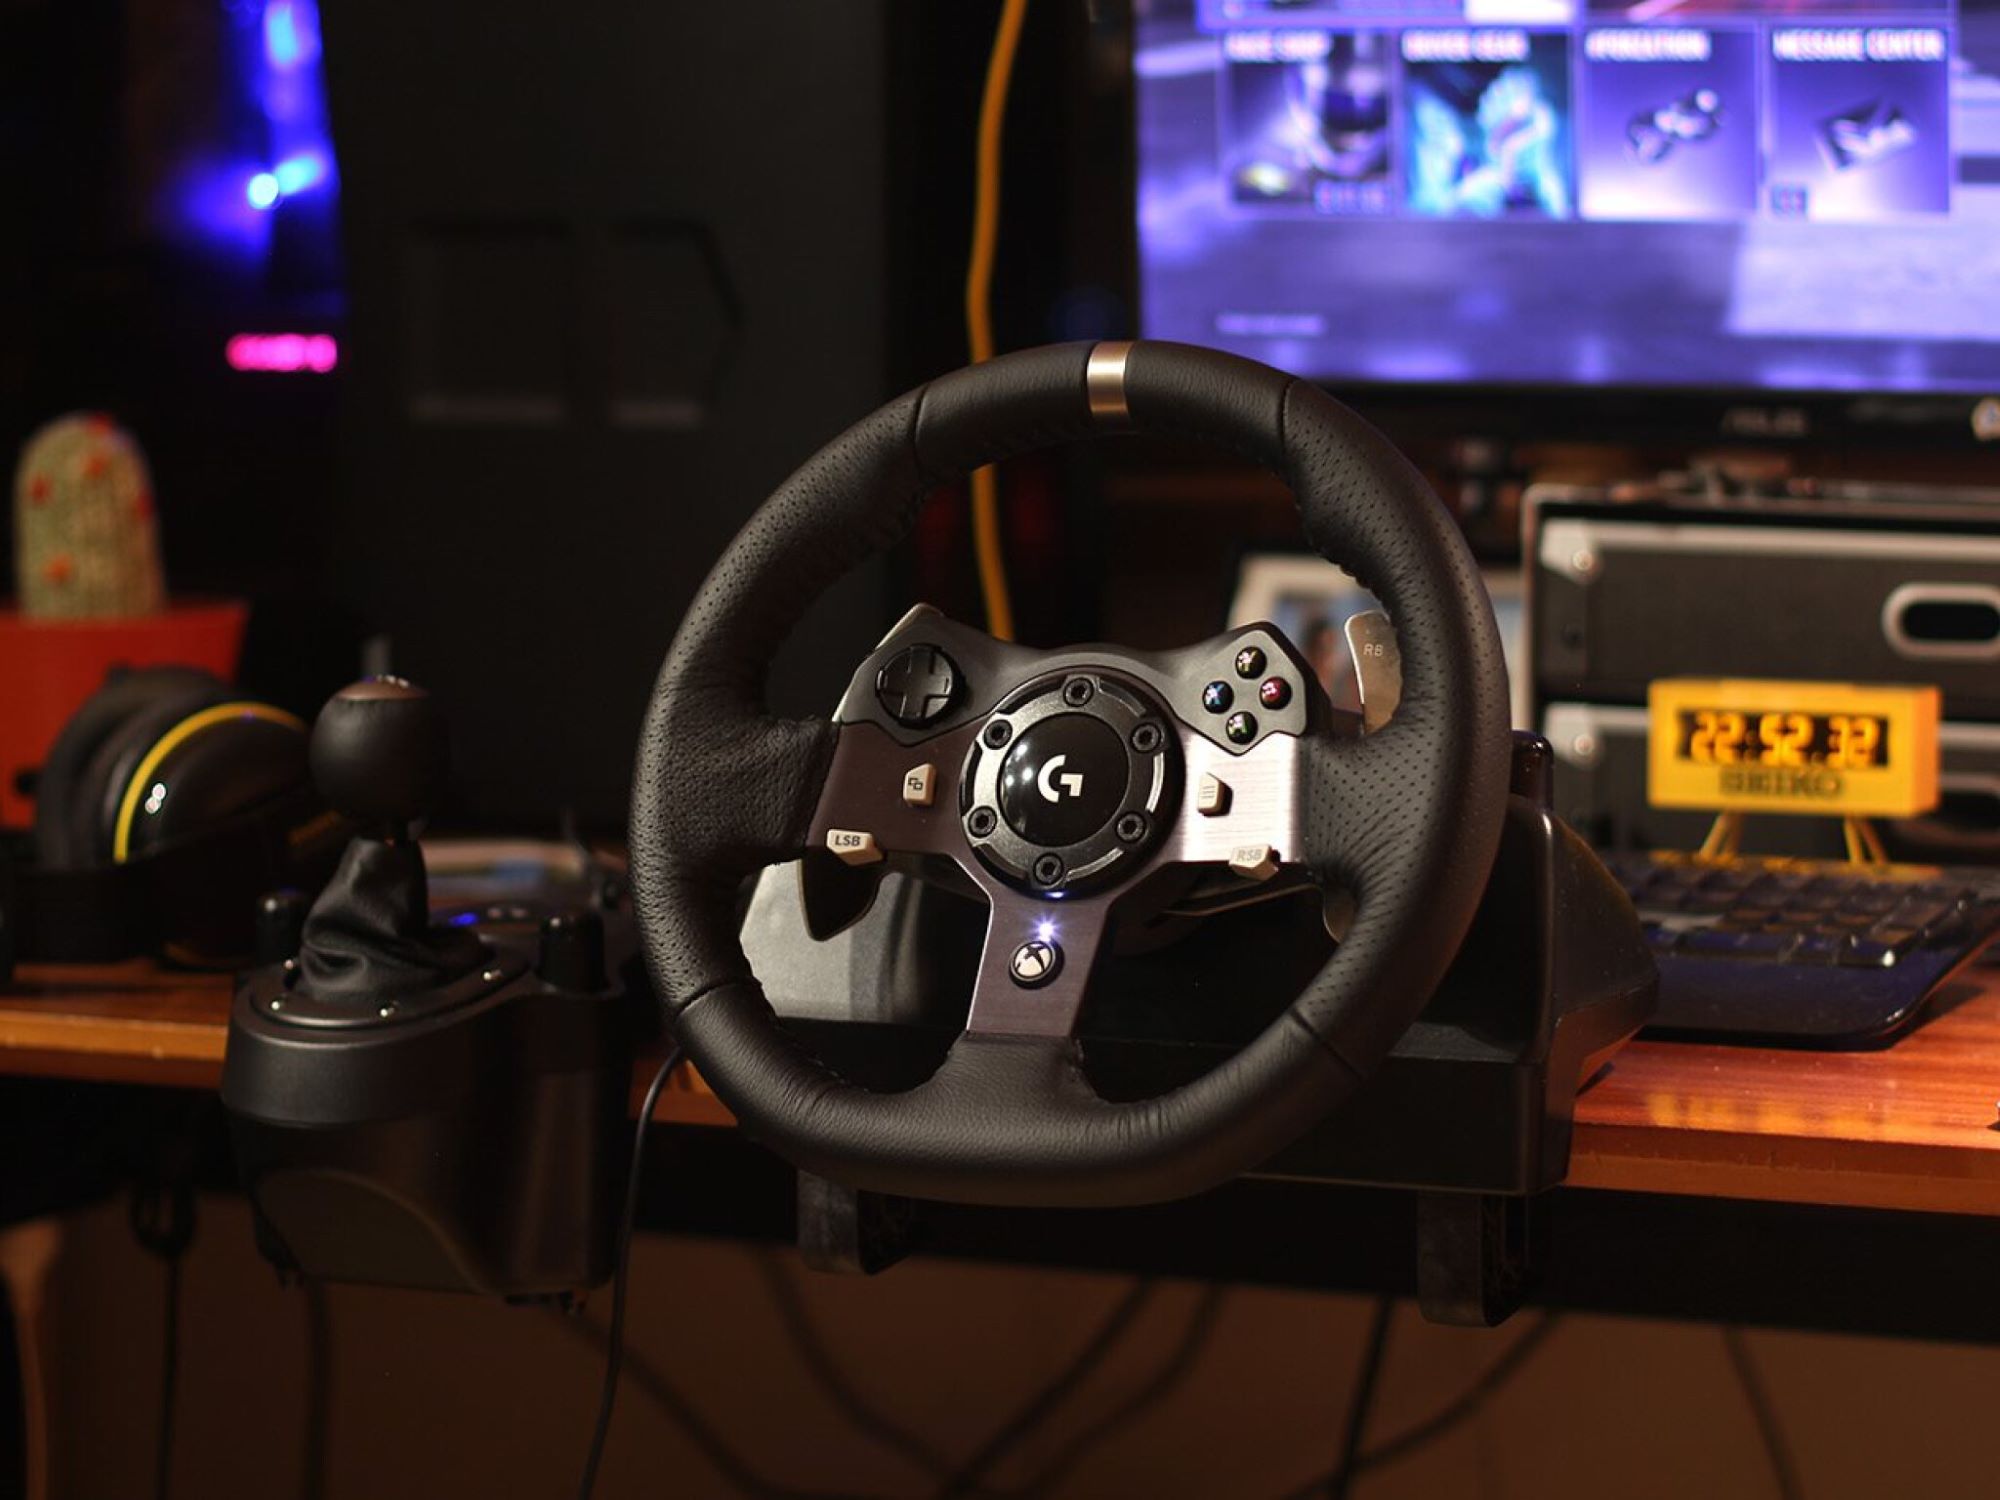
Welcome to this guide on how to make your Logitech G920 brake pedal less stiff. The Logitech G920 racing wheel and pedals are known for their high-quality performance and immersive gaming experience. However, some users may find the brake pedal to be excessively stiff, which can hinder precise control and responsiveness.
In this article, we will explore the process of adjusting the brake pedal stiffness to better suit your personal preference and enhance your gaming experience. Whether you are a casual gamer or a dedicated racing enthusiast, the ability to fine-tune your brake pedal will undoubtedly improve your gameplay.
Understanding how the Logitech G920 brake pedal works and the significance of adjusting its stiffness is crucial. By making the necessary modifications, you can tailor the brake pedal to your individual liking, allowing for more comfortable and accurate braking actions during intense racing sessions.
Before we dive into the step-by-step guide, it is essential to gather the necessary tools and equipment required for this modification. By having everything at hand, you can seamlessly complete the process without any interruptions. Once you have assembled the required items, you will be ready to embark on this exciting journey of customization.
So, let’s delve into the intricacies of adjusting the Logitech G920 brake pedal stiffness and give yourself the competitive edge you deserve!
Understanding the Logitech G920 Brake Pedal
Before we proceed with the process of adjusting the brake pedal stiffness, let’s take a moment to understand how the Logitech G920 brake pedal works. This knowledge will provide insights into the mechanisms behind the pedal’s stiffness and enable us to make more informed modifications.
The Logitech G920 brake pedal is equipped with a progressive resistance mechanism. This means that the pedal becomes increasingly harder to press as it reaches its maximum depression. The purpose of this design is to mimic the feel of a real car’s brake pedal, providing a more immersive and realistic racing experience.
While this progressive resistance design is highly appreciated by many racing enthusiasts, some individuals prefer a less stiff brake pedal. They may find it challenging to achieve precise modulation and control over their braking actions, especially in high-pressure gaming situations. This is where the ability to adjust the brake pedal’s stiffness becomes paramount.
It’s important to note that modifying the brake pedal stiffness does not mean compromising the performance or quality of the Logitech G920. Instead, it allows you to fine-tune the pedal to suit your personal preferences and gaming style. By making small adjustments, you can strike the perfect balance between smooth braking and responsive control.
Now that we have a clear understanding of how the Logitech G920 brake pedal operates and why adjusting its stiffness is beneficial, let’s move on to the next section, where we will discuss the tools and equipment needed for this modification.
The Importance of Adjusting Brake Pedal Stiffness
Why is adjusting the brake pedal stiffness on your Logitech G920 important? The answer lies in the significant impact it has on your gaming experience and performance. By customizing the brake pedal to your liking, you can achieve greater control, accuracy, and comfort, ultimately enhancing your overall gameplay.
One of the primary benefits of adjusting the brake pedal stiffness is improved modulation. Modulation refers to the ability to apply varying degrees of pressure on the pedal, mimicking the nuances of real-life braking. When the brake pedal is too stiff, it becomes challenging to achieve the desired level of modulation, resulting in jerky or abrupt braking actions that can negatively impact your racing performance.
Furthermore, adjusting the brake pedal stiffness allows you to tailor the pedal’s responsiveness to your preference. Some gamers may prefer a more sensitive brake pedal that requires less force to engage, while others may prefer a slightly firmer pedal for increased stability. Being able to fine-tune the brake pedal to suit your individual style and preferences will significantly enhance your control and precision.
Comfort is another crucial factor to consider. Gaming sessions can be lengthy and demanding, especially during intense races or competitions. A too-stiff brake pedal can cause discomfort and strain, leading to fatigue and reduced performance over time. By adjusting the pedal’s stiffness to a more comfortable level, you can enjoy extended gaming sessions without any unnecessary discomfort or fatigue.
Additionally, customization plays a significant role in personalizing your gaming experience. Each individual has their own preferences and playstyle, and being able to adjust the brake pedal stiffness allows you to create a setup that best suits your needs. Whether you prefer a more realistic feel, a smoother pedal action, or a specific level of resistance, customization empowers you to create a setup that enhances your immersion and enjoyment.
By understanding the importance of adjusting the brake pedal stiffness on your Logitech G920, you can leverage this knowledge to fine-tune your gaming experience. Now that we recognize its significance, let’s move on to the next section, where we will discuss the tools and equipment needed for the modification.
Tools and Equipment Needed for the Modification
Before diving into the process of adjusting the brake pedal stiffness on your Logitech G920, it is essential to gather the necessary tools and equipment. Having everything you need at hand will ensure a smooth and efficient modification experience. Here is a list of items you will need:
- Phillips Head Screwdriver: This tool is essential for removing the screws that secure the pedal assembly.
- Adjustable Wrench: An adjustable wrench will be needed to remove and install the brake pedal spring.
- Pliers: Pliers can be useful for various tasks during the modification, such as holding parts in place or removing small components.
- Lubricant: Applying a lubricant, such as silicone grease or white lithium grease, can help reduce friction and ensure smooth pedal movement.
- Silicone or Rubber Bumpers: These bumpers will be used to adjust the preload on the brake pedal spring, allowing for a customizable level of stiffness.
It is important to ensure that the tools and equipment you use are of good quality and appropriate for the task at hand. Using improper tools or low-quality components may result in damage to the Logitech G920 or an unsatisfactory modification outcome.
Before proceeding with the modification, make sure you have all the necessary tools and equipment readily available. Having everything prepared will save you time and prevent any potential interruptions during the process. Once you have gathered all the required items, you are ready to move on to the next section, where we will provide a step-by-step guide on how to make the Logitech G920 brake less stiff.
Step-by-step Guide to Making the Logitech G920 Brake Less Stiff
Now that you have all the necessary tools and equipment, let’s proceed with the step-by-step guide on how to make your Logitech G920 brake pedal less stiff. By following these instructions carefully, you will be able to customize the brake pedal’s stiffness to your preference:
- Prepare your workspace: Find a well-lit and comfortable area to work on your Logitech G920. Ensure that you have enough space to lay out the tools and equipment you gathered earlier.
- Disconnect the Logitech G920: Unplug the Logitech G920 from your computer or gaming console to ensure safety during the modification process.
- Remove the pedal assembly cover: Use a Phillips head screwdriver to remove the screws that secure the pedal assembly cover at the bottom of the Logitech G920. Set aside the screws as they will be needed later.
- Access the brake pedal: With the pedal assembly cover removed, you will have access to the brake pedal mechanism. Carefully examine the brake pedal spring, as this is the component responsible for the pedal’s stiffness.
- Remove the existing bumper: Using pliers, carefully remove the existing bumper located on the brake pedal spring. This bumper determines the degree of stiffness in the pedal.
- Install the new bumper: Replace the existing bumper with a silicone or rubber bumper of your desired thickness. The new bumper will allow you to adjust the preload on the brake pedal spring, thus controlling the pedal’s stiffness.
- Test the brake pedal: With the new bumper in place, press the brake pedal a few times to ensure that it offers the desired level of stiffness. If necessary, you can make further adjustments by replacing the bumper with a thicker or thinner one.
- Reassemble the pedal assembly: Once you are satisfied with the brake pedal’s stiffness, carefully reattach the pedal assembly cover using the screws you removed earlier. Ensure that all the screws are tightened securely.
- Reconnect the Logitech G920: After completing the reassembly, plug the Logitech G920 back into your computer or gaming console, and test the brake pedal functionality in your preferred racing game.
By following these step-by-step instructions, you can successfully make your Logitech G920 brake pedal less stiff. Remember to take your time, be careful with the components, and make small adjustments to achieve the ideal stiffness for your gaming needs.
Now that you have completed the modification, it’s time to move on to the next section. We will discuss the importance of testing and fine-tuning your brake pedal to ensure optimal performance during your racing sessions!
Testing and Fine-tuning your Brake Pedal
After making adjustments to the brake pedal stiffness on your Logitech G920, it is crucial to thoroughly test and fine-tune its performance. Testing will help you evaluate the effectiveness of your modifications and ensure that the brake pedal meets your desired specifications. Here are some essential steps to follow for testing and fine-tuning:
- Start with a baseline: Begin by taking note of the initial feel and responsiveness of the brake pedal before any modifications were made. This will serve as a baseline for comparison.
- Test in-game: Launch your preferred racing game and spend some time experimenting with the brake pedal. Pay attention to how it feels when braking, the overall responsiveness, and the level of control you have over your braking actions.
- Make small adjustments: If the brake pedal still feels too stiff or lacks the desired level of modulation, consider replacing the bumper with a thicker or thinner one. Make incremental changes until you achieve the right balance of stiffness and responsiveness.
- Test different racing scenarios: Engage in various racing scenarios, such as different tracks or different weather conditions, to see how the modified brake pedal performs under different circumstances. This will help you determine if further adjustments are needed.
- Take breaks and evaluate comfort: Throughout the testing process, take breaks and assess the comfort level of the modified brake pedal. Pay attention to any strain or discomfort you may feel during extended gaming sessions and make adjustments accordingly.
- Consider feedback from other players: If possible, seek feedback and opinions from other Logitech G920 users or racing enthusiasts who have experience with similar modifications. Their insights and suggestions can provide valuable perspectives and help you fine-tune your brake pedal further.
Keep in mind that testing and fine-tuning is an iterative process. It may take several rounds of adjustments and testing before you find the perfect balance that suits your gaming style and preferences. Be patient and take the time to evaluate each adjustment to ensure optimal performance of your Logitech G920 brake pedal.
Once you are satisfied with the testing and fine-tuning process, you can confidently enjoy your customized Logitech G920, knowing that it is tailored to your liking. In the next section, we will conclude our guide with a recap of the key points covered.
Conclusion
Congratulations! You have successfully learned how to make your Logitech G920 brake pedal less stiff. By understanding the mechanisms behind the brake pedal, gathering the necessary tools, and following the step-by-step guide, you have been able to customize the stiffness to suit your preference and enhance your gaming experience.
Adjusting the brake pedal stiffness allows for improved modulation, responsiveness, and comfort while gaming. By fine-tuning the pedal to your liking, you gain better control over your braking actions, resulting in more accurate and precise maneuvers on the virtual racetrack.
Throughout the process, it is essential to test and fine-tune the modified brake pedal. By evaluating its performance in different racing scenarios and considering feedback from other players, you can make further adjustments to achieve the optimal balance of stiffness and responsiveness that suits your individual gaming style and preferences.
Remember to take breaks during your gaming sessions and assess the comfort level of the brake pedal. Making small adjustments and ensuring a comfortable setup will contribute to prolonged gaming enjoyment without any unnecessary strain or discomfort.
Now that you have completed the modification and testing process, it’s time to put your customized Logitech G920 to the test. Enjoy an enhanced gaming experience with greater control, precision, and comfort as you tackle intense races and compete against rivals.
Thank you for following this guide. We hope that this information has been helpful in your quest to make your Logitech G920 brake pedal less stiff. Happy gaming!