Introduction
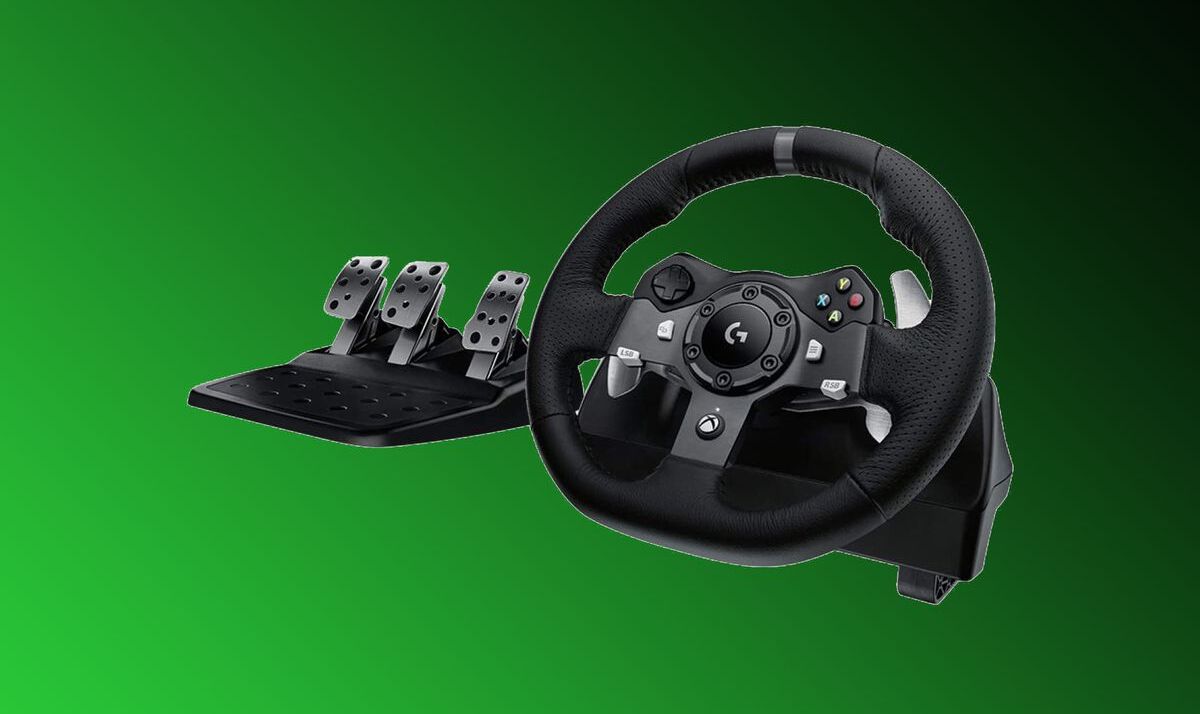
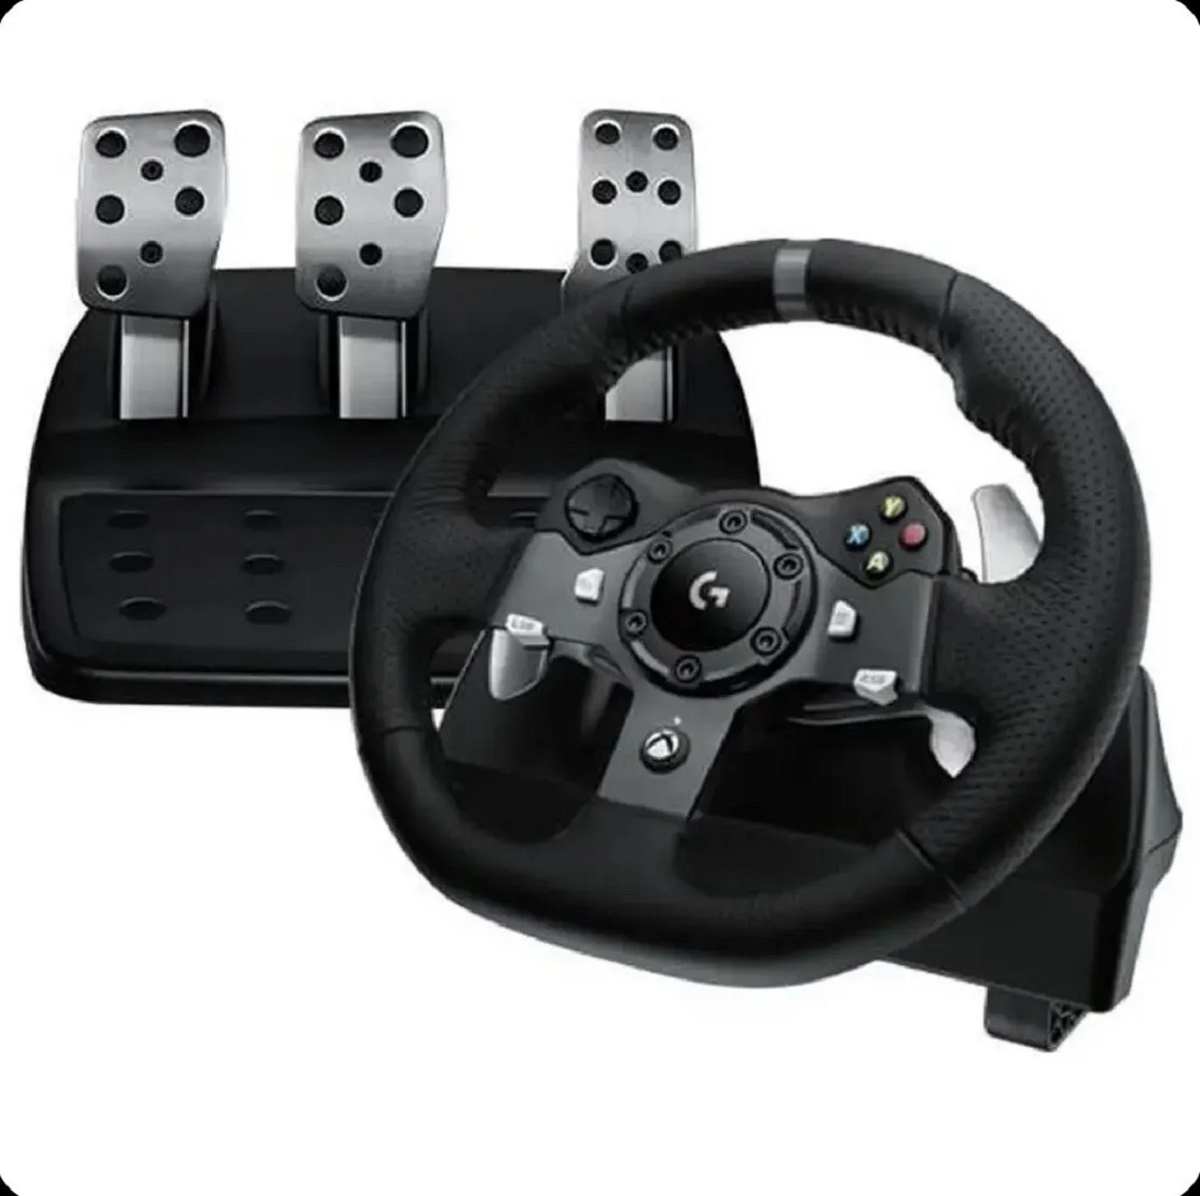
Having a properly calibrated gaming steering wheel is essential for an immersive and enjoyable gaming experience. If you own the Logitech G920 Xbox steering wheel, you’re in luck as Logitech provides a straightforward calibration process to ensure optimal performance. Calibrating your Logitech G920 will help you achieve precise steering control, accurate force feedback, and an enhanced sense of realism.
In this guide, we will walk you through the step-by-step process of calibrating your Logitech G920 Xbox steering wheel. Whether you’re a seasoned gamer or just starting out, this guide will help you get the most out of your Logitech G920.
Before we dive into the calibration process, it’s important to note that you will need the Logitech Gaming Software installed on your computer. This software allows you to customize your wheel’s settings and perform the necessary calibrations. Make sure you have the latest version of the software installed before proceeding.
Now, let’s get started and ensure that your Logitech G920 Xbox steering wheel is perfectly calibrated for your gaming adventures!
Step 1: Ensure Proper Connection
Before you begin the calibration process, it’s crucial to ensure that your Logitech G920 Xbox steering wheel is properly connected to your computer or Xbox console. A secure and stable connection is vital for accurate calibration and optimal performance.
Here are the steps to ensure a proper connection:
- Connect the USB cable: Start by connecting one end of the USB cable to the USB port on your computer or Xbox console. Then, connect the other end of the cable to the USB port located on the back of the Logitech G920 base.
- Secure the power supply: Plug the power supply into a nearby power outlet and connect the other end to the power input located on the back of the Logitech G920 base. Ensure that the power supply is securely connected and that the outlet is providing a stable power source.
- Position the wheel and pedals: Find a comfortable and ergonomic position for your Logitech G920 wheel and pedals. Place the wheel on a sturdy table or racing wheel stand and position the pedals on the floor in a suitable location for your feet.
- Check the LED indicator: The LED indicator on the Logitech G920 base should turn solid green once the connection is established. This signifies that the wheel is properly connected and ready for calibration.
By double-checking these connection steps, you can ensure a stable and reliable connection between your Logitech G920 Xbox steering wheel and your computer or Xbox console. This will lay the foundation for a successful calibration process and a seamless gaming experience.
Step 2: Install Logitech Gaming Software
Before you can begin calibrating your Logitech G920 Xbox steering wheel, you’ll need to install the Logitech Gaming Software on your computer. This software provides you with the necessary tools to fine-tune your wheel settings and ensure optimal performance.
Follow these steps to install the Logitech Gaming Software:
- Visit the Logitech Support website: Open your preferred web browser and navigate to the Logitech Support website.
- Search for Logitech G920: In the search bar, type “Logitech G920” and select the appropriate product from the search results.
- Download the software: On the Logitech G920 product page, locate and click on the “Downloads” tab. From there, find the Logitech Gaming Software and click on the download link to begin the installation process.
- Run the installer: Once the Logitech Gaming Software installer has finished downloading, locate the downloaded file and run it. Follow the on-screen instructions to complete the installation process.
- Launch the software: After the installation is complete, launch the Logitech Gaming Software on your computer.
With the Logitech Gaming Software installed, you can now access the various customization options and calibration tools for your Logitech G920 Xbox steering wheel. This software allows you to adjust the sensitivity, button assignments, force feedback settings, and more.
Before proceeding to the calibration process, make sure to connect your Logitech G920 to your computer or Xbox console. Following the proper connection steps mentioned in Step 1 is crucial to ensure a successful calibration process.
Now that you have the Logitech Gaming Software installed and your Logitech G920 connected, you’re ready to move on to the next step: connecting the Logitech G920 to your Xbox.
Step 3: Connect the Logitech G920 to Your Xbox
Once you have installed the Logitech Gaming Software on your computer, it’s time to connect your Logitech G920 Xbox steering wheel to your Xbox console. This step is crucial to ensure that your Logitech G920 is recognized by your console and ready for calibration.
Follow these steps to connect the Logitech G920 to your Xbox:
- Locate the Xbox connector: On the back of your Logitech G920 base, you’ll find a port labeled “Xbox.” This is the connection point for your Xbox console.
- Connect the Xbox cable: Take the Xbox cable provided with your Logitech G920 and plug one end into the Xbox port on the Logitech G920 base.
- Connect to the Xbox console: Plug the other end of the Xbox cable into a USB port on your Xbox console. Ensure that the connection is secure.
Once the Logitech G920 is connected to your Xbox console, it will be recognized as a compatible gaming controller. This allows you to navigate through the Xbox dashboard and access the calibration settings for your Logitech G920.
Keep in mind that the Logitech G920 is designed specifically for Xbox consoles, so it provides seamless compatibility and optimized performance. With the Logitech Gaming Software and your Logitech G920 connected to your Xbox, you’re now ready to move on to the next step: calibrating the wheel itself.
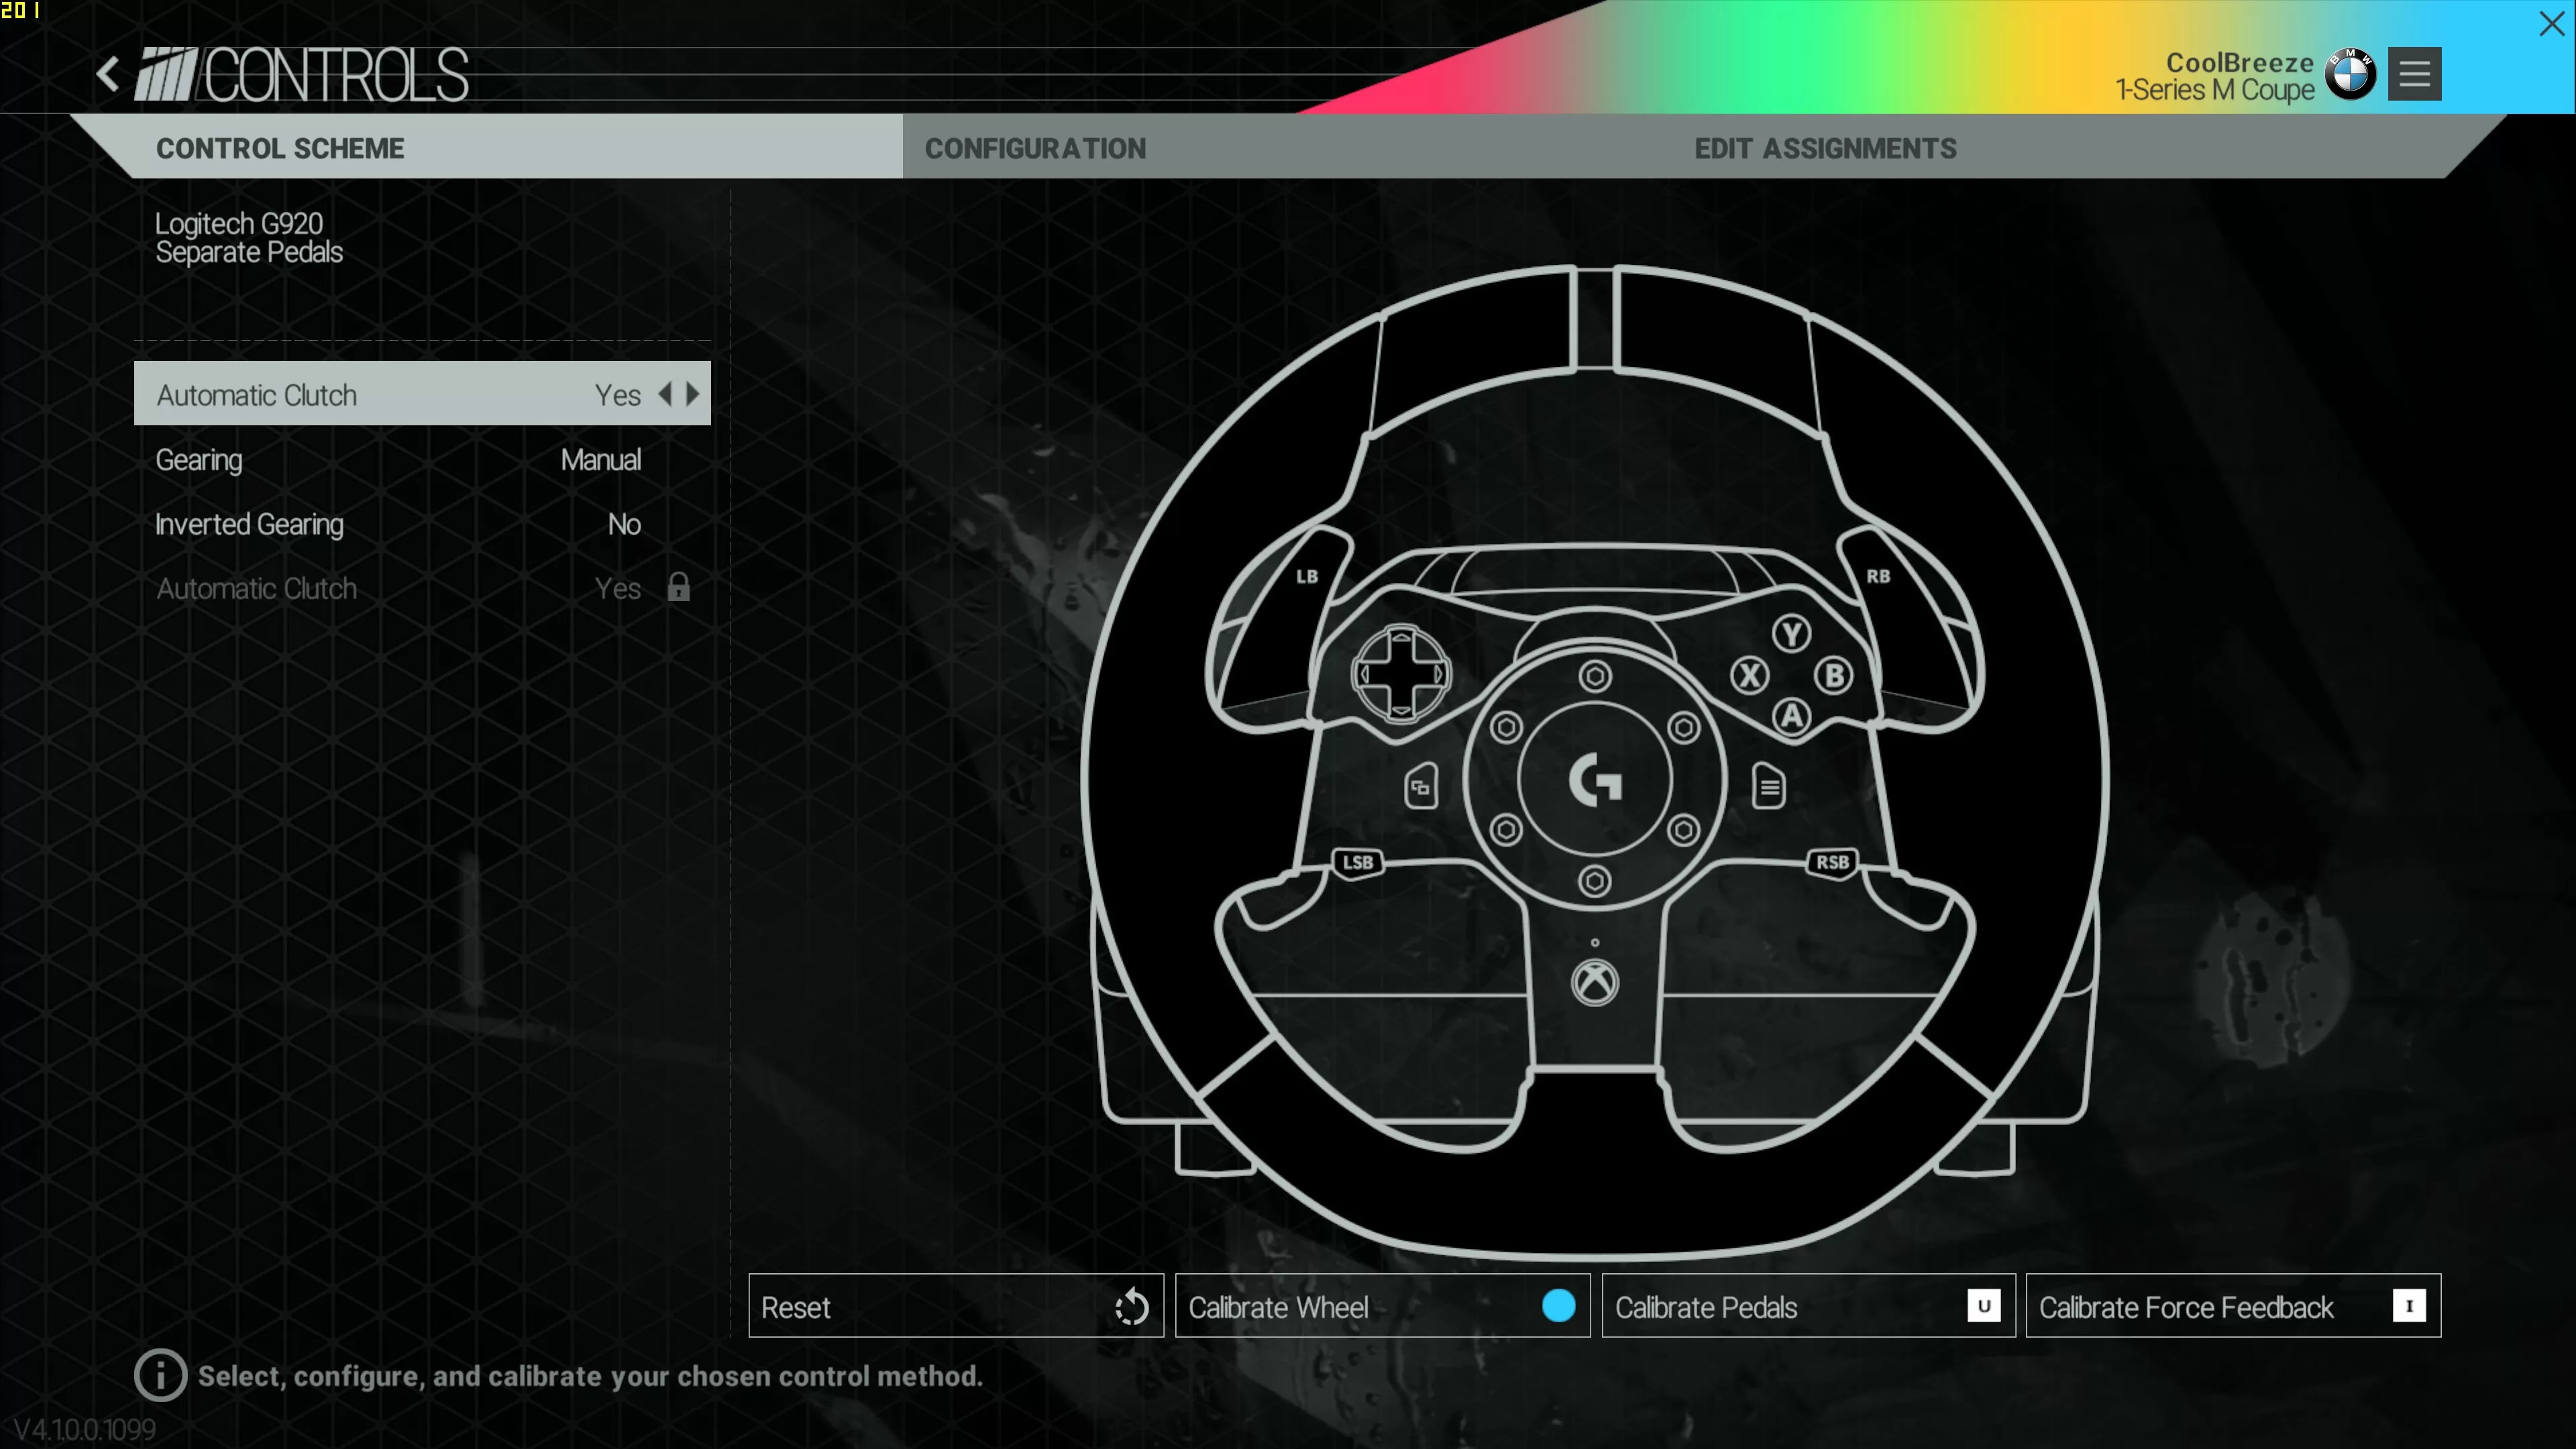
Step 4: Calibrate the Wheel
Now that your Logitech G920 Xbox steering wheel is connected to your Xbox console, it’s time to calibrate the wheel to ensure precise steering control. Calibration helps to optimize the sensitivity and deadzone settings, allowing you to have a more accurate and responsive gaming experience.
Follow these steps to calibrate your Logitech G920 wheel:
- Access the Xbox settings: On your Xbox console, navigate to the Settings menu. You can find this by pressing the Xbox button on your controller and selecting the gear icon.
- Select Devices & Accessories: Inside the settings menu, choose the Devices & Accessories option. This will allow you to manage all connected devices, including your Logitech G920 wheel.
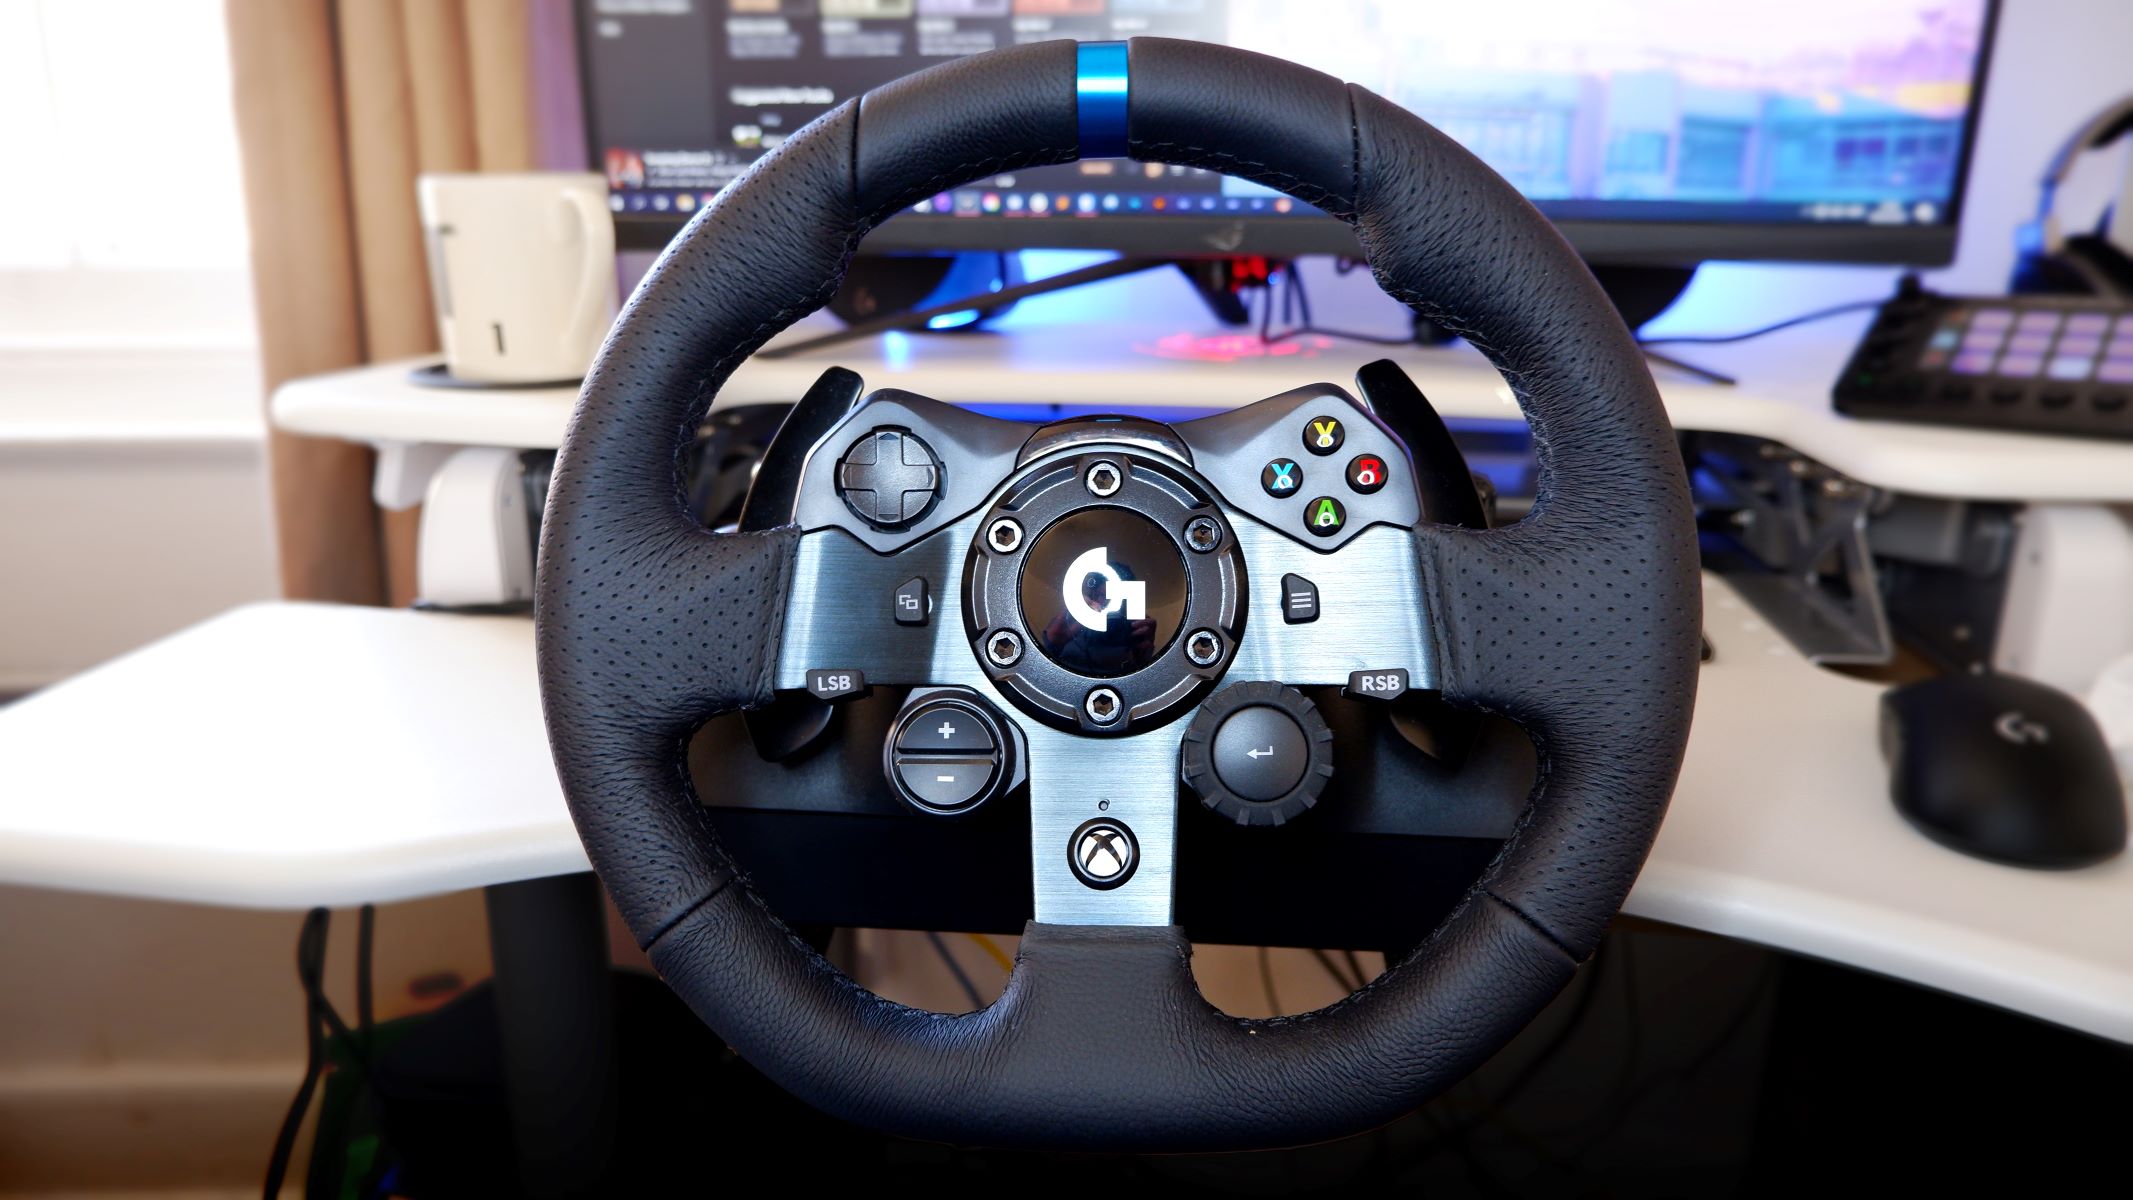
- Find the Logitech G920: Look for your Logitech G920 wheel in the list of connected devices. It should be labeled as “Controller – Logitech G920 Driving Force Racing Wheel”.
- Select Calibrate: Once you’ve located your Logitech G920, select the Calibrate option. This will launch the calibration process.
- Follow on-screen instructions: The Xbox console will provide you with on-screen instructions to guide you through the calibration process. It may require you to perform various actions with your wheel, such as turning it to full lock in both directions.
- Complete the calibration: Continue following the on-screen instructions until you’ve completed the calibration process. This will ensure that your Logitech G920 is properly calibrated and ready for use.
By calibrating your Logitech G920 wheel, you’ll have a more precise and responsive steering experience. This will make a significant difference in racing games and other driving simulations, allowing you to navigate the virtual world with greater control and accuracy.
Once the wheel calibration is complete, you can proceed to the next step: adjusting the force feedback settings for a more immersive gaming experience.
Step 5: Adjust Force Feedback Settings
After calibrating your Logitech G920 Xbox steering wheel, it’s time to fine-tune the force feedback settings. Force feedback adds another layer of realism to your gaming experience by providing tactile feedback through vibrations and resistance on the wheel. Adjusting these settings allows you to personalize the force feedback to your liking.
Follow these steps to adjust the force feedback settings on your Logitech G920:
- Launch the Logitech Gaming Software: Open the Logitech Gaming Software on your computer.
- Connect the Logitech G920: Ensure that your Logitech G920 is properly connected to your computer using the provided USB cable.
- Navigate to the settings: In the Logitech Gaming Software, locate and select the Logitech G920 wheel. This will bring up the settings menu for your wheel.
- Access the force feedback options: Look for the Force Feedback tab or section within the settings menu. Click on it to access the force feedback adjustment options.
- Adjust the strength and effects: Within the force feedback settings, you will find options to adjust the overall strength of the force feedback, as well as individual effects like vibration, rumble, and resistance. Experiment with different settings to find what feels most comfortable and immersive to you.
- Test and fine-tune: After making adjustments, it’s a good idea to test how the force feedback feels in a game or simulation. Fine-tune the settings based on your preferences and the specific requirements of the game you’re playing.
By customizing the force feedback settings, you can tailor the experience to your liking. Whether you prefer a more subtle and realistic feel or a stronger and more intense feedback, adjusting these settings will help you achieve the desired effect.
Once you have fine-tuned the force feedback settings, you’re now ready to test and fine-tune your calibration in the next step.
Step 6: Test and Fine-tune Your Calibration
After calibrating your Logitech G920 Xbox steering wheel and adjusting the force feedback settings, it’s crucial to test the calibration and fine-tune it for optimal performance. This step allows you to ensure that the wheel functions smoothly and accurately, providing you with the best gaming experience possible.
Follow these steps to test and fine-tune your Logitech G920 calibration:
- Launch a racing game or simulation: Start up your favorite racing game or simulation that supports the Logitech G920 wheel.
- Test steering response: During gameplay, pay close attention to the responsiveness of the steering. Make note of any delays or inaccuracies in the wheel’s movement.
- Adjust sensitivity if needed: If you find that the steering response is too slow or too sensitive, return to the Logitech Gaming Software and adjust the sensitivity settings for the wheel. Test the changes until you find the ideal balance.
- Test force feedback: Pay attention to the force feedback effects as you drive. Note if the vibrations, rumble, and resistance feel appropriate and immersive. If necessary, return to the force feedback settings and make further adjustments.
- Fine-tune deadzone: If you notice an area where the wheel doesn’t respond as expected, you may need to fine-tune the deadzone settings in the Logitech Gaming Software. Deadzone refers to the area around the center of the wheel where slight movements don’t register.
- Repeat testing and adjustments: Continuously test the calibration and make adjustments as needed until you achieve the desired responsiveness and force feedback experience.
Testing and fine-tuning your calibration ensures that your Logitech G920 provides precise control, accurate feedback, and an immersive gaming experience. It’s an ongoing process that may require multiple iterations until you find the perfect settings for your preferences and the specific game you’re playing.
Now that you have tested and fine-tuned your calibration, you’re ready to enjoy your Logitech G920 Xbox steering wheel to its fullest potential. Get behind the wheel and prepare for an exhilarating gaming experience!
Conclusion
Calibrating and optimizing your Logitech G920 Xbox steering wheel is essential for a realistic and immersive gaming experience. By following the steps outlined in this guide, you can ensure that your Logitech G920 performs at its best and provides precise control and accurate feedback.
Start by ensuring a proper connection between your Logitech G920 and your computer or Xbox console. Install the Logitech Gaming Software to access the customization and calibration options for your wheel.
Connect the Logitech G920 to your Xbox console and navigate to the settings menu to calibrate the wheel. Follow the on-screen instructions to complete the calibration process, ensuring precise steering control.
Adjust the force feedback settings in the Logitech Gaming Software to fine-tune the vibrations, rumble, and resistance on the wheel. Find the perfect balance that suits your preferences and enhances your gaming experience.
Test and fine-tune your calibration by launching a racing game or simulation. Pay attention to the steering response and force feedback effects, making adjustments to the sensitivity and deadzone settings if needed.
Remember that calibration is an ongoing process. Continuously test and make adjustments until you achieve the desired responsiveness and force feedback experience for each game you play.
Now that your Logitech G920 is calibrated and optimized, get ready to immerse yourself in realistic driving experiences and take on the virtual racetracks with confidence and precision.
Enjoy your gaming adventures with the Logitech G920 Xbox steering wheel!