Introduction
Welcome to the ultimate guide on how to clean your Logitech MX Master 3 mouse! Keeping your mouse clean not only ensures optimal performance but also prolongs its lifespan. It’s important to maintain a clean and dust-free mouse to prevent any issues with tracking, scrolling, or button functionality. In this comprehensive guide, we will walk you through step-by-step instructions on how to effectively clean your Logitech MX Master 3, so you can enjoy a smooth and precise user experience.
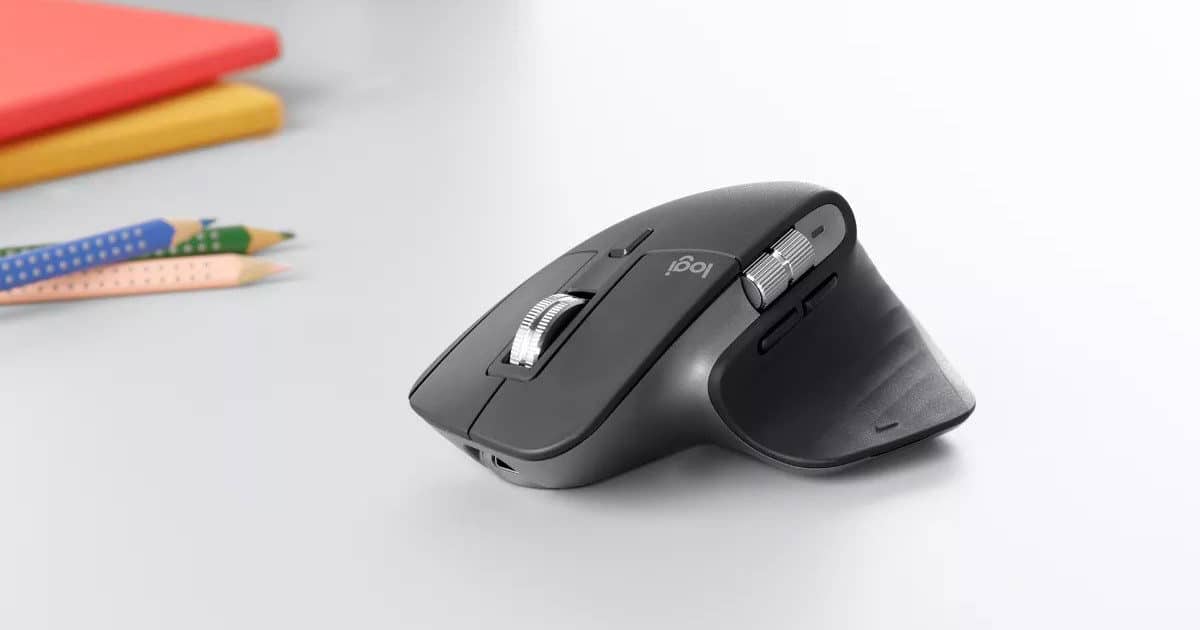
As one of the leading mice on the market, the Logitech MX Master 3 offers unparalleled functionality and performance. Its ergonomic design, customizable buttons, and advanced features make it a popular choice for professionals and gamers alike. However, with regular use, the mouse can accumulate dust, dirt, and fingerprints, affecting its performance over time. That’s why it’s crucial to clean your Logitech MX Master 3 regularly to maintain its optimal performance.
Before diving into the cleaning process, it’s essential to gather all the necessary supplies. You don’t want to start cleaning only to realize you’re missing a crucial tool. Don’t worry; the cleaning supplies required are easily accessible and affordable. Gather the following items:
- Mild cleaning solution or rubbing alcohol
- Cotton swabs
- Microfiber cloth or lint-free cloth
- Canned air or a soft brush
- Water (optional)
Once you have your cleaning supplies ready, it’s time to turn off and disconnect your Logitech MX Master 3 mouse. This ensures your safety during the cleaning process and prevents any accidental clicks or movements that may interfere with the cleaning.
Gather Your Cleaning Supplies
Before you begin cleaning your Logitech MX Master 3 mouse, it’s important to gather all the necessary cleaning supplies. Having the right tools at hand will ensure that you can effectively remove dirt, dust, and grime from your mouse. Here’s a list of the items you’ll need:
- Mild cleaning solution or rubbing alcohol: These substances are effective for removing smudges, fingerprints, and stubborn dirt. Be sure to use a solution that is safe for use on electronics.
- Cotton swabs: These are perfect for reaching tight spots and crevices, such as the space between buttons and scroll wheel.
- Microfiber cloth or lint-free cloth: These cloths are gentle on your mouse’s surface and won’t leave behind any lint or scratches.
- Canned air or a soft brush: These tools are great for removing loose dust and debris from your mouse’s crevices and hard-to-reach areas.
- Water (optional): In case you don’t have a mild cleaning solution or rubbing alcohol, you can use water instead. However, be sure to dampen the cloth rather than soaking it.
Having these cleaning supplies ready will ensure a smooth and effective cleaning process. Make sure to check that each item is within reach before proceeding.
Now that you have all your cleaning supplies, let’s move on to the next step: turning off and disconnecting your Logitech MX Master 3 mouse to ensure safety throughout the cleaning process.
Turn Off and Disconnect the Mouse
Before you start cleaning your Logitech MX Master 3 mouse, it’s important to turn off and disconnect it from your computer. This step is crucial to prevent any accidental clicks or movements that may interfere with the cleaning process. Here’s how to turn off and disconnect the mouse:
- Save and close any open files or applications on your computer.
- Flip the mouse over to access the underside.
- Locate the power switch on the bottom of the mouse and slide it to the “Off” position. This will ensure that the mouse is completely turned off.
- If your mouse is wireless, locate the USB receiver and unplug it from your computer. This will disconnect the mouse from your computer, ensuring that it doesn’t accidentally move or click during the cleaning process.
- If your mouse is wired, unplug the USB cable from your computer.
By turning off and disconnecting the Logitech MX Master 3 mouse, you minimize the risk of accidental clicks or movements that can disrupt the cleaning process. This step also ensures your safety while handling the mouse.
Once you have turned off and disconnected the mouse, you are ready to move on to the next step: removing dust and debris from the mouse.
Remove Dust and Debris
Before you start cleaning the exterior surface of your Logitech MX Master 3 mouse, it’s important to remove any dust and debris that may have accumulated. Over time, dust and debris can accumulate on the mouse’s surface and affect its performance. Follow these steps to effectively remove dust and debris:
- Use a can of compressed air or a soft brush to gently blow or brush away any loose dust or debris from the mouse’s surface.
- Gently tilt and shake the mouse to dislodge any stubborn dust particles that may be stuck in the crevices.
- If there are visible specks of dirt or debris on the mouse’s surface, use a cotton swab lightly moistened with a mild cleaning solution or rubbing alcohol to gently remove them. Be careful not to saturate the cotton swab with too much liquid.
Removing dust and debris from your Logitech MX Master 3 mouse will not only enhance its appearance but also improve its functionality. By starting with a clean surface, you will ensure that you achieve a thorough clean when you move on to the next steps.
Once you have successfully removed the dust and debris from the mouse, it’s time to proceed to the next step: cleaning the exterior surface of the mouse.
Clean the Exterior Surface
Now that you have removed the dust and debris from your Logitech MX Master 3 mouse, it’s time to clean the exterior surface. The exterior surface of the mouse can gather fingerprints, smudges, and grime over time, affecting its appearance and potentially hindering its performance. Follow these steps to effectively clean the exterior surface:
- Moisten a microfiber cloth or lint-free cloth with a mild cleaning solution or rubbing alcohol. Be sure to squeeze out any excess liquid from the cloth to prevent it from dripping onto the mouse.
- Gently wipe the entire exterior surface of the mouse, including the top, sides, and bottom. Pay close attention to areas where fingerprints or smudges may be visible, such as the buttons and palm rest.
- If you encounter any stubborn stains or grime, use a cotton swab lightly moistened with the cleaning solution or rubbing alcohol to spot-clean those areas.
When cleaning the exterior surface of your Logitech MX Master 3 mouse, it’s important to be gentle to avoid scratches or damage. The microfiber cloth or lint-free cloth is specifically designed to be gentle on delicate surfaces. Avoid using abrasive materials or harsh chemicals that can cause damage to the mouse.
Once you have thoroughly cleaned the exterior surface, take a moment to inspect the mouse for any remaining dirt or stains. If necessary, repeat the cleaning process until the mouse surface is clean and free of any visible grime or smudges.
Now that the exterior surface of your Logitech MX Master 3 mouse is clean, let’s move on to the next step: cleaning the scroll wheel.
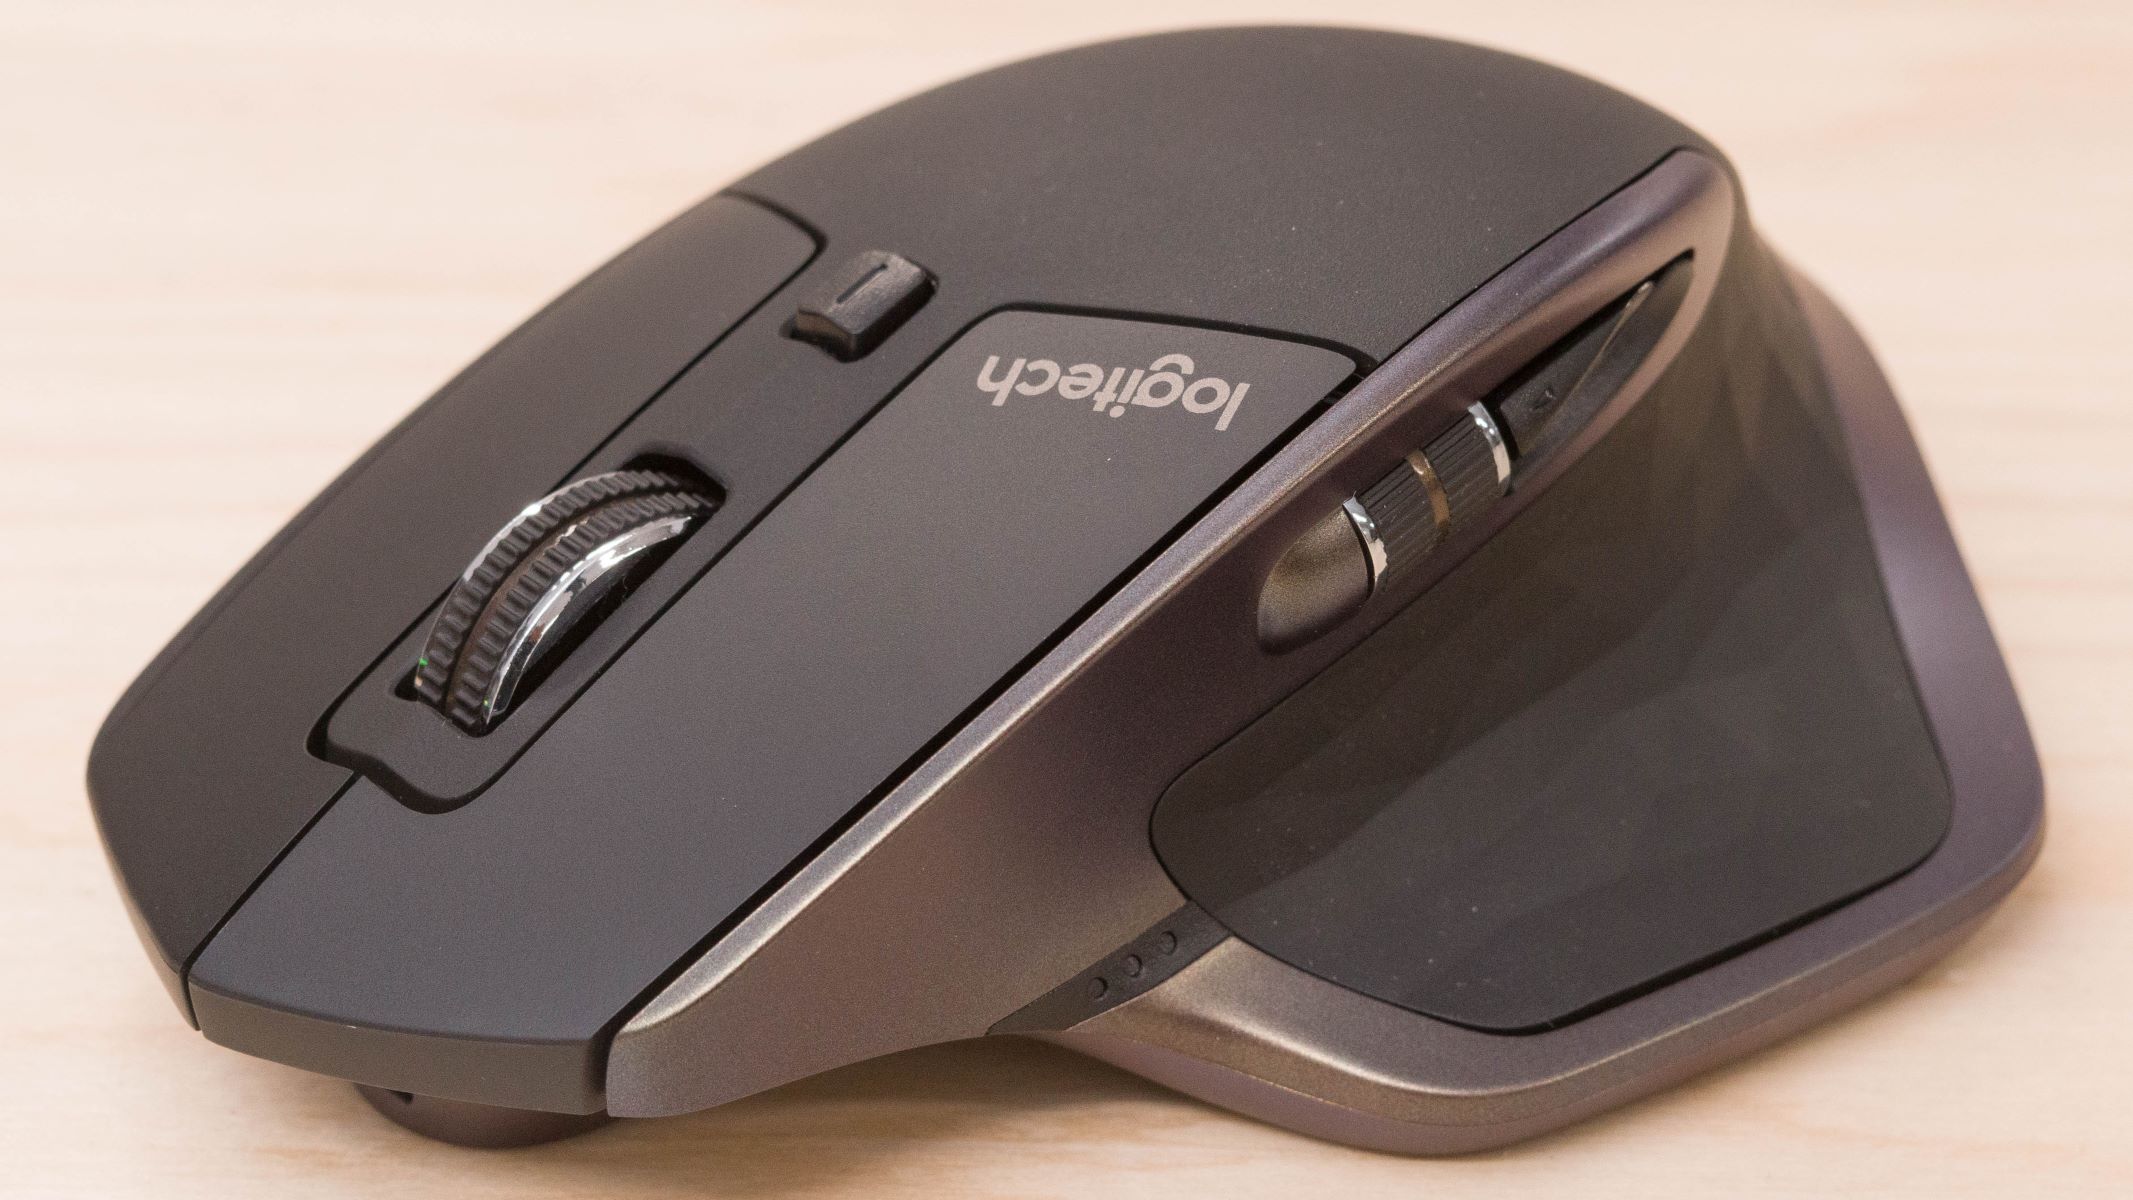
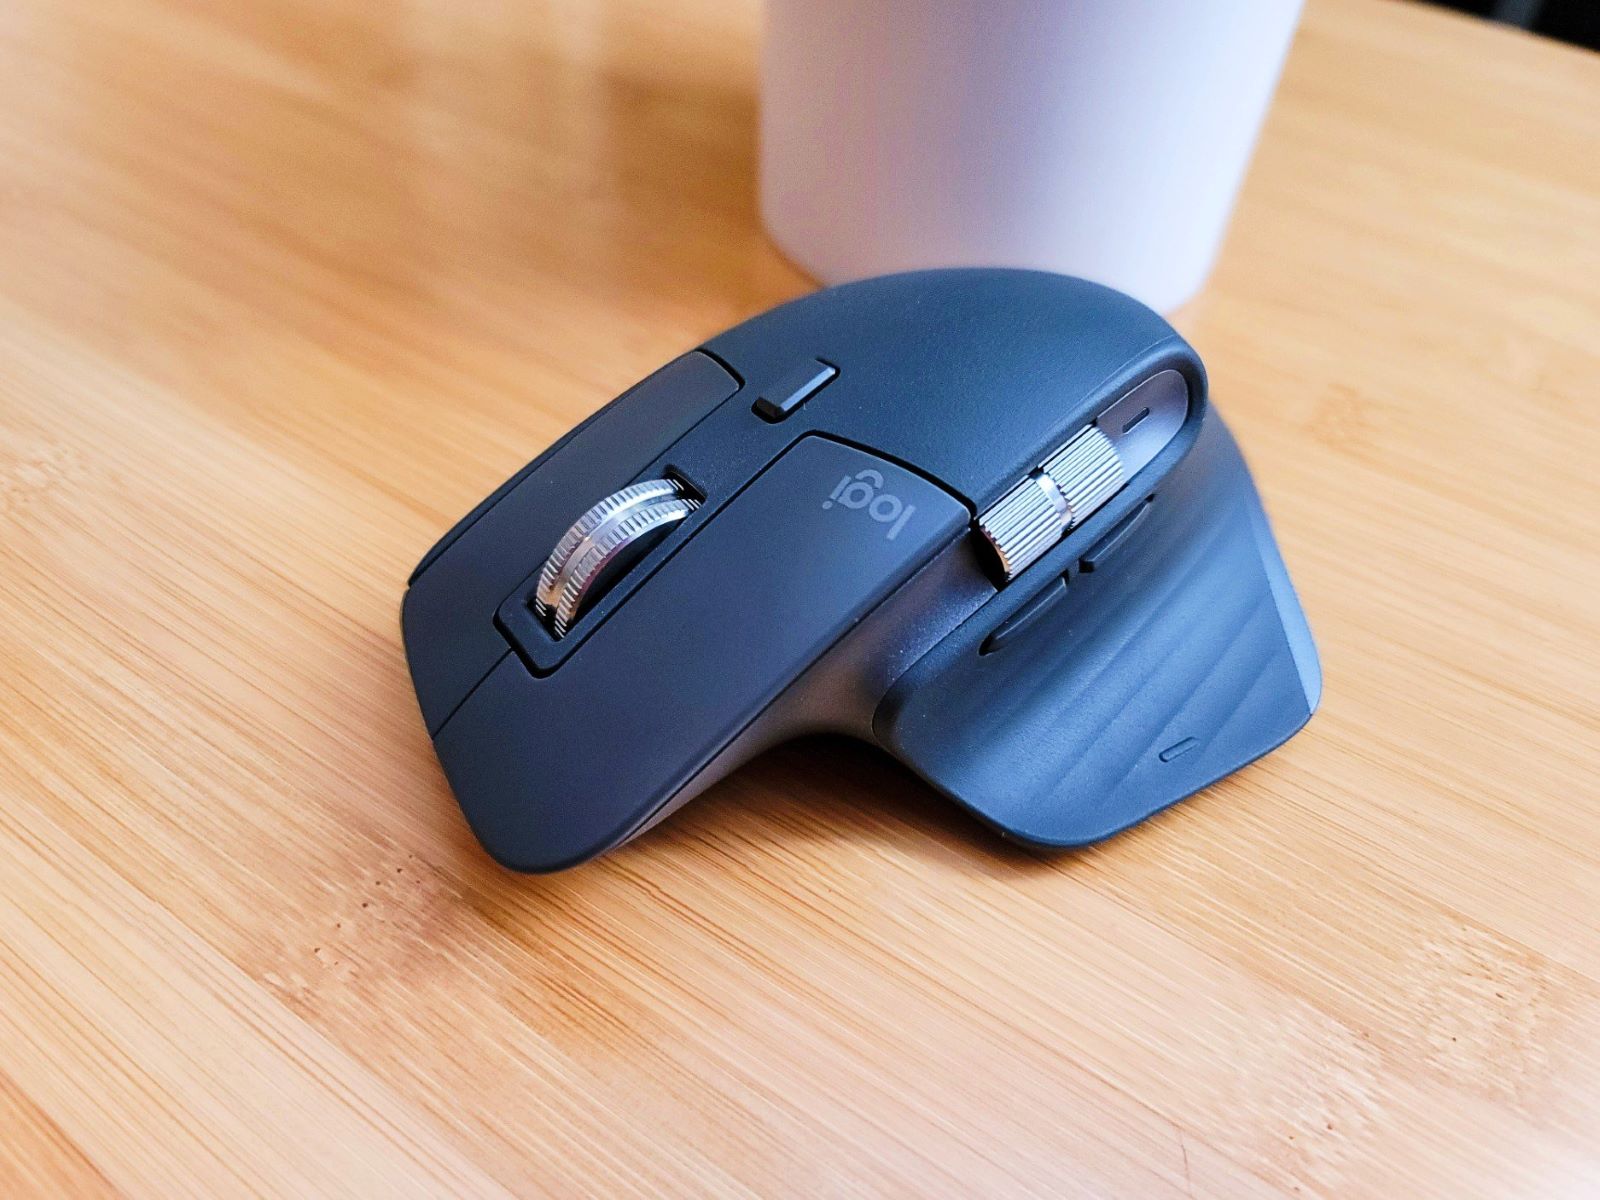
Clean the Scroll Wheel
The scroll wheel of your Logitech MX Master 3 mouse is one of its most important components. It allows you to navigate through documents and web pages with ease. Over time, the scroll wheel can accumulate dirt, dust, and debris, resulting in reduced scrolling performance. Follow these steps to effectively clean the scroll wheel:
- Hold the mouse with the scroll wheel facing up to prevent any debris from falling back into the mouse.
- Gently rotate the scroll wheel back and forth to dislodge any loose dirt or debris.
- Use a cotton swab lightly moistened with a mild cleaning solution or rubbing alcohol to clean the scroll wheel. Rotate the cotton swab around the edges of the scroll wheel to remove any stubborn dirt or residue.
- If the scroll wheel still appears dirty, you can also use a can of compressed air to blow away any remaining debris.
It’s important to be gentle when cleaning the scroll wheel to avoid damaging its delicate mechanism. Avoid using excessive force or abrasive materials that may scratch or cause the wheel to malfunction.
Once you have thoroughly cleaned the scroll wheel and there is no visible residue or debris, take a moment to test its functionality. Scroll up and down to ensure smooth and precise scrolling. If the scroll wheel feels sticky or unresponsive, repeat the cleaning process until it performs optimally.
Now that the scroll wheel is clean and functioning properly, let’s move on to the next step: cleaning the sensor lens.
Clean the Sensor Lens
The sensor lens plays a vital role in tracking the movement of your Logitech MX Master 3 mouse. Dust and debris that accumulate on the sensor lens can cause tracking issues, affecting the mouse’s performance. Follow these steps to effectively clean the sensor lens:
- Locate the sensor lens, which is usually located on the underside of the mouse.
- Use a can of compressed air or a soft brush to gently blow or brush away any loose dust or debris from the sensor lens. Ensure you don’t touch the lens directly to prevent any damage.
- If there are stubborn particles or smudges on the sensor lens, take a cotton swab lightly moistened with a mild cleaning solution or rubbing alcohol. Gently wipe the lens in a circular motion to remove the dirt or smudges.
- Inspect the sensor lens to ensure it is clean and free from any residue or smudges. Repeat the cleaning process if necessary.
When cleaning the sensor lens, it’s important to be cautious and gentle to avoid scratching or damaging the lens. The compressed air or soft brush helps dislodge loose particles, while the moistened cotton swab effectively removes stubborn dirt or smudges.
After cleaning the sensor lens, it’s important to test the mouse’s tracking performance. Move the mouse around on a smooth surface and verify that it tracks accurately and smoothly. If you notice any issues with tracking, repeat the cleaning process or seek further troubleshooting if needed.
Now that you have successfully cleaned the sensor lens, let’s proceed to the next step: cleaning the thumb wheel.
Clean the Thumb Wheel
The thumb wheel on your Logitech MX Master 3 mouse provides additional functionality and control. It allows you to navigate through documents and applications with precision. Over time, the thumb wheel can collect dirt, dust, and debris, which may hinder its smooth operation. Follow these steps to effectively clean the thumb wheel:
- Hold the mouse firmly and use your thumb to rotate the thumb wheel back and forth. This motion will help dislodge any loose dirt or debris.
- Use a cotton swab lightly moistened with a mild cleaning solution or rubbing alcohol to clean the edges and crevices of the thumb wheel. Gently rotate the cotton swab around the wheel to remove any stubborn dirt or residue.
- If the thumb wheel still appears dirty or sticky, you can also use a can of compressed air to blow away any remaining debris.
When cleaning the thumb wheel, it’s important to be gentle and avoid using excessive force. The aim is to remove any dirt or residue without causing any damage to the wheel or its mechanism.
Once you have thoroughly cleaned the thumb wheel and there is no visible dirt or residue, test its functionality. Rotate the thumb wheel to ensure smooth and precise movement. If you notice any sticking or uneven rotation, repeat the cleaning process until the thumb wheel operates smoothly.
Now that the thumb wheel is clean and functioning correctly, let’s move on to the next step: cleaning the side buttons.
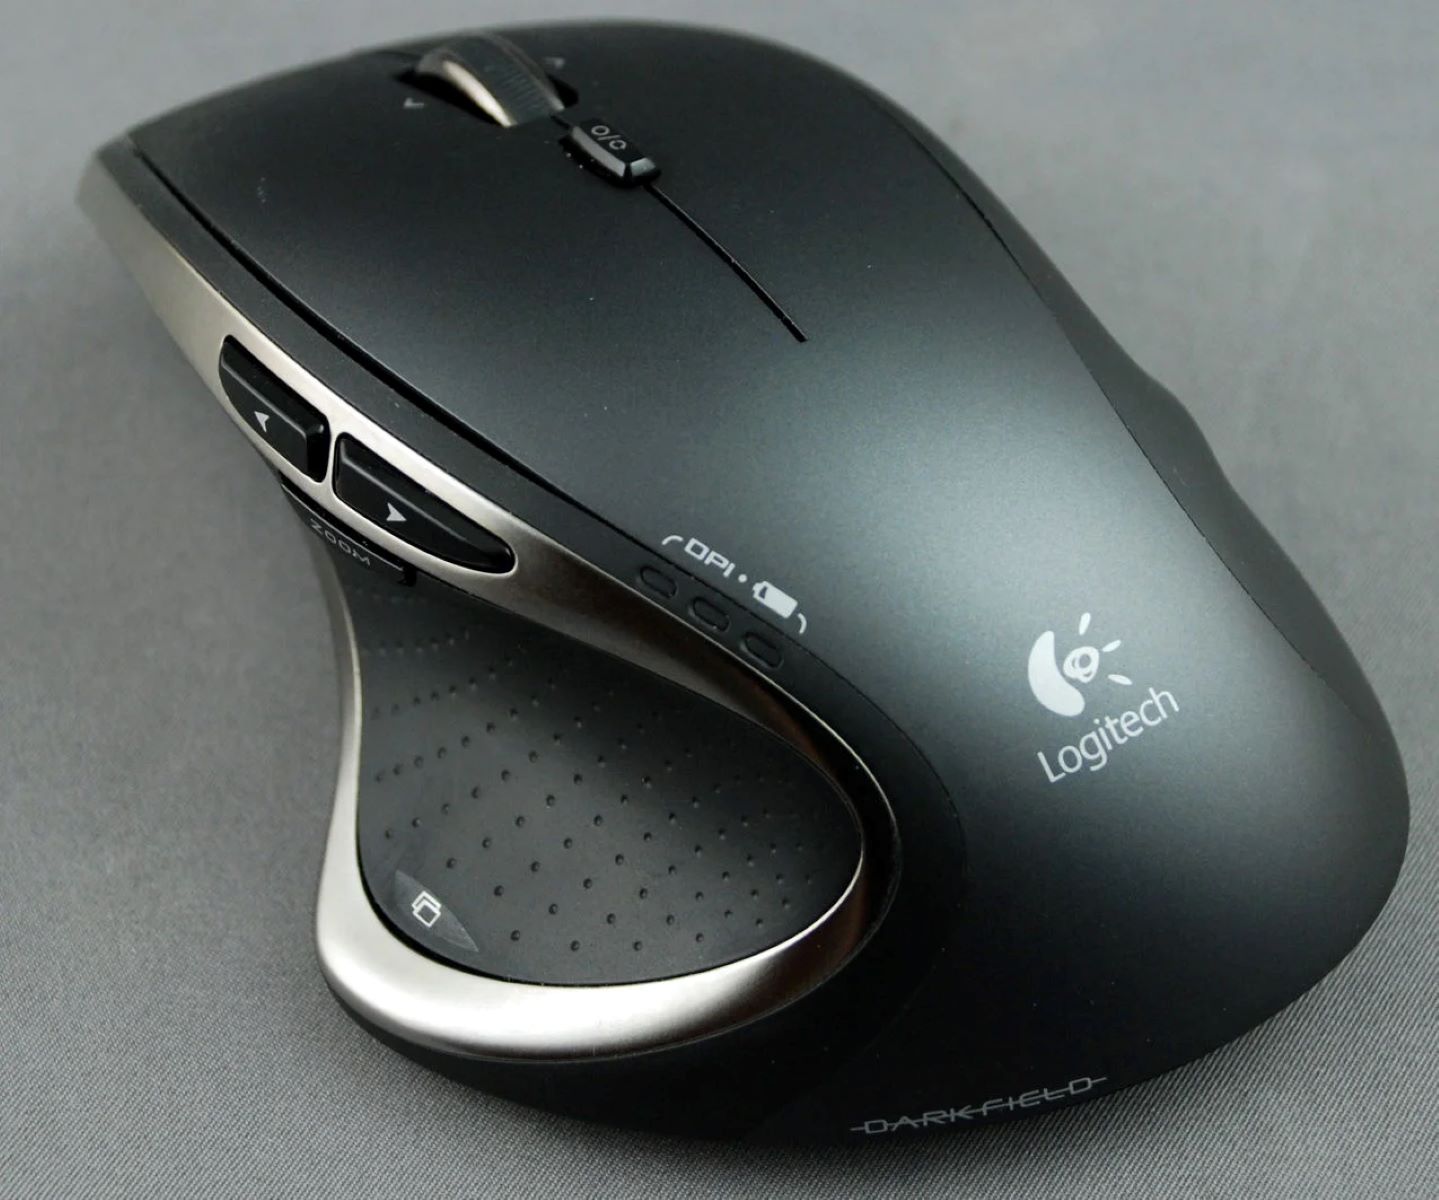
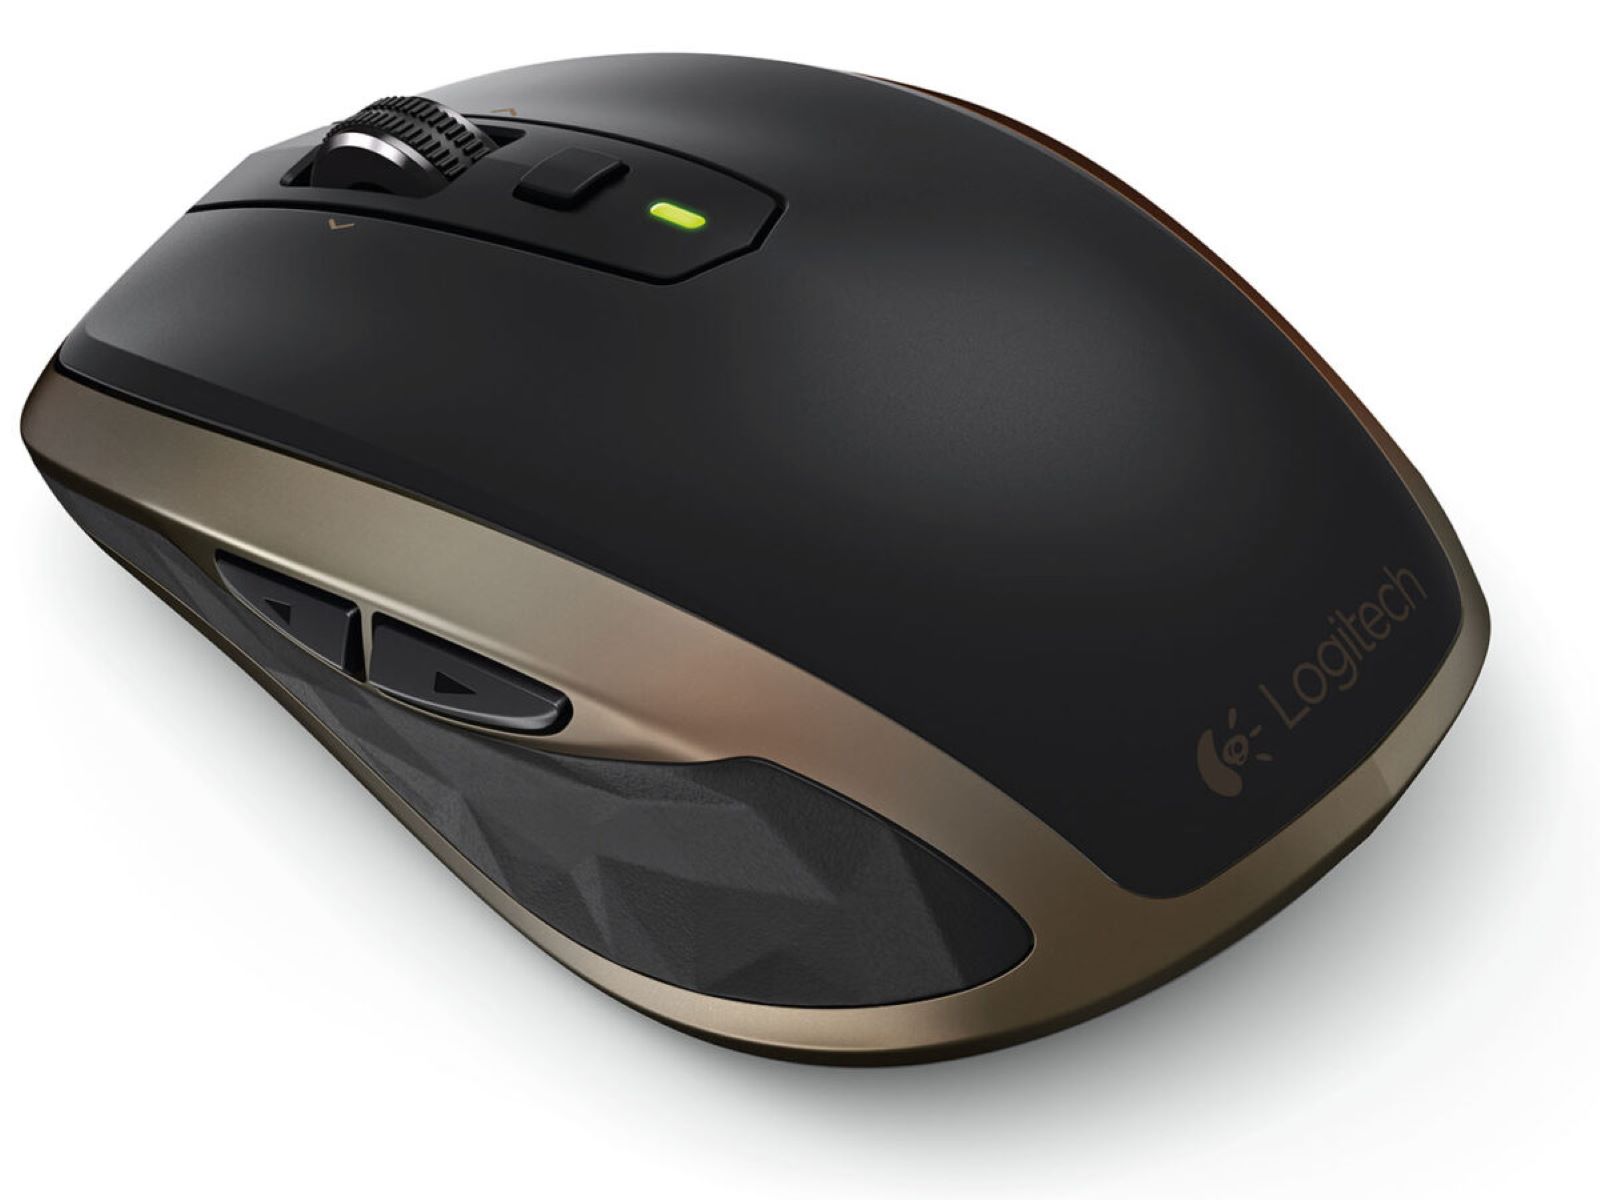
Clean the Side Buttons
The side buttons on your Logitech MX Master 3 mouse provide additional functionality and convenience. They allow you to navigate through applications, perform shortcuts, and customize your mouse experience. However, over time, the side buttons can gather dirt, dust, and debris, which may affect their responsiveness. Follow these steps to effectively clean the side buttons:
- Inspect the side buttons to identify any visible dirt or debris.
- Use a can of compressed air to blow away any loose dirt or debris from the side buttons. Direct the nozzle of the can towards the buttons and give them a few short bursts of air.
- If there are stubborn particles or smudges on the side buttons, take a cotton swab lightly moistened with a mild cleaning solution or rubbing alcohol.
- Gently wipe the sides and surfaces of the side buttons with the moistened cotton swab to remove any dirt or smudges. Pay close attention to the crevices and edges of the buttons.
It’s important to be gentle when cleaning the side buttons to avoid damaging their mechanisms. The compressed air helps dislodge loose particles, while the moistened cotton swab effectively removes stubborn dirt or smudges.
Once you have cleaned the side buttons, take a moment to test their functionality. Press each button to ensure that it responds accurately and smoothly. If you notice any sticking or unresponsiveness, repeat the cleaning process or seek further troubleshooting if needed.
Cleaning the side buttons of your Logitech MX Master 3 mouse ensures that they continue to function optimally and provides you with a seamless user experience. Now, let’s proceed to the next step: cleaning the charging port.
Clean the Charging Port
The charging port on your Logitech MX Master 3 mouse is essential for keeping it powered and ready for use. Over time, the charging port can accumulate dust, lint, and debris, which may hinder the charging process or cause connectivity issues. Follow these steps to effectively clean the charging port:
- Inspect the charging port to check if there is any visible debris or dirt.
- Use a can of compressed air to blow away any loose particles or debris from the charging port. Hold the can upright and direct the air into the port with short bursts.
- If there are stubborn particles or lint in the charging port, use a soft brush or a clean, dry toothbrush to gently brush away the debris.
- Inspect the charging port again to ensure that it is clean and free from any remaining debris. If necessary, repeat the cleaning process.
When cleaning the charging port, it is important to be gentle and avoid damaging the port or its internal components. The compressed air and soft brush are effective tools for dislodging and removing debris without causing any harm.
After cleaning the charging port, take a moment to verify its functionality. Connect the charging cable to the port and ensure a secure and stable connection. If you experience any issues with the charging process, double-check the cleanliness of the port and repeat the cleaning steps if necessary.
By keeping the charging port of your Logitech MX Master 3 mouse clean, you ensure a reliable power source and uninterrupted usage. Now that the charging port is clean, let’s move on to the next step: reassembling and reconnecting the mouse.
Reassemble and Reconnect the Mouse
Now that you have successfully cleaned your Logitech MX Master 3 mouse, it’s time to reassemble and reconnect it to your computer. Follow these steps to complete the process:
- If you disconnected the USB receiver, plug it back into an available USB port on your computer.
- If your mouse is wireless, turn it on by sliding the power switch on the bottom of the mouse to the “On” position.
- If your mouse is wired, plug the USB cable back into your computer.
Once you have reconnected the mouse, it’s important to verify that it is functioning properly. Move the mouse around to ensure smooth cursor movement. Test the buttons, scroll wheel, and other features to make sure they are working as expected.
If you encounter any issues with the mouse’s functionality after cleaning it, double-check that all connections are secure and that you followed the cleaning steps correctly. If the issues persist, consult Logitech’s customer support for further assistance.
Congratulations! You have successfully cleaned and reassembled your Logitech MX Master 3 mouse. By regularly cleaning and maintaining your mouse, you can prolong its lifespan and ensure optimal performance for years to come.
Remember to clean your mouse regularly, especially if you notice any dirt, grime, or decreased performance. Regular maintenance will not only keep your Logitech MX Master 3 looking and functioning its best but also enhance your overall browsing and productivity experience.
Conclusion
Congratulations! You have completed the comprehensive guide on how to clean your Logitech MX Master 3 mouse. By following these step-by-step instructions, you can maintain your mouse in optimal condition, ensuring its longevity, and enjoying a smooth and precise user experience.
We started by gathering the necessary cleaning supplies, including a mild cleaning solution or rubbing alcohol, cotton swabs, a microfiber cloth or lint-free cloth, canned air or a soft brush, and optionally, water. Turning off and disconnecting the mouse ensured safety during the cleaning process.
We then proceeded to remove dust and debris both from the mouse’s surface and its crevices, ensuring that no loose particles remained. Cleaning the exterior surface with a gentle touch, using the appropriate cleaning solution, restored the mouse’s appearance.
From there, we moved on to cleaning the scroll wheel, sensor lens, thumb wheel, side buttons, and charging port, ensuring that each component was clear of dirt and grime. By using the proper tools and techniques, we more effectively maintained the mouse’s functionality.
Finally, we reassembled and reconnected the mouse, verifying that it was working properly. Regular cleaning and maintenance will extend the lifespan of your Logitech MX Master 3 mouse and provide you with a seamless user experience.
Remember to schedule regular cleaning sessions for your mouse, especially if you notice any build-up or decreased performance. By keeping your Logitech MX Master 3 clean, you can maximize its performance and enjoy its advanced features for years to come.
Thank you for using this guide to clean your Logitech MX Master 3 mouse. We hope it has been helpful and that your mouse now looks and works like new!