Introduction
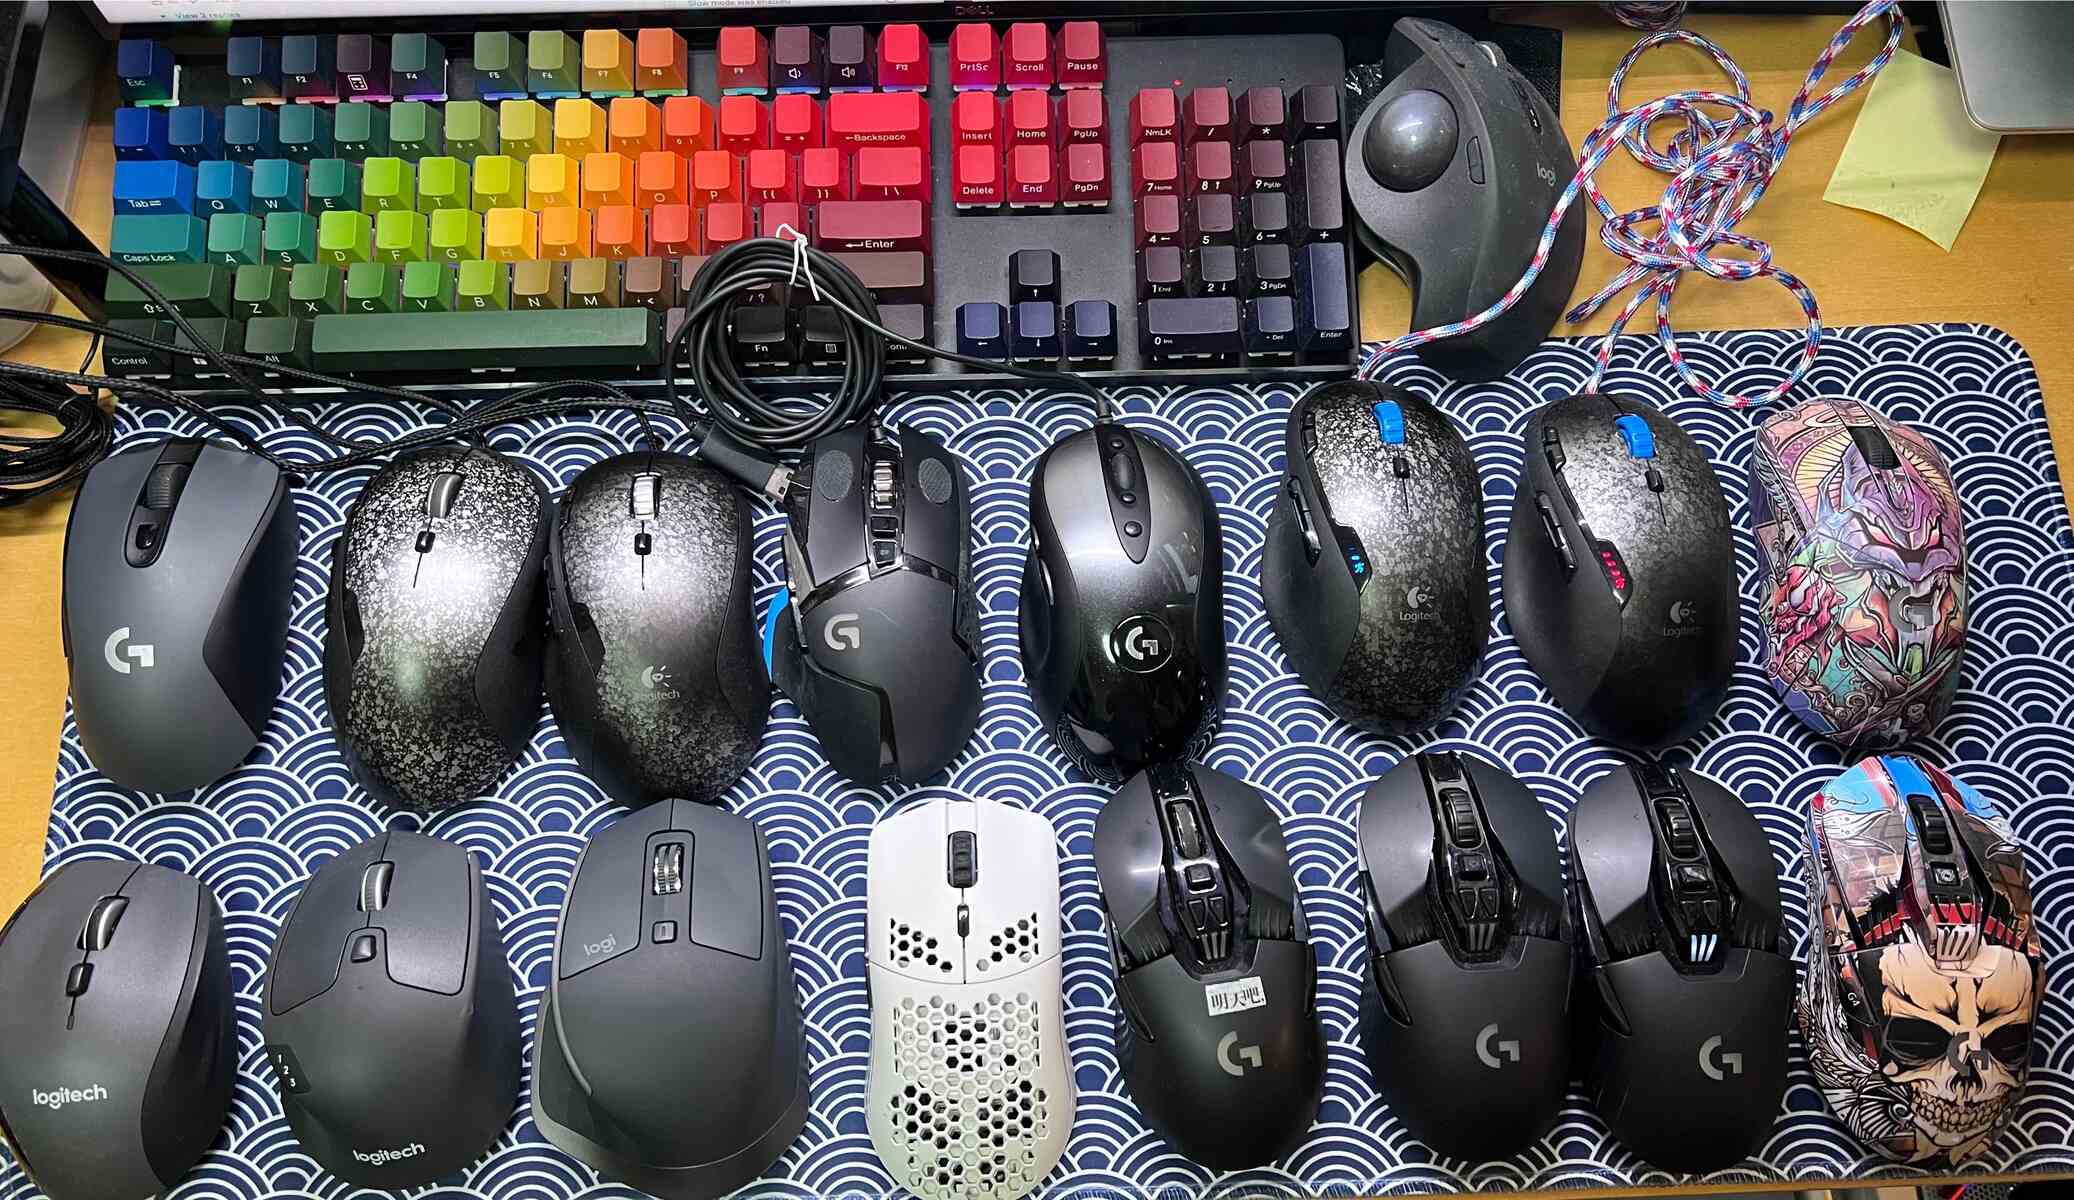
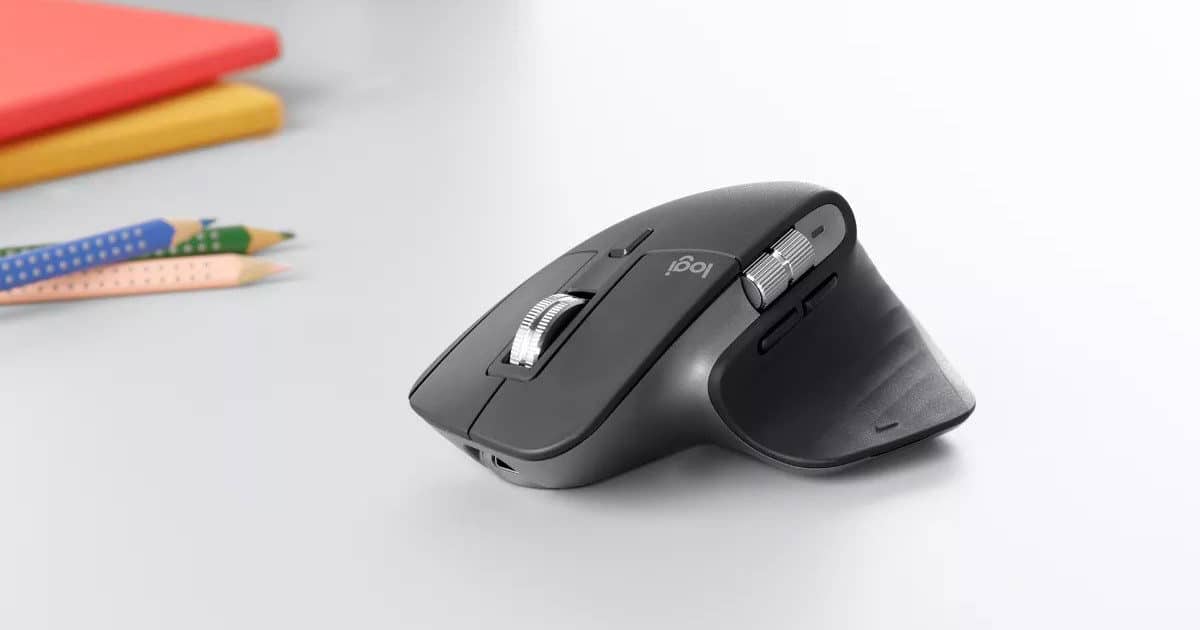
Welcome to our guide on how to clean your Logitech mouse! A clean mouse not only provides a better user experience but can also help extend the lifespan of your device. Over time, dust, dirt, and grime can accumulate on the surface of your mouse, affecting its performance and responsiveness. By following the steps outlined in this article, you’ll have your Logitech mouse looking and working like new in no time!
Before we dive into the cleaning process, it’s important to gather the necessary supplies. You’ll need a soft lint-free cloth or microfiber cloth, mild cleaning solution (such as diluted rubbing alcohol or screen cleaner), cotton swabs, and compressed air. These items will help you remove dirt and debris from different parts of the mouse, ensuring a thorough cleaning.
Before you start cleaning, it’s essential to take a few precautions to protect your mouse. Make sure to disconnect the mouse from your computer to avoid any accidental clicks or movements during the cleaning process. Additionally, remember to read and follow the manufacturer’s instructions regarding cleaning and maintenance, as it may vary between different Logitech mouse models.
Now, let’s get started with the step-by-step process of cleaning your Logitech mouse. Whether you have an optical or a laser mouse, the cleaning techniques will be similar. Just make sure to follow the instructions specific to your mouse model, if provided by Logitech.
[Content continues…]
Supplies Needed
Before you start cleaning your Logitech mouse, it’s important to have the right supplies on hand. Here’s a list of items you’ll need:
- Soft lint-free cloth or microfiber cloth: This will be used to wipe down the surface of the mouse and remove any dust or smudges. Avoid using rough or abrasive materials that could scratch the surface of the mouse.
- Mild cleaning solution: You can use diluted rubbing alcohol or a screen cleaner specifically designed for electronics. This will help remove dirt, oils, and grime from the mouse’s surface.
- Cotton swabs: These are useful for reaching small crevices and corners of the mouse where dirt may accumulate. They can also be used to apply cleaning solution to stubborn stains or sticky residue.
- Compressed air: This canister of compressed air is handy for blowing away dust and debris from hard-to-reach areas of the mouse, such as the gaps between buttons or the scroll wheel.
Having these supplies ready will make the cleaning process much smoother and more effective. It’s important to note that you should avoid using excessive amounts of liquid or getting the mouse excessively wet, as it could damage the internal components of the device. Use the cleaning solution sparingly and ensure that the cloth or cotton swab is only slightly damp, not dripping wet.
Now that you have all the necessary supplies, let’s move on to the next section to learn about the precautions you should take before cleaning your Logitech mouse.
[Content continues…]
Precautions
Before you begin cleaning your Logitech mouse, it’s important to take some precautions to ensure the safety of your device. Follow these guidelines to avoid any potential damage:
- Disconnect the mouse: Before you start the cleaning process, it’s crucial to disconnect your Logitech mouse from your computer. This prevents any accidental clicks or movements that could disrupt your work or cause damage to the device.
- Read the manual: Take the time to read and familiarize yourself with the manufacturer’s instructions for cleaning and maintenance. Logitech provides specific guidelines for each mouse model, so make sure to follow their recommendations to avoid any potential issues.
- Avoid excessive moisture: It’s essential to use cleaning solutions sparingly and ensure that any cloth or cotton swab is only slightly damp, not dripping wet. Excessive moisture can seep into the internal components of the mouse and cause damage.
- Avoid harsh chemicals: When selecting a cleaning solution, opt for mild options such as diluted rubbing alcohol or specialized screen cleaners. Avoid using harsh chemicals, as they can damage the mouse’s surface or the sensitive sensors inside.
- Handle with care: While cleaning, be gentle and avoid exerting excessive force on the buttons or scroll wheel. Being too rough can lead to mechanical issues or breakage. Treat the mouse with the same level of care you would give to any delicate electronic device.
By following these precautions, you can ensure a safe and effective cleaning process for your Logitech mouse. Taking these steps will help maintain the functionality and longevity of your device, keeping it in optimal condition for smooth and hassle-free operation.
[Content continues…]
Steps to Clean the Logitech Mouse
Cleaning your Logitech mouse is a straightforward process. Follow these step-by-step instructions to ensure a thorough and effective cleaning:
- Power off and disconnect: Turn off your computer and disconnect the Logitech mouse from the USB port. This will prevent any accidental clicks or movements while cleaning.
- Remove batteries (if applicable): If your Logitech mouse uses batteries, remove them to avoid any potential electrical issues during the cleaning process.
- Dust off the surface: Use a soft lint-free or microfiber cloth to gently wipe the surface of the mouse. This will remove any loose dust or debris that may have accumulated.
- Blow away dust with compressed air: Use the compressed air canister to blow away dust and debris from hard-to-reach areas, such as the gaps between buttons or the scroll wheel. Hold the canister upright and use short bursts to avoid excess moisture.
- Apply cleaning solution: Dampen a cloth or cotton swab with a small amount of mild cleaning solution, such as diluted rubbing alcohol or a specialized screen cleaner. Be careful not to use too much liquid, as excess moisture can damage the mouse.
- Wipe down the surface: Gently wipe the surface of the mouse with the damp cloth or cotton swab. Pay attention to areas where dirt or smudges are more prominent. For stubborn stains or sticky residue, apply a bit more pressure while cleaning.
- Clean the mouse sensor: If your Logitech mouse has an optical or laser sensor, gently wipe the sensor with a clean, dry cloth or cotton swab. Avoid touching the sensor directly to prevent any potential damage.
- Clean the buttons and scroll wheel: Use a cotton swab slightly dampened with the cleaning solution to clean the buttons and scroll wheel. Pay close attention to the crevices and corners where dirt can accumulate.
- Let it dry: Allow the mouse to air dry for a few minutes before reassembling. Make sure all the components are completely dry to avoid any moisture-related issues.
Follow these steps regularly to keep your Logitech mouse clean and functioning optimally. By maintaining a clean mouse, you’ll enjoy smooth and precise movement for a seamless computing experience.
[Content continues…]
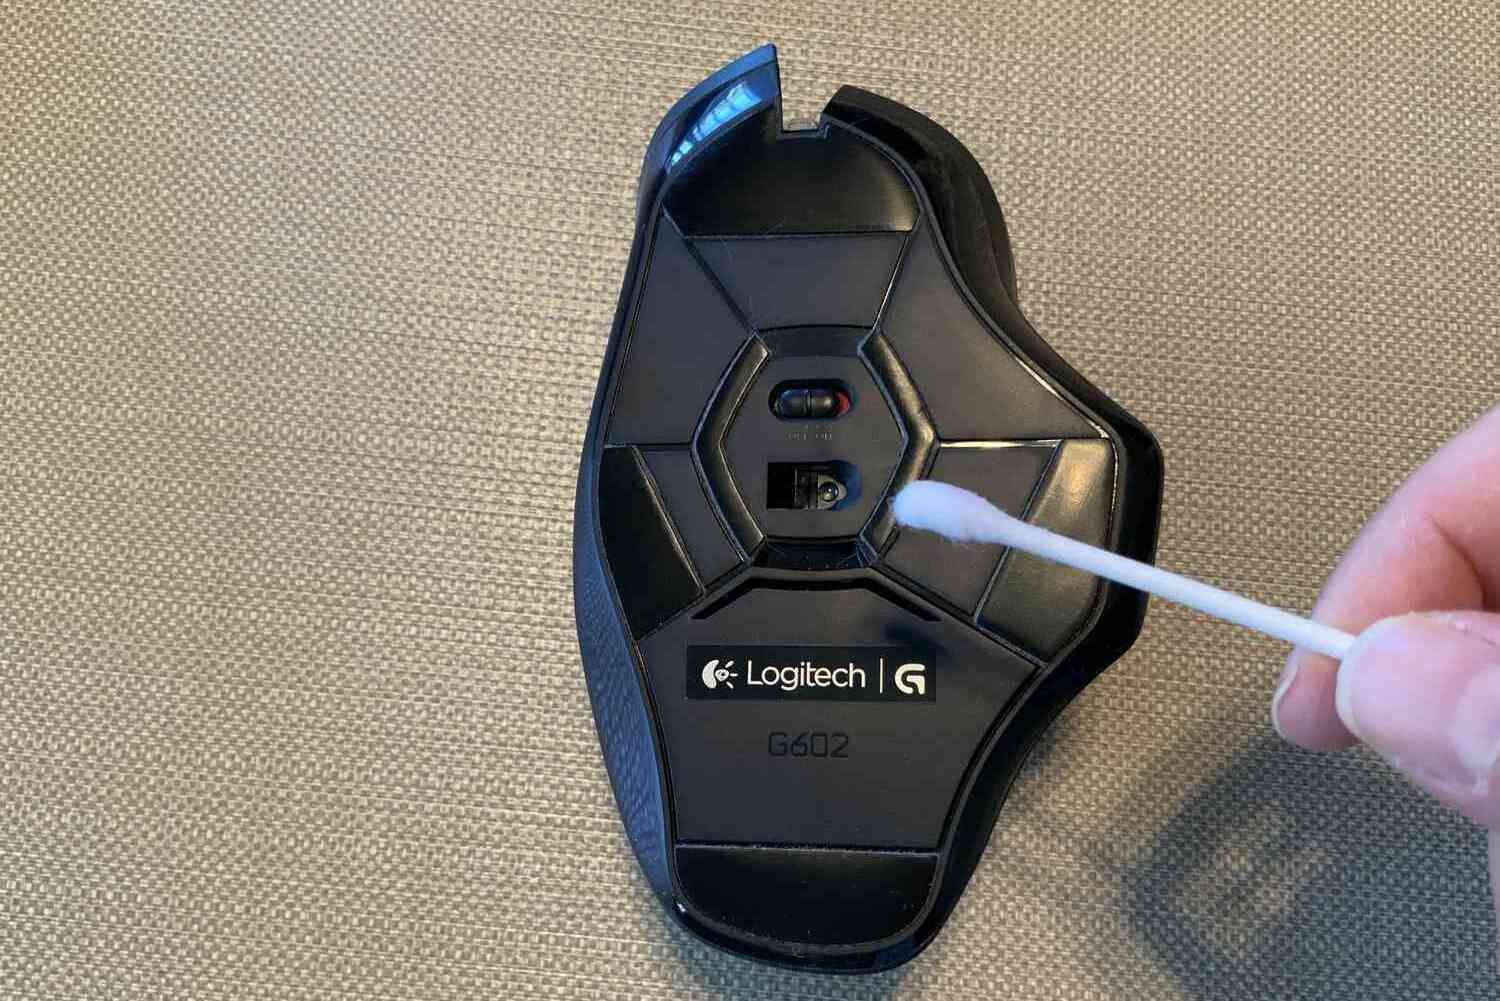
Cleaning the Mouse Sensor
The mouse sensor is a crucial component of your Logitech mouse, responsible for accurately tracking your movements. Keeping the sensor clean is essential for optimal performance. Follow these steps to clean the mouse sensor:
- Power off and disconnect: Turn off your computer and disconnect the Logitech mouse from the USB port to prevent any accidental movements.
- Remove batteries (if applicable): If your Logitech mouse is battery-powered, remove the batteries before proceeding with the cleaning.
- Inspect the sensor: Take a close look at the mouse sensor. If you notice any visible dirt or debris, use a can of compressed air to gently blow away the particles. Hold the canister upright and use short bursts to avoid excessive moisture.
- Clean the sensor with a dry cloth or swab: Gently wipe the sensor with a clean, dry cloth or a cotton swab. Avoid touching the sensor directly with your fingers to prevent smudges or oils from transferring onto it.
- Double-check for cleanliness: After cleaning, inspect the sensor again to ensure it’s free from any remaining dirt or smudges. If needed, repeat the process until the sensor is clean.
It’s important to note that not all Logitech mice have accessible sensors that can be cleaned by the user. Some mice have sealed sensors that cannot be accessed without disassembling the device, which may void the warranty. If you’re unsure about whether your mouse’s sensor can be cleaned, refer to the manufacturer’s instructions or contact Logitech support for guidance.
By regularly cleaning the mouse sensor, you’ll ensure accurate tracking and smooth cursor movement, enhancing your overall user experience.
[Content continues…]
Removing Stubborn Dirt or Stains
Sometimes, you may encounter stubborn dirt or stains on your Logitech mouse that require a little extra effort to remove. Here’s how you can tackle those tricky spots:
- Power off and disconnect: As always, turn off your computer and disconnect the Logitech mouse from the USB port to avoid accidental clicks.
- Identify the stubborn dirt or stain: Take a close look at the affected area and determine the nature of the dirt or stain. Is it a sticky residue, ink stain, or something else?
- Apply a cleaning solution: Depending on the type of dirt or stain, apply an appropriate cleaning solution. Use a small amount of mild cleaning solution, such as diluted rubbing alcohol or a specialized screen cleaner, on a cotton swab or cloth.
- Gently rub the affected area: Carefully rub the cloth or cotton swab on the stubborn dirt or stain, applying gentle pressure. Avoid using excessive force as it may damage the surface of the mouse.
- Persistent stains: For particularly stubborn stains, you can try using a mixture of water and mild soap. Dampen a cloth or cotton swab with the soapy water and gently scrub the stain. Rinse the cloth or swab thoroughly to remove any soap residue and wipe off the area again.
- Let it dry: Allow the area to air dry for a few minutes. Ensure that it is completely dry before reconnecting the Logitech mouse.
If the stubborn dirt or stain persists even after attempting these steps, it may be necessary to consult the manufacturer’s instructions or reach out to Logitech support for further guidance. They can provide specific instructions tailored to your Logitech mouse model.
Remember, prevention is better than cure. Regularly clean your Logitech mouse to avoid the buildup of stubborn dirt or stains. This proactive approach will help keep your mouse in excellent condition and prolong its lifespan.
[Content continues…]
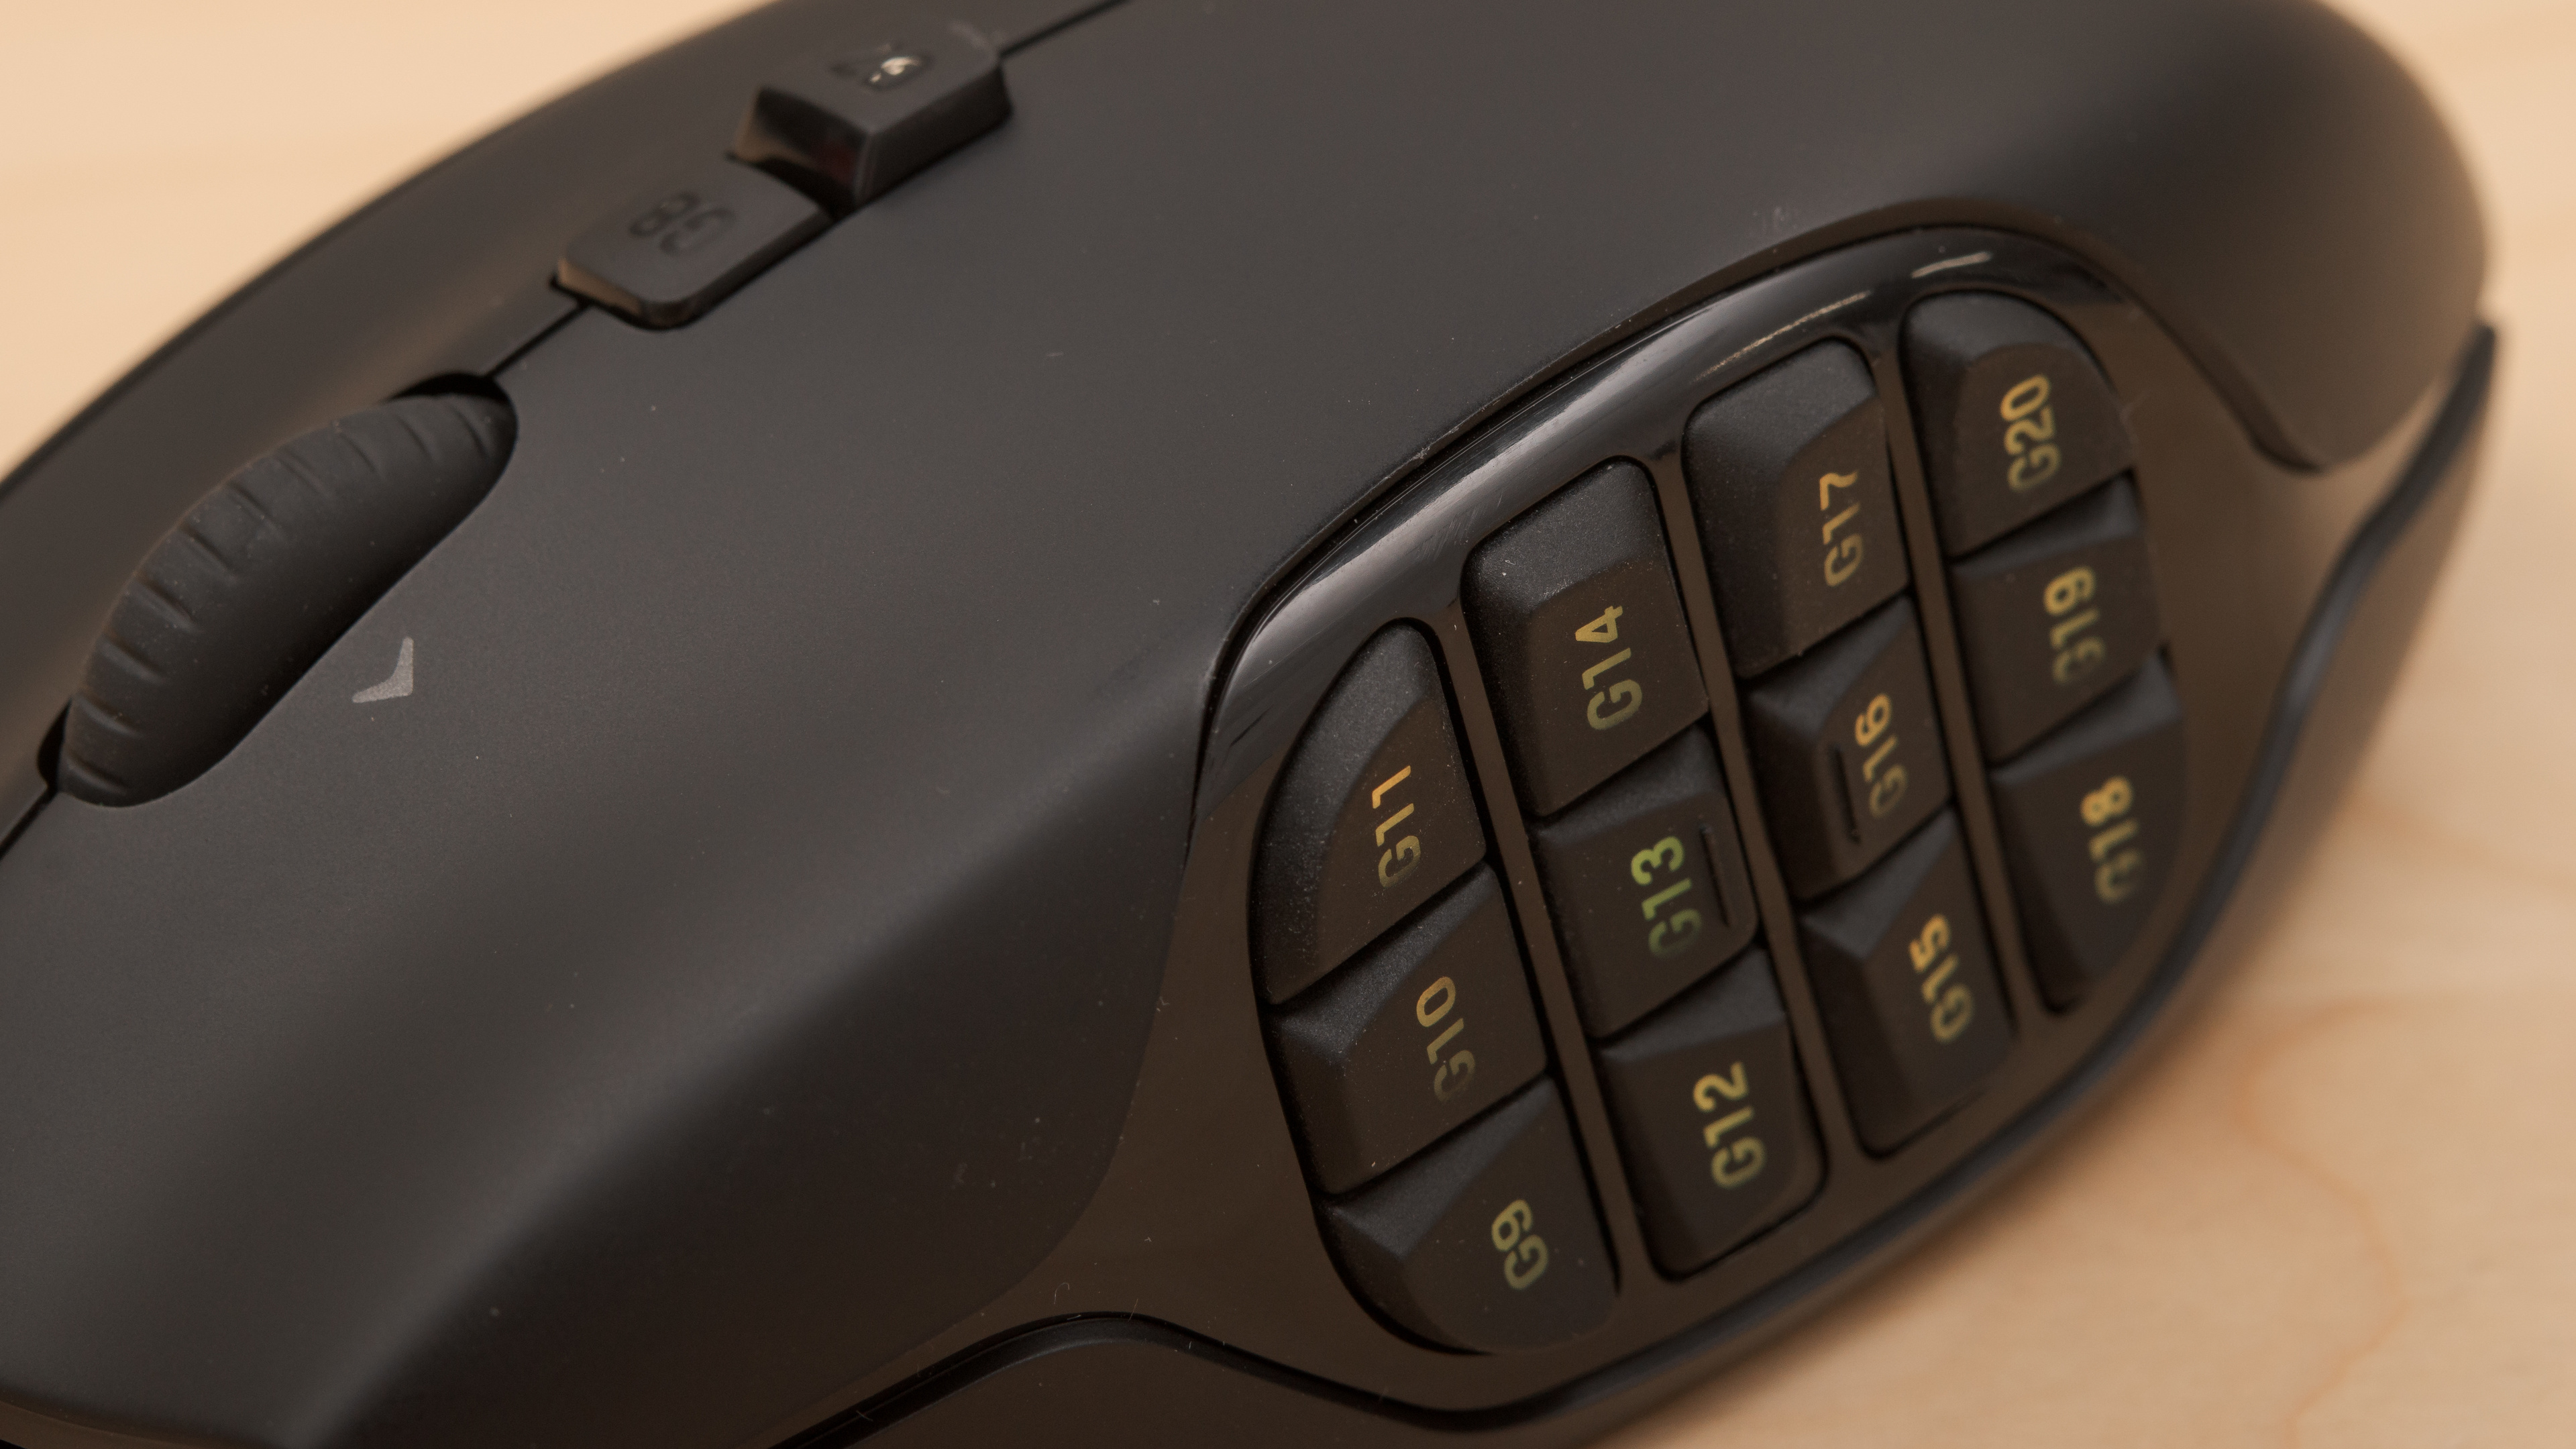
Cleaning the Buttons and Scroll Wheel
The buttons and scroll wheel of your Logitech mouse are frequently used and can accumulate dirt and grime over time. Keeping these components clean ensures smooth operation and responsiveness. Here’s how you can clean the buttons and scroll wheel:
- Power off and disconnect: Turn off your computer and disconnect the Logitech mouse from the USB port to prevent any accidental clicks or movements.
- Remove batteries (if applicable): If your Logitech mouse uses batteries, remove them before proceeding with the cleaning.
- Dust off the buttons and scroll wheel: Use a soft lint-free cloth or a can of compressed air to gently remove any loose dust or debris from the buttons and scroll wheel. Pay attention to the crevices and gaps where dirt may accumulate.
- Apply a cleaning solution: Dampen a cotton swab or cloth with a small amount of mild cleaning solution, such as diluted rubbing alcohol or a specialized screen cleaner.
- Clean the buttons: Gently wipe the surface of each button with the damp cloth or cotton swab. Pay special attention to the areas around the button edges and the gaps between the buttons.
- Clean the scroll wheel: Use the damp cloth or cotton swab to clean the scroll wheel. Roll the scroll wheel back and forth while applying gentle pressure to remove any dirt or grime that may have accumulated.
- Dry the buttons and scroll wheel: After cleaning, use a dry lint-free cloth or allow the buttons and scroll wheel to air dry for a few minutes.
It’s important to note that if your Logitech mouse has removable buttons or scroll wheel, you can remove them for a more thorough cleaning. Follow the manufacturer’s instructions for proper removal and reattachment of these components.
By regularly cleaning the buttons and scroll wheel of your Logitech mouse, you can maintain their functionality and ensure a satisfying user experience. Additionally, keeping these components clean can help prevent sticky buttons or an unresponsive scroll wheel, keeping your mouse in optimal condition.
[Content continues…]
Drying and Reassembly
After cleaning your Logitech mouse, it’s important to ensure that all components are dry before reassembling and reconnecting it to your computer. Follow these steps to dry and reassemble your mouse:
- Check for moisture: Before proceeding with reassembly, double-check that all the cleaned parts are dry. Make sure there is no excess moisture on the surface, buttons, scroll wheel, or any other component.
- Air dry: Allow the mouse to air dry for a few minutes. This will ensure that any remaining moisture evaporates completely.
- Use a dry cloth: Gently pat or wipe the dry surface of the Logitech mouse with a soft, lint-free cloth to remove any residual moisture.
- Reassemble the components: If you had removed any detachable buttons or scroll wheel during the cleaning process, carefully reattach them according to the manufacturer’s instructions.
- Reconnect the mouse: Once all the components are dry and reassembled, reconnect the Logitech mouse to your computer’s USB port.
- Test the mouse: Power on your computer and test the mouse to ensure that all the buttons and the scroll wheel are working properly.
By allowing the Logitech mouse to dry thoroughly before reassembling and reconnecting, you can prevent any potential electrical issues or damage caused by residual moisture. This ensures the longevity and optimal performance of your mouse.
Take note that if you encounter any issues with the performance or functionality of your Logitech mouse after cleaning, refer to the manufacturer’s instructions or contact Logitech support for further assistance. They will be able to provide you with specific troubleshooting tips or further guidance.
[Content continues…]
Conclusion
Cleaning your Logitech mouse is an essential maintenance task that ensures optimal performance and extends the lifespan of your device. By following the steps outlined in this guide, you can effectively remove dirt, grime, and stains from your mouse, keeping it in excellent condition.
Remember to gather the necessary supplies before you start, including a soft lint-free cloth or microfiber cloth, mild cleaning solution, cotton swabs, and compressed air. Take precautions to protect your mouse by disconnecting it from your computer and reading the manufacturer’s instructions.
Follow the step-by-step process to clean the Logitech mouse’s surface, buttons, scroll wheel, and technical components like the sensor. If you encounter stubborn dirt or stains, use appropriate cleaning solutions and be gentle to avoid causing damage.
Allow the mouse and its components to fully dry before reassembling and reconnecting it to your computer. By maintaining a clean Logitech mouse, you can enjoy smooth and precise movement for an enhanced computing experience.
Remember to refer to the manufacturer’s instructions or contact Logitech support if you encounter any issues or have specific questions about cleaning your specific mouse model.
Regular cleaning of your Logitech mouse will not only improve its functionality but also contribute to a hygienic and comfortable user experience. So, why wait? Grab your supplies and give your Logitech mouse the cleaning it deserves!