Introduction
Welcome to our guide on how to fix common issues with a Logitech mouse. Logitech is a well-known brand that produces a wide range of computer peripherals, including mice that are popular among both casual users and gamers. However, like any electronic device, Logitech mice can sometimes encounter problems that hinder their performance.
In this article, we will provide troubleshooting steps and solutions for the most common issues that may arise with your Logitech mouse. From reconnecting the mouse to your computer to updating drivers, replacing batteries, cleaning the mouse sensor, adjusting settings, and even resetting it to factory defaults, we have you covered.
Whether your Logitech mouse is not responding, behaving erratically, scrolling irregularly, or simply not performing as expected, these troubleshooting techniques will help you resolve the issue and get your mouse back in top shape.
Before diving into the specific troubleshooting steps, it’s important to note that the methods mentioned in this guide are generally applicable to various Logitech mouse models. However, some model-specific issues may require additional troubleshooting methods. It is recommended to refer to the user manual or visit the Logitech support website for specific instructions if your mouse model has unique features or functionalities.
Now, without further ado, let’s get started with the troubleshooting process and help you fix your Logitech mouse.
Troubleshooting Common Issues
Logitech mice may encounter a range of common issues that can affect their performance. In this section, we will address some of the most common problems and provide troubleshooting steps to resolve them.
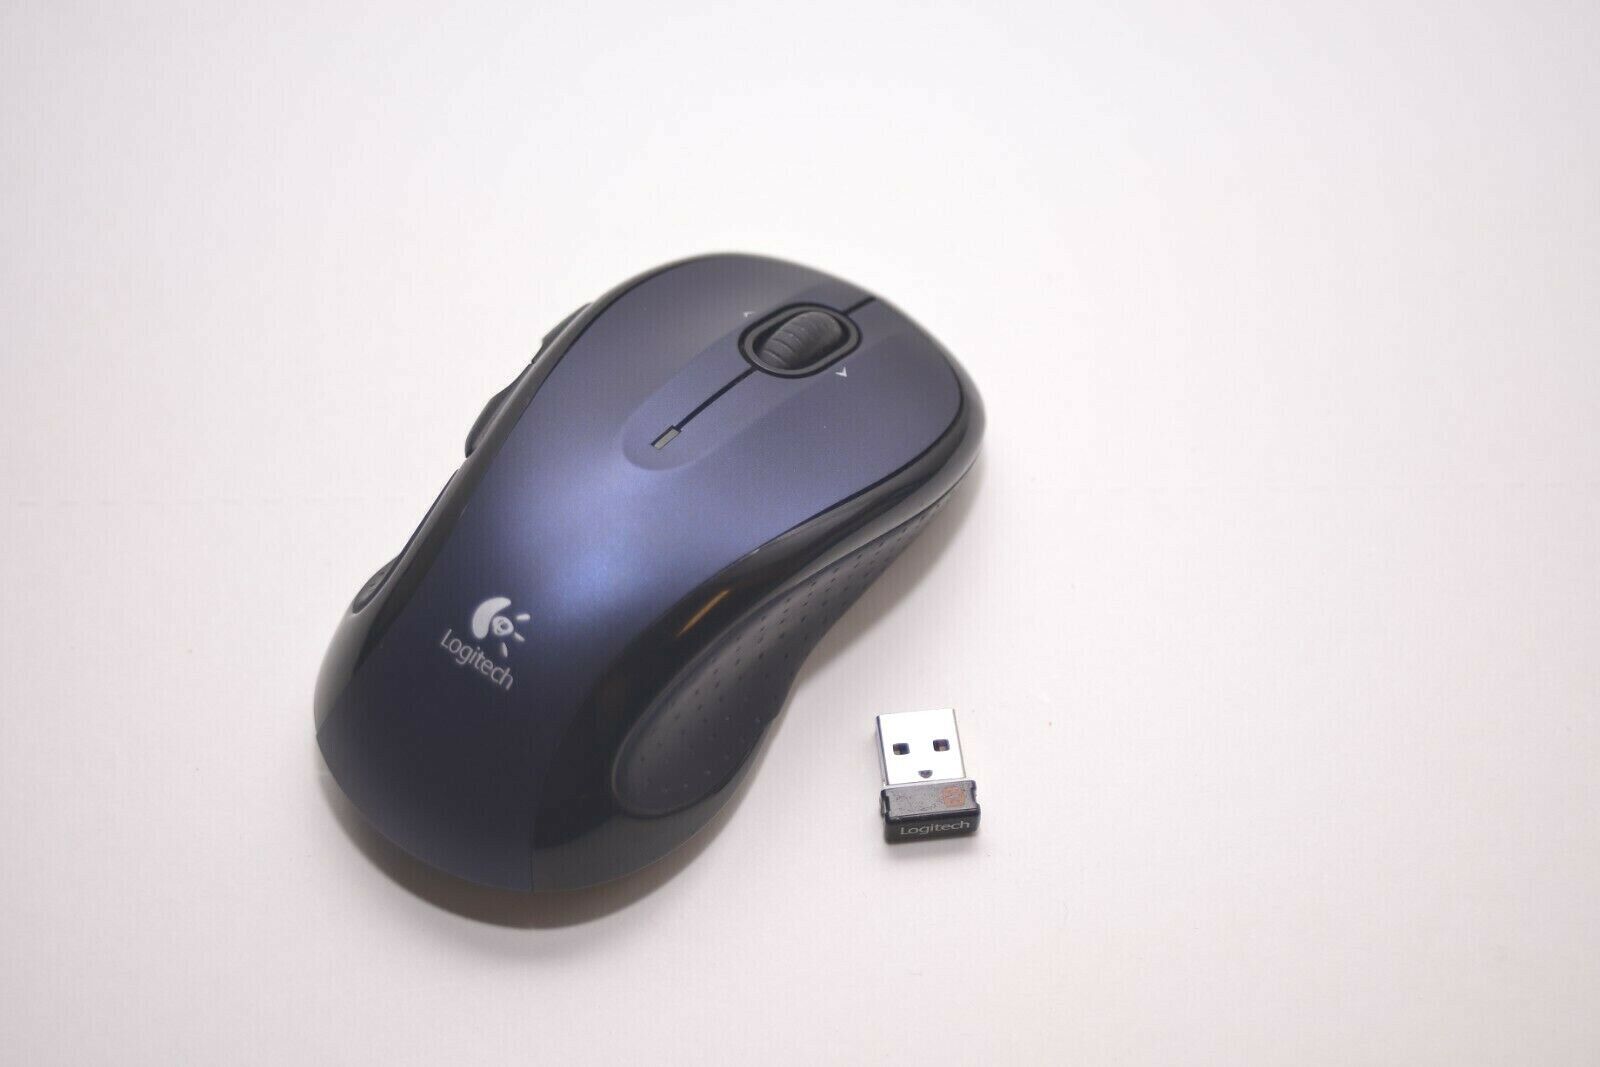
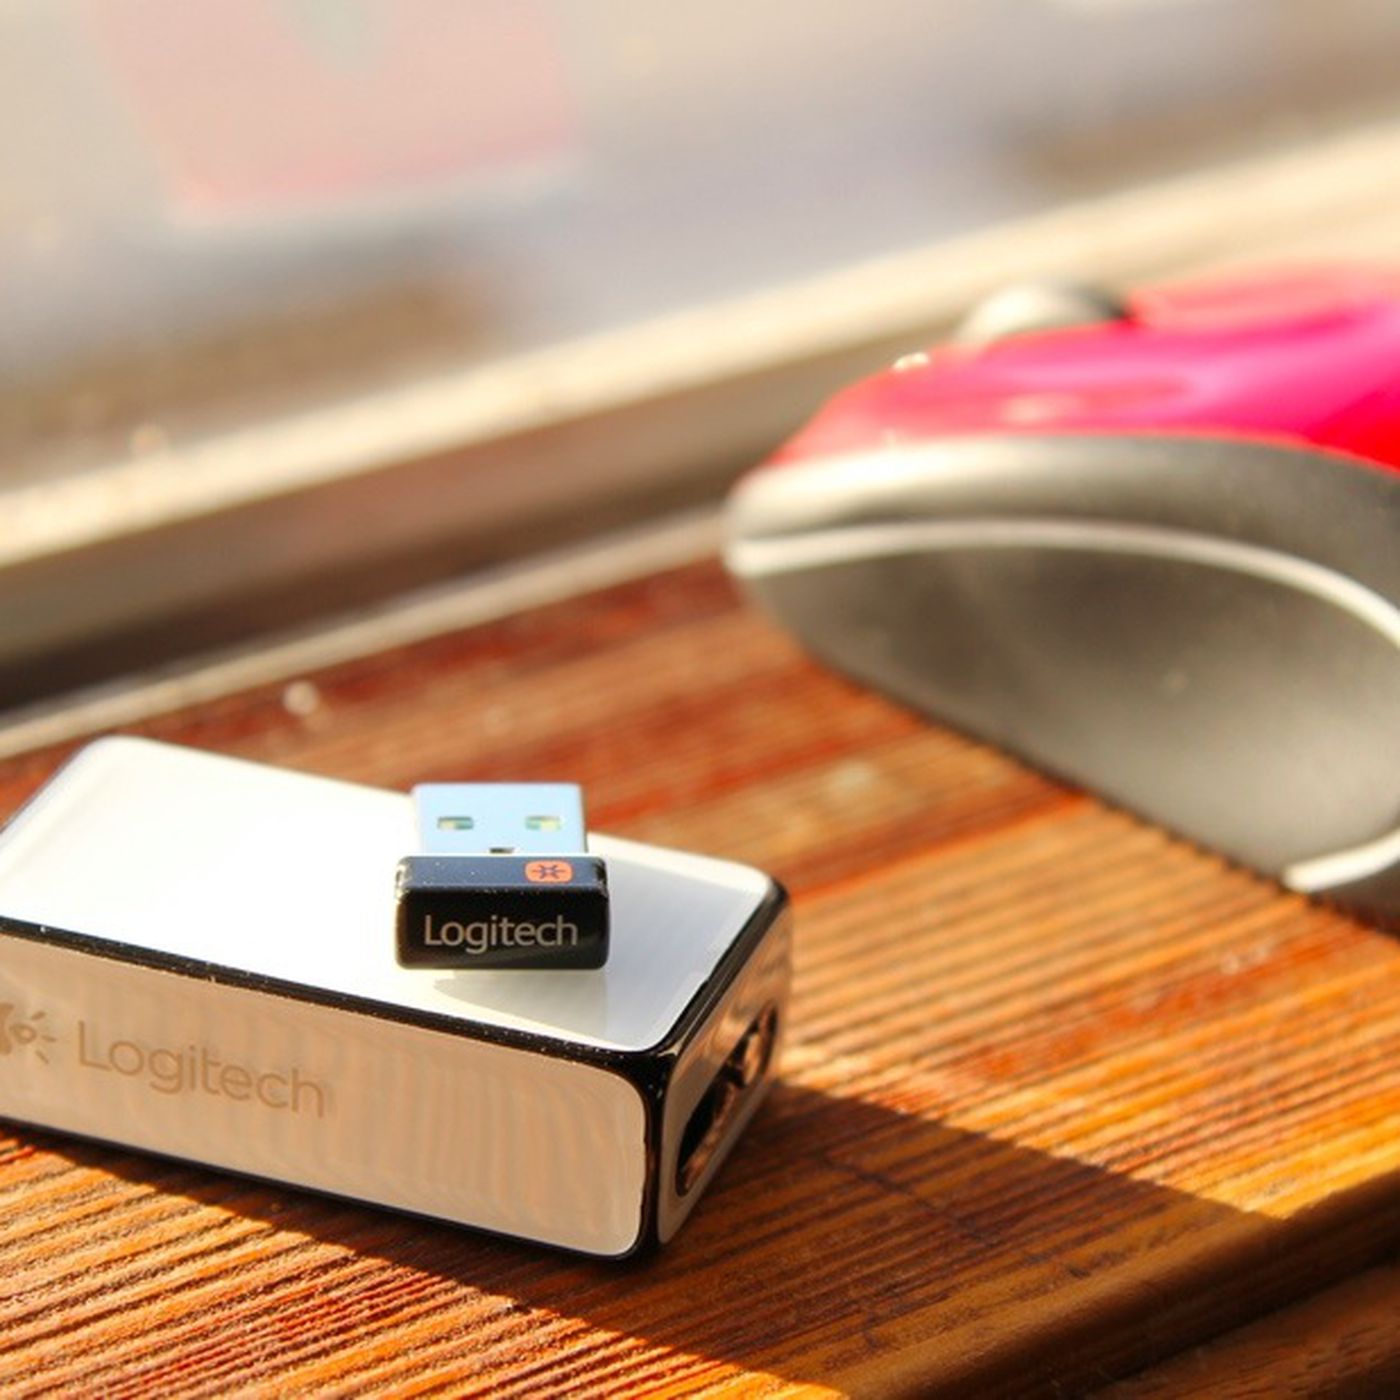
1. Mouse Not Responding: If your Logitech mouse is not responding at all, the first step is to check the connection. Ensure that the USB receiver is properly connected to your computer’s port. Try connecting it to another USB port or using a different USB receiver if available. In case you are using a wireless mouse, make sure the mouse and receiver are within the recommended range and replace the batteries if necessary.
2. Erratic Cursor Movement: If your mouse cursor is moving unpredictably or jumping around the screen, it may indicate an issue with the mouse surface or sensor. Ensure that the mouse surface is clean and free from dust or debris that could interfere with its movements. Additionally, try using the mouse on a different surface or using a mouse pad to improve tracking accuracy.
3. Scrolling Issues: If you are experiencing problems with scrolling, such as the scroll wheel not working or scrolling in the wrong direction, try adjusting the mouse settings. Open the mouse properties in your computer’s Control Panel or System Preferences and adjust the scrolling settings to your preference. Additionally, make sure that the mouse drivers are up to date.
4. Button Malfunction: If the buttons on your Logitech mouse are not working as intended, try resetting the mouse to its factory settings. This can often resolve software-related issues. Refer to the user manual or Logitech’s support website for instructions on how to perform a factory reset for your specific mouse model.
5. Poor Battery Life: If you are using a wireless Logitech mouse that requires batteries, ensure that the batteries are correctly inserted and have sufficient charge. If the battery life seems unusually short, consider using high-quality rechargeable batteries or replacing them with new ones.
Remember, if these troubleshooting steps do not resolve the issue, it may be beneficial to visit Logitech’s support website or contact their customer support for further assistance. They can provide specific guidance tailored to your Logitech mouse model and help you troubleshoot the problem effectively.
Reconnecting the Mouse to the Computer
If your Logitech mouse is not working or is not being recognized by your computer, one of the first troubleshooting steps you can try is reconnecting the mouse. In many cases, this simple step can solve the issue.
Follow these steps to reconnect your Logitech mouse to your computer:
- Make sure your mouse is turned on and has sufficient battery power if it is wireless.
- If your mouse has a USB receiver, ensure that it is properly connected to an available USB port on your computer. You may try connecting it to a different USB port to rule out any port-related issues.
- If your mouse is wireless and uses Bluetooth technology, make sure the Bluetooth settings on your computer are turned on and set to discoverable mode.
- Press the Connect button on the USB receiver or the mouse to initiate the connection process. The exact location of the Connect button may vary depending on your mouse model. Consult the user manual or Logitech’s support website for specific instructions.
- Once the mouse is connected, your computer should recognize it and it should start working. If not, try restarting your computer and repeating the above steps.
If you are still experiencing issues with the mouse not being recognized or not working after reconnecting, there may be other factors contributing to the problem. In such cases, try the additional troubleshooting steps mentioned in this guide or consider reaching out to Logitech’s support for further assistance.
Reconnecting the mouse is a quick and straightforward troubleshooting step that often resolves connectivity issues. It’s always worth giving it a try before proceeding to more advanced troubleshooting methods.
Updating Logitech Mouse Drivers
Outdated or incompatible drivers can often cause problems with the functionality of your Logitech mouse. To ensure optimal performance, it is important to keep your mouse drivers up to date. Here are the steps to update your Logitech mouse drivers:
- Visit the Logitech Support website and navigate to the drivers download section.
- Enter the model number or name of your Logitech mouse to search for the appropriate drivers.
- Select the operating system of your computer and click on the download link to save the driver file.
- Once the driver file is downloaded, locate it on your computer and double-click to initiate the installation process.
- Follow the on-screen instructions to complete the driver installation. If prompted, restart your computer to ensure the changes take effect.
If you have a Logitech Gaming Mouse, you can also use the Logitech Gaming Software (LGS) or Logitech G HUB software to update the mouse drivers. These software packages provide additional customization options and can automatically check for driver updates.
In addition to updating the drivers, it is a good practice to periodically check for firmware updates for your Logitech mouse. Firmware updates can address known issues, add new features, and improve overall performance.
By keeping your Logitech mouse drivers and firmware up to date, you can ensure compatibility with the latest operating systems and enjoy the best possible performance. If you are still experiencing issues with your mouse after updating the drivers, consider trying other troubleshooting steps mentioned in this guide or contacting Logitech Support for further assistance.
Replacing Batteries
If you are using a wireless Logitech mouse that is not functioning properly or has completely stopped working, one of the common culprits could be depleted batteries. Replacing the batteries can often resolve power-related issues and restore the mouse’s functionality. Here’s how you can replace the batteries for your Logitech mouse:
- Check the user manual or Logitech’s support website to determine the type of batteries required for your mouse. Common types include AA or AAA batteries, depending on the model.
- Locate the battery compartment on your mouse. It is typically located on the underside of the mouse.
- Open the battery compartment cover, ensuring that you follow any instructions provided to avoid damage to the mouse or batteries.
- Remove the old batteries from the compartment and dispose of them appropriately according to local regulations.
- Insert the new batteries into the compartment, following the correct orientation as indicated by the markings inside the compartment or the user manual.
- Close the battery compartment cover securely.
If you are unsure about the battery replacement process or facing any difficulties, consult the user manual or refer to Logitech’s support website for specific instructions tailored to your mouse model. It is important to use fresh, high-quality batteries to ensure optimal performance and battery life.
Once the batteries are replaced, your Logitech mouse should power on. Test the mouse to ensure it is functioning correctly. If the issue persists, try reconnecting the mouse to your computer or consider other troubleshooting methods discussed in this guide.
Remember to periodically check the battery level of your wireless mouse and replace the batteries as needed to prevent any unexpected issues. It is also a good practice to remove the batteries if you won’t be using the mouse for an extended period of time to prevent leakage and damage to the device.
Cleaning the Mouse Sensor
Over time, dirt, dust, and debris can accumulate on the sensor of your Logitech mouse, leading to erratic cursor movement or a non-responsive mouse. Cleaning the mouse sensor is a simple yet effective step to improve the performance and accuracy of your mouse. Here’s how to clean the mouse sensor:
- Turn off your Logitech mouse and unplug it from the computer (if applicable).
- Flip the mouse over to expose the sensor area.
- Inspect the sensor for any visible dirt or obstructions.
- Use a microfiber cloth or a cotton swab lightly dampened with rubbing alcohol to gently wipe the sensor and remove any debris or smudges. Be careful not to apply too much pressure or use harsh cleaning agents, as they may damage the sensor.
- Alternatively, you can use compressed air to blow away dust or any loose particles around the sensor area.
- Once you have cleaned the sensor, allow it to dry for a few seconds.
- Turn your Logitech mouse back on and reconnect it to your computer (if necessary).
It is important to note that not all Logitech mouse models have accessible sensors for cleaning. Some mice have sealed sensors that do not require manual cleaning. Refer to the user manual or Logitech’s support website for specific instructions on cleaning the sensor for your particular mouse model.
Regularly cleaning the mouse sensor can prevent tracking issues and ensure smooth and accurate cursor movement. Aim to clean the sensor every few months or whenever you notice a decline in performance.
In addition to cleaning the sensor, keep the surface on which you use your Logitech mouse clean to prevent the build-up of debris that can affect its tracking ability. Using a mouse pad can also provide a cleaner and more consistent surface for your mouse to navigate on.
If, after cleaning the mouse sensor, you still experience issues with your Logitech mouse, consider trying other troubleshooting steps outlined in this guide or reach out to Logitech’s support for further assistance.
Adjusting Mouse Settings
Customizing the mouse settings can greatly enhance your Logitech mouse experience and resolve certain issues. Whether you want to change the cursor speed, button functions, scrolling behavior, or other settings, Logitech provides software that allows you to adjust these settings to your preference. Here’s how to adjust your Logitech mouse settings:
- Visit the Logitech Support website and download the appropriate software for your mouse model. Logitech provides different software options such as Logitech Options, Logitech SetPoint, or Logitech G HUB depending on the type of mouse you have.
- Install the software on your computer by running the downloaded file and following the on-screen instructions. Restart your computer if prompted to complete the installation process.
- Once the software is installed, open it and locate the mouse settings or configuration menu.
- Within the settings menu, you can modify various parameters, such as cursor speed, button assignments, scroll wheel behavior, and other preferences.
- Make the desired adjustments based on your preferences and needs. Experiment with different settings to find the optimal configuration for your specific usage and requirements.
- Once you have adjusted the settings to your liking, save the changes and exit the software.
It’s important to note that the available customization options may vary depending on the software and mouse model you have. Some Logitech mice designed for gaming purposes may offer additional settings specific to gaming functionalities.
By adjusting the mouse settings, you can personalize the mouse experience to suit your working or gaming style, improve precision, and resolve certain issues such as cursor speed or button functionality. Utilize the software provided by Logitech to explore the available options and make the necessary adjustments.
If you encounter any difficulties or require further assistance in adjusting the mouse settings, consult the user manual or visit Logitech’s support website for additional guidance.
Resetting the Mouse to Factory Settings
If you’re experiencing persistent issues with your Logitech mouse and other troubleshooting methods haven’t resolved the problem, resetting the mouse to its factory settings can be a viable solution. This will restore the mouse to its original default settings, eliminating any customized settings or configurations that may be causing issues. Here’s how to reset your Logitech mouse:
- Make sure your mouse is turned on and connected to your computer.
- Locate the reset button on your Logitech mouse. The location of the reset button may vary depending on the model. It is usually found on the bottom of the mouse and can be a small pinhole or a button labeled “Reset.”
- Using a sharp object such as a paperclip or pen tip, press and hold the reset button for a few seconds.
- Release the reset button and wait for a few seconds to allow the mouse to reset. The cursor may temporarily freeze or disappear during this process.
- Once the reset is complete, the mouse will be restored to its default factory settings.
- Reconnect the mouse to your computer if necessary, following the instructions provided by Logitech for your specific mouse model.
Resetting the mouse to factory settings can help resolve issues related to software glitches, incorrect configurations, and other software-related problems. However, it’s important to note that this action will erase any personalized settings, button assignments, DPI presets, and other customizations you may have made. If you wish to preserve any custom settings, it’s recommended to note them down before performing the reset.
If resetting the mouse does not resolve the issue, it may indicate a hardware problem or a more complex software issue. In such cases, it’s advisable to contact Logitech’s customer support or visit their support website for further assistance and guidance specific to your Logitech mouse model.
Remember, resetting the mouse to factory settings should be considered as a last resort and only performed when other troubleshooting methods have failed to resolve the issue.
Contacting Logitech Support
If you have tried all the troubleshooting steps mentioned in this guide and are still experiencing problems with your Logitech mouse, contacting Logitech support is the next step. Logitech provides dedicated customer support services to assist users in resolving any issues they may encounter with their devices. Here’s how you can get in touch with Logitech support:
1. Logitech Support Website: Visit the Logitech Support website (www.logitech.com/support) and navigate to the appropriate section for mice. Here, you will find a wealth of resources such as FAQs, product manuals, troubleshooting guides, and software downloads specific to your mouse model. Browse through the available information to find solutions to common issues or find detailed instructions for your particular problem.
2. Customer Support Contact: If you cannot find a solution on the support website, you can directly contact Logitech’s customer support team. They offer various contact methods, including phone support, email support, and live chat. Visit the “Contact Us” or “Support” section of the Logitech website to find the specific contact details for your region.
When contacting Logitech support, it’s helpful to provide them with the following information to expedite the troubleshooting process:
- The model and serial number of your Logitech mouse (usually found on the bottom of the mouse or on the packaging).
- A detailed description of the problem you are experiencing, including any error messages or unusual behavior.
- Any troubleshooting steps you have already attempted to resolve the issue.
The Logitech support team will work with you to diagnose the problem and provide further guidance or solutions. They may ask you to perform additional troubleshooting steps or request information to assist in resolving the issue effectively.
Logitech is committed to providing excellent customer support, and their representatives will do their best to assist you in resolving any problems you may have with your Logitech mouse.
Reach out to Logitech support when you have exhausted all other options and require further assistance to get your Logitech mouse working as expected.